This no-bake Zebra Cake is an easy icebox dessert made by stacking thin chocolate wafer cookies with sweetened whipped cream, then chilling the cake until the cookies soften into a tender, cake-like texture. The finished log serves 8 to 10 people, requires just 20 to 30 minutes of active preparation, and needs no oven or cook time.
Each diagonal slice reveals dramatic chocolate-and-cream stripes, while the flavor tastes like a light chocolate cookie cake with clouds of vanilla whipped cream. Chill it for at least 4 hours, or preferably overnight, for the softest texture and cleanest zebra pattern.
Jump to RecipeWhy You’ll Love This Recipe
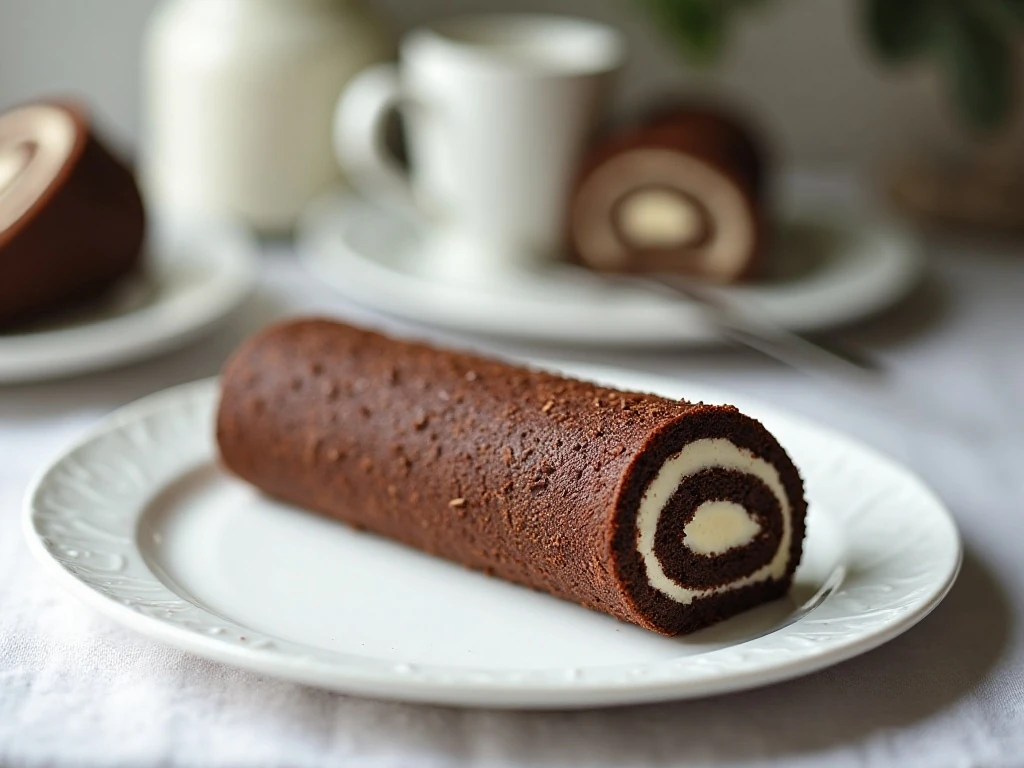
This Zebra Cake brings together the best parts of a homemade dessert without requiring an oven, cake pans, or complicated decorating. The ingredient list is short, the preparation is forgiving, and the final presentation looks special enough for birthdays, holidays, dinner parties, and weekend gatherings.
The contrast between crisp chocolate wafers and silky whipped cream changes completely during refrigeration. After several hours, the wafers become tender and sliceable, almost like thin chocolate cake layers, while the cream stays light and pleasantly sweet.
- No baking required: It is ideal when the oven is busy or the weather is warm.
- Simple ingredients: Chocolate wafers, cream, sugar, and vanilla create the entire cake.
- Make-ahead friendly: Overnight chilling improves both texture and flavor.
- Beautiful presentation: A diagonal cut reveals the dark-and-light zebra stripes.
If you enjoy chilled chocolate desserts, you may also like this layered chocolate dessert, which offers another rich option for a no-oven sweet table.
Ingredients You’ll Need
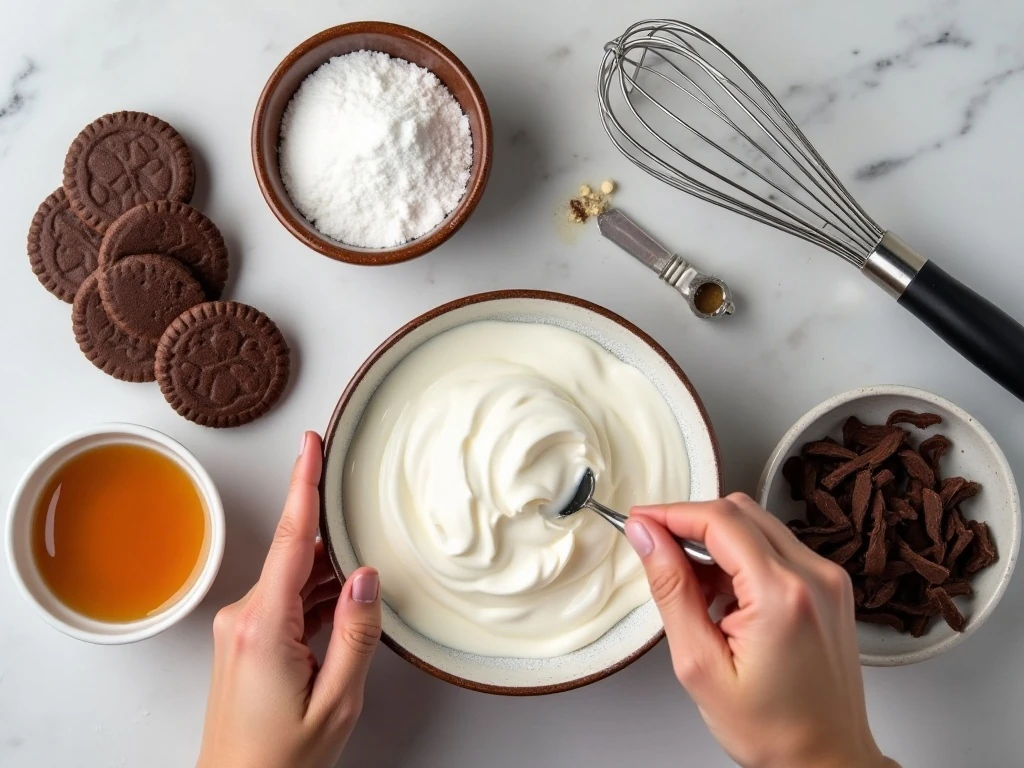
The foundation of this dessert is one package, about 9 ounces or 255 grams, of thin crisp chocolate wafer cookies. Nabisco Famous Chocolate Wafers are the classic choice, but another thin chocolate wafer cookie can work as long as it is crisp and sturdy enough to stack.
You will also need 2 cups, or 480 milliliters, of cold heavy whipping cream. The cream provides the moisture that softens the wafers and creates the pale stripes, so choose heavy cream rather than a thinner milk product.
For sweetness and flavor, measure 1/4 cup, or 30 grams, of confectioners’ sugar and 1 teaspoon of pure vanilla extract. Confectioners’ sugar dissolves quickly into the cream and helps keep the mixture smooth.
Optional toppings include chocolate curls, grated chocolate, unsweetened cocoa powder, or fresh berries. Keep the garnish simple so the striped sides remain the visual centerpiece.
How to Make It Step-by-Step
Step 1: Chill your mixing bowl and beaters before beginning, if you have time. Cold equipment helps the heavy cream whip efficiently and hold its shape, especially in a warm kitchen.
Step 2: Pour the cold heavy whipping cream into the chilled bowl, then add the confectioners’ sugar and vanilla extract. Beat until firm peaks form, stopping as soon as the cream stands up when the beaters are lifted; overbeating can make it grainy and difficult to spread.
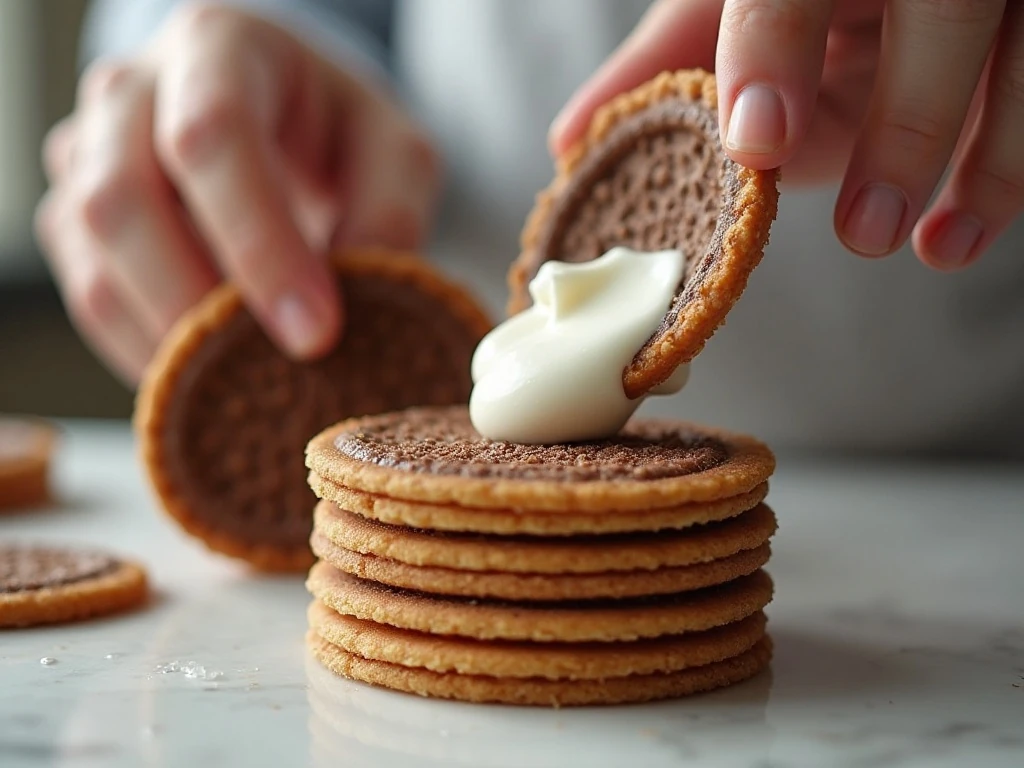
Step 3: Place one chocolate wafer on your work surface and spread it with a small amount of whipped cream. The cream does not need to form a thick layer, but it should cover enough of the wafer to help the next cookie adhere.
Step 4: Add another wafer on top of the cream and repeat the pattern. Continue sandwiching cookies with whipped cream until you have a long, even stack or log, using most or all of the package.
Step 5: Carefully lay the stack on its side on a serving plate. This sideways position creates the classic log shape and allows the cake to be sliced diagonally later.
Step 6: Use the remaining whipped cream to cover the top and sides of the log. Smooth the surface gently with a spatula or the back of a spoon, taking care not to press so firmly that the wafer layers slide.
Step 7: Cover the cake loosely and refrigerate it for at least 4 hours. Overnight chilling is best because the wafers need time to absorb moisture from the cream and develop a soft, cake-like texture.
Step 8: When ready to serve, use a sharp knife to slice the log diagonally. Wipe the blade between cuts if needed, then garnish each portion or the whole cake with chocolate curls, grated chocolate, cocoa powder, or fresh berries.
For another easy no-bake project with a playful presentation, take a look at these vanilla cake pops. They make a fun companion dessert for parties where guests can choose between individual treats and cake slices.
Chef Tips for the Best Zebra Cake
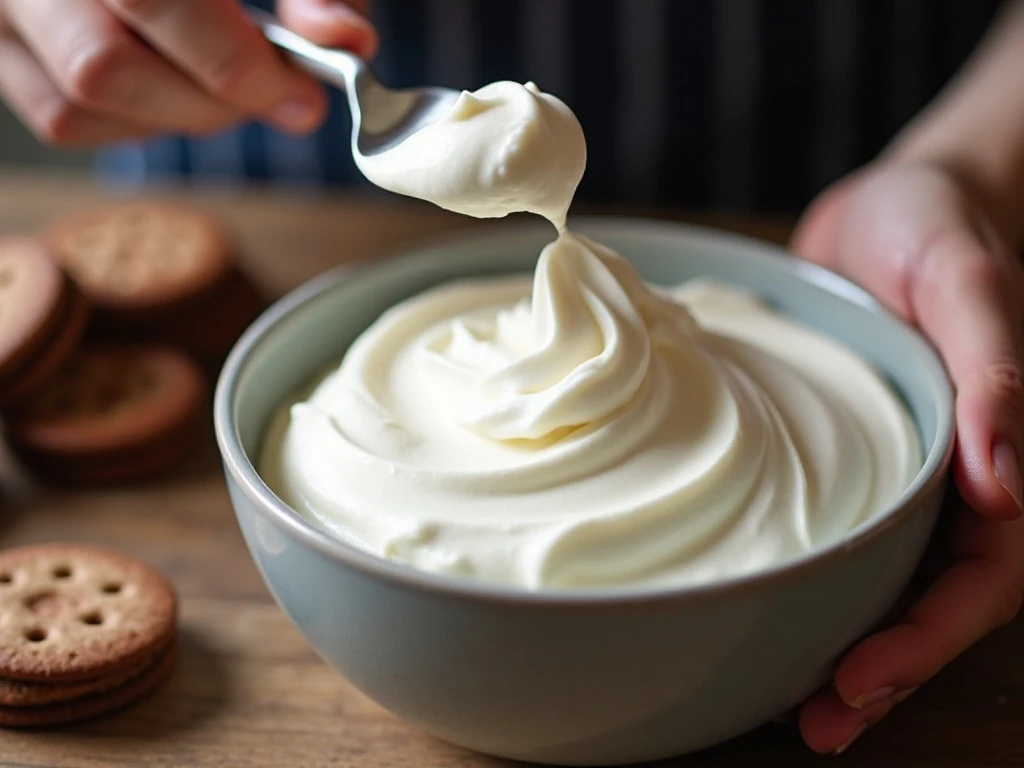
Start with very cold heavy cream. If your kitchen is warm, place the cream, bowl, and beaters in the refrigerator briefly before whipping. Firm peaks are the goal, but the cream should still look smooth and soft enough to spread.
Do not overbeat the whipped cream. Once it becomes grainy, it will be harder to apply evenly and may lose the smooth appearance that makes the finished cake so attractive.
Use a light hand when assembling the stack. A small amount of cream between each wafer is enough because the cookies will settle as they soften. Too much pressure may cause the log to lean or the cream to squeeze out.
Chill the cake overnight whenever possible. The minimum 4-hour rest will soften the wafers, but a longer rest produces the most tender texture and makes the diagonal slices easier to cut.
- Keep the log straight as you build it for more even slices.
- Use a serving plate long enough to support a 10- to 12-inch cake.
- Garnish immediately before serving so cocoa and chocolate stay neat.
- Cut with a sharp knife rather than a dull spreading knife.
For a contrasting fruit-forward dessert idea, this strawberry crunch cheesecake is another excellent make-ahead choice.
Texture, Slicing, and Serving
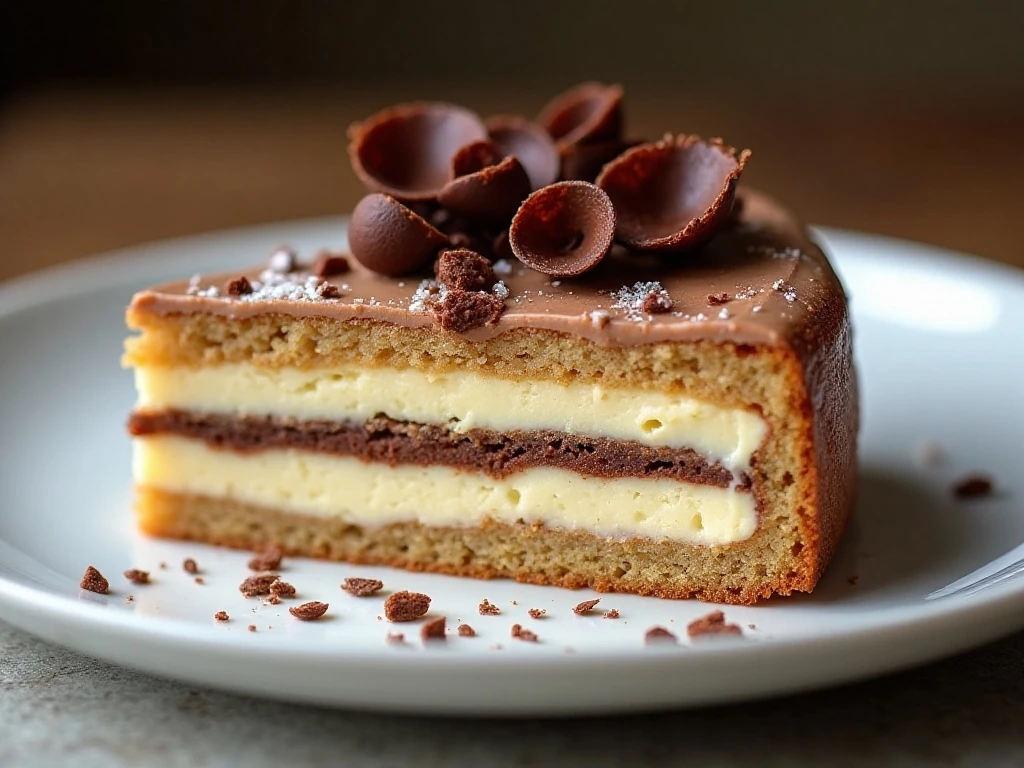
The diagonal cut is more than a decorative finishing touch. Cutting across the stacked wafers exposes the alternating chocolate-cookie and cream stripes, creating the zebra effect that gives this icebox cake its name.
Slice the cake directly from the refrigerator while it is cold and firm. A sharp knife will move through the softened wafers and cream more cleanly than a blunt one, and wiping the blade after each cut keeps the stripes looking distinct.
Serve the cake in modest slices because the whipped cream and chocolate wafers are rich together. A few berries on the plate add color and a fresh note, while a light dusting of unsweetened cocoa powder makes the chocolate flavor stand out.
The cake is approximately 10 to 12 inches long and typically provides 8 to 10 servings. If serving it at a gathering, keep it refrigerated until close to dessert time so the whipped cream remains firm.
Make-Ahead, Storage, and Variations
This cake is designed to be made ahead. Prepare it in the morning for an evening dessert, or assemble it the day before and let it chill overnight for the best result.
Cover the cake loosely while it rests in the refrigerator so it is protected from refrigerator odors without disturbing the whipped cream coating. Keep leftovers chilled and slice them as needed; the texture will continue to be soft and pleasant as long as the cake remains cold.
The classic formula is intentionally simple, but the garnish can change the character of the dessert. Chocolate curls make it elegant, cocoa powder gives it a more intense chocolate appearance, and fresh berries add brightness against the dark-and-light stripes.
For a savory recipe to balance a dessert-heavy menu, you can also browse this easy turkey casserole for a comforting meal idea before serving the cake.
Common Questions
Can I serve Zebra Cake after only 4 hours? Yes. Four hours is the minimum recommended chilling time, and the wafers should be noticeably softer by then. However, overnight chilling produces the most cake-like texture and makes slicing easier.
Why is my whipped cream difficult to spread? It may have been overbeaten, or it may have warmed too much. Stop whipping at firm peaks, and keep the bowl chilled whenever possible.
Can I use another type of cookie? The recipe works best with thin, crisp chocolate wafer cookies because they absorb moisture in the refrigerator. Very thick, soft, or heavily filled cookies may not create the same striped texture.
Do I need a special cake pan? No. The cake is assembled as a log and placed directly on a serving plate, so no pan is necessary. A long platter is helpful for supporting the approximately 10- to 12-inch cake.
If you want to make a dessert base for another occasion, this simple pattycake pie crust is a useful recipe to keep nearby.
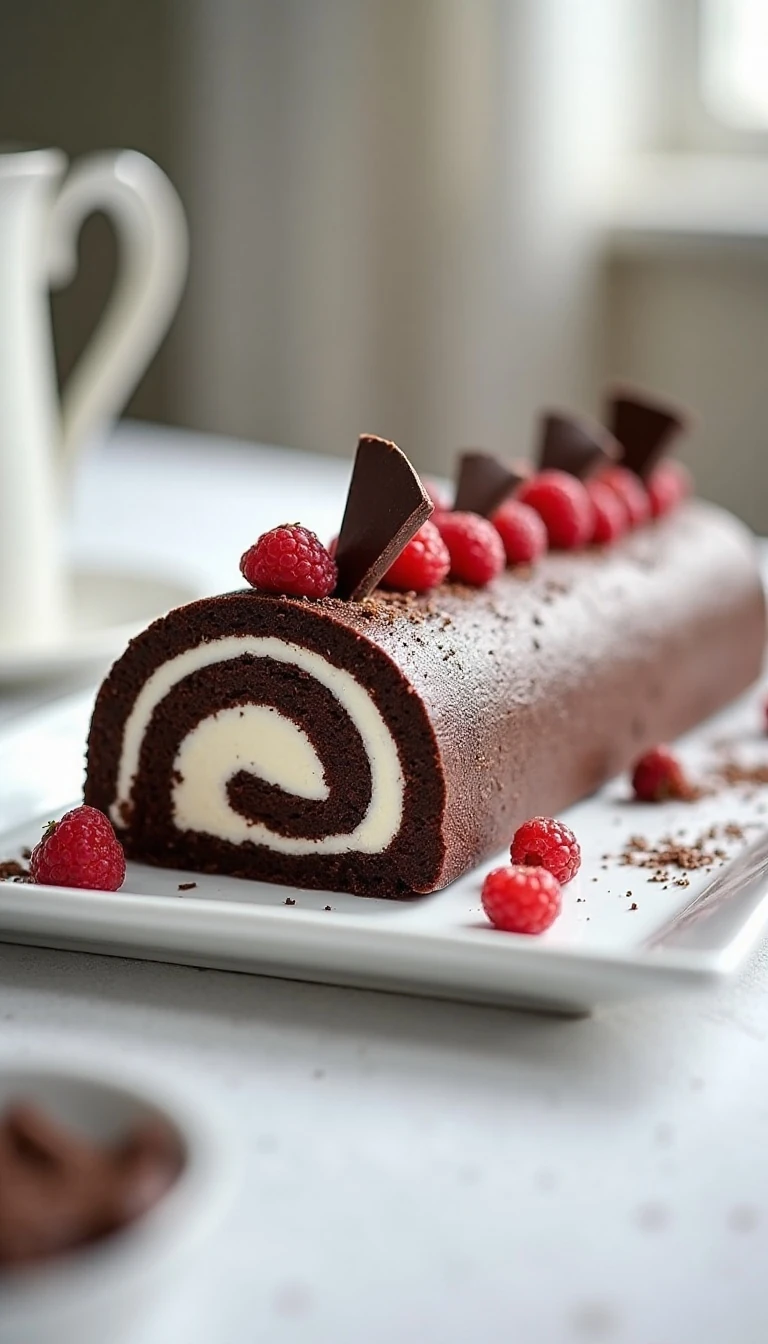
No-Bake Zebra Cake
Ingredients
Method
- Chill the mixing bowl and beaters if possible. Beat the cold heavy cream, confectioners’ sugar, and vanilla extract until firm peaks form, taking care not to overbeat the cream.
- Spread a small amount of whipped cream on one chocolate wafer. Add another wafer and repeat the cream-and-wafer layers until you have used most or all of the package and formed a long stack or log.
- Carefully place the stack on its side on a serving plate. Cover the top and sides with the remaining whipped cream, smoothing it gently without pressing hard on the cookies.
- Cover the cake loosely and refrigerate for at least 4 hours. For the softest, most cake-like texture, chill it overnight.
- Slice the cake diagonally with a sharp knife. Add chocolate curls, grated chocolate, cocoa powder, or fresh berries immediately before serving, if desired.
Notes
Final Thoughts
This no-bake Zebra Cake proves that an impressive dessert does not need a long ingredient list or a complicated baking schedule. Four simple ingredients become a tender chocolate-and-vanilla icebox cake with striking stripes, making it a reliable choice for both first-time dessert makers and experienced home cooks.
Remember the three essentials: whip the cold cream only to firm peaks, build the wafer stack gently, and allow at least 4 hours of refrigeration. If you can wait until the next day, the cookies will soften beautifully and the finished slices will have the classic cake-like texture this recipe is known for.
Add your favorite garnish just before serving, slice diagonally, and let the zebra pattern take center stage. This cool, creamy dessert is easy to prepare ahead and wonderfully satisfying straight from the refrigerator.