This no-bake cherry cheesecake pie is the easy dessert to make when you want a creamy, crowd-pleasing treat without turning on the oven. Made with a prepared 9-inch graham-cracker crust, softened cream cheese, sweetened condensed milk, fresh lemon juice, vanilla, and cherry pie filling, it takes only 10 to 15 minutes of active preparation and needs at least 3 hours in the refrigerator to set.
Every slice has a smooth, sweet-tangy cheesecake layer beneath a generous spoonful of ruby-red cherries. The condensed milk provides rich sweetness, lemon juice adds fresh balance while helping the filling thicken, and the crisp graham-cracker crust gives the soft filling just the right contrast.
Jump to RecipeWhy You’ll Love This Recipe

This pie delivers the familiar flavor of cherry cheesecake with almost no kitchen work. There is no baking, stovetop cooking, water bath, or complicated crust to prepare, so it is especially useful for holidays, potlucks, birthdays, and warm-weather gatherings.
The filling is wonderfully dependable when the cream cheese is softened properly. It turns thick and creamy as the condensed milk and lemon juice are blended together, then firms in the refrigerator into a sliceable dessert.
The flavor is balanced rather than flat. Sweet condensed milk and cherries are brightened by lemon juice, vanilla rounds out the dairy richness, and the graham crust contributes a lightly toasted, buttery note.
If you enjoy chilled desserts that require very little effort, you may also like these easy no-bake pumpkin pie ideas for another simple refrigerator dessert.
Ingredients You’ll Need
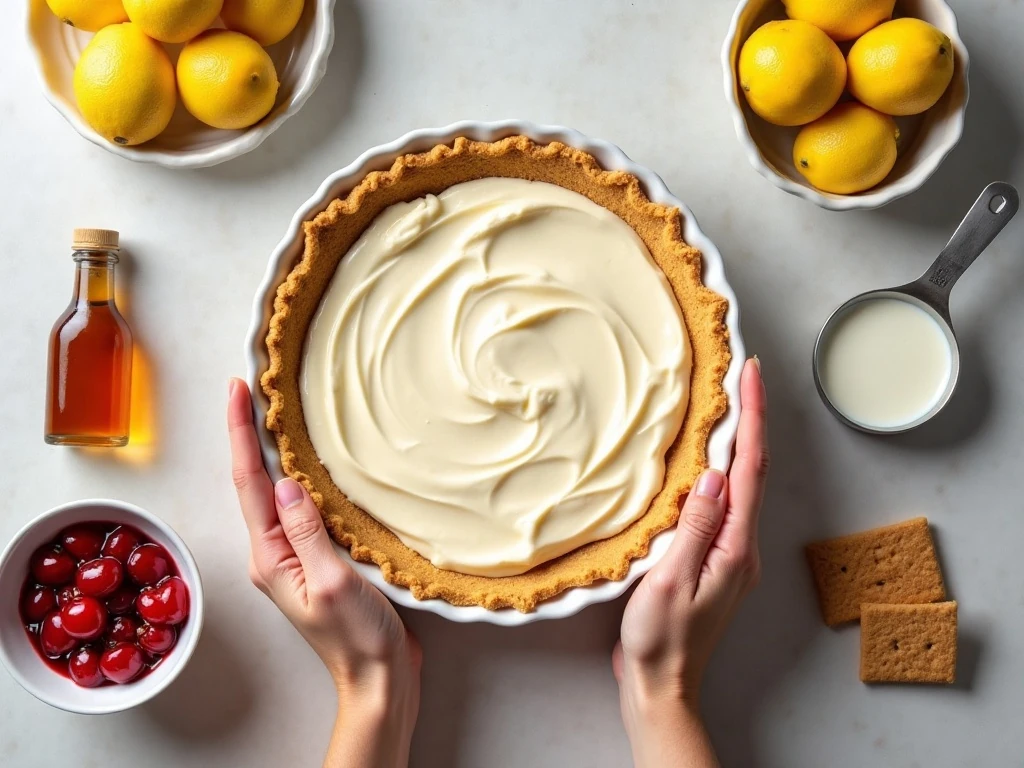
The ingredient list is short, but each item has a clear purpose. Have everything measured before mixing so the filling comes together quickly and stays smooth.
- Prepared graham-cracker crust: A 9-inch crust provides the crisp base and sturdy sides for about eight servings.
- Full-fat cream cheese: Use one 8-ounce package and let it soften to room temperature. This is the key to a creamy, lump-free filling.
- Sweetened condensed milk: One 14-ounce can supplies sweetness and body. Do not confuse it with evaporated milk, which is unsweetened and has a different consistency.
- Fresh lemon juice: The 1/3 cup adds a bright, tangy flavor and acidity that helps the filling thicken and set.
- Vanilla extract: One teaspoon adds warmth and makes the cheesecake flavor taste more complete.
- Cherry pie filling: A 21-ounce can creates the glossy fruit topping and brings the signature cherry flavor.
For more chilled dessert inspiration, these mini no-bake key lime pies use the same appealing combination of creamy filling and bright citrus flavor.
How to Make It Step-by-Step
Step 1: Soften the cream cheese.
Set the cream cheese on the counter until it reaches room temperature. This usually takes the longest part of the active preparation, and it prevents cold pieces from remaining in the finished filling.
Step 2: Beat the cream cheese until smooth.
Place the softened cream cheese in a mixing bowl and beat it until it looks light and creamy. Pause to scrape the bowl, especially around the bottom and sides, so no firm pockets remain.
Step 3: Add the condensed milk gradually.
Pour in the sweetened condensed milk in a slow stream while beating continuously. Adding it gradually helps the cream cheese absorb the liquid evenly and produces a silky mixture instead of a thin, uneven batter.
Step 4: Mix in the lemon juice and vanilla.
Add the fresh lemon juice and vanilla extract, then mix just until combined. The lemon juice gives the filling its pleasant tang and supplies the acidity that helps it thicken during chilling.
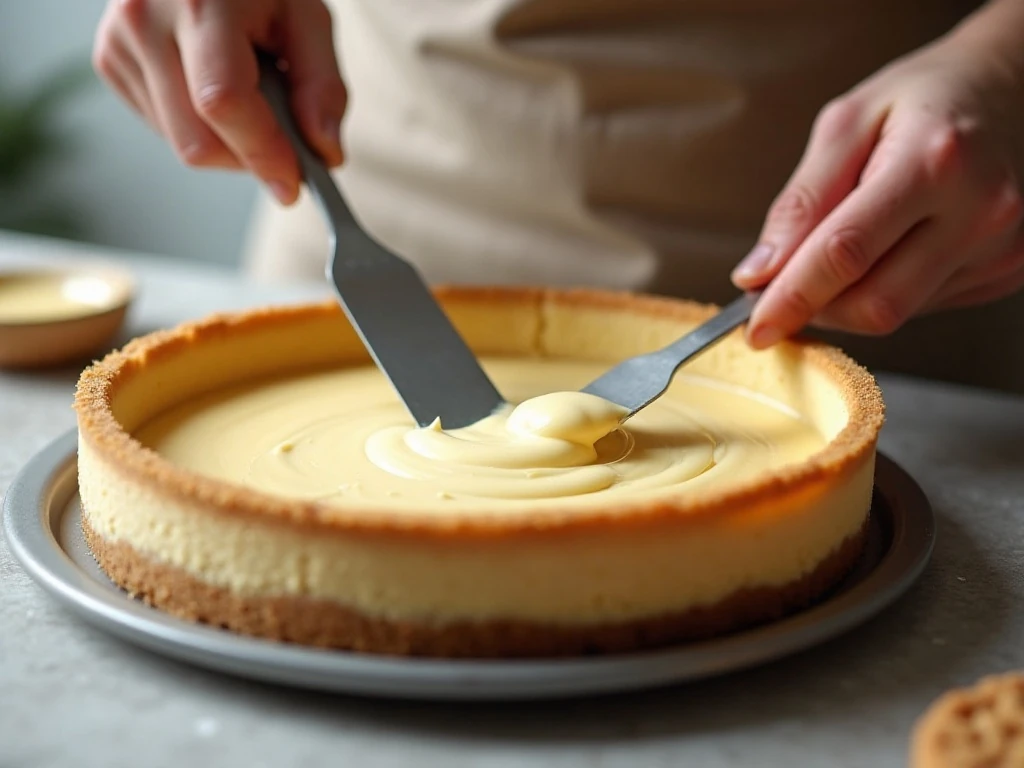
Step 5: Fill the crust.
Pour the cheesecake mixture into the prepared 9-inch graham-cracker crust. Use a spatula to smooth the surface, taking care not to disturb the crust along the sides.
Step 6: Chill until firm.
Place the pie in the refrigerator for at least 3 hours, or until the center is firmly set. If your schedule allows, chilling overnight gives the filling even more time to firm and makes slicing easier.
Step 7: Add the cherries and serve.
Spoon the cherry pie filling over the thoroughly chilled pie just before serving. Cut the pie with a sharp warmed knife, wiping the blade between slices for tidy layers.
Pro Tips for a Smooth, Firm Filling
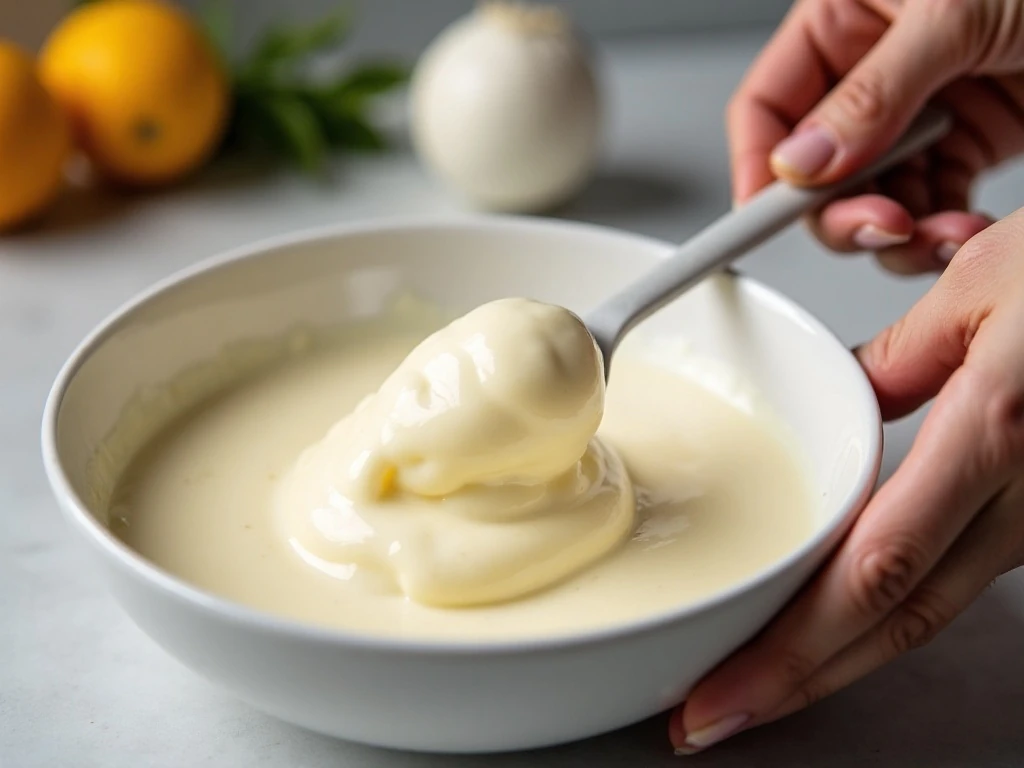
Room-temperature, full-fat cream cheese is the most important preparation detail. If it is cold, the mixer may leave small lumps that are difficult to remove once the condensed milk has been added.
Beat the cream cheese first, before adding any liquid. Starting with a smooth base gives the condensed milk a better chance to blend evenly and keeps the finished texture velvety.
Use fresh lemon juice for the cleanest flavor. Measure the full 1/3 cup carefully, since the lemon contributes both the recipe’s bright taste and part of the setting action.
Do not rush the refrigerator time. The pie may look thick before chilling, but it needs at least 3 hours to become firm enough for clean slices.
- For the neatest presentation, add the cherry topping after the cheesecake layer has chilled.
- For convenience, the cherries may be spooned over the filling before chilling; both approaches work.
- Warm and wipe the knife between cuts to keep the graham crust from dragging through the filling.
- Keep the pie cold until it is ready to serve.
For a different rich and chilled option, try these almost no-bake mud pie flavors when chocolate is calling.
Serving Ideas and Variations
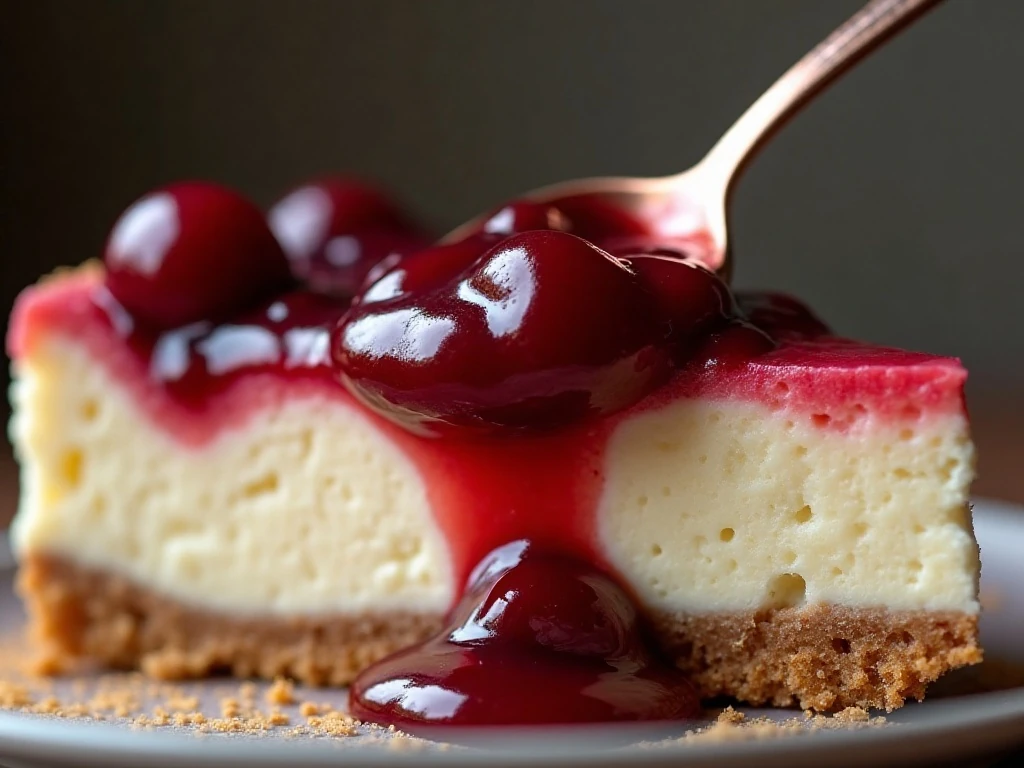
This cherry cheesecake pie is beautiful served as-is, with the red fruit topping creating a striking contrast against the pale filling. Present it on a cake stand or slice it directly from the pie plate for a relaxed family dessert.
For a lighter, mousse-like texture, fold 1 cup of whipped topping into the prepared filling before spreading it into the crust. This is a published variation, but it changes the classic condensed-milk version, making the texture airier and less dense.
You can also vary the occasion rather than the recipe. Serve small slices after a large meal, or offer generous wedges at a picnic where a make-ahead refrigerator dessert is especially welcome.
Fans of creamy individual desserts can pair this pie with no-bake pudding parfaits for a dessert table with different textures and serving styles. Another family-friendly idea is to serve it alongside mini banana cream pies for a cheerful assortment of no-bake treats.
Storage and Make-Ahead Advice
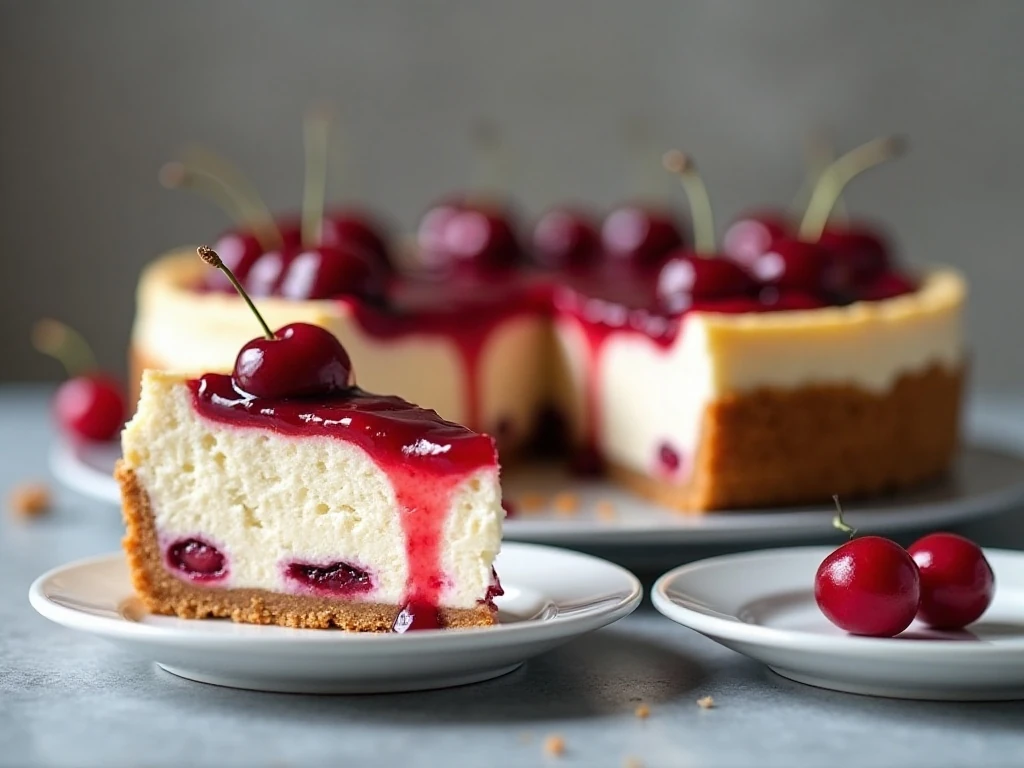
Refrigerate the finished pie until serving and keep leftovers chilled. Cover it carefully so the cheesecake does not absorb strong refrigerator odors and the cherry topping stays fresh-looking.
The pie is an excellent make-ahead dessert because it needs at least 3 hours to set and benefits from an overnight chill. If preparing it a day ahead, add the cherry pie filling shortly before serving for the cleanest surface.
When storing slices, place them in a covered container or cover the pie plate without pressing plastic wrap onto the topping. Use a sharp knife warmed and wiped between cuts whenever you serve additional portions.
Because this is a no-bake refrigerator pie, it does not need reheating. Serve it cold, when the filling is at its firmest and the contrast between the creamy center, crisp crust, and fruit topping is most enjoyable.
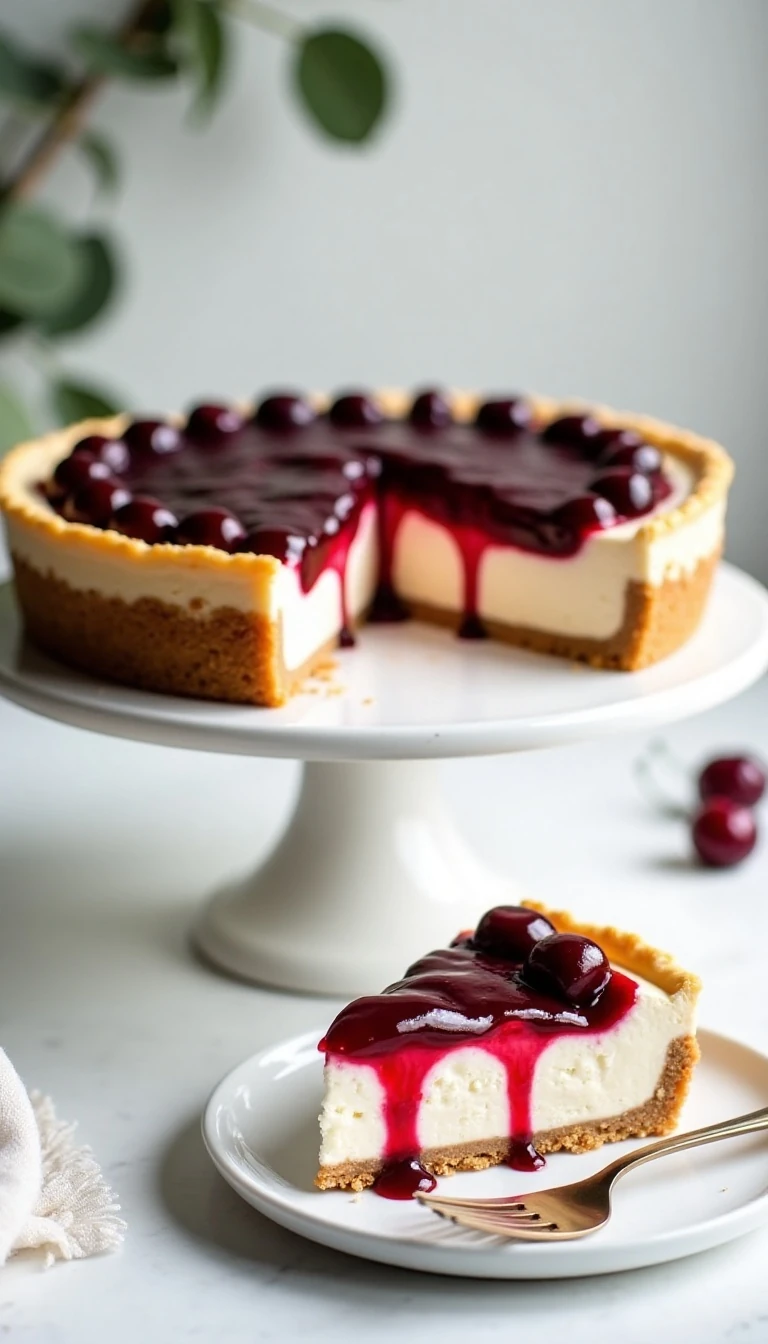
No-Bake Cherry Cheesecake Pie
Ingredients
Method
- Let the cream cheese come fully to room temperature. Beat it in a mixing bowl until light, smooth, and free of visible lumps.
- Gradually add the sweetened condensed milk while continuing to beat. Scrape the sides of the bowl as needed and mix until the filling is creamy and completely incorporated.
- Add the fresh lemon juice and vanilla extract. Beat just until the mixture is smooth; the acidity from the lemon juice helps the filling thicken and set.
- Pour the cheesecake mixture into the prepared graham-cracker crust. Smooth the top with a spatula or the back of a spoon.
- Refrigerate the uncovered pie for at least 3 hours, or preferably overnight, until firmly set.
- Spoon the cherry pie filling over the chilled cheesecake just before serving. Spread it gently toward the edges without pressing down on the creamy layer.
- Slice with a sharp knife warmed under hot water and wiped dry between cuts. Serve cold for the cleanest slices and best texture.
Notes
Final Thoughts
No-bake cherry cheesecake pie earns its place in every dessert recipe collection because it is simple, familiar, and wonderfully satisfying. With just a handful of ingredients and 10 to 15 minutes of active preparation, you can create a creamy pie that looks festive enough for a celebration.
Remember the essentials: soften the full-fat cream cheese, add the condensed milk gradually, use fresh lemon juice, and allow at least 3 hours for chilling. Add the cherries after the pie sets when you want especially clean layers and polished slices.
Make it for a holiday table, a summer gathering, or an ordinary weeknight when everyone deserves dessert. Once you taste the creamy lemon-vanilla filling with the bright cherry topping and crisp graham crust, this easy pie is likely to become a regular request.