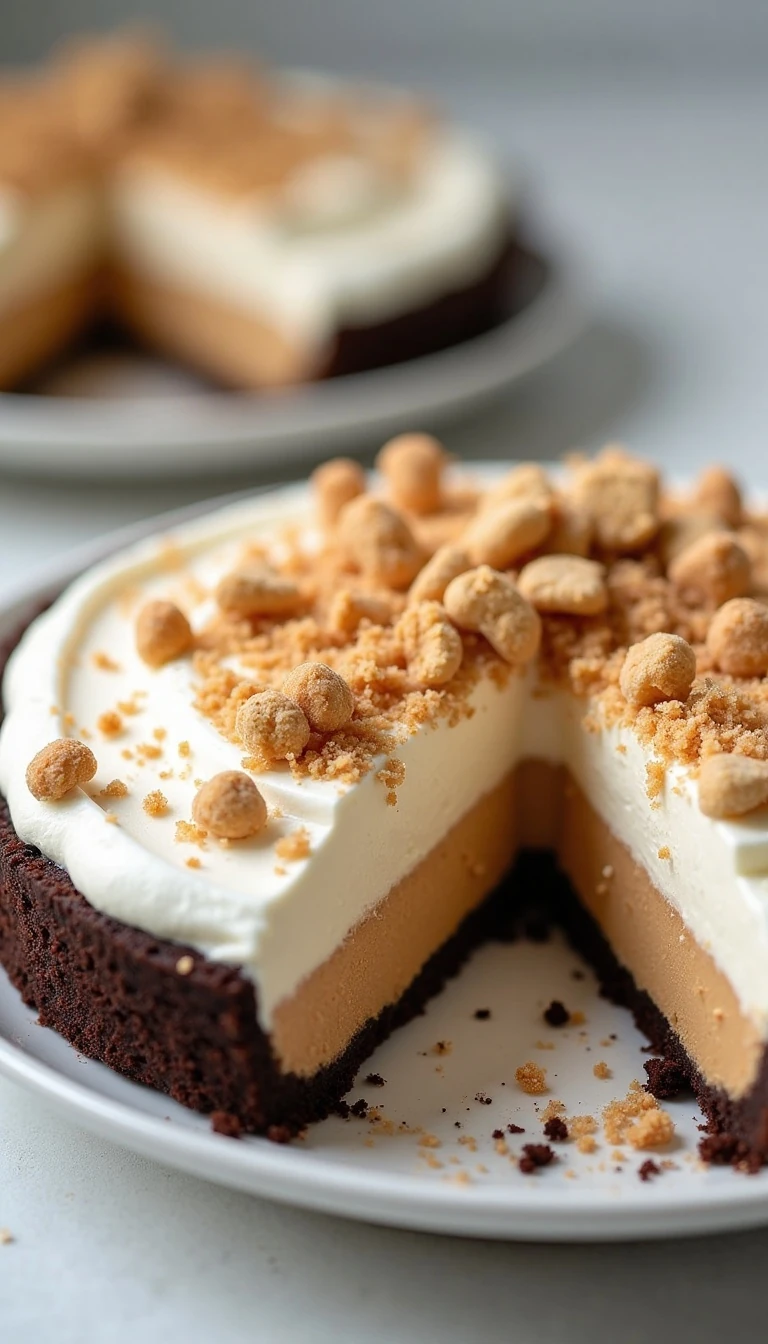
This Easy No-Bake Butterfinger Cream Pie is a rich, creamy dessert made with a prepared chocolate cookie crust, softened cream cheese, creamy peanut butter, confectioners’ sugar, whipped topping, and crushed Butterfinger bars. It takes only 15 to 20 minutes to assemble, requires no oven, and needs at least 4 hours in the refrigerator to become firm enough to slice.
Every bite combines silky peanut butter cream, chocolate cookie crunch, and crisp, caramelized Butterfinger pieces. The chilled texture makes it especially refreshing for holidays, potlucks, birthdays, or any time you need an impressive dessert without turning on the oven.
Jump to RecipeWhy You’ll Love This Recipe
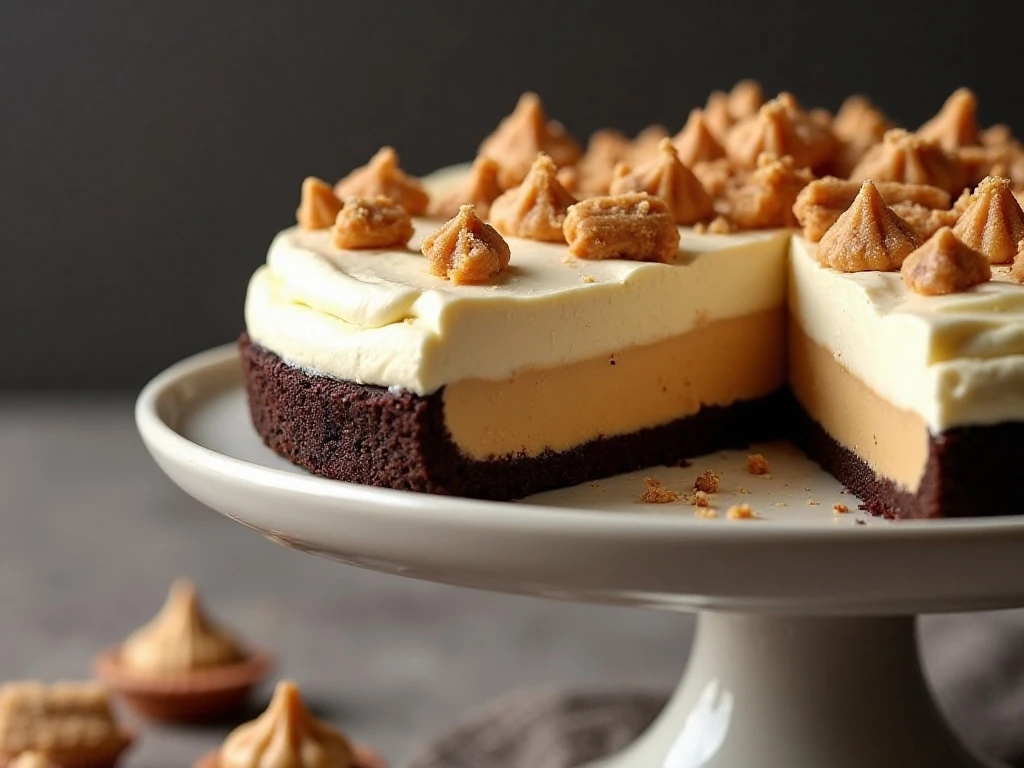
This pie is the answer when you want a homemade dessert that looks special but takes very little effort. There is no pastry to roll, no filling to cook, and no oven required, so the entire recipe comes together with a mixer, a spatula, and a refrigerator.
The flavor is wonderfully familiar: chocolate, peanut butter, and Butterfinger candy in one cool, creamy slice. Cream cheese gives the filling a subtle tang that keeps the sweetness balanced, while whipped topping creates a soft, airy texture instead of a dense peanut butter fudge consistency.
It is also an excellent make-ahead dessert. Prepare it the evening before serving, let it chill overnight, and simply slice and garnish when you are ready to bring it to the table.
If you enjoy chilled cream pies, you may also want to try this fruity no-bake pie for a bright change of pace.
Ingredients You’ll Need
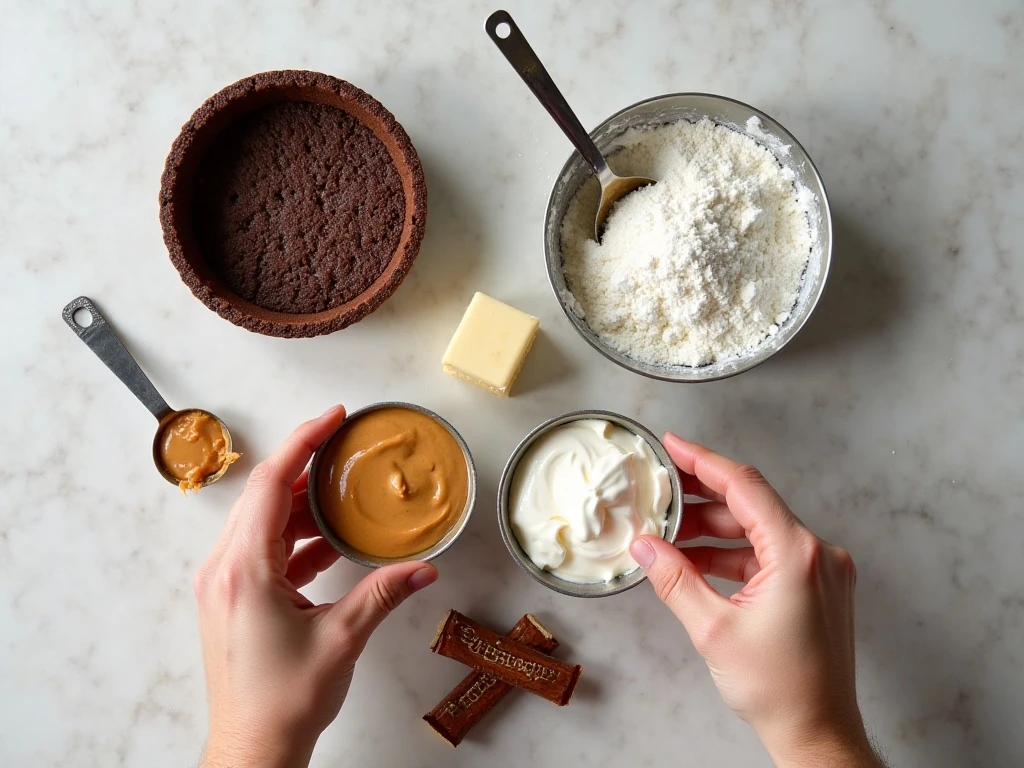
The ingredient list is short, but each item contributes an important part of the finished pie. Use the specified quantities for a filling that is creamy, stable, and easy to slice after chilling.
- Chocolate cookie crumb crust: A prepared 9-inch crust, about 6 ounces, provides a crisp chocolate base and saves time. Keep it refrigerated until you are ready to fill it.
- Cream cheese: Use one 8-ounce package and allow it to soften before mixing. Soft cream cheese blends smoothly and prevents small lumps in the filling.
- Creamy peanut butter: One cup gives the pie its deep peanut flavor and plush texture. A smooth variety is best for an even filling.
- Confectioners’ sugar: One cup sweetens the cream cheese and peanut butter while dissolving more easily than granulated sugar.
- Frozen whipped topping: One thawed 8-ounce container lightens the mixture and helps create the classic no-bake pie texture.
- Butterfinger candy bars: Crush 5 to 6 fun-size bars, saving a little for the topping. Aim for a mixture of crumbs and small chunks so every serving has crisp candy texture.
A graham-cracker crust can replace the chocolate crust if that is what you have available, although the chocolate version is the classic pairing. For another creamy dessert idea, keep our lemonade cream cheese pie in your recipe collection.
How to Make It Step-by-Step
Step 1: Soften the cream cheese and thaw the whipped topping.
Remove the cream cheese from the refrigerator early enough for it to soften, and thaw the whipped topping in the refrigerator according to the package directions. The cream cheese should be soft enough for a mixer to press through easily, but it should not be warm or melted.
Step 2: Beat the cream cheese and peanut butter together.
Place the softened cream cheese and creamy peanut butter in a large mixing bowl. Beat them together until the mixture is smooth and evenly blended, scraping down the sides of the bowl as needed so no pockets of cream cheese remain.
Step 3: Add the confectioners’ sugar.
Beat in the confectioners’ sugar until it is fully incorporated and the filling looks creamy. Add it gradually if you prefer to reduce a cloud of sugar, and pause once or twice to scrape the bowl for an even mixture.
Step 4: Fold in the whipped topping.
Add the thawed whipped topping and fold it in gently with a flexible spatula. Use broad strokes from the bottom of the bowl upward, stopping as soon as the white streaks disappear; vigorous stirring can deflate the airy topping.
Step 5: Fold in the crushed Butterfinger pieces.
Reserve a small handful of candy for the garnish, then fold most of the crushed Butterfinger into the filling. Mix just enough to distribute the pieces throughout, keeping some larger chunks intact for the characteristic crisp bite.
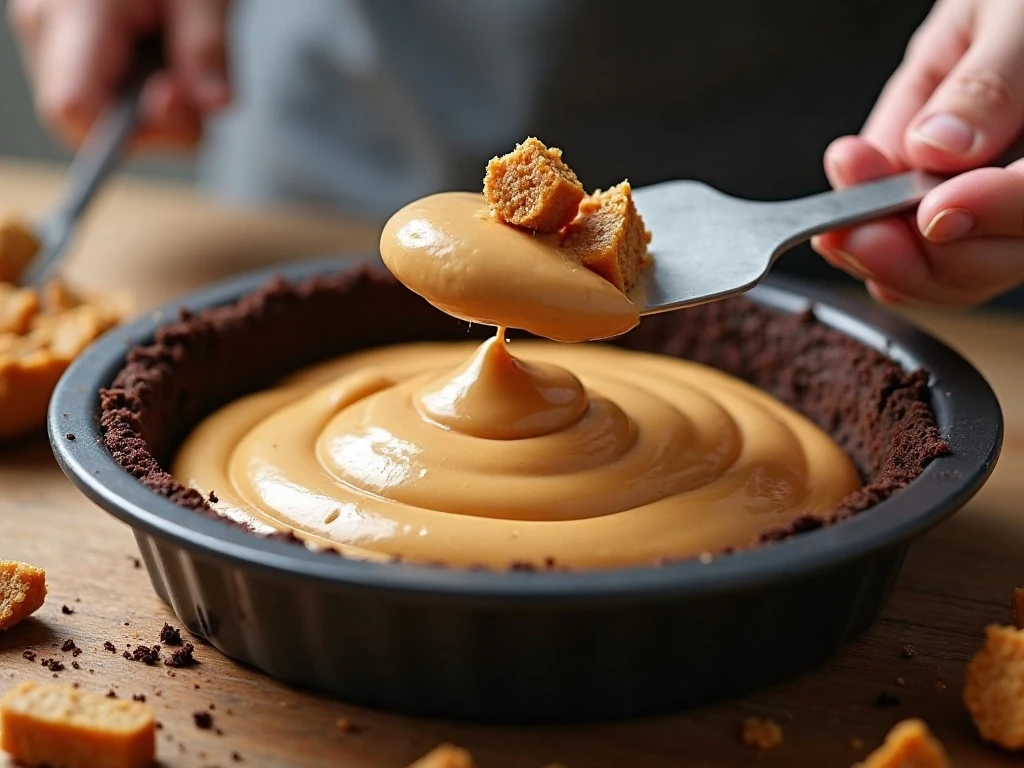
Step 6: Fill the chocolate cookie crust.
Spoon the peanut butter mixture into the prepared 9-inch chocolate cookie crust. Use the back of a spoon or an offset spatula to smooth the top, working gently so the crust stays intact.
Step 7: Garnish and chill.
Sprinkle the reserved Butterfinger pieces over the surface, then cover the pie carefully. Refrigerate it for at least 4 hours, or preferably overnight, until the filling is firm enough to slice cleanly.
Step 8: Slice and serve.
For tidy wedges, use a sharp knife and wipe the blade between cuts. Add whipped cream or a few extra candy crumbs just before serving if desired.
Pro Tips for the Creamiest Pie
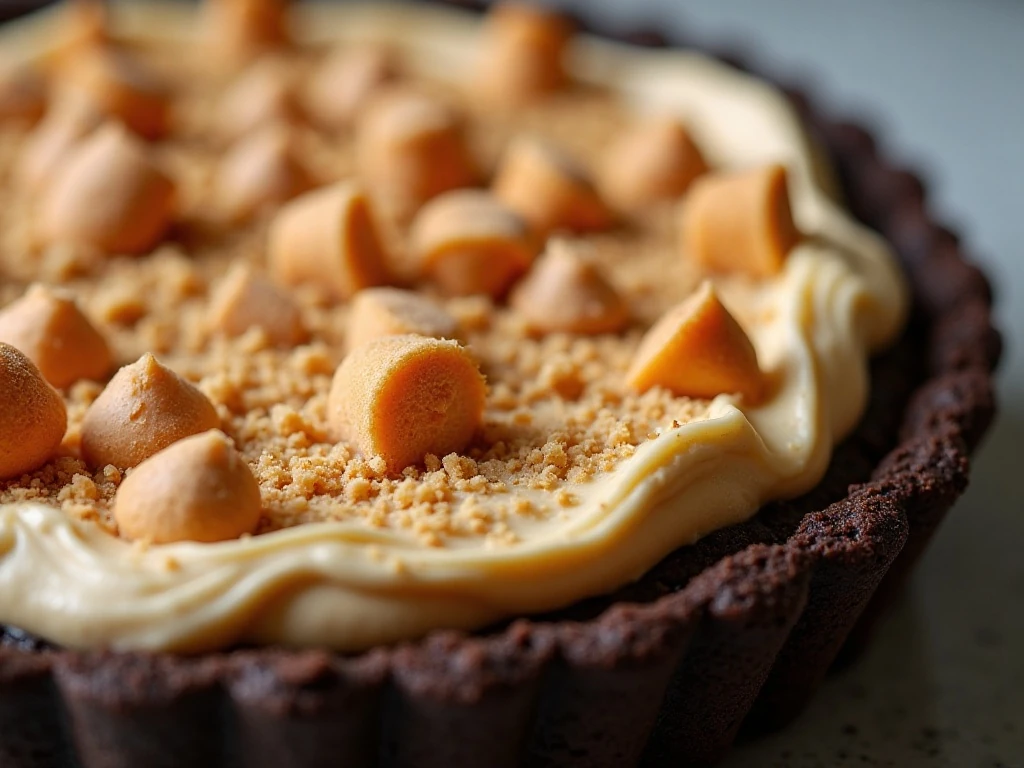
Temperature and mixing technique make the biggest difference in this easy recipe. If the cream cheese is still firm, beat it by itself first until smooth before adding the peanut butter and sugar.
- Do not rush the chill: Four hours is the minimum setting time, not a suggestion to skip. Overnight chilling gives the filling a firmer structure and produces cleaner slices.
- Protect the crunch: Crush the Butterfinger bars into a combination of small crumbs and larger pieces. Completely pulverized candy disappears into the filling, while varied pieces provide a more enjoyable texture.
- Fold with care: Once the whipped topping goes into the bowl, switch from vigorous beating to gentle folding. This keeps the filling light and spoonable.
- Keep the crust cold: A chilled crust is easier to fill and less likely to soften while you are spreading the mixture.
- Make the top attractive: Reserve the brightest, largest candy pieces for the garnish. A few carefully scattered chunks make the pie look abundant without covering every inch.
The standard formula uses one cup each of peanut butter and confectioners’ sugar. Some versions use one-half cup of each for a lighter filling, and about one teaspoon of vanilla extract may be added, but neither change is essential to this recipe.
For another comforting dessert that needs no oven, take a look at this chocolate pudding cake when planning a dessert table.
Serving Suggestions
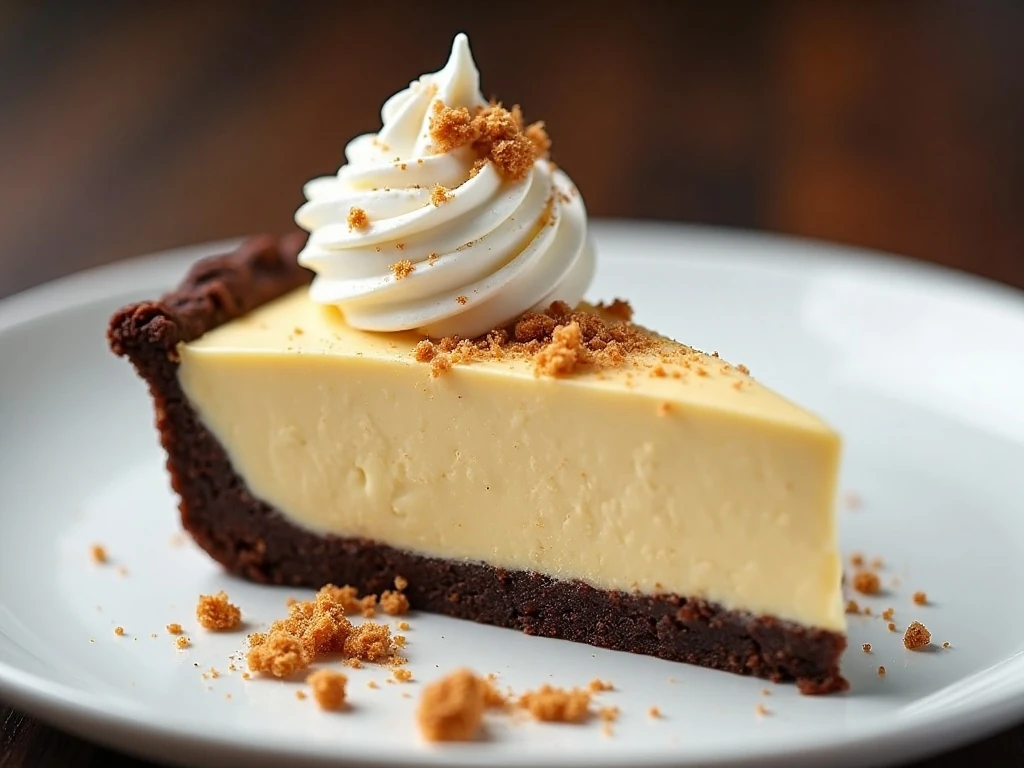
Serve the pie cold, straight from the refrigerator, when the filling is at its firmest. The chocolate crust should offer a little resistance beneath the creamy center, while the Butterfinger pieces provide a crisp contrast.
A small spoonful of whipped cream on each slice makes the dessert feel extra festive. You can also finish each portion with a few additional candy crumbs, though add them close to serving time so they remain crisp.
This pie is rich, so eight servings offer a satisfying portion without being overwhelming. It pairs beautifully with coffee, cold milk, or a simple cup of tea after dinner.
Although this is a dessert article, a menu-planning day may also call for something savory. Our chicken wild rice soup is a cozy option for the main course before this chilled pie.
Storage and Make-Ahead Advice
Cover the finished pie and keep it refrigerated until serving. The refrigerator is important because the cream cheese and whipped topping filling softens when left at room temperature for too long.
Making the pie the day before serving is encouraged. Overnight chilling gives the filling additional time to set and allows the peanut butter flavor to settle into the cream cheese mixture.
For the freshest candy texture, reserve some Butterfinger pieces for a last-minute garnish rather than placing every piece on the pie before chilling. Slice only what you plan to serve, then return the remaining covered pie to the refrigerator.
If you are serving several desserts, this pie can be the rich, candy-filled centerpiece while a fruit-based pie provides contrast. An apple cream cheese Danish is another inviting choice for a brunch-style spread.
Easy No-Bake Butterfinger Cream Pie
Ingredients
Method
- Soften the cream cheese and thaw the whipped topping in the refrigerator. Beat the cream cheese and peanut butter until smooth, then beat in the confectioners’ sugar until creamy.
- Gently fold in the thawed whipped topping so the mixture stays light. Fold in most of the crushed Butterfinger pieces, reserving a little for the top.
- Spoon the filling into the prepared chocolate cookie crust and smooth the surface. Sprinkle with the reserved candy pieces, cover, and refrigerate for at least 4 hours or preferably overnight.
Notes
Final Thoughts
This Easy No-Bake Butterfinger Cream Pie delivers maximum dessert appeal with a wonderfully manageable method. The prepared chocolate crust keeps prep quick, the cream cheese and peanut butter create a smooth, rich filling, and the whipped topping makes every bite light enough to enjoy.
Give the pie the full four-hour chill, or prepare it the night before for the cleanest slices. Finish with reserved Butterfinger pieces and optional whipped cream, then serve cold for a dessert that tastes like a favorite candy bar transformed into a creamy celebration pie.
Once you make it, keep the simple formula in mind for busy holidays and warm-weather gatherings. It is a reliable treat for peanut butter lovers, and its crunchy candy topping makes it look as inviting as it tastes.
6 thoughts on “Easy No-Bake Butterfinger Cream Pie Recipe”