Creamy white bean dip is one of the easiest appetizers for entertaining because it comes together in about 10 minutes with no cooking required. Blend two cans of rinsed cannellini beans with extra-virgin olive oil, lemon juice, garlic, salt, pepper, and fresh herbs, then adjust the texture with cold water until smooth and spreadable.
The finished dip is silky, bright, savory, and gently garlicky, with a mellow bean flavor that pairs beautifully with toasted pita, crostini, crackers, and fresh vegetables. Make it a little ahead when possible so the lemon, garlic, and herbs have 15–30 minutes to settle into a balanced, delicious bite.
Jump to RecipeWhy You’ll Love This Recipe

This creamy white bean dip is a dependable appetizer for busy hosts because it requires no stove, oven, or complicated preparation. Open the cans, add the ingredients to a processor, blend, and place the bowl on the table.
Cannellini beans have a tender, naturally creamy interior that blends into a luxurious texture without dairy. Olive oil adds fruity richness, while lemon juice keeps the dip fresh instead of heavy.
The recipe is also wonderfully flexible. Serve it as an appetizer, spread it inside a sandwich, spoon it beside roasted vegetables, or use it as a quick snack when you want something satisfying and savory.
For a sweet finish after your appetizer spread, you can pair the meal with this creamy fruit salad for a colorful contrast.
Ingredients You’ll Need
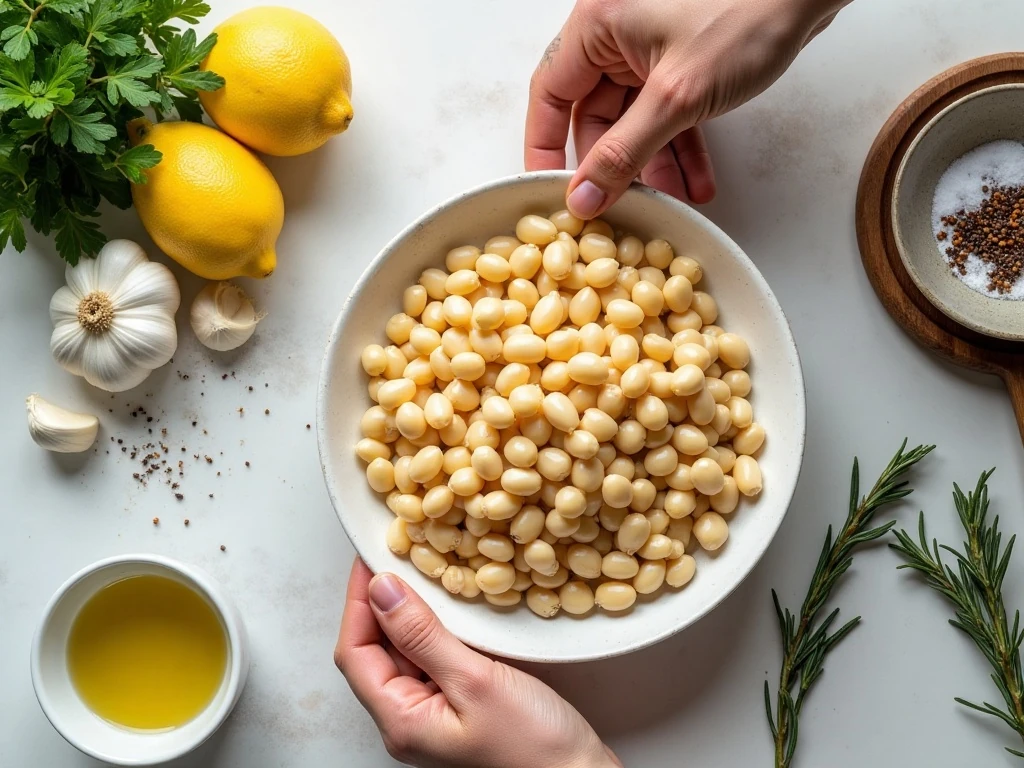
The ingredient list is short, but each item contributes an important part of the final flavor. Choose good-quality olive oil because its taste remains noticeable in a no-cook dip.
- White beans: Two 15-ounce cans of cannellini beans provide the creamiest result, though other white beans are suitable.
- Olive oil: One-quarter cup creates a smooth, rich texture, with extra reserved for the serving swirl.
- Lemon and garlic: Two tablespoons of fresh lemon juice bring acidity, while one roughly chopped garlic clove adds savory bite.
- Seasonings: Kosher salt, black pepper, and one tablespoon of fresh rosemary or parsley give the dip its foundation.
- Cold water: Two to four tablespoons may be needed to reach a soft, spreadable consistency.
If you want a more Mediterranean-style variation, add one-quarter teaspoon of ground cumin, a pinch of red-pepper flakes, or grated lemon zest. Use one optional flavoring or combine them lightly so the white bean flavor remains the star.
How to Make It Step-by-Step
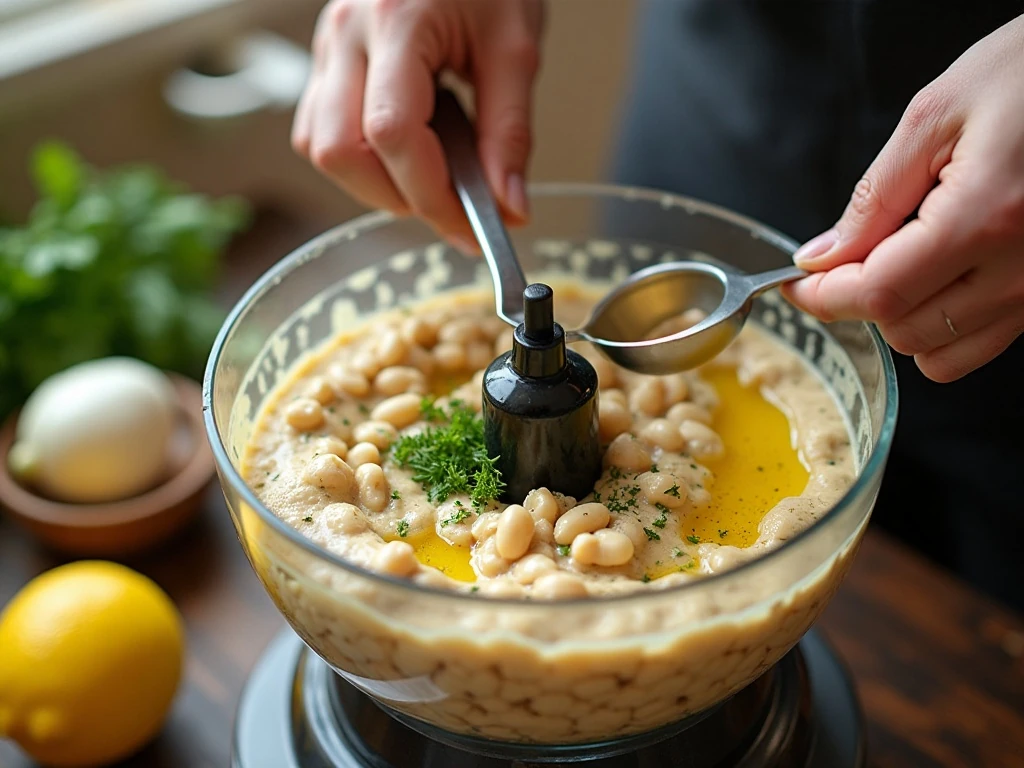
Step 1: Drain the beans into a colander and rinse them thoroughly under cool running water. Rinsing removes excess canning liquid and helps reduce the metallic flavor that some canned beans carry.
Step 2: Let the beans drain for a moment, then pat them lightly with a clean towel if they are especially wet. They do not need to be perfectly dry, but removing excess liquid gives you better control over the final consistency.
Step 3: Add the beans, one-quarter cup olive oil, lemon juice, chopped garlic, kosher salt, black pepper, and fresh herbs to a food processor or high-powered blender. Keep the ingredients close at hand so you can adjust the dip while it is processing.
Step 4: Blend until the mixture begins to look smooth and creamy, pausing to scrape down the sides once or twice. This small pause helps every bean reach the blade and prevents seasoned oil or herbs from clinging to the bowl.
Step 5: Add cold water one tablespoon at a time while blending. Stop as soon as the dip has a soft, spreadable texture; adding all the water at once can make it thinner than intended.
Step 6: Taste the finished dip with a clean spoon and adjust the seasoning. Add more salt for definition, lemon juice for brightness, or a small drizzle of olive oil for extra richness.
Step 7: Spoon the dip into a serving bowl and use the back of a spoon to create a shallow swirl. Drizzle with olive oil and add chopped herbs, lemon zest, or red-pepper flakes before arranging the dippers around it.
Pro Tips for the Creamiest Dip
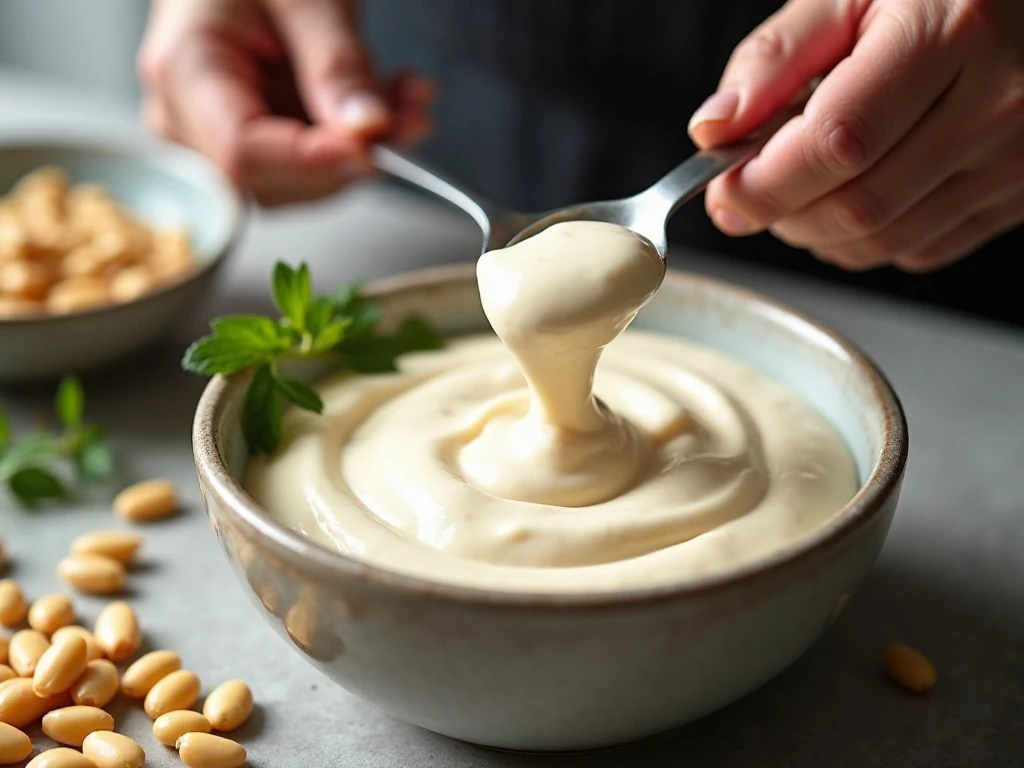
Use cannellini beans whenever you want the smoothest, most delicate texture. Their thin skins and tender centers blend especially well, while smaller white beans may produce a slightly thicker or more rustic dip.
Adding the oil and water gradually is essential. A slow addition lets the mixture become silky without turning oily, loose, or difficult to scoop.
Do not skip the tasting step. Beans vary in saltiness, lemons vary in acidity, and olive oils vary in intensity, so the final adjustment is what makes the dip taste complete.
Let the dip rest for 15–30 minutes before serving when your schedule allows. The garlic softens, the herbs become more noticeable, and the lemon flavor settles into the beans.
For another cozy dish to place on a casual family table, consider serving this easy fish sticks casserole after the appetizer course.
How to Serve White Bean Dip
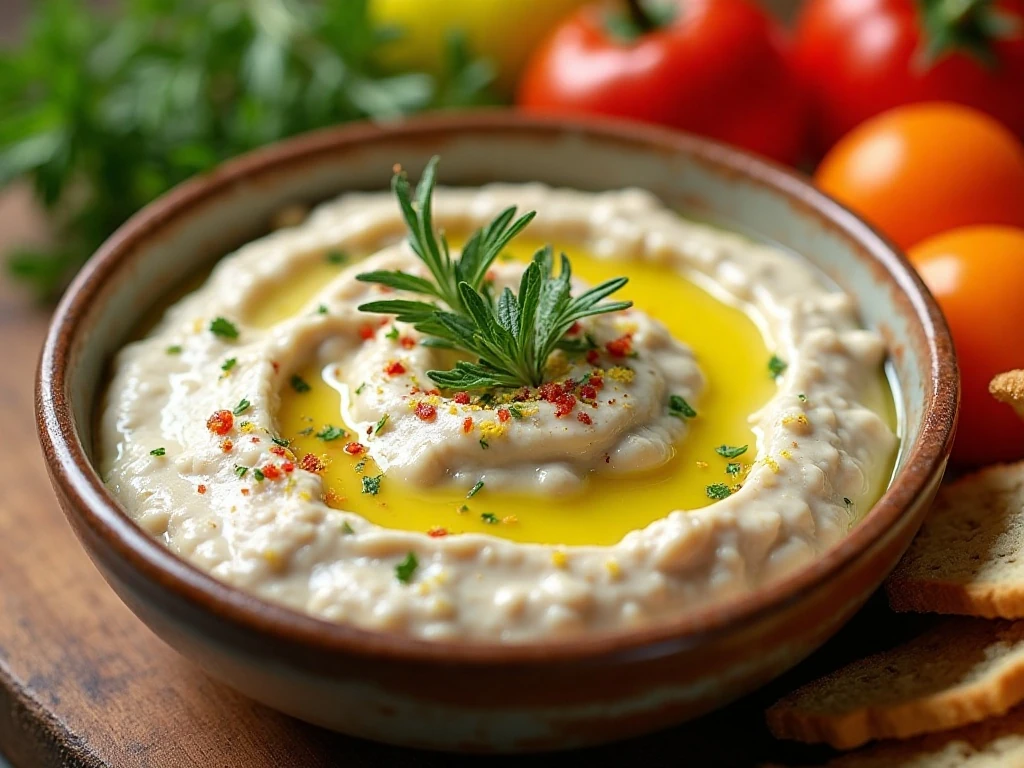
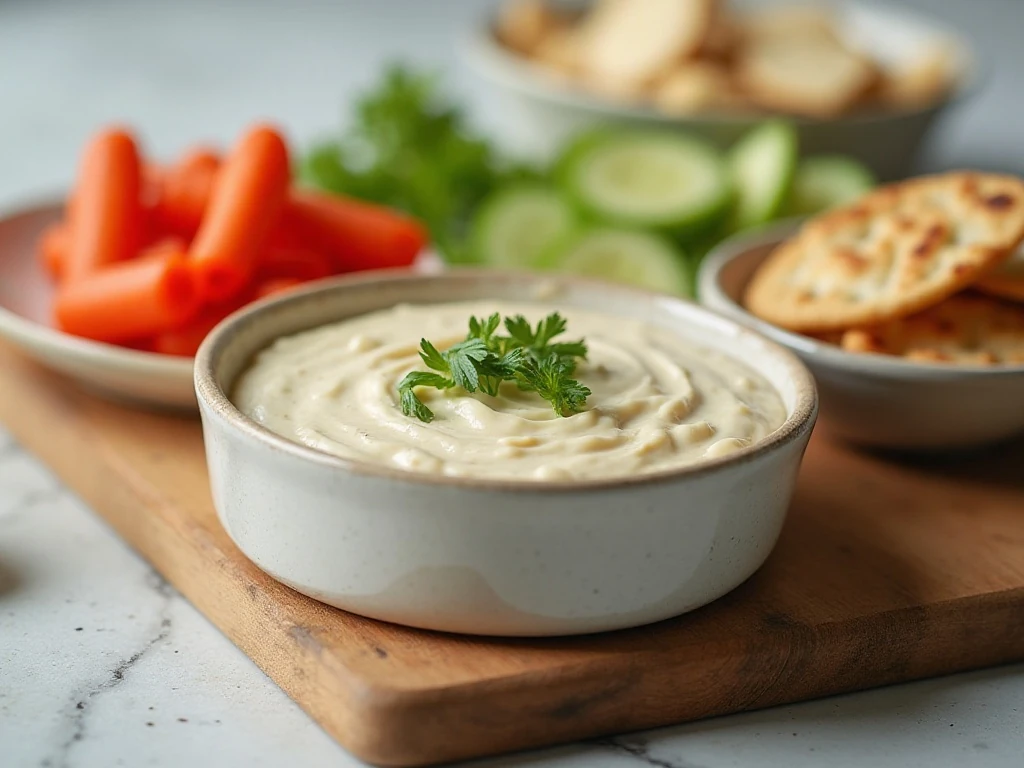
For easy entertaining, build a generous platter with several textures and colors. Place the dip in the center, drizzle the top with oil, and surround it with warm toasted pita wedges, crisp crostini, and sturdy crackers.
- Fresh vegetables such as cucumber, carrots, celery, radishes, and bell pepper strips
- Toasted pita triangles or lightly grilled flatbread
- Crostini brushed with olive oil
- Seeded crackers or crisp breadsticks
- Marinated olives, cherry tomatoes, or pickled vegetables
The mild flavor makes this dip friendly to many menus. Add red-pepper flakes for guests who enjoy heat, or keep the base gentle and place the spicy garnish on only one side of the bowl.
If you are planning a seasonal gathering, a dessert such as an easy pumpkin pie can follow this fresh, savory starter.
Storage and Make-Ahead Advice
Transfer leftovers to an airtight container and refrigerate them. Before serving again, stir the dip thoroughly because a little separation from the olive oil is normal.
The dip is especially useful for advance preparation because its flavor improves during a short rest. Prepare it earlier on the same day, cover it, and allow it to sit briefly at room temperature before serving so the texture is not overly cold and firm.
If the chilled dip seems thick, stir in a small amount of cold water or olive oil until it returns to a soft, spreadable consistency. Taste once more before putting it back on the platter.
For a fun crunchy treat alongside a party spread, try these easy peanut butter haystacks as a separate sweet snack.
Simple Variations to Try
Rosemary creates a woodsy, aromatic flavor that feels especially inviting in cooler weather, while parsley gives the dip a clean, fresh finish. You can also use a combination of both if you want herbal depth without a strong rosemary note.
Ground cumin adds warm earthiness, red-pepper flakes provide gentle heat, and lemon zest intensifies the citrus aroma. Add optional ingredients in small amounts, blend briefly, and taste before adding more.
For a more rustic appetizer, process the beans for less time and leave a little texture. For a smooth restaurant-style dip, blend longer and use the cold water sparingly until the surface looks glossy and creamy.
Keep the garnish simple so the dip remains the focus. A few herbs, a bright ribbon of olive oil, and a touch of zest are enough to make the bowl look party-ready.
When your gathering calls for a festive sweet bite, these churro cheesecake bars make a pleasing follow-up to the savory platter.

Creamy White Bean Dip for Easy Entertaining
Ingredients
Method
- Drain and rinse the beans thoroughly under cool running water. Pat them lightly dry if they are especially wet, which helps prevent the dip from becoming thin.
- Add the beans, olive oil, lemon juice, garlic, kosher salt, black pepper, and chopped rosemary or parsley to a food processor or high-powered blender.
- Process until mostly smooth, scraping down the sides once or twice. Add cold water 1 tablespoon at a time while blending until the dip is soft, silky, and easy to spread.
- Taste the dip and adjust with more salt, lemon juice, or olive oil as needed. Add cumin, red-pepper flakes, or lemon zest if desired.
- Transfer the dip to a serving bowl and swirl the surface with additional olive oil. Finish with fresh herbs, lemon zest, or red-pepper flakes, then serve with pita, crostini, crackers, or raw vegetables.
Notes
Final Thoughts
Creamy white bean dip is proof that an impressive entertaining recipe does not need a long ingredient list or a complicated cooking method. In about 10 minutes, canned beans become a smooth, lemony, garlicky dip with enough character for a party and enough versatility for everyday snacking.
Rinse the beans well, blend the olive oil and water gradually, and taste before serving. A short 15–30 minute rest gives the flavors time to balance, while a final olive oil swirl and fresh garnish make the bowl inviting.
Set out plenty of crunchy and fresh dippers, invite everyone to scoop generously, and keep this no-cook favorite in your entertaining rotation. It is simple, adaptable, and wonderfully easy to make ahead.