Mexican 7-Layer Dip Cups are an easy party appetizer made by baking 24 wonton wrappers or small flour-tortilla rounds in a mini-muffin pan, then filling each crisp shell with refried beans, sour cream, guacamole, salsa, cheese, tomato, and black olives. The shells bake in just 10–12 minutes, and the full recipe takes about 35 minutes from start to finish.
Every bite delivers creamy, tangy, savory, fresh, and lightly spicy flavor in a tidy individual serving. These colorful dip cups are ideal for game-day gatherings, potlucks, Cinco de Mayo celebrations, holiday parties, and any buffet where guests can grab a crisp cup without balancing a plate of chips.
Jump to RecipeWhy You’ll Love This Recipe
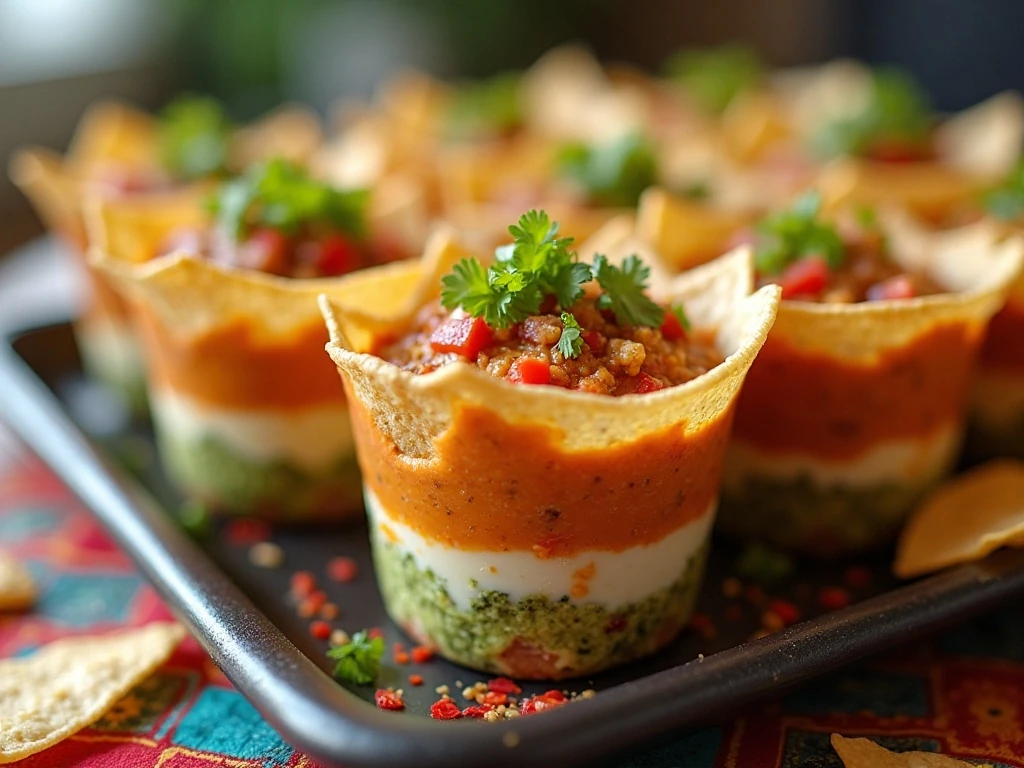
Classic seven-layer dip is beloved because it combines familiar party flavors in one scoopable appetizer. These individual cups keep that same contrast while putting every layer into a crisp, easy-to-hold shell.
The baked cups are sturdy enough for a buffet and much less messy than a large communal dish. Guests can simply pick one up, enjoy the full combination, and return for another without searching for the perfect chip-to-dip ratio.
There is also plenty of color on the serving platter. Creamy white sour cream, bright green guacamole, red salsa and tomato, golden cheese, and black olives make these cups look festive with very little decorating effort.
If you are building a larger snack table, pair them with a hearty party dish such as our beef Mexican trash casserole. The rich baked dish and fresh layered cups offer two different textures and temperatures.
Ingredients You’ll Need
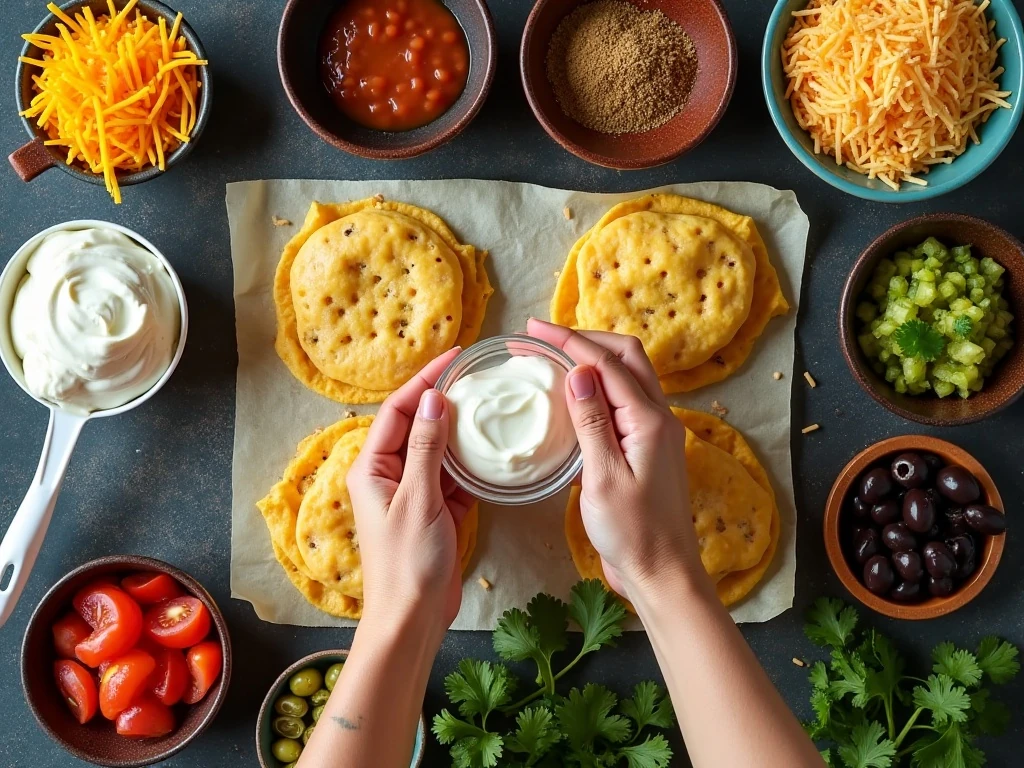
The recipe begins with 24 wonton wrappers or small flour-tortilla rounds. Wonton wrappers are especially convenient because they fit neatly into mini-muffin cups and bake into thin, crisp shells; tortilla rounds create a slightly more rustic cup with a toasted flour flavor.
- Refried beans: A 16-ounce can creates the savory, creamy foundation. Stir in 1 tablespoon of taco seasoning for gentle spice and extra flavor.
- Sour cream: This cool, tangy layer balances the seasoned beans and spicy salsa.
- Guacamole: Prepared guacamole keeps the recipe quick while adding creamy avocado flavor.
- Chunky salsa: Drain it slightly so the tomato and pepper flavor remains without excess liquid.
- Cheese: Use 1 1/2 cups of shredded cheddar or Mexican-blend cheese for a generous savory layer.
- Fresh toppings: Diced tomato and sliced black olives provide color, texture, and a salty finish.
For a richer creamy layer, combine 4 ounces of softened cream cheese with 3/4 cup sour cream instead of using 1 cup sour cream alone. This variation is thicker and especially useful when the cups need to sit briefly on a party table.
For a dessert pairing after the savory appetizers, keep our no-bake chocolate layer dessert chilled and ready to serve.
How to Make It Step-by-Step
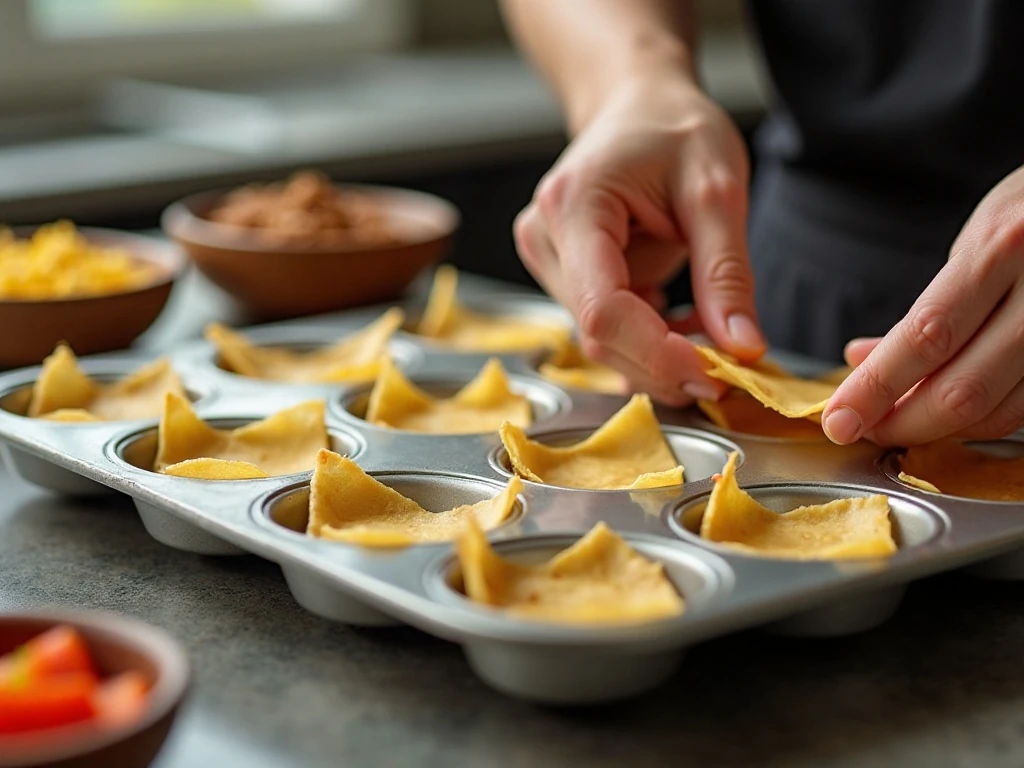
Step 1: Heat the oven to 350°F (175°C) and lightly spray a 24-cup mini-muffin pan. A well-coated pan helps the baked shells release neatly, while the small cups give each appetizer a consistent shape.
Step 2: Press one wonton wrapper or small flour-tortilla round into each muffin cup. Fold or pleat the edges gently rather than forcing the dough flat, since those folds create the little sides that hold the seven layers.
Step 3: Brush or mist the wrappers lightly with 1 tablespoon vegetable oil or olive oil. Use a light coating because too much oil can make the shells greasy rather than crisp.
Step 4: Bake for 10–12 minutes, watching closely near the end of the baking time. The shells are ready when the edges are lightly browned and the centers feel crisp, then they should cool completely in or near the pan.
Step 5: Stir 1 tablespoon taco seasoning into the 16-ounce can of refried beans. Add 1 tablespoon water only if the beans are too thick to spread or spoon into small portions.
Step 6: Spoon approximately 1 teaspoon of seasoned beans into each cooled shell. Follow with about 1 teaspoon sour cream, 1 teaspoon guacamole, and 1 teaspoon slightly drained salsa, keeping each layer small and even.
Step 7: Add approximately 1 tablespoon shredded cheese to each cup. Finish with a small pinch of diced tomato and black olives, then add optional green onion, cilantro, or pickled jalapenos before serving.
Building Even, Beautiful Layers
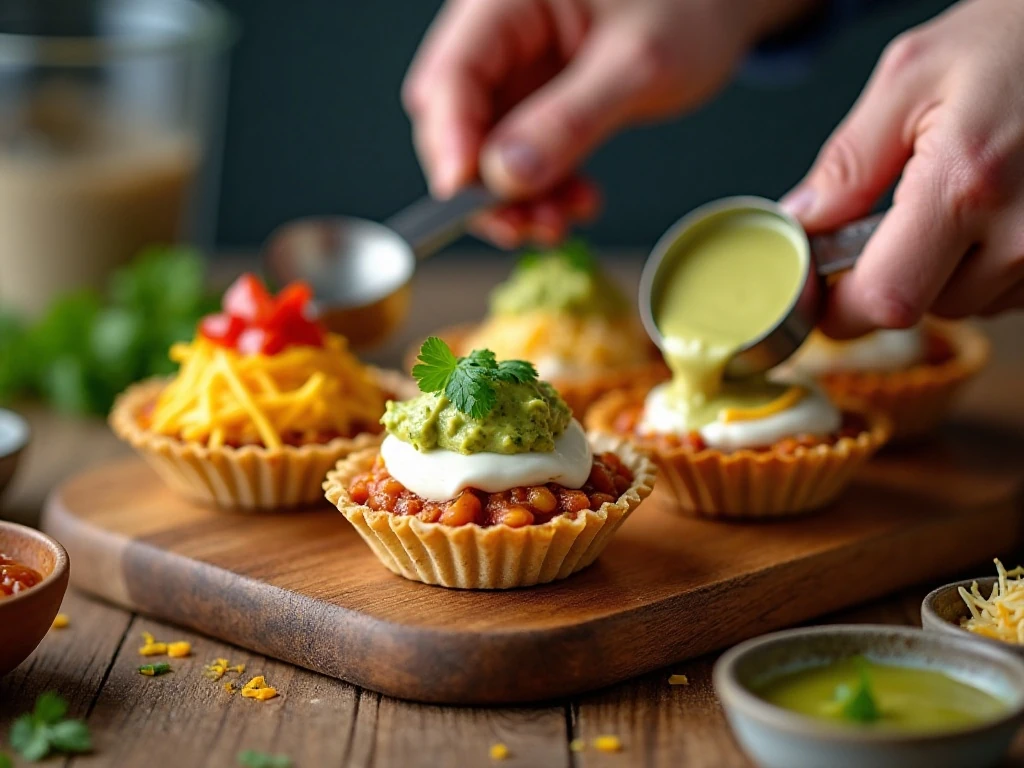
Individual cups are small, so portion control makes a noticeable difference. A teaspoon-sized base of each creamy or spoonable layer is enough to show the colors without causing the filling to spill over the rim.
Use a pair of small spoons, a piping bag, or a zip-top bag with one corner snipped for the sour cream and guacamole. Piping is particularly helpful when you want clean stripes of color or are assembling all 24 cups at once.
Drain salsa in a small strainer for a few minutes, and blot diced tomatoes with paper towel if they are very juicy. Moisture is the main cause of soggy individual dip cups, so this small preparation step protects the crisp shell.
For a party spread with a steakhouse-style appetizer, you can also serve easy steak frites alongside the dip cups. Keep the portions modest so the colorful cups remain the star of the snack table.
Pro Tips for Crisp Cups
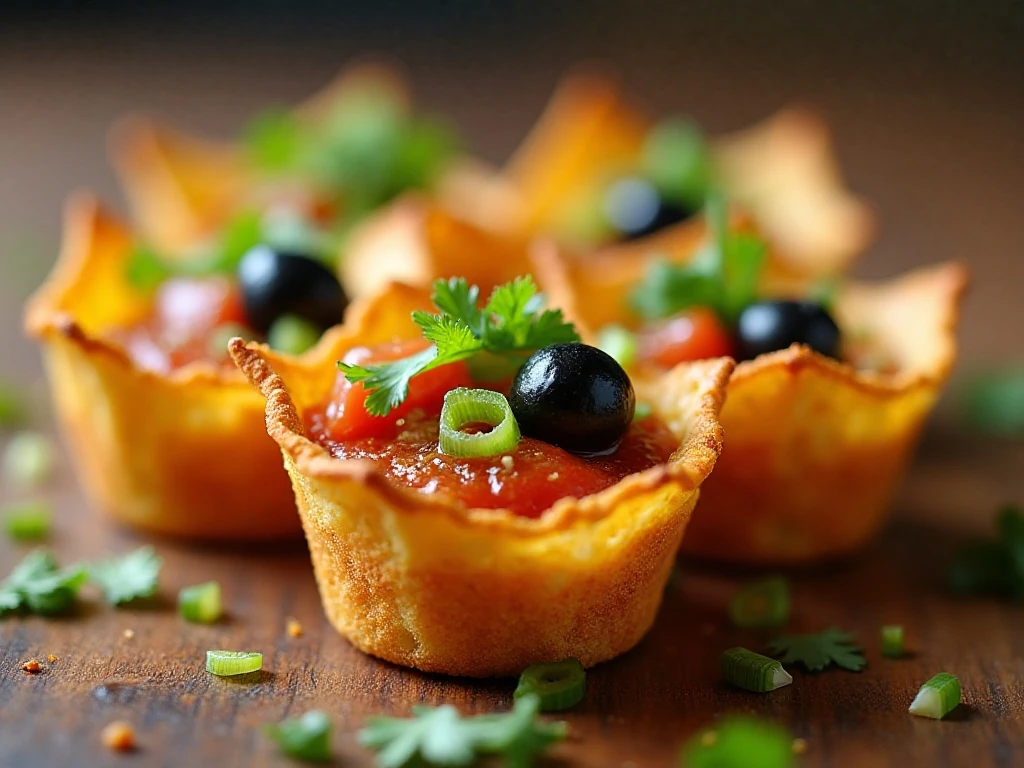
Let the shells cool completely before adding any filling. Warm shells create condensation under the layers, which can soften the bottoms before guests have a chance to enjoy them.
Do not overfill the cups with salsa or tomato. The suggested amount of about 1 teaspoon salsa and a small pinch of tomato per cup gives plenty of flavor while leaving room for cheese and olives.
- Bake the shells until lightly browned rather than pale; underbaked wrappers can lose their structure.
- Use chunky salsa with excess liquid drained away.
- Choose thick prepared guacamole when possible.
- Add lettuce only as a last-minute garnish because it can make the cups watery.
- Keep pickled jalapenos well drained before placing them on top.
If you prefer a no-bake shortcut, purchased tortilla scoop chips can replace the baked cups. Assemble them shortly before serving, since chips soften more quickly once they touch the bean, salsa, and guacamole layers.
For another avocado-inspired idea at brunch or on a breakfast buffet, try these avocado banana muffins. Their mild sweetness makes an interesting contrast to this savory appetizer.
Make-Ahead, Storage, and Serving
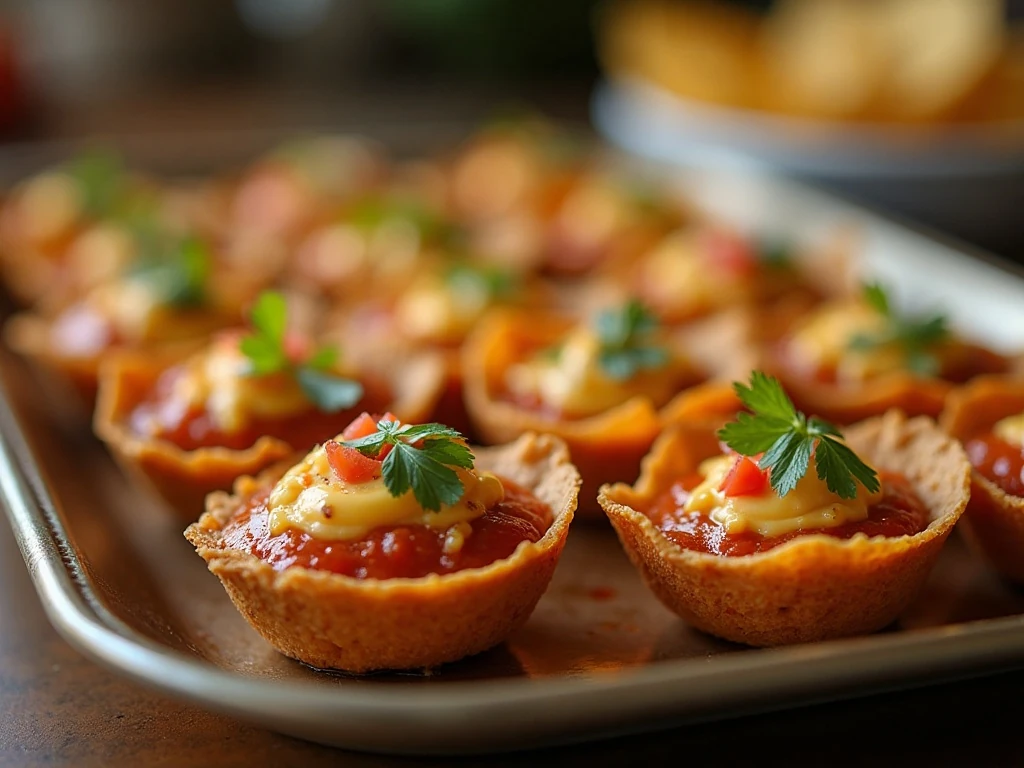
The shells can be baked several hours ahead and stored in an airtight container at room temperature. Do not refrigerate empty shells unless necessary, because refrigerator moisture can take away their crisp texture.
Prepare the beans, cheese, diced tomato, olives, and garnishes earlier in the day, then cover and chill any perishable ingredients separately. Assemble the cups as close to serving time as possible, especially when using guacamole and salsa.
These dip cups are best served at room temperature shortly after assembly. They are not designed for reheating because the sour cream, guacamole, and fresh toppings are added after the shells bake.
Arrange the cups in a single layer on a platter so guests can see all seven toppings. If the event lasts a long time, replenish the platter in smaller batches rather than filling every cup hours before the party.
For a festive dessert table after the dip, a slice of easy pumpkin pie gives guests a warmly spiced finish. It is a simple way to round out a fall gathering or holiday buffet.
Flavor Variations for Any Party
The classic ingredient pattern is flexible while still keeping the recognizable seven-layer structure. Use a medium or mild chunky salsa for a family-friendly tray, or choose a hotter variety and add pickled jalapenos when your guests enjoy more heat.
Swap cheddar for a Mexican blend, pepper jack, or another shredded cheese with good melting and savory flavor. The cheese is added cold after baking, so there is no need to melt it in the oven.
For a more substantial bean layer, make sure the refried beans are smooth enough to portion without tearing the shells. A tablespoon of water is all that is needed when the canned beans are unusually thick.
Shredded lettuce sometimes appears in seven-layer dip recipes, but it is best used sparingly as a garnish here. Since the cups are small, lettuce can hide the layers and release moisture into the crisp shells.
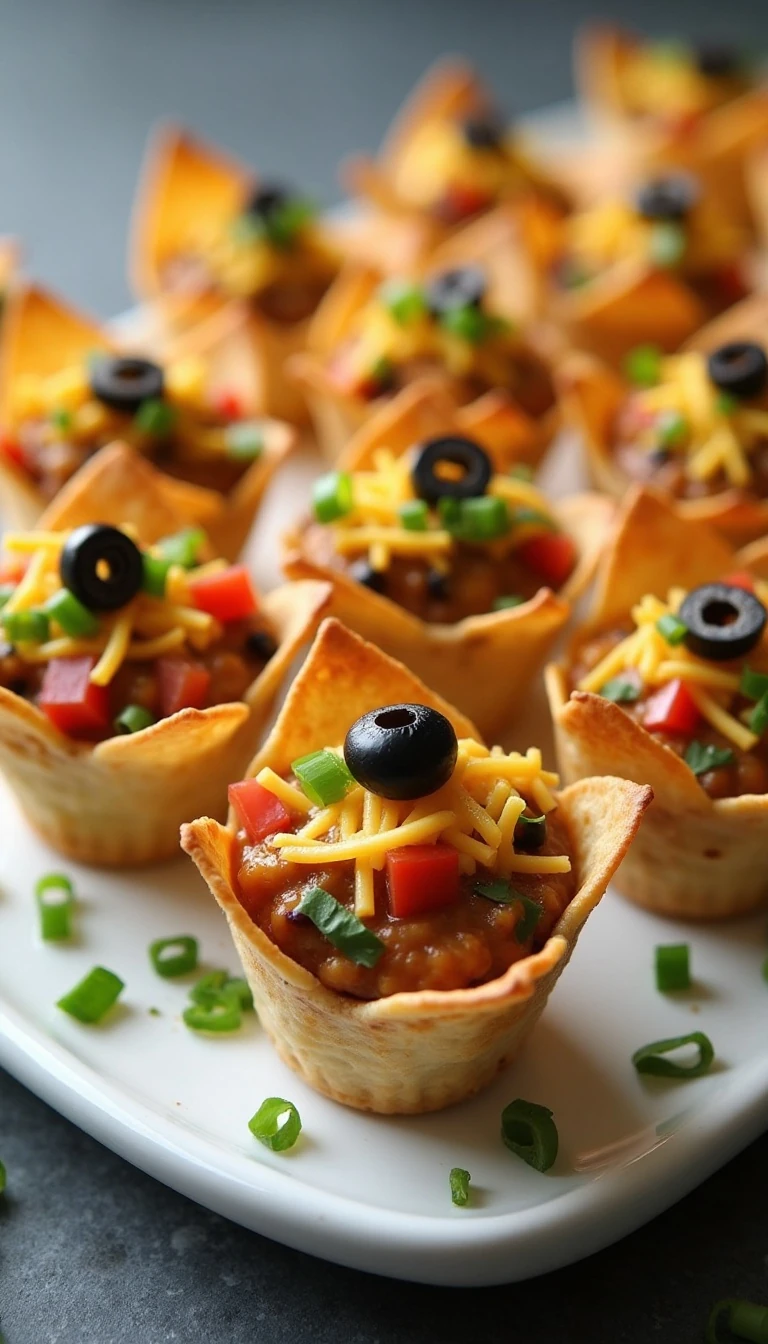
Mexican 7-Layer Dip Cups
Ingredients
Method
- Heat the oven to 350°F (175°C), then lightly spray a 24-cup mini-muffin pan with cooking spray. Have the wonton wrappers or tortilla rounds ready before shaping so the shells can go straight into the oven.
- Press one wrapper or tortilla round into each mini-muffin cup, gently folding the edges so the dough forms a small bowl. Brush or mist the cups lightly with the oil, using just enough to encourage even browning.
- Bake the shells for 10–12 minutes, or until lightly browned and crisp. Remove the pan from the oven and let the shells cool completely before filling so the creamy layers do not soften them too quickly.
- Stir the taco seasoning into the refried beans until evenly combined. If the beans are too thick to spoon easily, mix in up to 1 tablespoon of water to loosen them.
- Spoon a small, even layer of refried beans into each cooled cup, using about 1 teaspoon per cup. Add about 1 teaspoon each of sour cream, guacamole, and slightly drained salsa, keeping the layers compact.
- Top each cup with about 1 tablespoon of shredded cheese. Finish with a small pinch of diced tomato and sliced black olives, making sure the toppings stay inside the shell.
- Garnish the dip cups with sliced green onion, chopped cilantro, or pickled jalapenos if desired. Serve soon after assembly while the baked shells are crisp.
Notes
Final Thoughts
Mexican 7-Layer Dip Cups turn a familiar party dip into a colorful, neatly portioned appetizer that is easy to serve and fun to eat. Bake the shells until crisp, cool them fully, keep wet ingredients well drained, and add the layers shortly before guests arrive.
With seasoned refried beans, cool sour cream, creamy guacamole, chunky salsa, shredded cheese, fresh tomato, and black olives in every bite, these cups offer the full flavor of classic seven-layer dip without the need for a large serving bowl. Prepare the shells ahead, set out the garnishes, and assemble a platter your guests will reach for all evening.