This low-carb Jello Yogurt Whips recipe is a simple no-bake dessert made with one small box of sugar-free gelatin, boiling water, cold water, and plain Greek yogurt. The gelatin is partially chilled, whipped until foamy, blended with yogurt, and chilled again for a light, creamy treat that makes about four servings.
Each spoonful has the bright flavor of your chosen Jello variety and the cool tang of Greek yogurt, with a mousse-like texture that feels much more indulgent than the short ingredient list suggests. Prep takes only 10–15 minutes, while the remaining 2½–4 hours are mostly refrigeration time, making this an easy make-ahead dessert for busy days.
Jump to RecipeWhy You’ll Love This Recipe
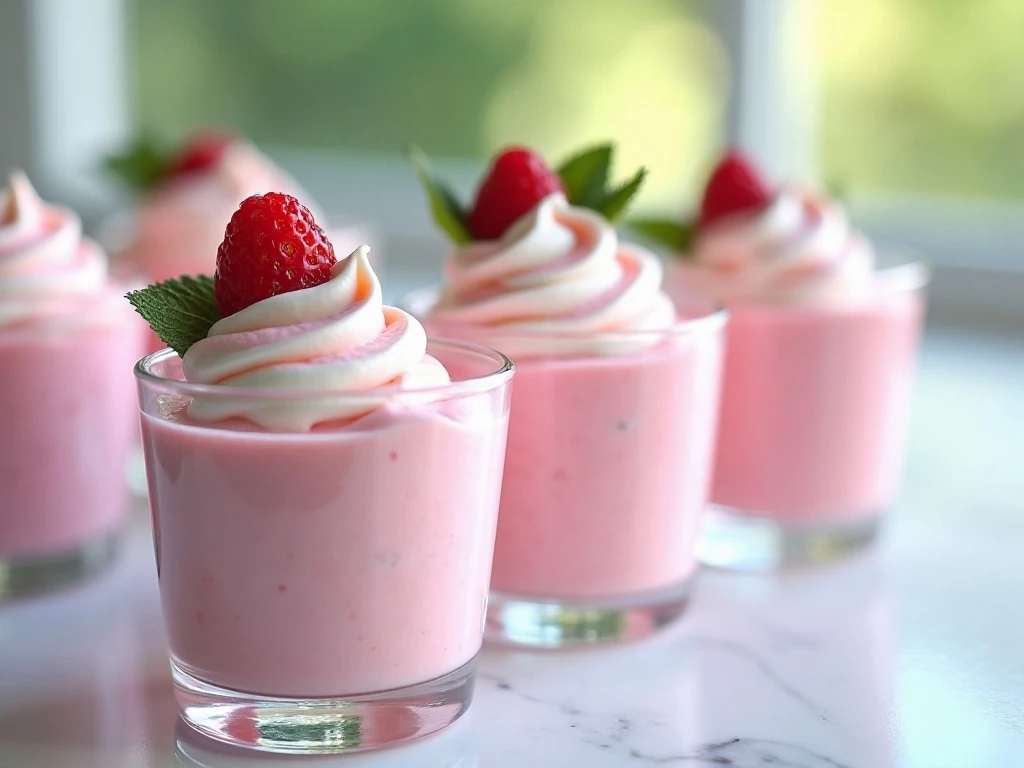
There is something especially appealing about a dessert that looks fluffy and special but requires no oven, stovetop, or complicated equipment. This Jello yogurt whip relies on a few affordable ingredients and a hand mixer to create a spoonable dessert with a soft, airy finish.
The recipe is also easy to customize. Lime, strawberry, raspberry, orange, cherry, and lemon gelatin each bring a different color and personality, so you can choose a flavor that matches the occasion or simply use whatever is in the pantry.
Because the formula uses sugar-free gelatin and plain Greek yogurt, it fits naturally into many low-carb dessert plans. Always check the labels of your chosen products if you are tracking carbohydrates closely, since yogurt brands and gelatin mixes can vary.
If you enjoy chilled gelatin desserts, you may also like this low-carb strawberry Jello pie idea, which uses a different presentation for a similarly refreshing flavor.
Ingredients You’ll Need
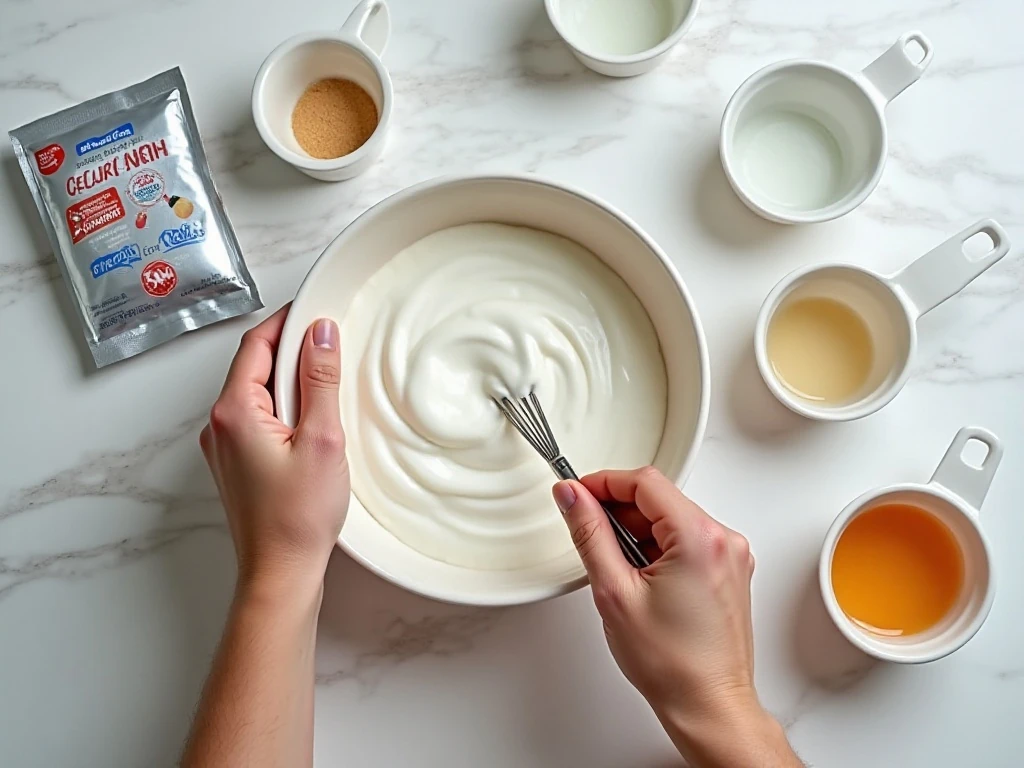
The ingredient list is short, but each item has a specific job. The gelatin provides structure and flavor, the water dissolves and sets it, and Greek yogurt adds tang, protein, body, and a creamy white finish.
- Sugar-free gelatin: Use one small box, approximately 0.3 ounces or 8.5 grams, in any flavor.
- Boiling water: One cup is needed to dissolve the gelatin crystals completely.
- Cold water: One cup cools and balances the gelatin mixture before refrigeration.
- Plain Greek yogurt: One cup of full-fat or 2% yogurt gives the richest texture. Nonfat yogurt also works and produces a lighter result.
- Optional sweetener: Add a few drops of liquid stevia or another low-carb sweetener only if your yogurt tastes especially tangy or unsweetened.
For the smoothest finished texture, use yogurt straight from the refrigerator and stir it briefly before measuring. A thick Greek yogurt is preferable because it contributes more body than a thin regular yogurt.
For another fruit-forward dessert to save for later, take a look at this easy strawberry Jello pie.
How to Make It Step-by-Step
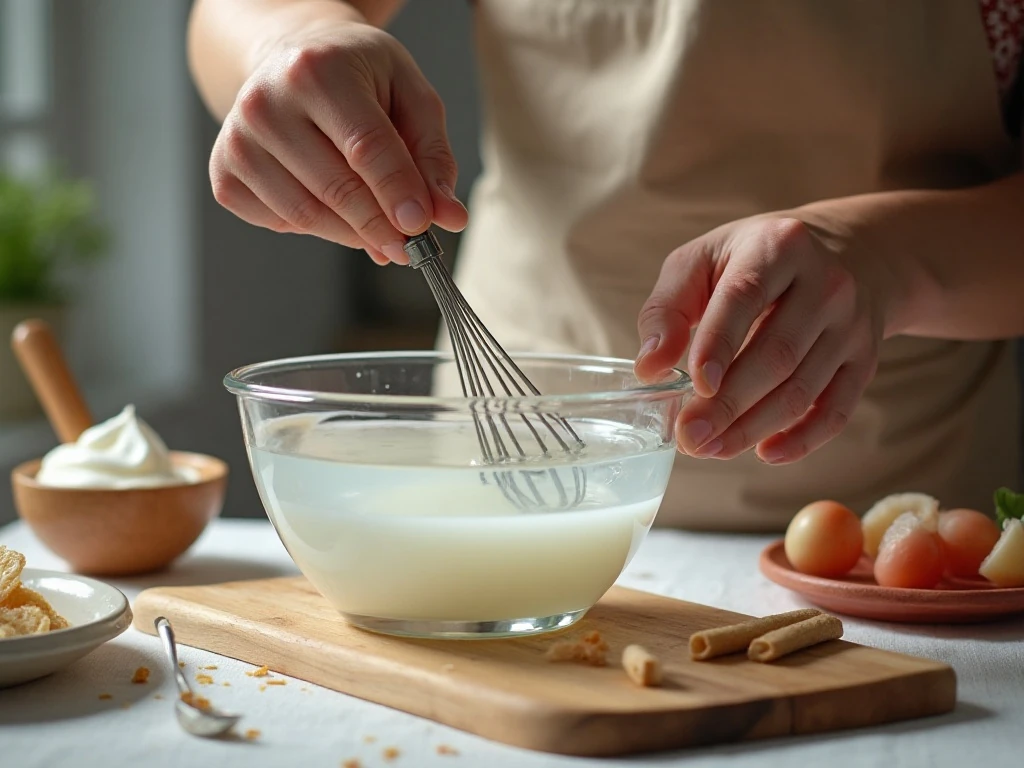
Step 1: Add the sugar-free gelatin powder to a medium bowl with enough room for whisking. Pour in the boiling water and whisk steadily until the crystals are completely dissolved, paying special attention to the bottom and sides of the bowl.
Step 2: Stir in the cold water until the mixture is evenly blended. At this stage, the liquid should be bright, clear, and free of undissolved granules, which helps the final whip remain smooth.
Step 3: Place the bowl in the refrigerator for about 1–2 hours. The gelatin should become cool and thickened with the consistency of a loose gel; it should not be fully firm when you begin whipping.
Step 4: Beat the partially chilled gelatin with a hand mixer for 1–2 minutes. Move the beaters through the mixture until it becomes lighter, foamy, and visibly aerated.
Step 5: Add the plain Greek yogurt and beat briefly just until the mixture is smooth and creamy. Stop as soon as the yogurt disappears into the gelatin, because overmixing can reduce the airy texture you want.
Step 6: Divide the mixture among four small dessert dishes. Spoon it gently for a rustic look, or pour it into a small pitcher first if you want especially tidy portions.
Step 7: Return the dishes to the refrigerator for another 1–2 hours. The yogurt whips are ready when they are fully set, cold, and softly spoonable.
Step 8: Serve straight from the refrigerator. A few fresh berries, a small mint leaf, or a light dusting of unsweetened coconut can add color, but the dessert is delicious on its own.
Chef’s Tips for the Best Texture
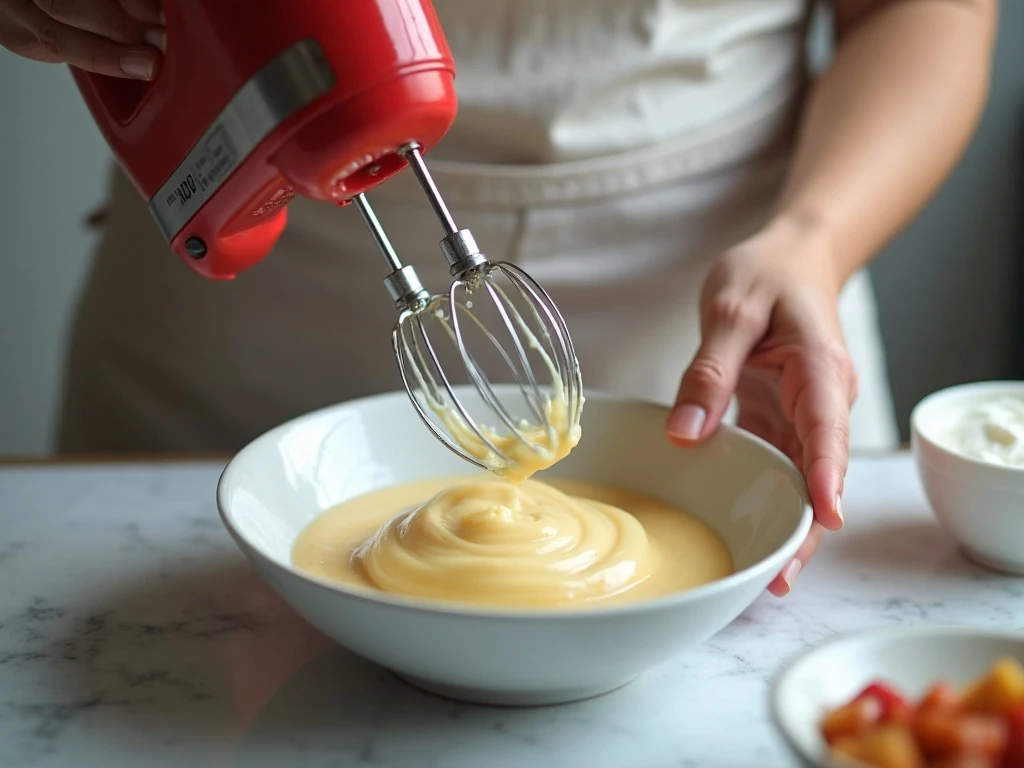
The most important timing detail is the partial chill. If the gelatin is still warm and liquid, it will not whip properly, and adding yogurt too soon can make the dairy loose or uneven.
On the other hand, fully firm gelatin is difficult to aerate. If you accidentally chill it too long, let it sit briefly at room temperature until it softens, then beat it according to the recipe.
- Whisk thoroughly: Undissolved gelatin crystals can leave tiny bits in the finished dessert.
- Use the right bowl: A medium bowl gives the hand mixer room to incorporate air without splashing.
- Choose full-fat yogurt for richness: Full-fat or 2% Greek yogurt creates a fuller, creamier mouthfeel.
- Choose nonfat yogurt for lightness: It works well when you prefer a less rich dessert, though the result may be slightly less creamy.
- Stop mixing promptly: Once the yogurt is smooth, further beating is unnecessary.
For an extra-smooth variation, the partially set gelatin and yogurt can be blended in a blender. Use short pulses and stop as soon as the mixture looks uniform so it does not become overly thin.
This light dessert makes a refreshing contrast to a richer baked treat such as these fudgy brownie bars.
Flavor Ideas and Serving Suggestions
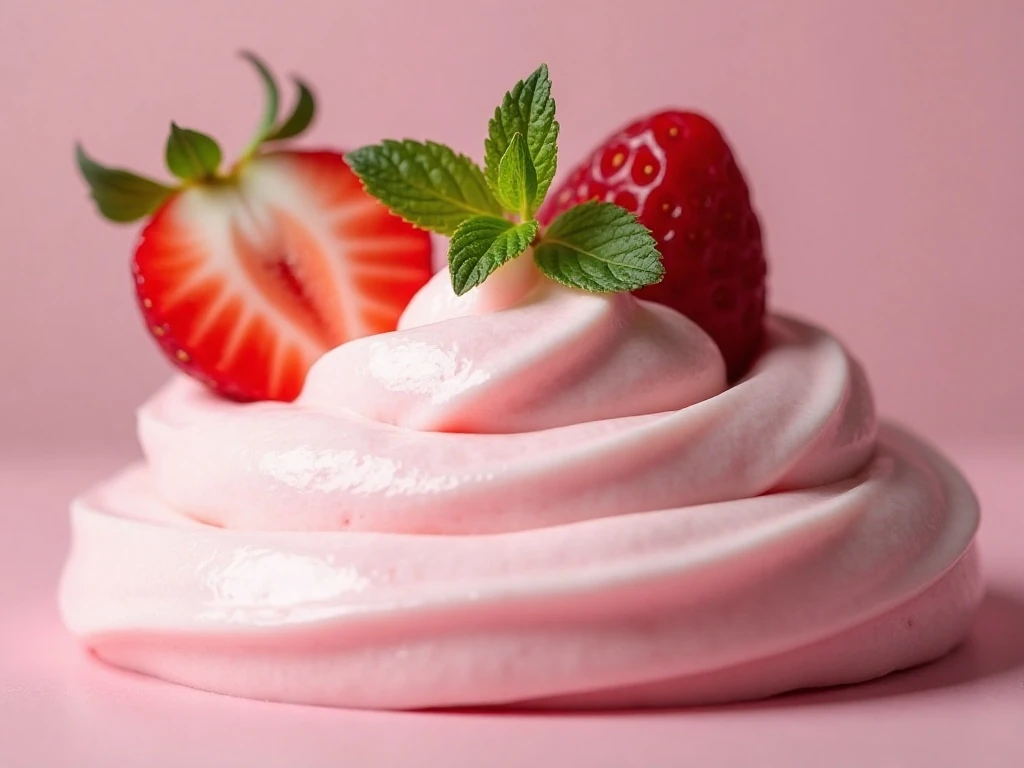
Strawberry and raspberry are naturally bright and berry-forward, while lime and lemon make the whip especially crisp after a heavier meal. Orange or cherry gelatin gives the dessert a sunny color and a familiar nostalgic flavor.
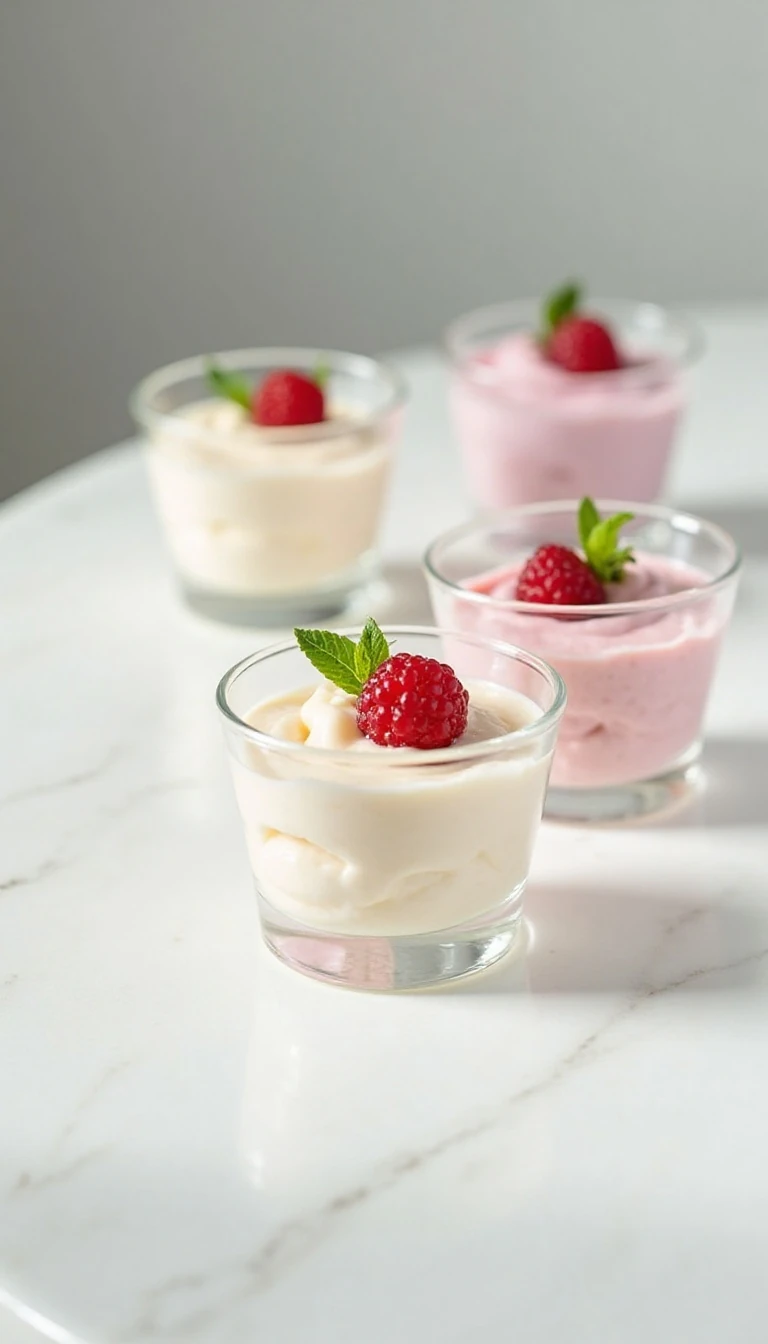
For a pretty party presentation, spoon the mixture into four small clear glasses so the color is visible from every angle. You can also use one larger serving bowl, although individual dishes make portioning and chilling more convenient.
Keep garnishes simple because the yogurt whip is delicate. A couple of berries, a curl of citrus zest, or a tiny mint leaf is enough to make each serving look finished without adding much sweetness.
For a seasonal dessert menu, pair these cool cups with a warm spice drink such as this homemade egg nog. The contrast between the chilled, tangy whip and creamy holiday flavors is particularly inviting.
Storage, Make-Ahead, and Troubleshooting
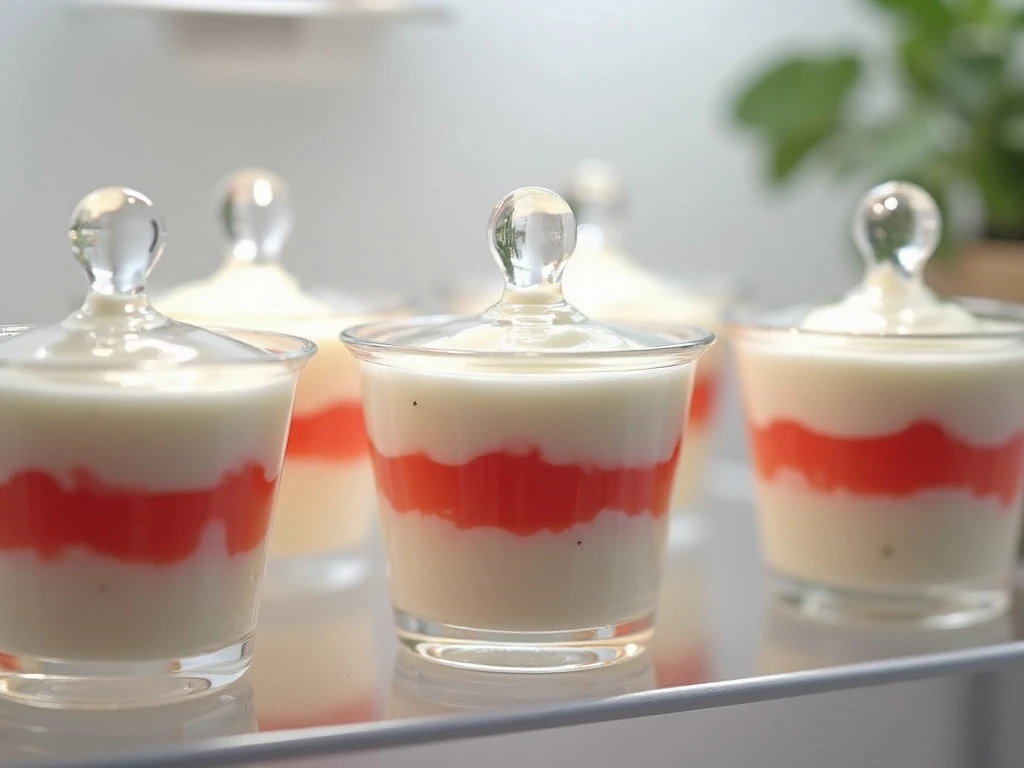
Store the dessert covered in the refrigerator after it has fully set. It is best served cold and enjoyed within a few days, when the texture is at its freshest and most airy.
These yogurt whips are well suited to make-ahead preparation because the dessert needs 1–2 hours of final chilling before serving. Prepare the cups earlier in the day, cover them, and keep them refrigerated until dessert time.
- If the mixture is runny: It may not have chilled long enough before whipping, or the yogurt may have been added while the gelatin was warm. Refrigerate it longer and make sure the gelatin is cool and thickened next time.
- If the mixture is lumpy: The gelatin may have set too firmly. Let it soften briefly at room temperature and beat again gently.
- If the dessert is not airy: The gelatin may have been fully set, or it may not have been beaten long enough during the first mixing stage.
- If it tastes too tart: Stir a few drops of liquid stevia or another low-carb sweetener into the yogurt before combining it with the gelatin.
For a classic dessert pairing beyond the low-carb category, you can also browse this homemade apple pie recipe when you are planning a larger dessert spread.
Low-Carb Jello Yogurt Whips
Ingredients
Method
- Place the sugar-free gelatin powder in a medium bowl. Pour in the boiling water and whisk until every crystal has dissolved and the liquid is completely clear.
- Stir in the cold water until evenly combined. Refrigerate the mixture for about 1–2 hours, checking occasionally, until it is cool and thickened but still a loose gel rather than fully firm.
- Beat the partially set gelatin with a hand mixer for 1–2 minutes, until it becomes lighter in color and foamy. Add the Greek yogurt and beat briefly just until smooth and creamy; avoid overmixing.
- Spoon or pour the mixture into four small dessert dishes. Refrigerate for another 1–2 hours, or until fully set and cold.
- Serve directly from the refrigerator. Keep leftovers chilled and enjoy within a few days for the best texture.
Notes
Final Thoughts
This Low-Carb Jello Yogurt Whips recipe proves that a short ingredient list can produce a dessert with plenty of charm. The key is to dissolve the gelatin fully, chill it to a loose gel, whip in air, and then fold in the Greek yogurt without overmixing.
Make a batch in your favorite flavor, divide it among small dishes, and let the refrigerator do the rest of the work. The finished treat is cool, creamy, lightly tangy, and easy enough for a weeknight while still pretty enough for guests.