Homemade cold-pack pickles are made by packing fresh cucumbers into hot jars, covering them with a hot 5% acidity vinegar brine, and processing the sealed jars in a boiling-water canner. This recipe makes about 6 pint jars and requires 30–40 minutes of preparation, 5 minutes to heat the brine, and 10 minutes of water-bath processing at elevations up to 1,000 feet.
The result is a crisp, tangy pickle with fragrant dill, mellow garlic, and a clean vinegar bite. Let the jars rest for at least 1 week, preferably 2–3 weeks, so the cucumbers absorb the brine and spices before opening your first jar.
Jump to RecipeWhy You’ll Love This Recipe
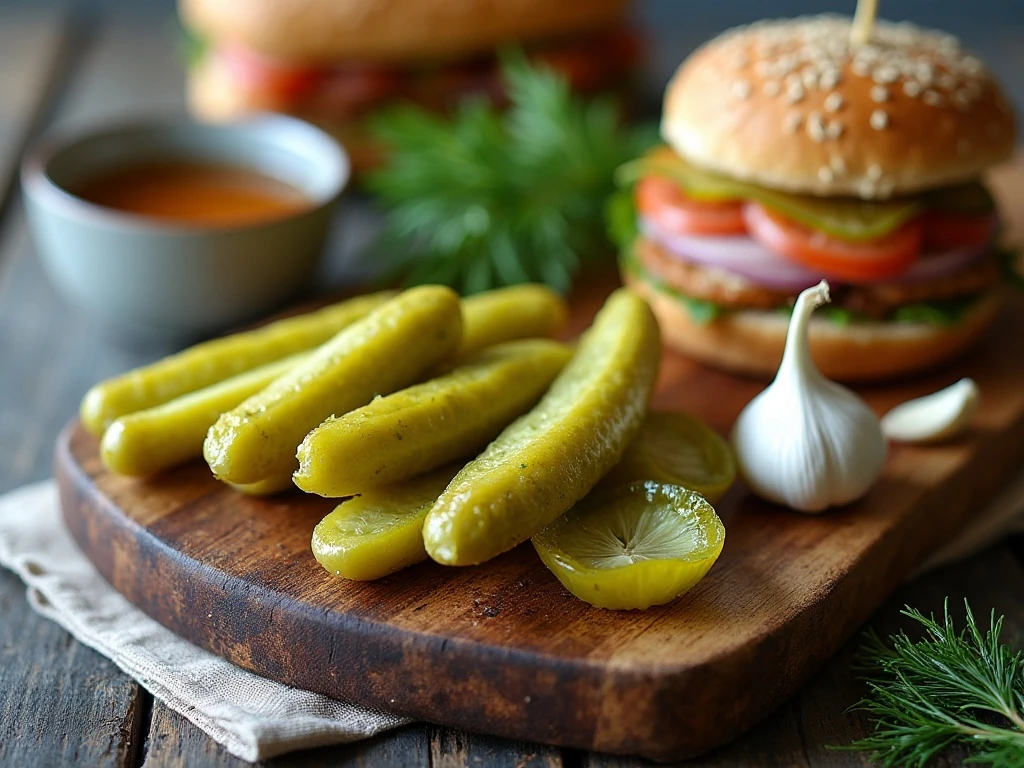
This cold-pack method gives you the satisfying crunch of a fresh-pack pickle while providing a pantry-friendly result when the jars are processed correctly. The cucumbers go into the jars raw, so their texture remains firm rather than becoming soft from extended cooking.
The brine has a classic balance of 5% distilled white vinegar, water, and pickling salt. Garlic and dill provide the familiar savory profile, while optional mustard seed adds gentle spice and red pepper flakes bring a pleasant warmth.
These pickles are excellent beside sandwiches, burgers, grilled meats, and creamy salads. They also make a bright counterpoint to rich comfort foods, much like the tangy crunch that pairs well with a Buffalo chicken sandwich.
Cold-pack pickles are not the same as refrigerator pickles. Refrigerator versions are stored cold and are not shelf-stable unless they are processed with a tested canning recipe.
Ingredients You’ll Need
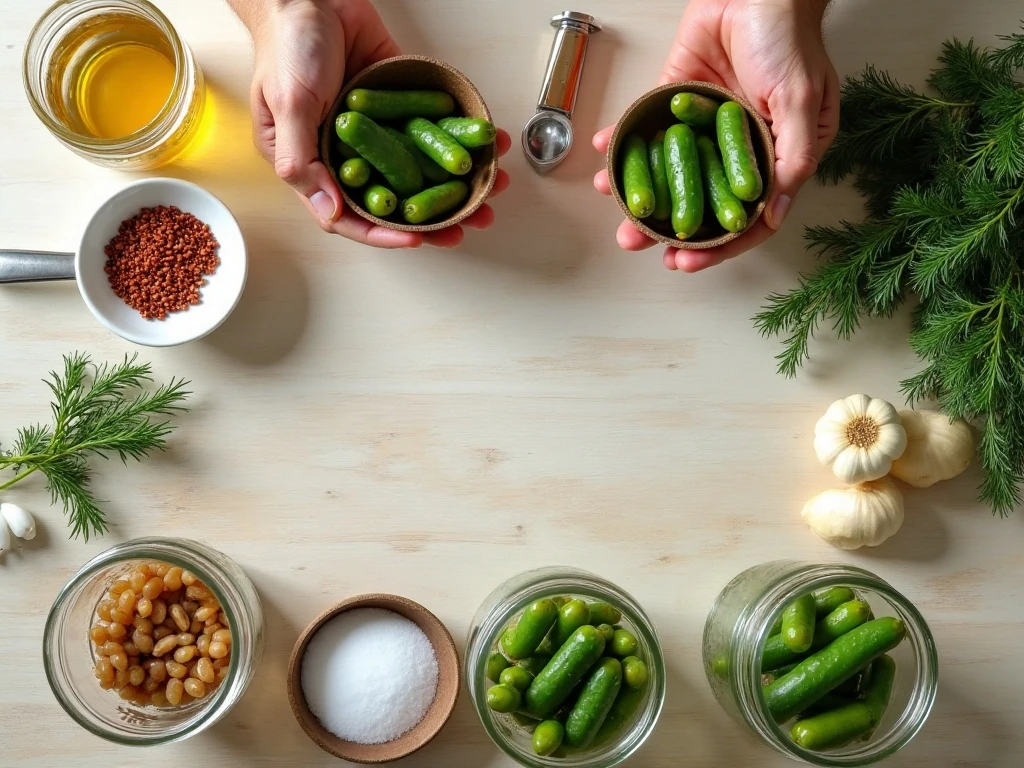
Choose small, fresh pickling cucumbers that are about 3–4 inches long. Cucumbers should feel firm, have no soft spots, and be processed as soon as possible after harvesting or purchase.
- 4 pounds cucumbers: Use whole cucumbers or cut them into spears.
- 2 cups distilled white vinegar: Select vinegar labeled 5% acidity.
- 2 cups water: This balances the sharp vinegar flavor.
- 1/4 cup pickling or canning salt: It dissolves cleanly and is formulated for preserving.
- Garlic and dill: Add 1 garlic clove and 1 fresh dill sprig or dill head to each jar.
- Optional seasonings: Divide 2 teaspoons each of dill seed and mustard seed among the jars, plus 1/2 teaspoon red pepper flakes if desired.
- Optional grape leaves: Add one small grape leaf to each jar as a traditional crispness aid.
Have six clean pint jars, lids, bands, a nonreactive saucepan, a plastic bubble remover or utensil, and a boiling-water canner ready. If you enjoy making homemade staples for a weekend spread, serve these pickles with warm homemade biscuits for a pleasing sweet-and-savory table.
How to Make It Step-by-Step
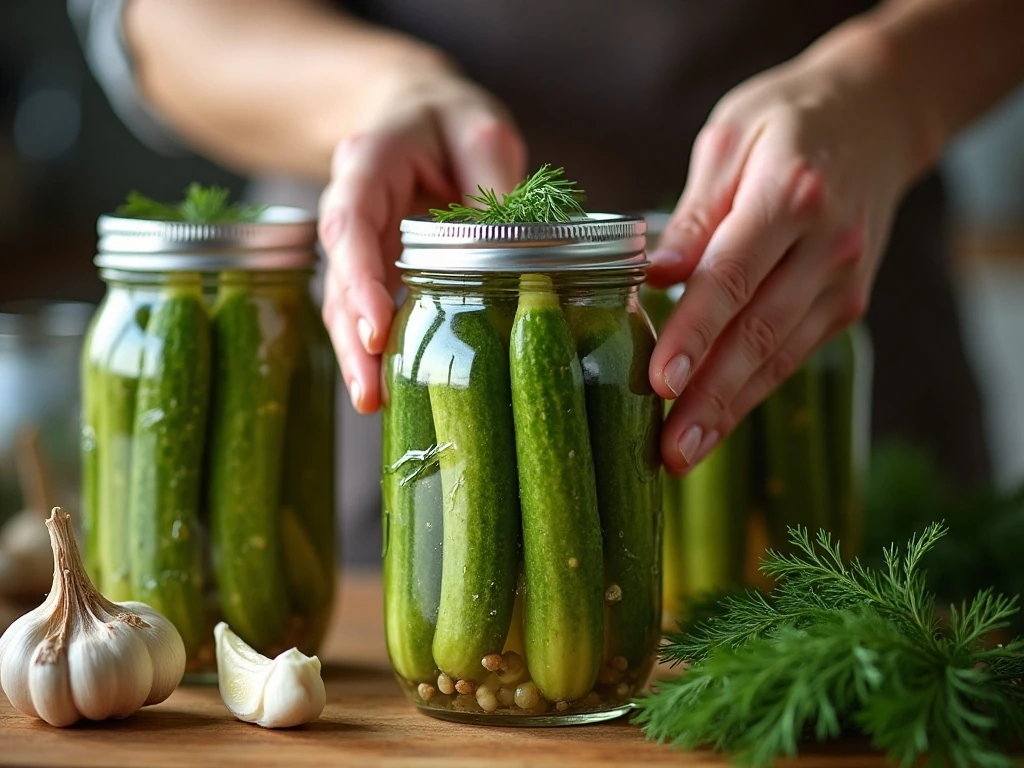
Step 1: Wash the cucumbers carefully under cool running water, rubbing away any soil or residue. Trim off the blossom ends by removing at least 1/16 inch, because blossom-end enzymes can soften pickles; leave the cucumbers whole or cut them into spears.
Step 2: For extra firmness, place the prepared cucumbers in ice water for 30 minutes before packing. This step is optional, but it can help fresh cucumbers stay pleasantly crisp during processing.
Step 3: Wash the pint jars, lids, and bands, then keep the jars hot while you prepare the brine. Use a boiling-water canner according to its instructions, and organize your equipment before filling the jars so the process moves efficiently.
Step 4: Add the vinegar, water, and pickling salt to a nonreactive saucepan. Bring the brine to a simmer, stirring until the salt dissolves; do not dilute the vinegar further or change the vinegar-to-water ratio.
Step 5: Put one garlic clove and one dill sprig or dill head into each hot pint jar. If using them, divide the dill seed, mustard seed, red pepper flakes, and grape leaves evenly among the six jars.
Step 6: Pack the cucumbers firmly into the jars, fitting them vertically or arranging spears neatly. Avoid crushing the cucumbers, and leave about 1/2 inch of headspace between the top of the produce and the jar rim.
Step 7: Pour the hot brine into each jar, keeping the 1/2-inch headspace. Run a plastic utensil around the inside of the jar to release trapped air bubbles, then wipe every rim clean with a damp, clean cloth.
Step 8: Place the two-piece lids on the jars and screw on the bands fingertip-tight. A band that is too tight can interfere with air release during processing, so use only gentle pressure.
Step 9: Place the jars in the boiling-water canner and process for 10 minutes at elevations up to 1,000 feet. If you live higher than 1,000 feet, adjust the processing time using a current tested canning guide.
Step 10: Carefully remove the jars and set them upright on a towel, leaving them undisturbed for 12–24 hours. Check the seals, label the jars, and refrigerate any jar that has not sealed properly.
Step 11: Store sealed jars in a cool, dark place and wait at least 1 week before opening. Two to three weeks of curing gives the vinegar, dill, garlic, and spices more time to season the cucumbers.
Pro Tips for Crisp Pickles
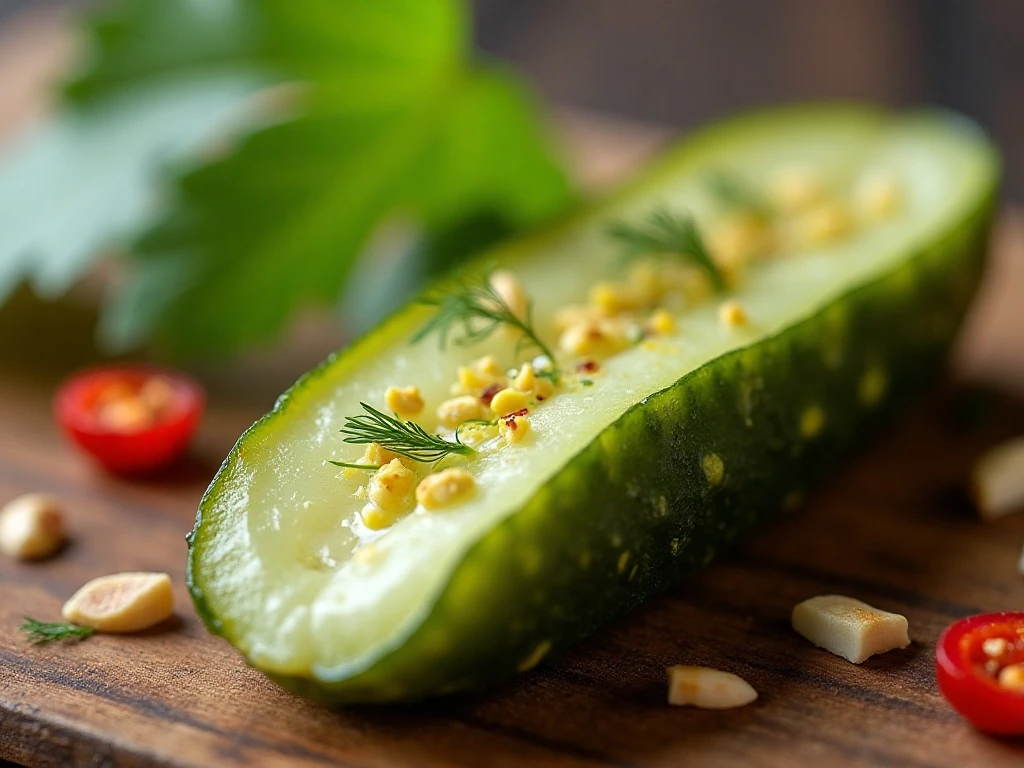
Freshness is the first key to crispness. Small cucumbers have fewer mature seeds and a naturally firm texture, while older or oversized cucumbers can become hollow or soft after processing.
Always remove the blossom ends, even if the cucumbers look perfectly clean. Removing at least 1/16 inch helps eliminate enzymes that can break down the cucumber texture.
Keep the jars hot and pack them without crushing the cucumbers. A firm but careful pack limits unnecessary movement while preserving the required headspace for safe processing.
- Use only distilled white vinegar labeled 5% acidity.
- Measure the vinegar and water accurately.
- Do not reduce the vinegar or add extra water.
- Use pickling or canning salt rather than making substitutions.
- Use a plastic utensil to remove bubbles and avoid scratching the glass.
- Follow a current tested guide for elevations above 1,000 feet.
Grape leaves are optional and traditional, but they do not replace correct preparation, fresh cucumbers, proper acidity, or water-bath processing. For another homemade treat that rewards careful timing, try these soft cinnamon rolls after your jars are cooling.
Storage, Sealing, and Curing
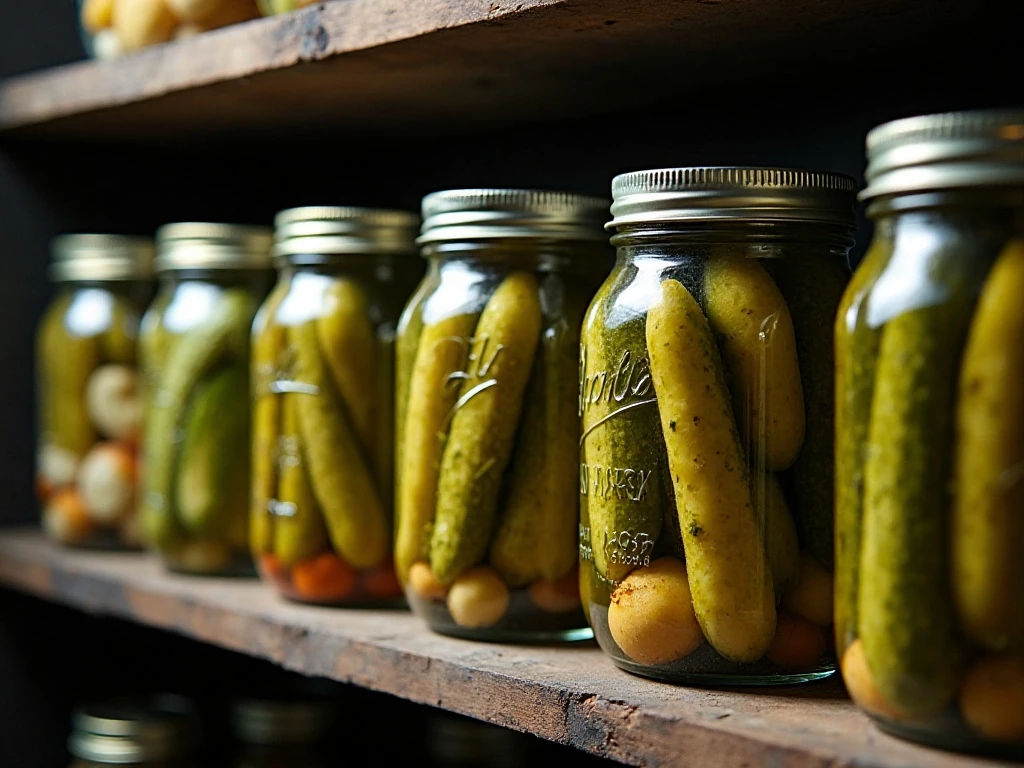
After processing, cool the jars undisturbed for 12–24 hours. Press the center of each lid to check for a firm seal, then remove the bands if desired, wipe the jars clean, and label them with the date.
Keep properly sealed jars in a cool, dark storage area. Avoid warm shelves, direct sunlight, and places with large temperature changes, since those conditions can shorten the quality life of home-canned foods.
Refrigerate any jar that does not seal. The unsealed jar can be treated as a refrigerated pickle, but it should not be stored in the pantry.
Although the pickles can be tasted after 1 week, their flavor is usually fuller after 2–3 weeks. Once opened, refrigerate the jar and keep the cucumbers covered with brine as much as possible.
Ways to Serve Homemade Pickles
Slice these pickles into thick coins for burgers, chop them into relish-style pieces for egg salad, or cut spears lengthwise for a classic deli-style side. Their sharp, garlicky flavor also works beautifully with grilled sausages, roasted potatoes, fried chicken, and cheese boards.
For a party platter, arrange pickle spears beside cured meats, sharp cheddar, crackers, and fresh fruit. The acidity refreshes the palate between rich bites, while dill and mustard seed add enough character to stand on their own.
Use the pickles to bring contrast to a brunch board alongside warm biscuits and preserves. If you prefer a sweet finish afterward, pair the savory spread with tangy lemon brownies or a rustic fruit galette.
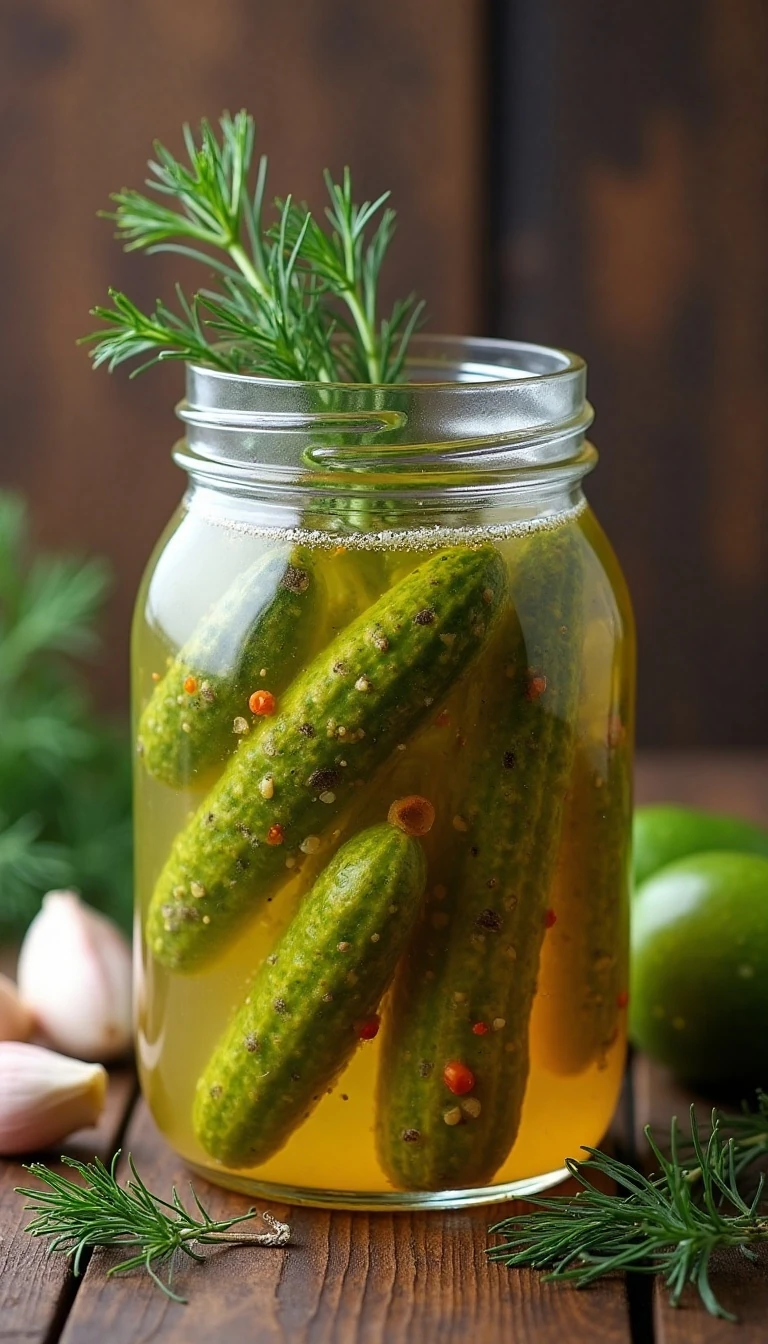
Homemade Cold-Pack Pickles
Ingredients
Method
- Wash the cucumbers thoroughly and trim off the blossom ends, removing at least 1/16 inch. Leave them whole or cut them into spears, and soak the prepared cucumbers in ice water for 30 minutes if desired.
- Wash the pint jars, lids, and bands, then keep the jars hot while preparing the pickles. Hot jars help prevent thermal shock when the hot brine is added.
- Combine the 5% acidity vinegar, water, and pickling salt in a nonreactive saucepan. Bring the mixture to a simmer and stir until the salt dissolves, without diluting the vinegar further.
- Place one garlic clove, one dill sprig or dill head, and any optional spices or grape leaf into each hot pint jar. Divide the seasonings as evenly as possible among the 6 jars.
- Pack the cucumbers firmly into the jars, arranging whole cucumbers or spears so they fit snugly without crushing them. Leave approximately 1/2 inch of headspace at the top of every jar.
- Pour the hot brine over the cucumbers while maintaining the 1/2-inch headspace. Slide a plastic utensil around the inside edge of each jar to release air bubbles, then wipe the rims clean.
- Apply the two-piece lids and tighten the bands fingertip-tight. Do not force the bands tightly, since air must escape during processing.
- Process the jars in a boiling-water canner for 10 minutes at elevations up to 1,000 feet. For higher elevations, increase the processing time according to a current tested canning guide.
- Remove the jars from the canner and cool them undisturbed for 12–24 hours. Check each seal, label the jars with the date, and refrigerate any jar that did not seal.
- Store sealed jars in a cool, dark place and allow them to cure for at least 1 week. For the best flavor and texture, wait 2–3 weeks before serving.
Notes
Final Thoughts
This homemade cold-pack pickles recipe turns fresh cucumbers into crisp, tangy jars filled with dill, garlic, and classic preserving flavor. The most important details are using fresh produce, trimming the blossom ends, choosing 5% acidity vinegar, maintaining the 1/2-inch headspace, and following the water-bath processing directions.
Give the sealed jars at least a week to cure, although 2–3 weeks brings the best balance of flavor and texture. Once opened, keep them refrigerated and enjoy every crunchy spear with sandwiches, grilled dinners, snacks, or a generously packed picnic basket.
Read More: Classic Fruit Galette