Festive cake pops are an easy party dessert made from a baked yellow or vanilla cake, a small amount of vanilla frosting, candy melts, and colorful decorations. This recipe makes approximately 36 cake pops and takes about 3 to 4 hours total, including 25 to 30 minutes of baking, 1 hour of cooling, and 1 to 2 hours of chilling.
Every bite has a tender, moist cake center wrapped in a crisp, sweet candy shell. Add holiday sprinkles, birthday colors, sanding sugar, crushed cookies, or nonpareils to match any celebration, from a baby shower and graduation to a festive family gathering.
Jump to RecipeWhy You’ll Love This Recipe

These festive cake pops look like a bakery centerpiece but begin with a standard box of cake mix. The method is approachable, forgiving, and easy to customize for birthdays, showers, school parties, holidays, sporting events, and office celebrations.
The most important texture detail is using only enough frosting to bind the crumbs. The finished center should be soft and rich, but it must remain firm enough to hold a stick and stand up to dipping.
- Party-ready yield: One batch makes approximately 36 cake pops.
- Simple ingredients: Cake mix, frosting, coating, sticks, and decorations are all you need.
- Flexible design: Change the coating color and toppings for any theme.
- Make-ahead friendly: The shaped cake balls can be chilled before the final coating.
Ingredients You’ll Need
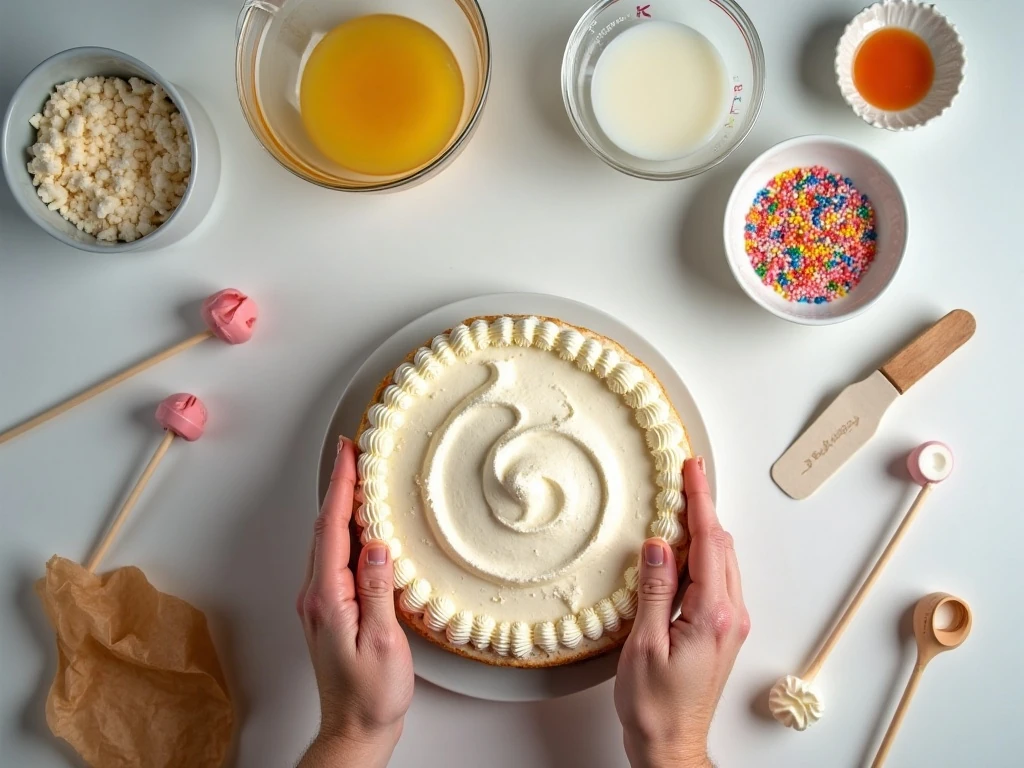
Start with one standard 15.25-ounce box of yellow or vanilla cake mix. Prepare it with the ingredients listed on the package; the common amounts are 3 large eggs, 1 cup water, and 1/2 cup vegetable oil.
You will also need 1/3 to 1/2 cup prepared vanilla frosting, 16 ounces of candy melts or another confectionery coating, 36 paper or lollipop sticks, and sprinkles or other decorations. Keep 1 tablespoon of vegetable shortening or paramount crystals nearby in case the coating needs thinning.
- Use a 9-by-13-inch baking pan for the cake.
- Line a tray with parchment paper for the shaped balls.
- Prepare a cake-pop stand or a block of Styrofoam for the finished pops.
- Choose coating and sprinkle colors that suit the occasion.
A homemade cake can replace the boxed cake if you prefer, as long as it is baked in a 9-by-13-inch pan. For a chocolate version, use chocolate cake, chocolate frosting, and chocolate coating.
How to Make It Step-by-Step
Step 1: Prepare the cake according to the package directions, using the listed eggs, water, oil, and any other required ingredients. Bake it in a 9-by-13-inch pan at 350°F (175°C) for 25 to 30 minutes, then let it cool completely for about 1 hour.
Step 2: Once the cake is cool, trim away any very dry or browned edges because they can make the cake-pop mixture less tender. Break the remaining cake into a large bowl and crumble it into fine, even crumbs with your fingers.
Step 3: Add 1/3 cup of prepared vanilla frosting to the crumbs and mix until evenly combined. Press a little mixture between your fingers to test it; if it holds together without feeling wet or greasy, stop, but add small amounts from the remaining frosting if it still crumbles.
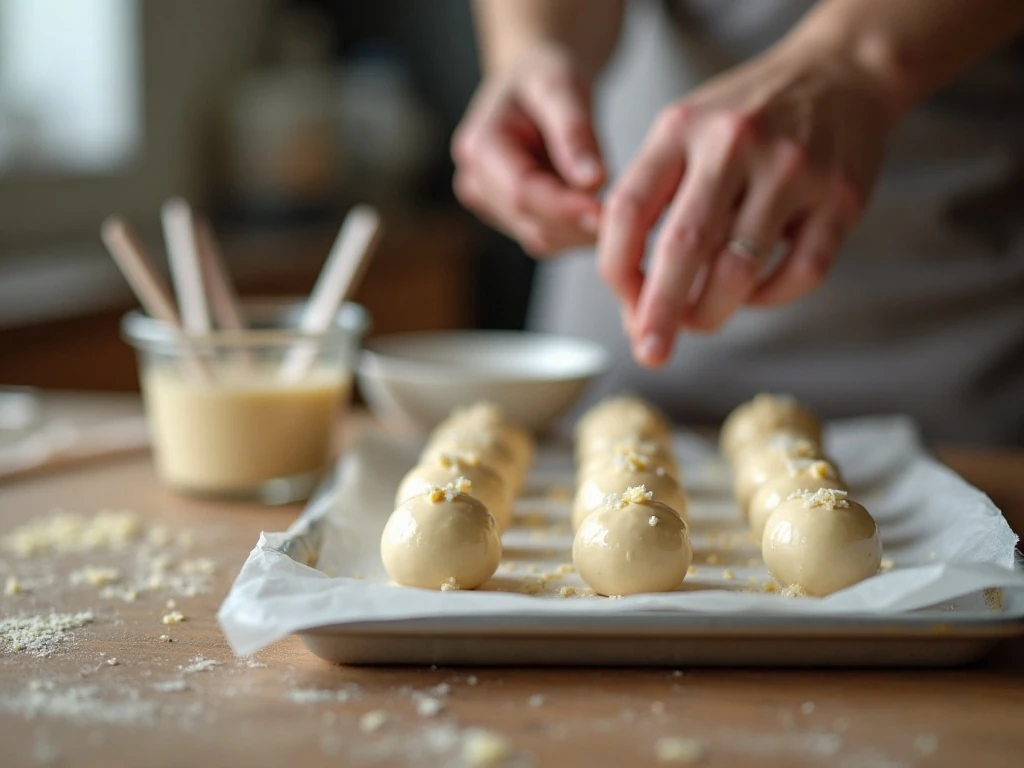
Step 4: Portion the mixture into roughly 1-tablespoon pieces for consistently sized pops. Roll each piece firmly between your palms until smooth, then place the balls on a parchment-lined tray with a little space between them.
Step 5: Chill the shaped cake balls for 1 to 2 hours, or until they feel firm. This cold center is easier to dip and is less likely to slide from the stick during coating.
Step 6: Melt the candy coating according to its package directions, using short heating intervals if working in a microwave. Stir gently and add the optional 1 tablespoon of shortening or paramount crystals if the coating is too thick, but never add water.
Step 7: Dip the end of one stick into a small amount of melted coating, then insert it about halfway into a cake ball. Let the coating set briefly, and repeat with the remaining sticks and cake balls; if the centers soften, chill them briefly again.
Step 8: Dip each pop straight down into the coating until the cake center is covered. Lift it out, rotate the stick gently, and tap it lightly so excess coating runs back into the bowl without shaking the cake loose.
Step 9: Add sprinkles, sanding sugar, nonpareils, crushed cookies, or themed decorations while the coating is still wet. Place each pop upright in a cake-pop stand or block of Styrofoam and leave it there until the shell is firm.
Decorating Ideas for Every Celebration

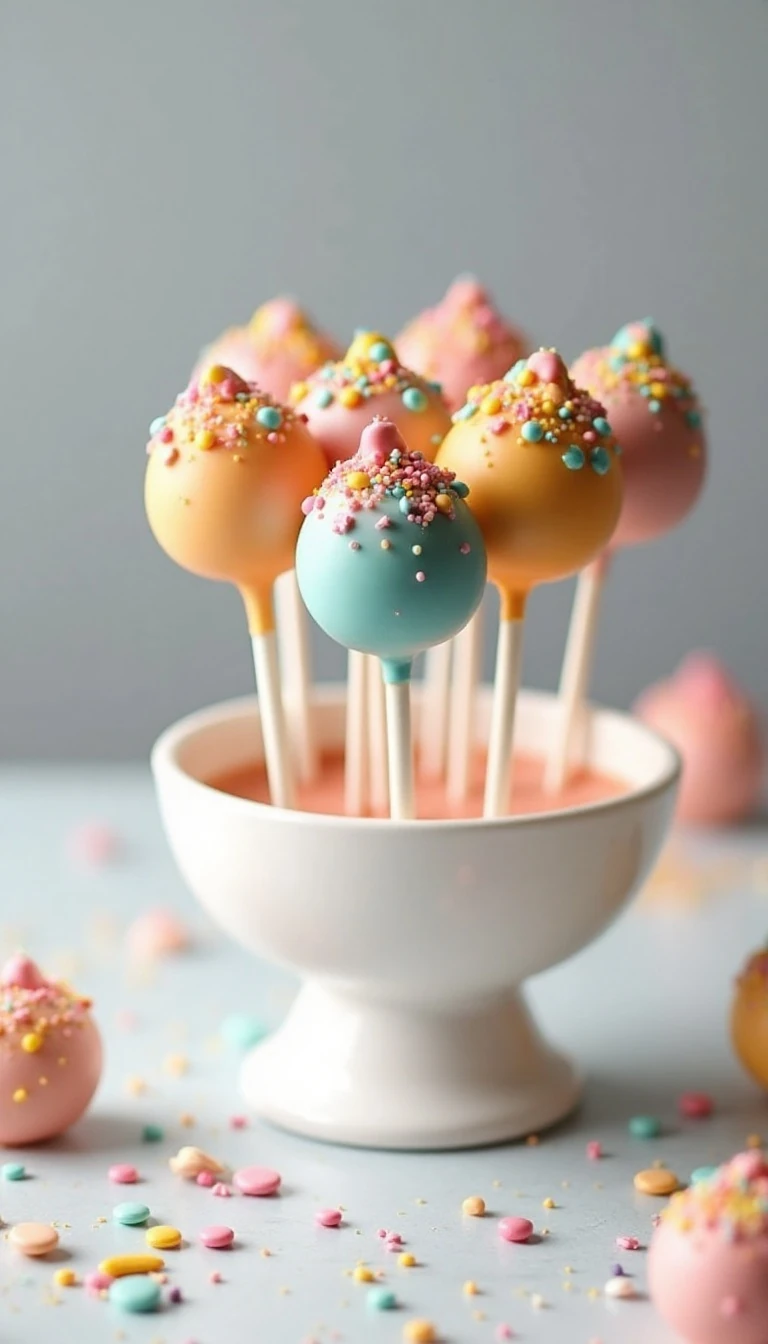
The coating is a blank canvas for party styling. White candy melts with pastel sprinkles suit a baby shower, while bright colors and rainbow nonpareils make cheerful birthday treats.
- Birthdays: Use two or three coordinating candy-melt colors with confetti sprinkles.
- Holidays: Try red and green, icy blue and white, or orange and black decorations.
- Graduations: Match the school colors and add sanding sugar for sparkle.
- Baby showers: Choose soft pink, blue, yellow, or neutral tones with tiny nonpareils.
- Movie or sports parties: Use team colors and crushed cookies for a playful finish.
For a polished look, dip some pops in one solid color and decorate others with a second melted coating drizzled over the top. Add garnishes immediately because the decorations will not stick once the candy shell has fully set.
Pro Tips for Smooth, Sturdy Cake Pops
Resist the temptation to add all the frosting at once. A cake-pop mixture that is too wet becomes soft, greasy, and difficult to roll, while a mixture that barely holds together can crack or fall from the stick.
Chilling is equally important. Firm cake balls make cleaner shapes, and dipping the stick into coating first creates a small edible anchor inside the center.
- Use fine crumbs so the frosting distributes evenly.
- Roll the balls firmly, but do not compress them into dense lumps.
- Keep the uncoated cake balls chilled while working in batches.
- Thin thick candy melts with shortening or paramount crystals, never water.
- Tap the stick gently while rotating instead of shaking the pop.
- If a ball slides down the stick, place it upright and chill it before continuing.
Work with a comfortable amount of coating in a deep, narrow bowl when possible. That shape makes it easier to cover the cake pop in one straight dip and helps reduce repeated handling.
Storage and Serving
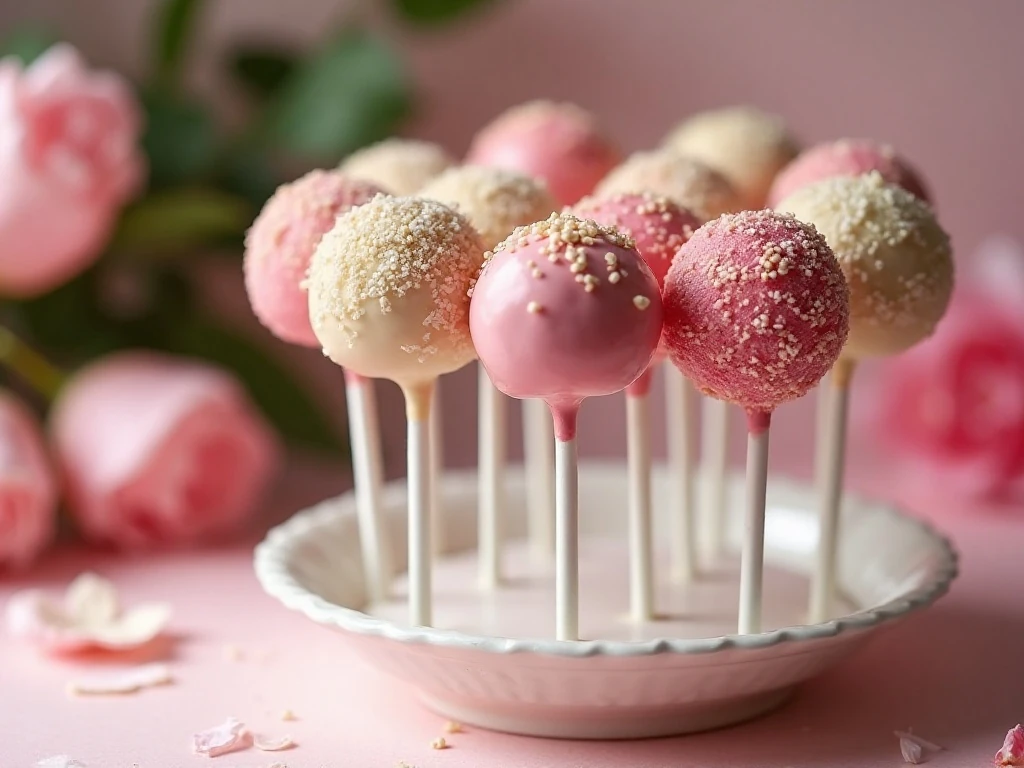
Let the coated cake pops set completely before moving them to a serving platter or wrapping them individually. Keep them covered in a cool place, away from direct sunlight and heat, so the candy shell remains firm.
If your kitchen is warm, refrigerate the finished pops in a covered container. Allow them to sit briefly before serving so the cake center is pleasantly tender rather than very cold.
These treats are especially attractive arranged in rows by color or displayed in a cake-pop stand. Set out a few extra napkins because the decorations may be small, but the pops are wonderfully rich and celebratory.
Festive Cake Pops
Ingredients
Method
- Prepare and bake the cake according to the package directions in a 9-by-13-inch pan at 350°F (175°C), usually for 25 to 30 minutes. Let the cake cool completely, which takes about 1 hour.
- Trim away any very dry or browned edges, then crumble the cooled cake into fine crumbs in a large bowl. Add 1/3 cup frosting and mix thoroughly, adding more only if needed until the mixture holds together when pressed without becoming wet or sticky.
- Portion the mixture into roughly 1-tablespoon pieces and roll each portion between your palms into a smooth ball. Arrange the balls on a parchment-lined tray and chill them for 1 to 2 hours, or until firm.
- Melt the candy coating according to the package directions. If it seems too thick for dipping, stir in a small amount of the optional shortening or paramount crystals rather than adding water.
- Dip the end of each stick into a little melted coating, then insert it about halfway into a chilled cake ball. Allow the coating to set briefly so it acts as a glue that helps keep the cake pop attached.
- Dip each cake pop straight down into the melted coating, lift it out, and gently tap the stick while rotating it to remove excess coating. Add sprinkles or other decorations immediately, before the shell sets.
- Place each finished cake pop upright in a cake-pop stand or a block of Styrofoam until firm. Serve once the coating has set, or keep the pops covered until your celebration.
Notes
Final Thoughts
Festive cake pops are a practical way to turn a simple cake mix into a colorful dessert for nearly any gathering. Bake the cake, mix in frosting gradually, chill the shaped centers, and dip them in a glossy candy coating for a dependable party treat.
Once you know the basic method, the decorating possibilities are endless. Change the cake flavor, coating colors, sprinkles, and finishing touches to create a dessert that feels made specifically for your celebration.