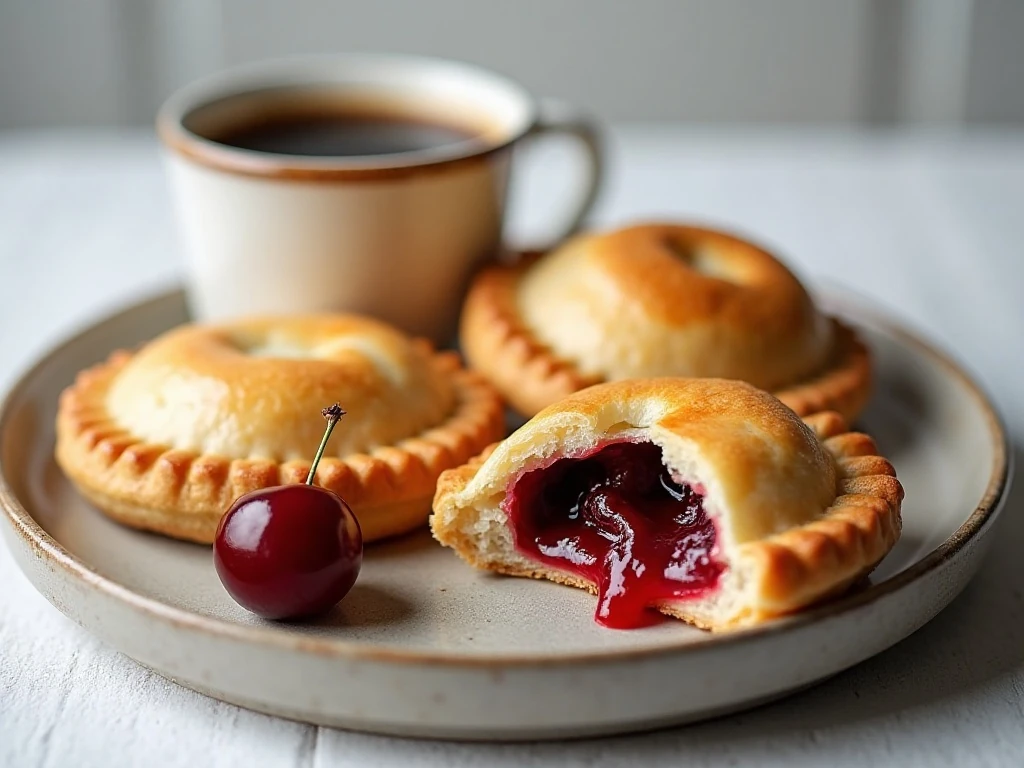
This easy Cherry Hand Pies recipe makes eight delicious individual pies in about 35 to 45 minutes. Using two refrigerated 9-inch pie crusts and one 21-ounce can of cherry pie filling keeps the preparation wonderfully simple, while an egg wash gives every hand pie a beautifully golden, crisp finish.
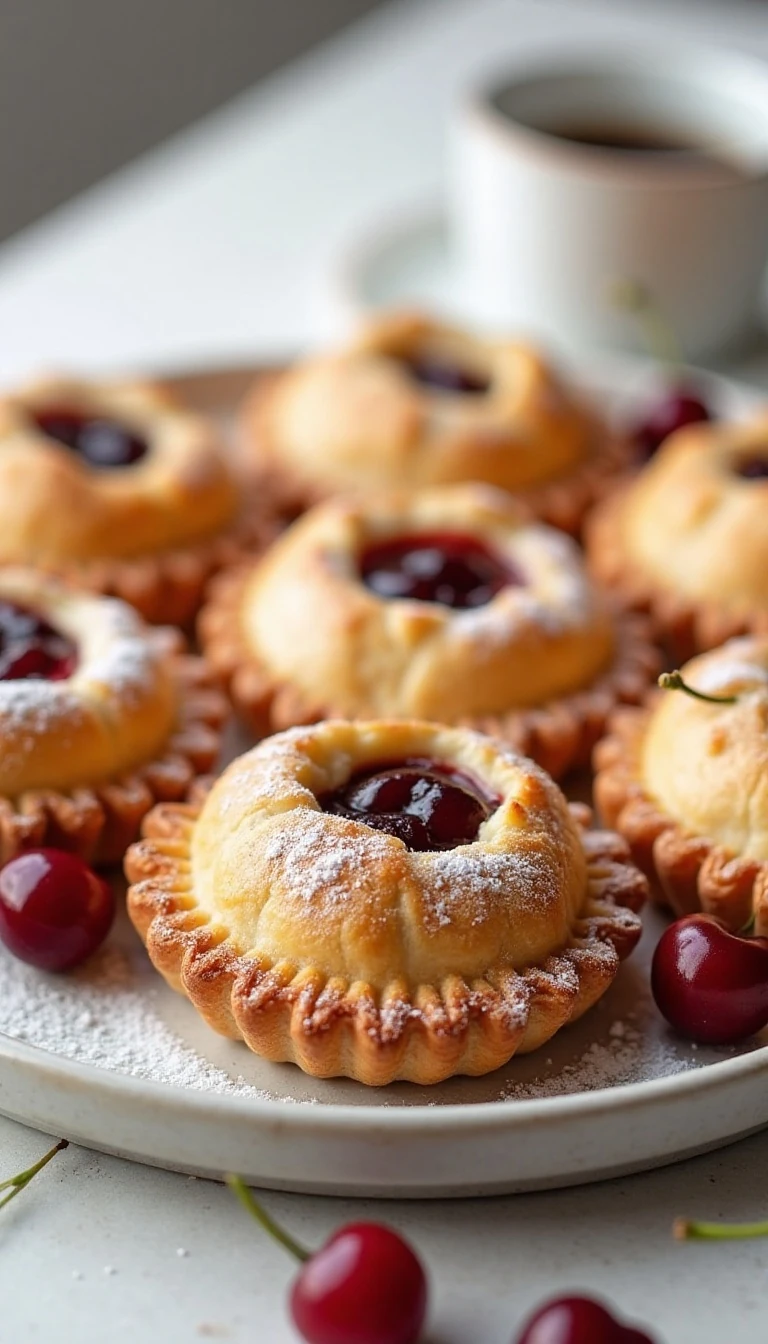
Each pastry has a tender, flaky crust wrapped around sweet, ruby-red cherry filling with just enough tartness to keep every bite balanced. Finish the cooled pies with an optional powdered-sugar glaze, or sprinkle them with coarse sugar before baking for a sparkling bakery-style topping.
Jump to RecipeWhy You’ll Love This Recipe
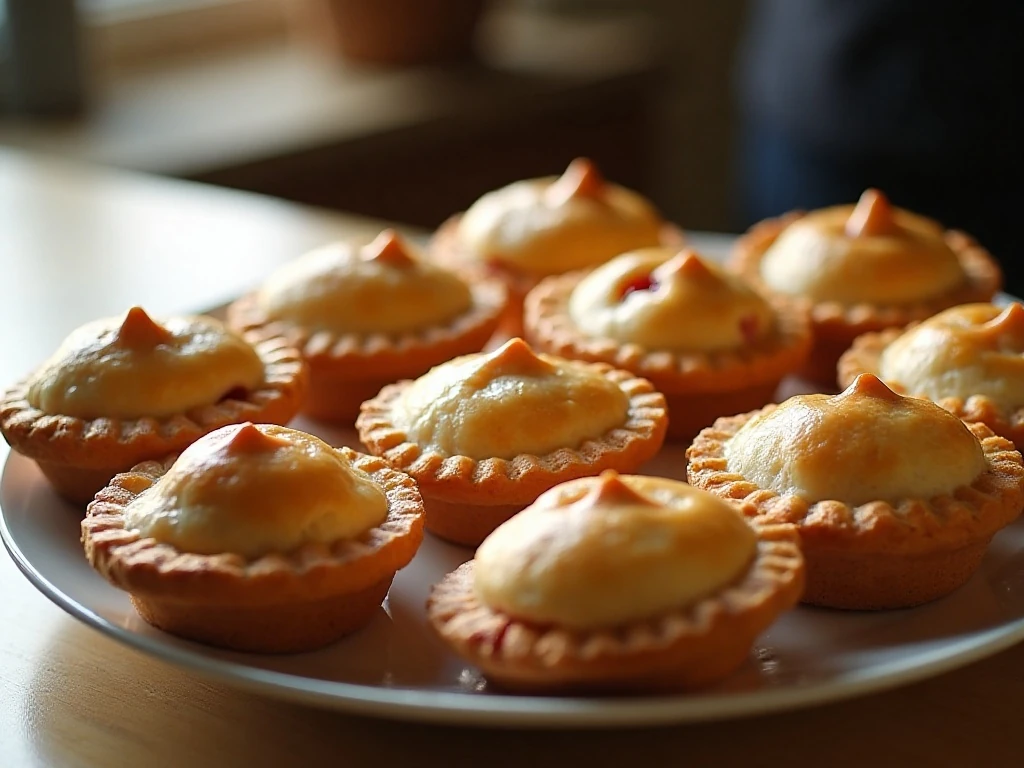
These cherry hand pies deliver the comfort of a classic fruit pie without requiring a pie plate, rolling pin expertise, or a long cooling period. Every serving is already portioned, making them easy to serve at a family dinner, bake sale, picnic, or casual afternoon gathering.
The shortcut ingredients are the secret to keeping this recipe practical. Refrigerated pie crust provides a flaky shell, while canned cherry pie filling brings dependable sweetness, color, and fruit flavor without cooking a separate filling.
They are also easy to customize at the finish. A simple powdered-sugar glaze adds creamy sweetness, while coarse sugar sprinkled over the egg wash creates a delicate crunch and a pretty sparkle.
If you enjoy fruit-filled pastry, you may also like these bright lemon curd hand pies, which make another lovely individual dessert.
Ingredients You’ll Need
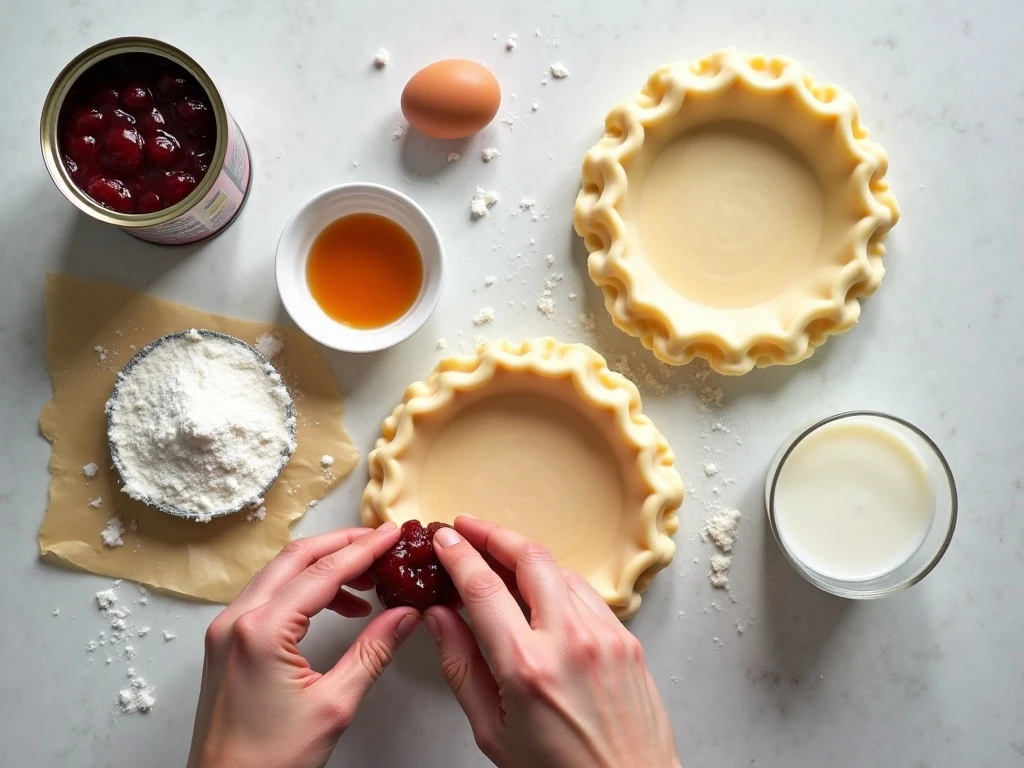
The ingredient list is short, but each item has an important job. Gather everything before you begin so the shaping process moves quickly and the dough stays cool.
- Two refrigerated 9-inch pie crusts: These create enough dough for about eight 4- to 5-inch rounds, including one reroll of the scraps if needed.
- One 21-ounce can of cherry pie filling: Use approximately 1 to 1 1/2 tablespoons per pie and avoid transferring too much of the loose liquid.
- One large egg and one tablespoon of water: Together, they make the egg wash that encourages even browning and a lightly glossy surface.
- Powdered sugar and milk or cream: These are optional ingredients for a quick drizzle after the pies have cooled.
Parchment paper is not included in the ingredient list, but it is very helpful for lining the baking sheet. It reduces sticking and makes cleanup easier if a little cherry filling bubbles out during baking.
How to Make It Step-by-Step

Step 1: Heat the oven to 425°F and line a baking sheet with parchment paper. The high oven temperature helps the refrigerated pastry brown quickly while the cherry filling warms and bubbles inside.
Step 2: Unroll the pie crusts carefully and cut about eight rounds measuring 4 to 5 inches across. You can reroll the scraps once if necessary, but avoid repeatedly working the dough because that can make the crust less tender.
Step 3: Place approximately 1 to 1 1/2 tablespoons of cherry pie filling in the center of each dough round. Keep the filling in a neat mound and leave a clear border around the edge, since excess filling or liquid can prevent a secure seal.
Step 4: Fold each dough round over the filling to create a half-moon shape. Press the edges together with your fingertips first, then crimp all the way around with a fork to reinforce the seal and create a classic hand-pie pattern.
Step 5: Arrange the shaped pies on the parchment-lined baking sheet with a little space between them. Cut one or two small vents in the top of each pie so steam can escape instead of forcing open the edges.
Step 6: Beat the egg with one tablespoon of water until blended, then brush the mixture over the tops of the pastries. Cover the surface lightly and evenly, avoiding pools of egg wash around the crimped edges.
Step 7: Bake the hand pies at 425°F for 15 to 18 minutes. They are ready when the crust is golden brown and the cherry filling is visibly bubbling through the vents or at the edges.
Step 8: Remove the baking sheet from the oven and let the pies cool for at least 10 minutes. The filling will be extremely hot at first, and this resting time also allows it to thicken slightly.
Step 9: For the optional glaze, whisk 1/2 cup powdered sugar with 1 tablespoon milk or cream until smooth. Drizzle it over the cooled pies, then let it sit briefly before serving.
Pro Tips for Flaky, Tidy Hand Pies
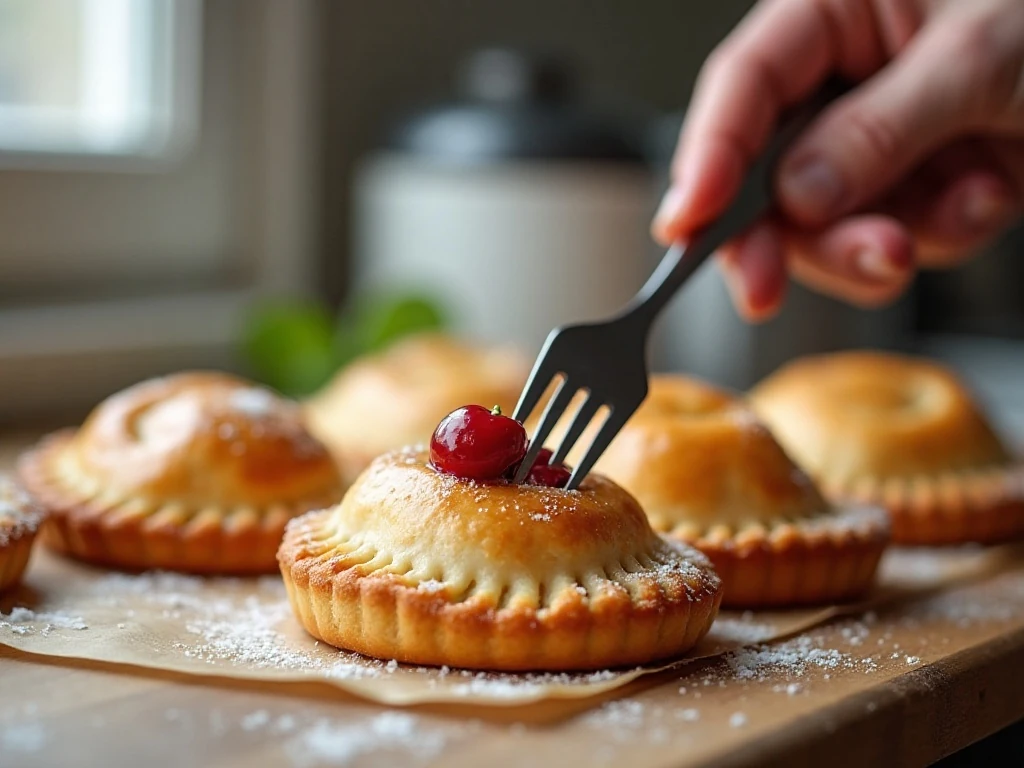
The most important rule is to avoid overfilling. Although an extra spoonful of cherries may look tempting, too much filling makes the pastry difficult to close and commonly causes leaks during baking.
Keep the dough as cool as possible while you work. If the assembled pies become soft or sticky, place them in the refrigerator for 10 to 15 minutes before baking; this helps them hold their shape and produces a flakier crust.
- Use a round cutter, small bowl, or similarly sized guide to keep the pastries consistent.
- Wipe the edge of the dough clean if filling touches it before sealing.
- Press firmly with the fork, but do not crush the entire pastry border.
- Make small vents rather than large openings so the filling stays enclosed.
- Place the pies on parchment with the crimped edges facing upward and clearly visible.
If you are planning a dessert spread, pair these hand pies with bright lime bars for a pleasing contrast between buttery pastry and tangy citrus.
Glaze, Sugar, and Serving Ideas
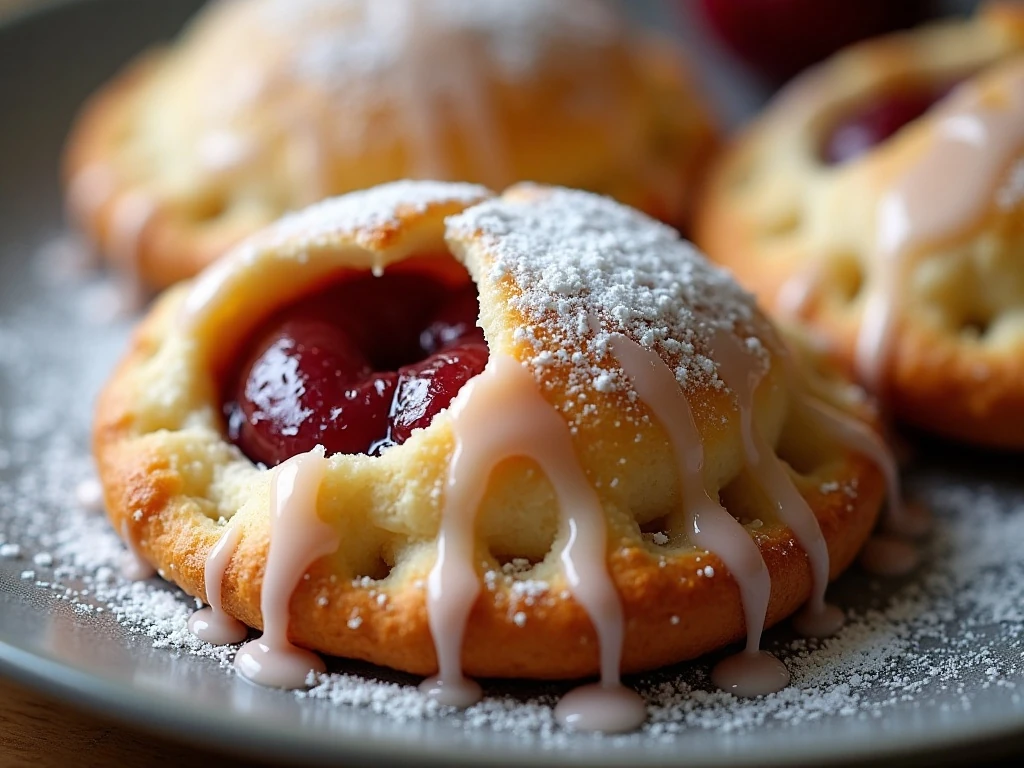
The powdered-sugar glaze is quick to make and adds a smooth, sweet finish. Start with the listed 1 tablespoon of milk or cream, whisk thoroughly, and drizzle it over fully cooled pies so the glaze stays visible instead of melting into the crust.
For a simpler topping, sprinkle coarse sugar over the egg wash before baking. This option gives the surface a delicate crunch and eliminates the extra cooling-and-glazing step.
Serve the pies slightly warm, at room temperature, or chilled. They are especially good with vanilla ice cream, softly whipped cream, or a cup of coffee, and they make a charming addition to a dessert buffet alongside stovetop caramel apples.
For a cozy autumn table, place them beside mini pumpkin pies baked in a muffin tin. The small portions and familiar flavors make both desserts easy for guests to pick up and enjoy.
Storage and Reheating
Allow the cherry hand pies to cool completely before storing them. Keep them in an airtight container at room temperature for a short period, or refrigerate them if you want to hold them longer.
To bring back some of the pastry’s crisp texture, rewarm the pies gently in the oven until heated through. Avoid adding the glaze before reheating if possible, since direct heat can soften or melt it.
These pies are also convenient for preparing ahead. Shape and seal them, then chill the assembled pastries for 10 to 15 minutes before baking, following the same oven temperature and 15- to 18-minute baking time.
For a savory seasonal contrast at a larger gathering, you can serve dessert after a comforting meal featuring this easy bread stuffing. The sweet cherry pastries provide a colorful, fruity finish after hearty dishes.
Easy Cherry Hand Pies
Ingredients
Method
- Heat the oven to 425°F and line a baking sheet with parchment paper.
- Unroll the two pie crusts and cut about eight 4- to 5-inch rounds, rerolling the scraps once if necessary.
- Place approximately 1 to 1 1/2 tablespoons of cherry pie filling in the center of each round, using as little excess liquid as possible.
- Fold each round into a half-moon, press the edges together, and crimp around the edge with a fork.
- Transfer the pies to the prepared baking sheet and cut one or two small vents in the top of each pastry.
- Beat the egg with the water, then brush the tops of the pies with the egg wash.
- Bake at 425°F for 15 to 18 minutes, until the crusts are golden brown and the filling is bubbling.
- Cool the pies for at least 10 minutes before serving or glazing.
- For the optional glaze, whisk the powdered sugar and milk together, then drizzle it over the cooled pies.
Notes
Final Thoughts
This easy Cherry Hand Pies recipe proves that a memorable homemade dessert does not need a complicated pastry dough or a long ingredient list. With refrigerated crusts, canned cherry pie filling, a quick egg wash, and an optional glaze, you can have eight golden fruit pies ready in roughly 35 to 45 minutes.
Take care with the filling amount, seal each half-moon firmly, and give the pastries time to cool before glazing. Those small details create crisp, flaky hand pies with bubbling cherry centers and a finish that looks special enough for company.
Make them for a holiday dessert table, a weekend baking project, or an easy sweet snack when pie cravings arrive. Once you taste that buttery crust and bright cherry filling in a perfectly portable package, this simple recipe is sure to become a regular favorite.