This Easy Cookie Monster Candy Bark Recipe is a fast, no-bake treat made with blue candy melts, crunchy mini chocolate-chip cookies, mini chocolate sandwich cookies, candy eyes, and an optional white chocolate drizzle. It takes about 10 minutes to prepare, 1 to 2 minutes to melt, and 30 minutes to chill, so you can have 12 to 16 playful pieces ready in about 40 to 45 minutes.
Every bite combines a smooth, sweet blue candy coating with crisp cookie pieces and a fun mix of candy eyes. The bold Cookie Monster colors make this bark perfect for birthday parties, classroom celebrations, movie nights, holiday treat trays, or an easy dessert project with children.
Jump to RecipeWhy You’ll Love This Recipe
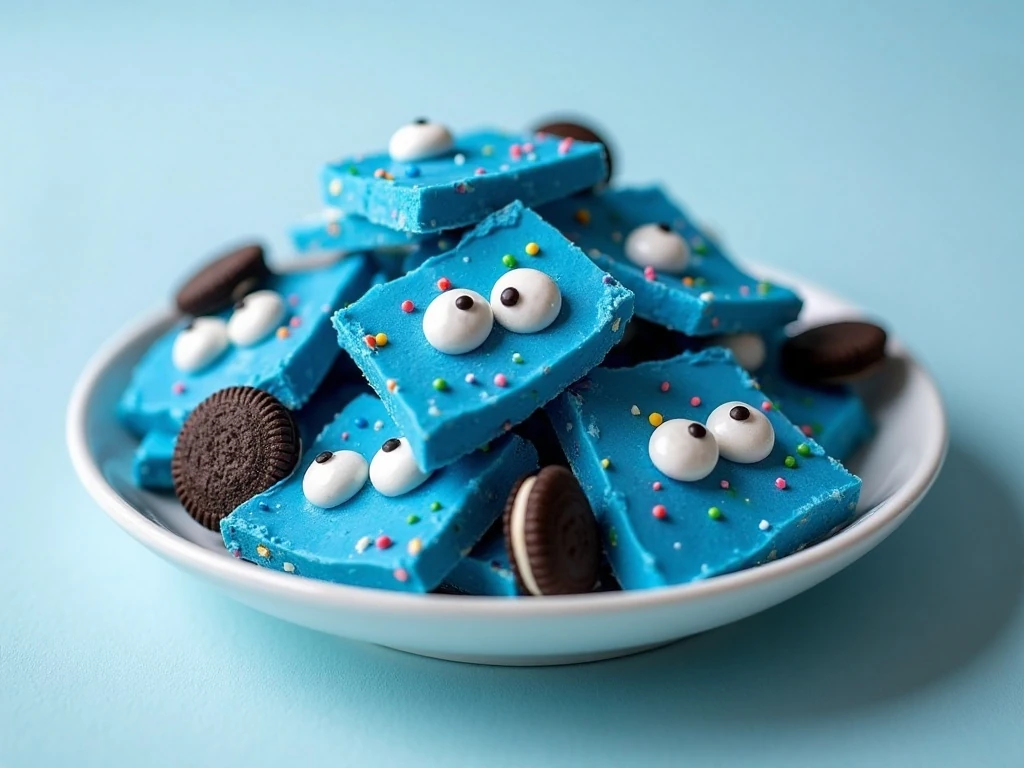
Cookie Monster candy bark is the kind of dessert that looks special without requiring complicated decorating skills. There is no oven, mixer, cookie dough, or long ingredient list involved, which makes this recipe especially useful when you need a colorful treat on short notice.
The blue candy coating sets into a crisp, creamy shell around the cookies. Mini chocolate-chip cookies contribute a buttery crunch, while mini chocolate sandwich cookies add a deeper cocoa flavor and a dramatic black-and-white contrast.
The candy eyes bring the character-inspired look to life, and every piece can be broken into a different shape. For another chocolate-forward bark idea, you can also browse our chocolate bark cupcakes for a different style of sweet treat.
- No baking required: The candy coating is melted gently in the microwave.
- Fast preparation: Most of the active work is finished in about 10 minutes.
- Party-ready appearance: Bright blue candy and candy eyes create an instantly recognizable theme.
- Easy to customize: You can change the cookie shapes, drizzle, or piece size while keeping the basic method the same.
Ingredients You’ll Need

Use 12 ounces of blue candy melts for a small batch spread into a thin, even layer. Candy melts are convenient because they are designed to melt smoothly and set firmly, giving the bark its bright color and clean snap.
Measure 1/2 cup of mini chocolate-chip cookies and 1/2 cup of mini chocolate sandwich cookies, then break them roughly. The pieces should be varied rather than pulverized, because larger chunks make the finished bark more attractive and give each bite a satisfying texture.
You will also need 20 to 30 candy eyes. Arrange some in pairs and let others sit at playful angles so the pieces have a silly, Cookie Monster-like personality.
The white drizzle is optional, but 1 to 2 tablespoons of white candy melts or white chocolate chips create attractive ribbons across the blue surface. Keep the drizzle light so it adds contrast without covering the cookies or candy eyes.
For equipment, gather a baking sheet, parchment paper or a silicone baking mat, microwave-safe bowls, and a spoon or spatula. A small offset spatula can help spread the melted coating, although an ordinary spoon works well.
How to Make It Step-by-Step
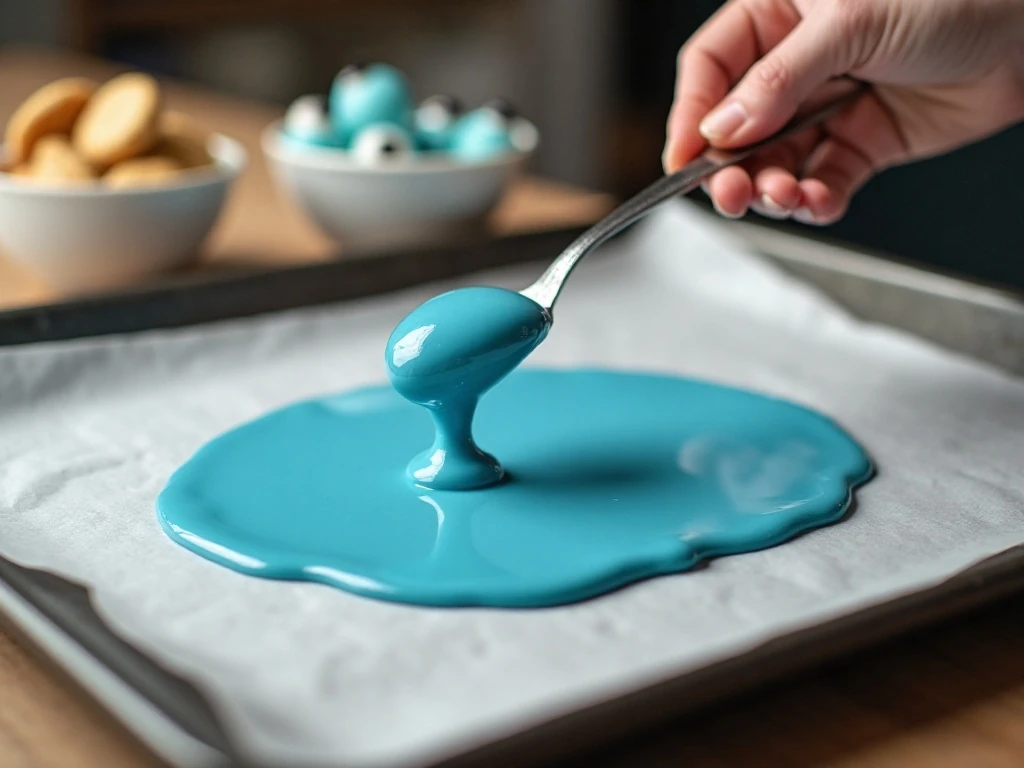
Step 1: Line a baking sheet with parchment paper or a silicone baking mat, making sure the liner lies flat. This prevents the candy bark from sticking and makes it easier to lift the chilled sheet before breaking it into pieces.
Step 2: Add the blue candy melts to a microwave-safe bowl. Heat them in 30-second intervals, stirring well after each interval, and continue only until the coating is smooth; frequent stirring helps distribute the heat and prevents scorching.
Step 3: Pour the melted blue candy onto the lined baking sheet. Use a spoon or spatula to spread it into an even layer about 1/4 inch thick, working gently so the coating stays smooth without becoming overly thin around the edges.
Step 4: If you are using the optional white candy melts or white chocolate chips, place them in a separate microwave-safe bowl and melt them carefully. Drizzle the white mixture over the blue coating in loose lines, swirls, or zigzags.
Step 5: Immediately scatter the roughly broken mini chocolate-chip cookies and mini chocolate sandwich cookies over the wet surface. Work from edge to edge so the toppings are distributed across the bark instead of collecting in one section.
Step 6: Add the candy eyes while the coating is still soft. Press each eye gently into the candy so it adheres, taking care not to push it completely beneath the surface.
Step 7: Refrigerate the baking sheet for about 30 minutes. The bark is ready when the blue coating feels completely firm and no longer bends easily when lifted from the liner.
Step 8: Remove the firm bark from the baking sheet and break it into irregular pieces by hand or cut it carefully with a knife. Serve immediately, or transfer the pieces to an airtight container for storage.
Pro Tips for Smooth, Crunchy Bark

The most important timing tip is to add the toppings while the blue coating is wet. Candy melts begin setting as they cool, and cookies or candy eyes added too late may sit on top without properly sticking.
Do not overheat the candy melts. Microwave heating continues even after the bowl leaves the microwave, so stirring between intervals is essential. If only a few small lumps remain, continue stirring before deciding to heat the mixture again.
If the coating seems too thick to spread, stir in a small amount of vegetable shortening or paramount crystals. Never add water, milk, or another liquid, because moisture can cause melted candy coating to seize and become grainy.
For a tidy sheet, spread the candy in the center first and then guide it outward. An approximately 1/4-inch thickness provides enough coating to hold the cookies while keeping the bark easy to bite and break.
For a thicker or larger batch, some versions use 16 ounces of blue candy melts and increase each cookie topping to about 3/4 cup. The 12-ounce quantity used here is the usual small-batch proportion and yields about 12 to 16 pieces.
If you are preparing a larger dessert table, place the bark beside simple savory party food such as these ham and pineapple salad ideas. The sweet-and-savory contrast gives guests more variety without making the candy bark do all the work.
Storage, Serving, and Party Ideas

Store Cookie Monster bark in an airtight container with parchment between layers if the pieces are stacked. Keep it in a cool, dry place, and refrigerate it when the room is warm or when you prefer a firmer bite.
Because the bark contains candy coating and cookies rather than a perishable filling, it is convenient for preparing ahead of a celebration. Allow refrigerated pieces to sit briefly before serving if you want the coating to taste less chilled.
Break the bark into large dramatic pieces for a dessert table, or make smaller pieces for favor bags and classroom treats. Clear bags tied with blue ribbon make the candy eyes and cookie pieces visible through the packaging.
For a full party spread, pair this dessert with a bright fruit option such as our mandarin orange dessert. If you are planning a casual family meal before dessert, these easy roasted potatoes offer a comforting side dish.
Keep the decoration simple if children are helping. Adults should handle the hot bowl and melted candy, while children can scatter cookie pieces and place the candy eyes once the tray is safely positioned on the counter.
Common Questions About Cookie Monster Bark
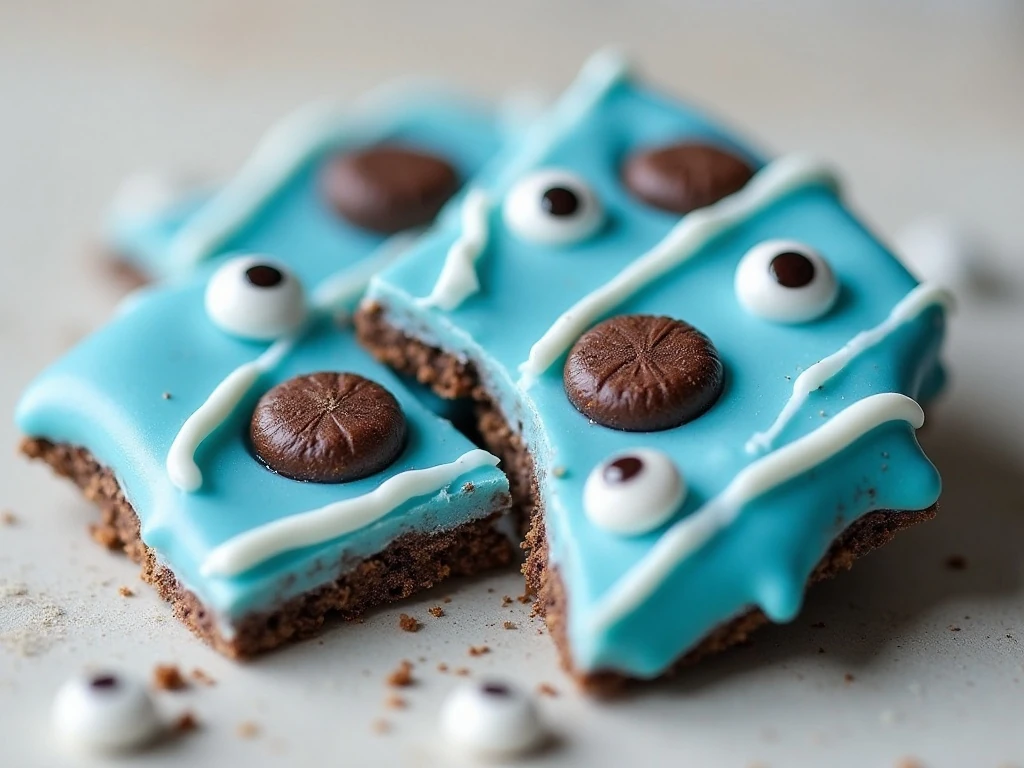
Can I use regular-sized cookies? Yes, but break them into bite-size pieces so they distribute well across the sheet. Mini cookies make the bark easier to portion and give the finished pieces a more balanced cookie-to-candy ratio.
Can I skip the white drizzle? Absolutely. The blue coating, cookies, and candy eyes provide plenty of flavor and visual interest, while the drizzle is simply an optional decorative touch.
Why did my candy coating become thick? It may have cooled between heating intervals or been overheated. Stir it thoroughly, and if needed, mix in a small amount of vegetable shortening or paramount crystals rather than adding water.
Can I use another color? The recipe is designed around blue candy melts for the Cookie Monster look, but the same technique works with other candy melt colors. If you change the color, keep the quantities and timing the same unless you are intentionally making a larger batch.
How do I get clean pieces? Chill the bark until it is completely firm, then use a sharp knife for more controlled sections or break it by hand for a rustic appearance. Either approach suits this recipe because irregular edges are part of the charm.
For a fresh-baked companion to this no-bake treat, consider adding our easy peach bread to the dessert table. It provides a tender fruit-filled option alongside the crisp, chocolatey bark.
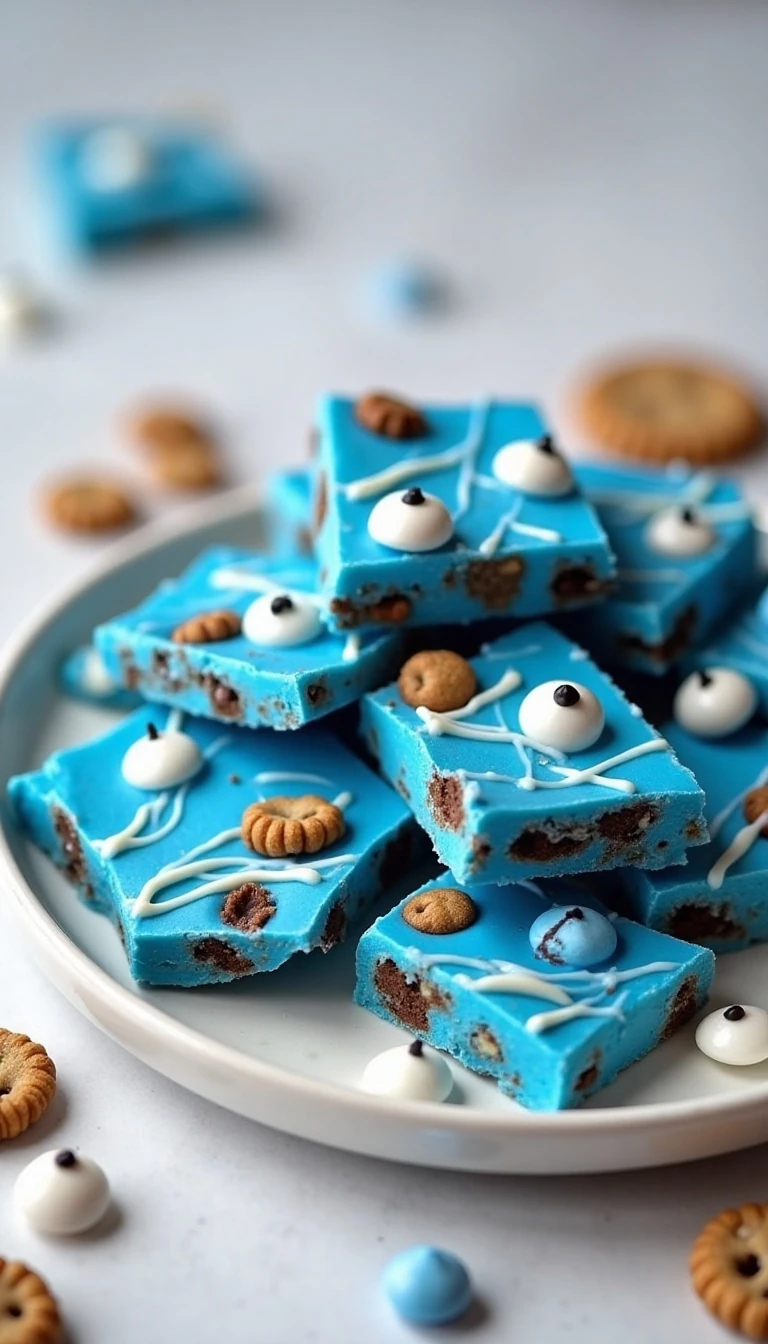
Easy Cookie Monster Candy Bark Recipe
Ingredients
Method
- Line a baking sheet with parchment paper or a silicone baking mat.
- Place the blue candy melts in a microwave-safe bowl and microwave in 30-second intervals, stirring thoroughly after each interval, until smooth.
- Pour the melted blue coating onto the prepared baking sheet and spread it into an even layer about 1/4 inch thick.
- If using the optional white candy melts or white chocolate chips, melt them separately and drizzle them over the blue coating.
- Immediately scatter the broken mini chocolate-chip cookies and mini chocolate sandwich cookies across the wet surface.
- Add 20 to 30 candy eyes and press them gently into the coating so they stick.
- Refrigerate the tray for about 30 minutes, or until the bark is completely firm.
- Break or cut the firm bark into irregular pieces and serve.
Notes
Final Thoughts
This Easy Cookie Monster Candy Bark Recipe proves that a memorable party dessert can come together with a few ingredients and very little active time. Smooth blue candy melts, crunchy cookies, bright candy eyes, and an optional white drizzle create a treat that is cheerful, crisp, and wonderfully simple.
Remember to work quickly once the coating is spread, because the cookies and candy eyes need to be added before the surface begins to set. After a 30-minute chill, you can break the bark into rustic pieces and serve it as a colorful centerpiece for birthdays, school events, family movie nights, or holiday celebrations.
Make one small batch for an afternoon treat, or use the larger 16-ounce variation when you need more pieces. However you serve it, this bark is sure to bring plenty of smiles before the first crunchy bite.