This easy Christmas Candy Cane Cookies recipe makes about 3 to 4 dozen buttery, tender cookies with twisted red-and-white dough shaped into classic candy canes. The cookies take about 35 to 45 minutes to prepare, may need 30 to 60 minutes of chilling, and bake at 375°F (190°C) for 9 to 12 minutes per tray.
Each cookie has a delicate vanilla-almond flavor, a soft crumb, and a cheerful peppermint finish if you choose to add crushed candy. They are wonderful for cookie exchanges, holiday dessert trays, edible gifts, and cozy afternoons spent baking with family.
Jump to RecipeWhy You’ll Love This Recipe

These candy cane cookies bring instant Christmas cheer without requiring complicated decorating tools. The red-and-white ropes create the signature design before the cookies even reach the oven, so the finished tray looks festive with very little extra work.
The combination of butter and vegetable shortening gives the dough a pleasant balance of flavor and structure. Butter supplies a rich, tender taste, while shortening helps the shaped ropes hold their curves during baking.
- Makes about 3 to 4 dozen cookies.
- Uses simple pantry ingredients.
- Offers a classic almond-vanilla flavor.
- Can be finished with optional crushed peppermint candy.
- Works beautifully for cookie swaps and holiday gift boxes.
If you enjoy playful holiday cookie designs, you can also see these fun candy cane cookie variations for another festive baking idea.
Ingredients You’ll Need

Start with softened unsalted butter, vegetable shortening, powdered sugar, one large egg, almond extract, vanilla extract, all-purpose flour, and salt. The powdered sugar blends smoothly into the dough and helps create a fine, delicate texture.
Red gel or liquid food coloring creates the bright stripe. Begin with approximately 1/2 teaspoon, then add enough to produce a strong red color; gel coloring usually gives a vivid shade without adding much moisture.
Finely crushed peppermint candy is optional, but it adds a refreshing crunch and a pretty sparkle. For a slightly more peppermint-forward cookie, some published versions use 1/2 teaspoon peppermint extract in place of, or in addition to, the almond extract.
- Use real softened butter, not melted butter.
- Measure flour carefully, preferably by spooning it into a cup and leveling the top.
- Choose a food coloring shade that remains bright after baking.
- Have parchment paper and a wire rack ready before shaping.
How to Make It Step-by-Step
Step 1: Heat the oven to 375°F (190°C), and prepare the baking sheets with parchment paper. You may also leave the sheets ungreased when using a traditional cookie-baking method, but parchment makes transferring the delicate shapes easier.
Step 2: Place the softened butter, shortening, and powdered sugar in a large mixing bowl. Cream them until smooth and light, then beat in the egg, almond extract, and vanilla extract until evenly incorporated.
Step 3: Add the flour and salt gradually, mixing just until the ingredients come together into a soft dough. Avoid overmixing, since excessive mixing can make the cookies less tender.
Step 4: Divide the dough evenly into two portions. Leave one portion plain and knead or mix the red food coloring into the second portion until the color is strong and uniform, scraping the bowl as needed.
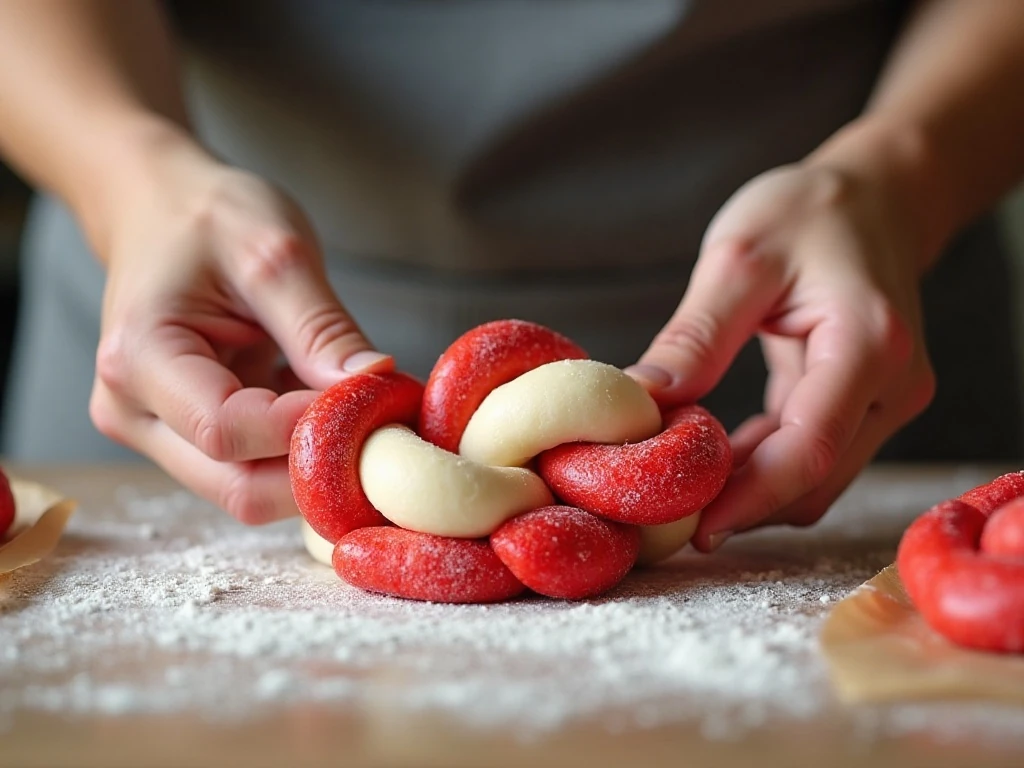
Step 5: Take a small piece of white dough and a matching piece of red dough for each cookie. Roll each piece into an approximately 4-inch rope, aiming for the same thickness so the finished cookie has balanced stripes.
Step 6: Place the red and white ropes beside each other and twist them gently together. Do not twist too tightly, because tight twisting can blur the colors and make the cookie harder to curve.
Step 7: Bend one end of the twisted rope into a candy-cane hook. Transfer the shape to the baking sheet, leaving about 1 inch between cookies so the pieces have room to bake evenly.
Step 8: Bake one tray at a time for 9 to 12 minutes. The cookies should be set with edges that are only lightly colored, so remove them before they become noticeably brown.
Step 9: Leave the cookies on the baking sheet for about 5 minutes after baking. If you are using crushed peppermint candy, sprinkle it over the slightly warm cookies, then carefully transfer them to a wire rack.
Pro Tips for Perfect Candy Cane Shapes
Temperature is the most important detail when working with this dough. If it becomes sticky or difficult to roll, chill it for 30 to 60 minutes, depending on how soft it is, then work with small portions while keeping the remaining dough cool.
Roll both colors to the same thickness and length. A loose, gentle twist gives the cookies clean red-and-white stripes, while a tight twist can produce a muddled pattern.
- Work on a cool surface when possible.
- Shape the hook with a light touch to prevent cracking.
- Return shaped cookies to the refrigerator briefly if they soften before baking.
- Bake until just set and keep the cookies pale.
- Let each tray cool before moving the cookies, since warm candy cane shapes are fragile.
For more holiday dessert inspiration, try our rich chocolate truffle cookies alongside this red-and-white batch.
Optional Peppermint Finish

Crushed peppermint candy gives these cookies a festive, cool flavor and a delicate crunch. Crush the candy finely enough to sprinkle easily, but leave a few slightly larger pieces for texture.
Add the peppermint while the cookies are still slightly warm so the pieces adhere naturally. Do not cover the cookies too heavily, since a light scattering keeps the buttery almond flavor in balance.
If you prefer the traditional red-and-white appearance, simply skip the candy topping. The twisted dough already provides the classic candy cane look.
Read More: Easy Buffalo Chicken Marinade
Storage, Freezing, and Serving

Cool the cookies completely before storing them. Place them in an airtight container with parchment between layers, and keep them at room temperature for several days.
For a holiday cookie platter, arrange the candy canes beside chocolate cookies, shortbread, or sugared nuts. Their bright color makes them especially useful for filling empty spaces on a dessert tray.
The unbaked dough can be chilled while you work, but keep the red and white portions covered so they do not dry out. If you prepare cookies ahead, store them securely and handle the curved hooks gently when packing gift boxes.
Read More: Another Easy Buffalo Chicken Marinade
Serving idea: Pair the cookies with hot cocoa, coffee, or tea for a simple Christmas afternoon treat. For a savory option after baking, our cozy vegetarian ramen makes a comforting meal before dessert.

Easy Christmas Candy Cane Cookies
Ingredients
Method
- Heat the oven to 375°F (190°C). Line baking sheets with parchment paper, or leave them ungreased if following a traditional preparation.
- Cream the softened butter, shortening, and powdered sugar until the mixture is smooth and light. Beat in the egg, almond extract, and vanilla extract.
- Gradually add the flour and salt, mixing only until a soft dough forms. Divide the dough evenly into two portions and tint one portion red, leaving the other portion white.
- For each cookie, roll a small piece of white dough and a matching piece of red dough into ropes about 4 inches long. Place the ropes side by side, twist them gently together, and curve one end into a candy-cane shape.
- Arrange the shaped cookies on the prepared baking sheets, leaving about 1 inch between them. Bake for 9 to 12 minutes, until set and only lightly colored at the edges.
- Let the cookies cool on the baking sheet for about 5 minutes before transferring them to a wire rack. If using crushed peppermint candy, sprinkle it over the cookies while they are still slightly warm.
Notes
Final Thoughts
These Easy Christmas Candy Cane Cookies are a classic holiday bake because they are charming, buttery, and simple to shape with ordinary ingredients. Keep the dough cool, twist the ropes loosely, and bake only until the cookies are set and pale for the best texture and definition.
Whether you add crushed peppermint candy or let the red-and-white dough speak for itself, this recipe is ready for cookie exchanges, Christmas Eve plates, and homemade gifts. Make a batch, pour a warm drink, and enjoy one of the sweetest traditions of the season.