This easy baked apples recipe makes a warm, comforting fall dessert with just four apples, brown sugar, rolled oats, chopped nuts, cinnamon, butter, and a splash of water or apple cider. Core the apples without cutting through their bottoms, fill them with the buttery oat mixture, and bake at 375°F for 35 to 45 minutes, or until tender but still holding their shape.
Each apple becomes soft and fragrant while the filling turns crisp, buttery, and lightly chewy. Serve the baked apples with vanilla ice cream, whipped cream, or yogurt, then spoon the syrupy pan juices over the top for a simple dessert that tastes like a cozy apple pie without preparing a crust.
Jump to RecipeWhy You’ll Love This Recipe
Baked apples are one of the easiest ways to bring the flavor of a homemade apple dessert to the table. There is no pastry to roll, no complicated sauce to simmer, and no special equipment required beyond a small baking dish, a bowl, and a spoon.
The filling delivers several satisfying textures in every bite. Brown sugar melts into the apple juices, oats soften around the edges while staying pleasantly hearty, and pecans or walnuts add a toasty crunch that makes the dessert feel complete.
This recipe is also flexible enough for different tastes. Use tart Granny Smith apples for a bright contrast, Honeycrisp or Fuji for a naturally sweet result, or Gala apples for a mellow, familiar flavor.
For a cozy dinner menu, these apples make a lovely finish after a savory meal such as our oven-braised pot roast. The fruit can bake while the table is being cleared, making dessert feel effortless.
Ingredients You’ll Need
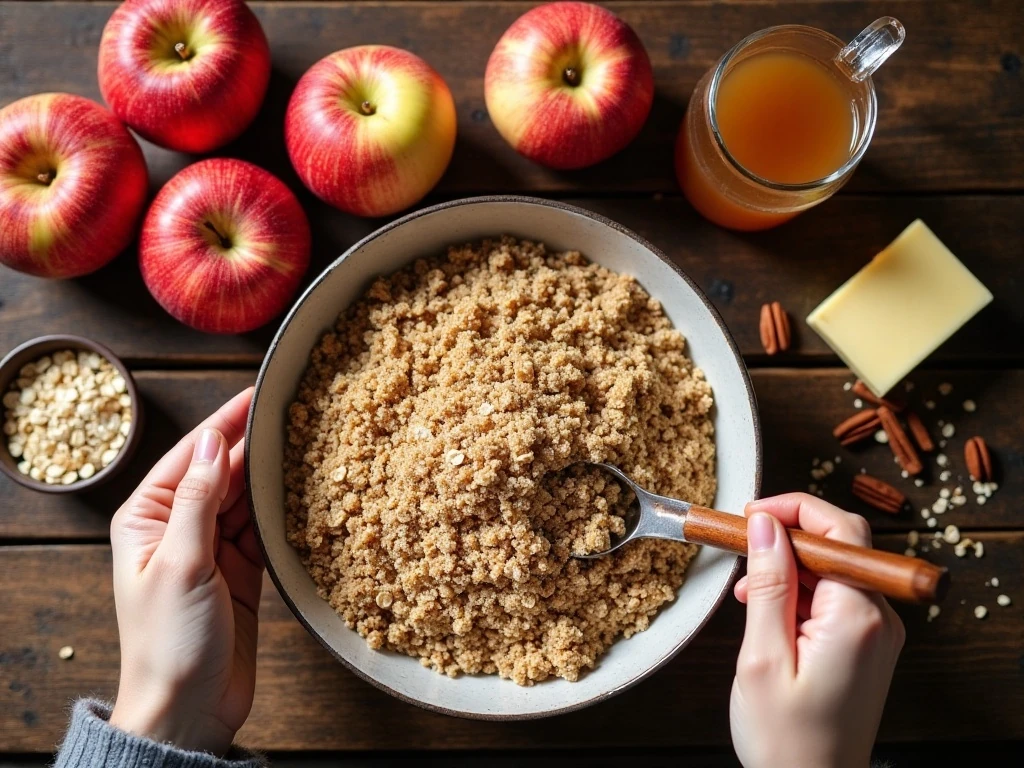
Choose four large, firm apples that are free from bruises and feel heavy for their size. Firm fruit is important because it softens in the oven without immediately collapsing.
- Apples: Honeycrisp, Fuji, Gala, and Granny Smith all work well.
- Brown sugar: Adds caramel-like sweetness and helps create the syrup in the baking dish.
- Rolled oats: Old-fashioned oats give the filling a pleasantly rustic texture.
- Pecans or walnuts: Chopped nuts add richness and crunch.
- Cinnamon and nutmeg: Cinnamon is essential, while nutmeg is optional but warmly aromatic.
- Butter: Small pieces melt into the filling and help it brown.
- Water or apple cider: The liquid creates steam and keeps the fruit from drying out.
- Lemon juice: This is optional and can help limit browning while the apples wait to be filled.
If you prefer a nut-free dessert, leave out the nuts and add a little more oats. You can also replace the nuts with raisins or dried cranberries, although the core method and baking time remain the same.
How to Make It Step-by-Step
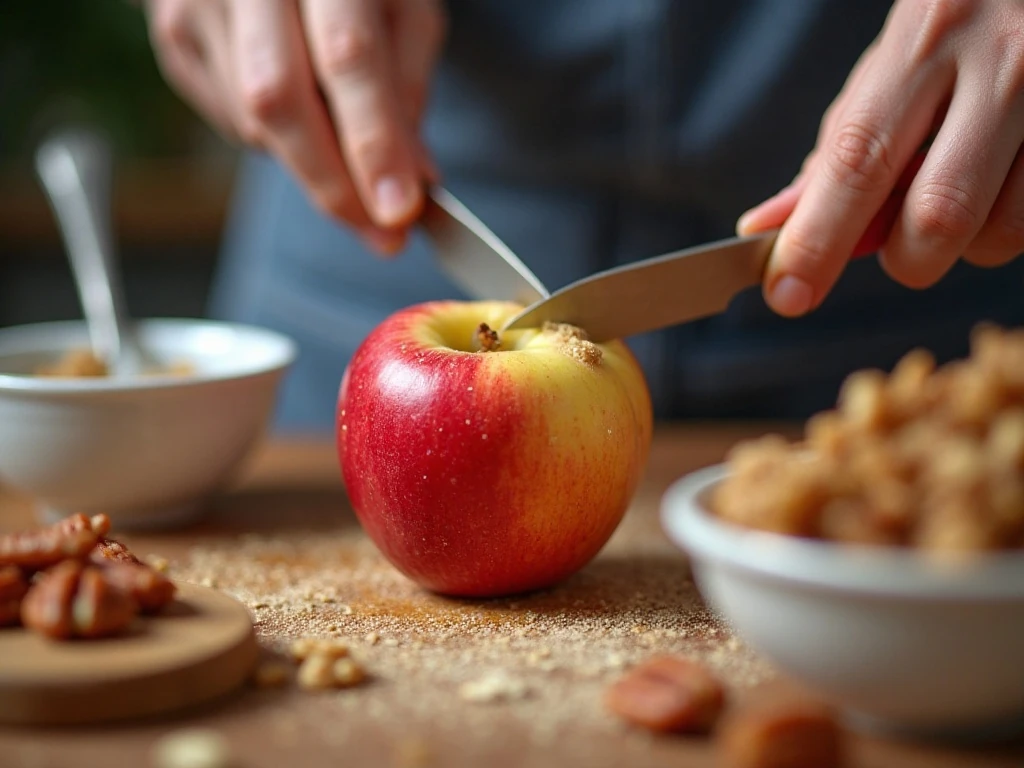
Step 1: Heat your oven to 375°F (190°C), then lightly butter a small baking dish. The butter helps prevent sticking and adds a little flavor to the juices collecting at the bottom.
Step 2: Wash and dry the apples, then remove the cores with an apple corer or a small, sharp paring knife. Work carefully and stop before reaching the bottom so each apple has an intact base; a cavity about 1 inch wide is ideal.
Step 3: Stir the packed brown sugar, rolled oats, chopped pecans or walnuts, cinnamon, and optional nutmeg together in a bowl. Mix until the spices are distributed evenly, breaking up any compacted brown sugar as you go.
Step 4: Arrange the apples upright in the prepared baking dish. Spoon the filling into each cavity, pressing it gently without packing it too tightly, then place a portion of the softened butter or small butter pieces over each filled apple.
Step 5: Pour 1/2 cup water or apple cider into the bottom of the dish. Keep the liquid around the apples rather than pouring it over the filling, since this lets the topping brown while the surrounding liquid creates steam and a flavorful sauce.
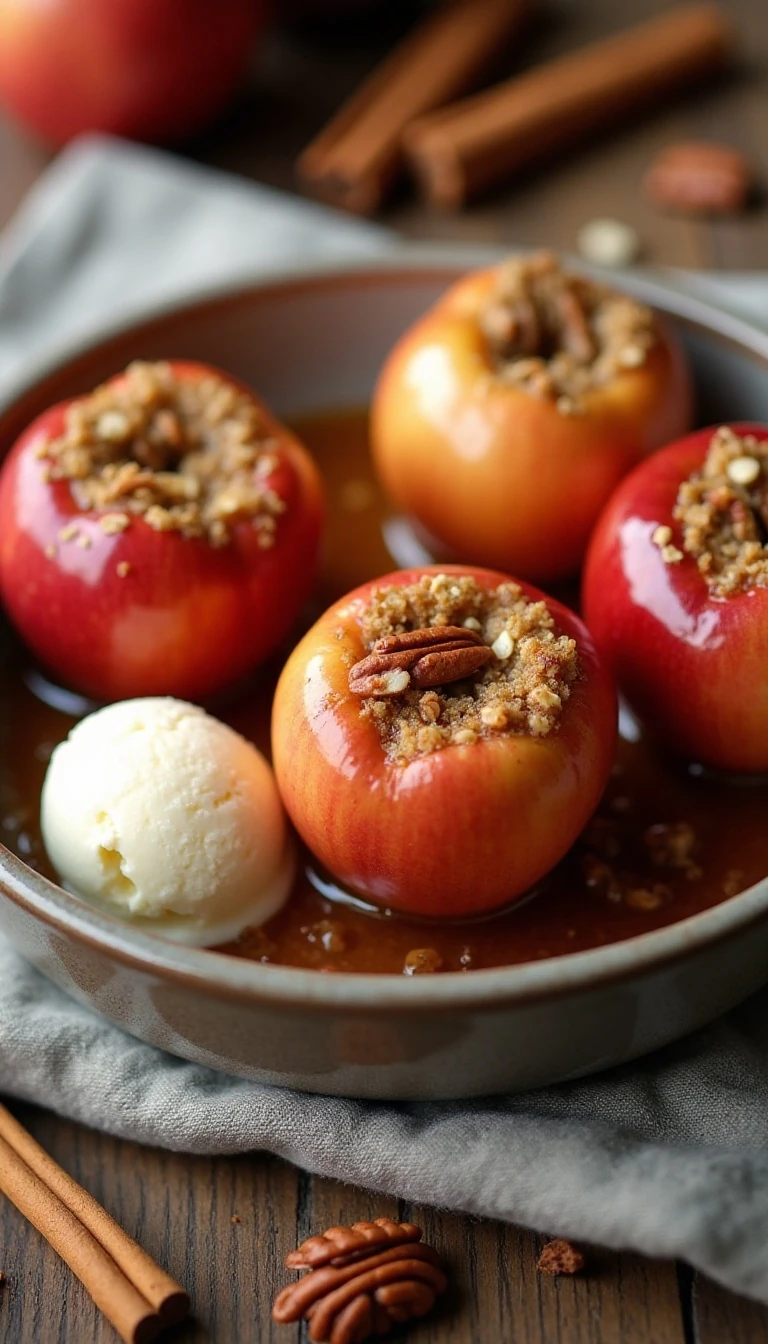
Step 6: Bake for 35 to 45 minutes. Begin checking with a thin knife near the 35-minute mark; the apples are ready when they feel tender when pierced but still stand upright and hold their shape.
Step 7: Remove the dish from the oven and let the apples rest briefly so the hot juices settle. Spoon the warm pan juices over the fruit, then serve immediately with vanilla ice cream, whipped cream, or yogurt.
Choosing the Best Apples
Apple variety changes the final balance of sweetness, tartness, and texture. Honeycrisp and Fuji apples are naturally sweet and retain a pleasant bite, while Granny Smith apples bring a tangy flavor that pairs especially well with brown sugar and ice cream.
Gala apples are a dependable middle ground with a soft, fragrant flavor. Whichever variety you choose, select apples that are large and firm, since very soft fruit may become too tender before the filling has finished browning.
Try to use apples of similar size in the same baking dish. When the fruit is evenly sized, it is easier for all four apples to finish at approximately the same time.
Pro Tips for Tender, Flavorful Apples
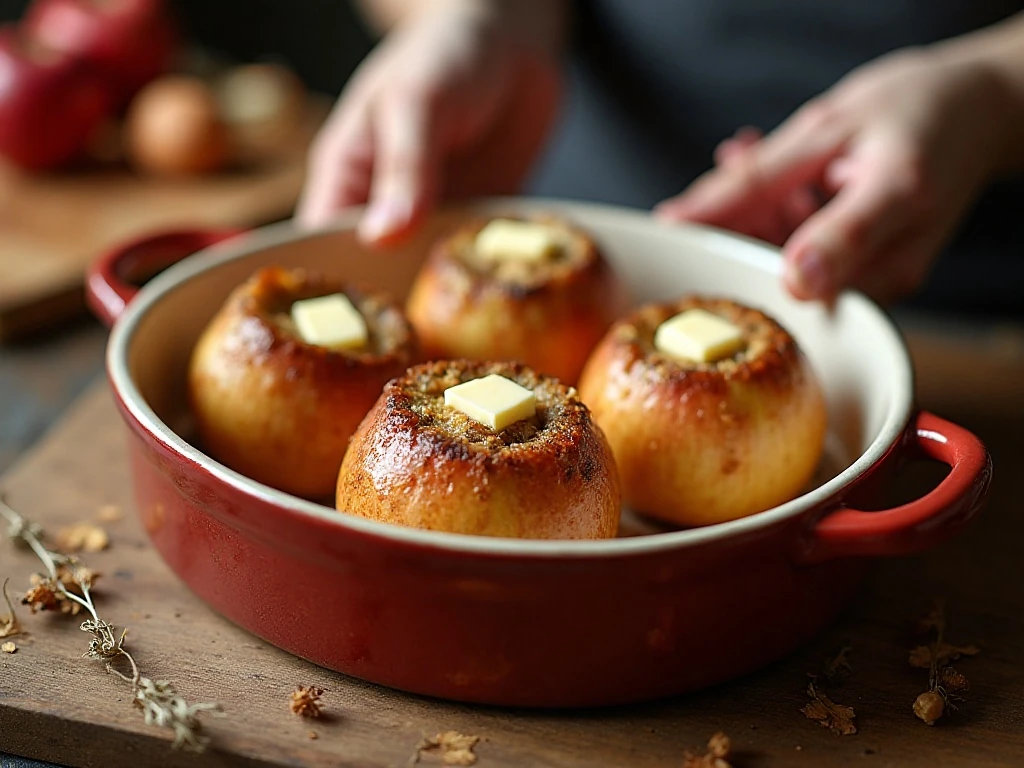
The most important technique is leaving the bottom of each apple intact. If the coring tool cuts all the way through, the brown sugar mixture and cooking juices can escape, leaving the filling dry and the dish difficult to serve.
Do not judge doneness by time alone. Apples vary considerably in size and firmness, so use a thin knife to test one apple near the center of the dish, where it may cook slightly differently from the apples at the edges.
For especially large or firm apples, allow up to 50 minutes in the oven. If the filling begins to darken too quickly while the fruit is still firm, loosely cover the dish with foil for the remaining baking time.
For extra seasonal flavor, use apple cider instead of water in the bottom of the dish. It gives the pan juices a deeper apple flavor without changing the straightforward preparation.
If you are planning a full comfort-food spread, serve these apples after a bowl of our loaded baked potato soup for a menu filled with warm, familiar flavors.
Serving Ideas and Variations
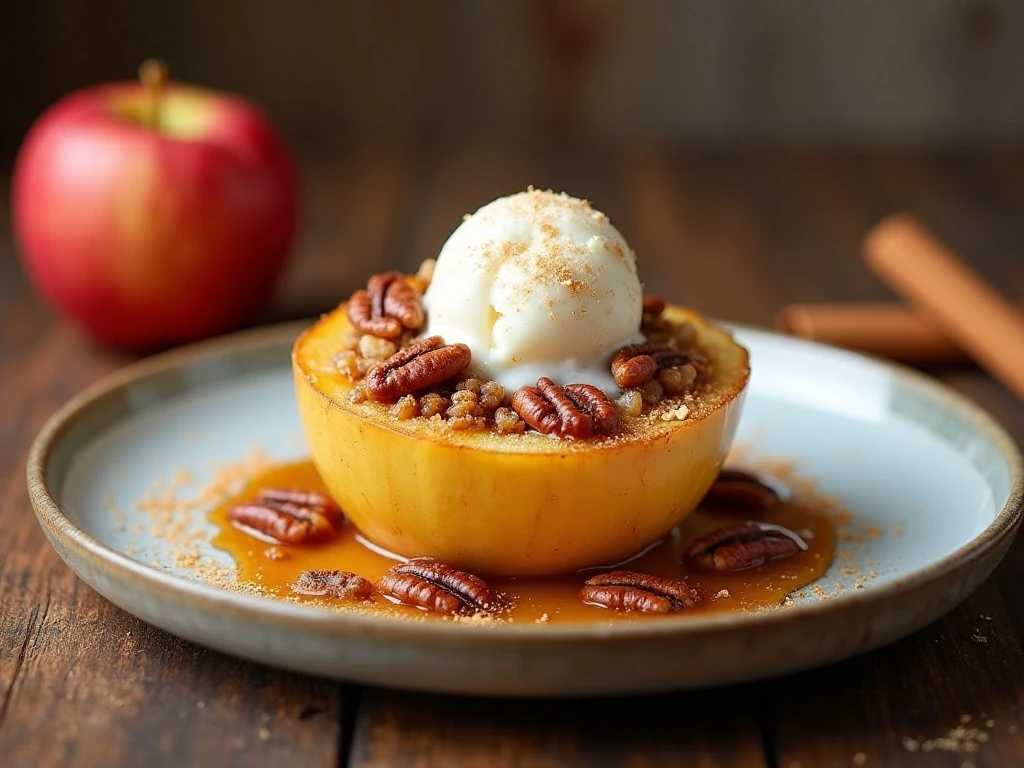
The classic way to serve a baked apple is warm with vanilla ice cream. The cold, creamy ice cream melts into the cinnamon-scented juices, creating a simple sauce that tastes remarkably rich.
Whipped cream gives the dessert a lighter finish, while plain or vanilla yogurt adds a gentle tang. A spoonful of the pan juices over the top is worthwhile no matter which topping you choose.
- Add raisins or dried cranberries to the filling for little bursts of chewy sweetness.
- Use walnuts for a slightly earthy flavor or pecans for a naturally buttery crunch.
- Omit the oats and nuts for a simpler filling made with brown sugar, cinnamon, and butter.
- For six smaller apples, increase the filling by about 50 percent and check them around 35 to 40 minutes.
These baked apples are also a welcoming dessert for guests because they can be assembled ahead of time and placed in the oven while dinner is winding down. Their individual portions look inviting on the plate without requiring extra slicing or decorating.
Storage and Reheating
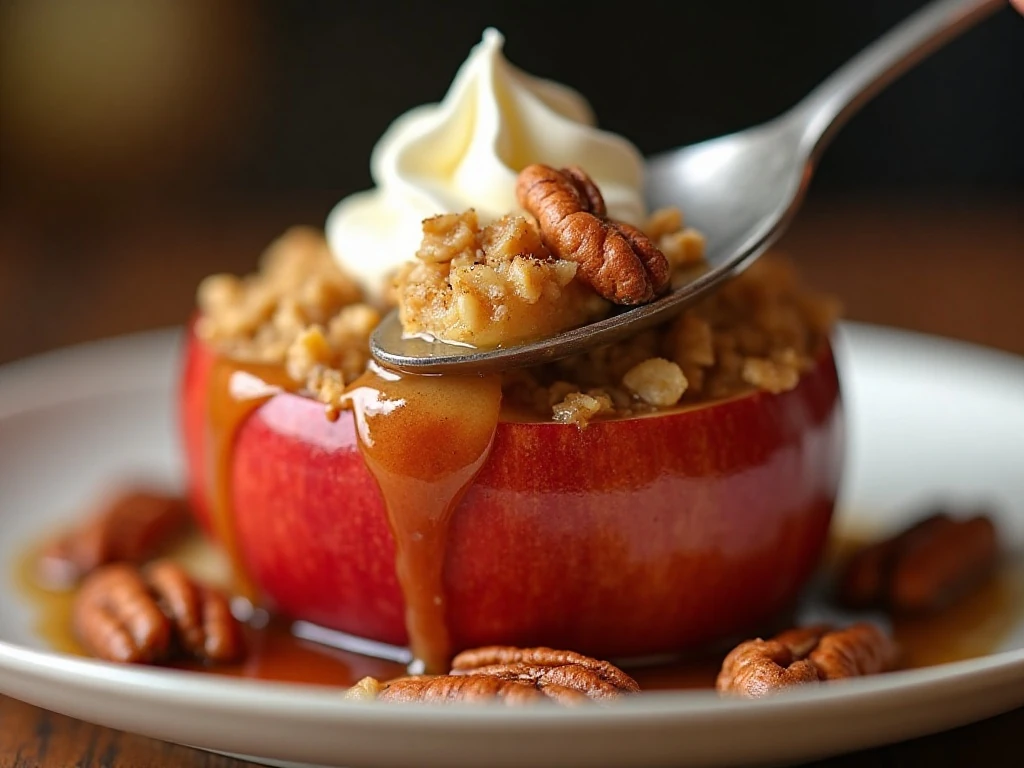
Allow leftover apples to cool, then cover and refrigerate them. They are best enjoyed within a few days, with the filling and fruit kept together so the juices continue to flavor the dessert.
Reheat the apples gently in a moderate oven or microwave until warm. Add a small spoonful of the reserved pan juices, if available, before serving to refresh the soft filling.
Because the texture is at its best when freshly baked, avoid overheating leftovers. The apples can become too soft if reheated for too long, so warm them just until comfortable to eat.
For another comforting meal idea before dessert, browse this easy chicken potpie, a savory favorite that pairs beautifully with a simple fruit dessert.
Easy Baked Apples Recipe
Ingredients
Method
- Heat the oven to 375°F (190°C) and lightly butter a small baking dish.
- Wash the apples and remove the cores, leaving the bottoms intact. Make each cavity approximately 1 inch wide so the filling stays inside.
- Combine the brown sugar, rolled oats, chopped nuts, cinnamon, and optional nutmeg in a small bowl.
- Set the apples upright in the prepared baking dish. Spoon the filling into each cavity and place a portion of the butter on top of each apple.
- Pour the water or apple cider into the bottom of the baking dish, taking care not to pour it directly over the filling.
- Bake for 35 to 45 minutes, until a thin knife pierces the apples easily while they still hold their shape. Very large or especially firm apples may need up to 50 minutes.
- Spoon the warm pan juices over the baked apples and serve with vanilla ice cream, whipped cream, or yogurt.
Notes
Final Thoughts
This easy baked apples recipe is proof that a memorable fall dessert does not need a long ingredient list or complicated technique. With firm apples, a warmly spiced oat-and-nut filling, and a little butter, the oven does most of the work.
Remember to keep the apple bottoms intact, pour the liquid into the baking dish, and test the fruit with a thin knife rather than relying only on the clock. Serve the apples warm with your favorite creamy topping, and be sure to spoon every drop of the fragrant pan juice over the top.
1 thought on “Easy Baked Apples Recipe (Perfect Fall Dessert)”