These Easy Pumpkin Oreo Pops are a simple no-bake Halloween treat made with 12 Oreo sandwich cookies, lollipop sticks, orange candy melts, and playful black pumpkin faces. The pops take about 25 minutes to prepare and need just 15–30 minutes to set, making them an excellent last-minute dessert for parties, school celebrations, or a family decorating activity.
Every bite combines a crisp chocolate cookie, creamy Oreo filling, and a sweet orange candy shell that looks just like a tiny pumpkin. Add green stems for extra character, or keep the decorations simple with classic jack-o-lantern faces; either way, these treats are festive, portable, and wonderfully easy to make.
Jump to RecipeWhy You’ll Love This Recipe
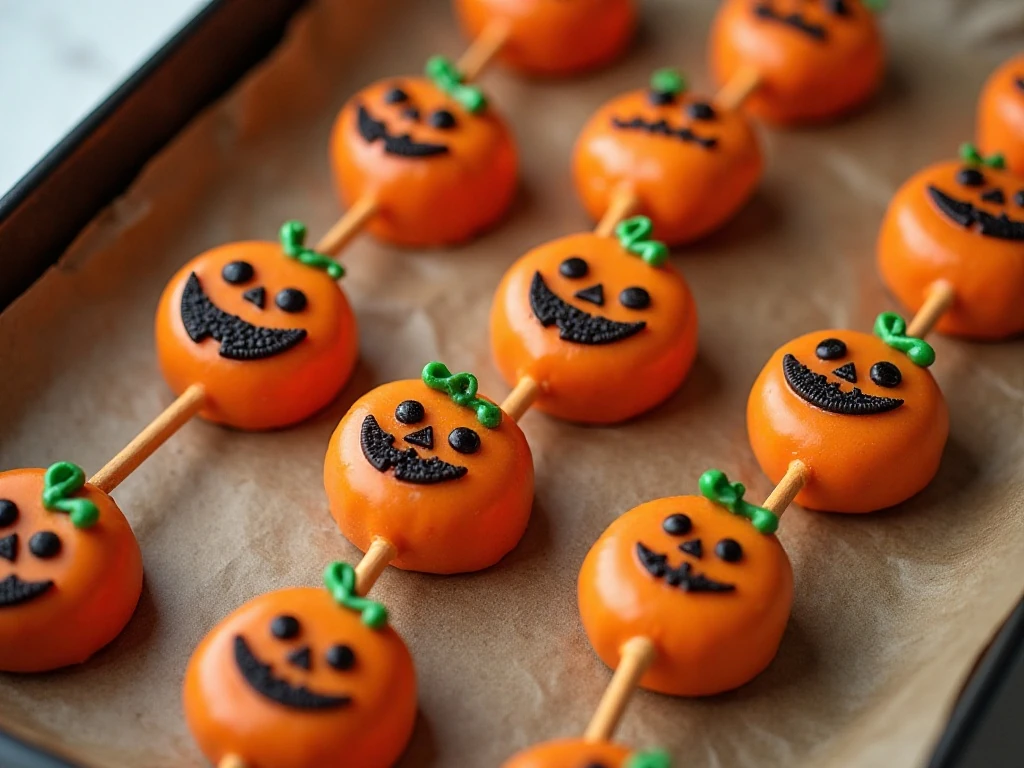
There is no oven, stovetop, cake mixing, or complicated candy-making involved in this recipe. The orange candy melts do all the visual work, turning familiar sandwich cookies into bright little pumpkins with only a few simple decorating details.
These Oreo pops are also easy to customize. Make every face different, create classic triangle eyes, or draw silly expressions for a treat display that feels homemade and full of personality.
They are especially useful when you need a dessert that can be prepared ahead of a Halloween gathering. Once the coating and decorations are completely dry, the pops can be arranged in a glass, tucked into individual treat bags, or set on a dessert tray.
For another pumpkin-inspired dessert to serve alongside these pops, take a look at our pumpkin cheesecake tarts. The creamy tarts and crunchy Oreo pops make a fun contrast on a seasonal dessert table.
Ingredients You’ll Need
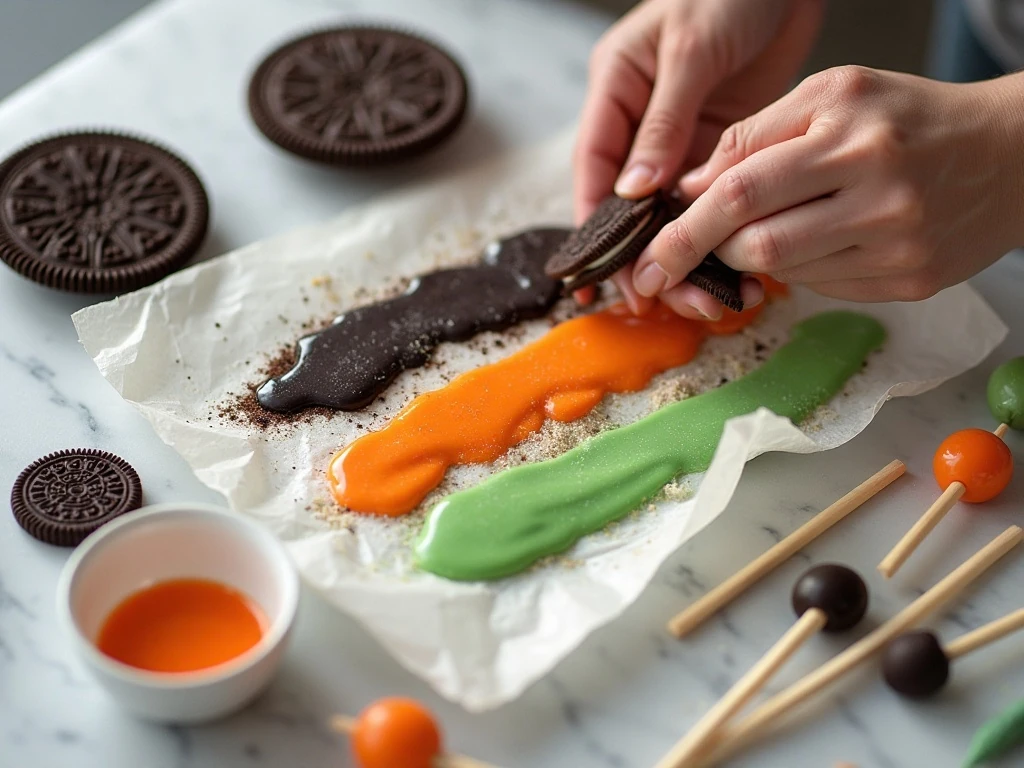
The ingredient list is short, but each item has an important job. Regular Oreos are the most common choice, while double-stuffed cookies can offer a thicker cream center for anchoring the sticks.
- Oreo cookies: Use 12 whole sandwich cookies and separate them carefully so the cream stays attached to one side.
- Lollipop sticks: These provide a clean handle and make the pops easy to serve.
- Orange candy melts: You will need 10–12 ounces for dipping the 12 cookies.
- Shortening or coconut oil: Use 1 teaspoon only if the melted coating needs thinning.
- Black decorations: Choose 1–2 ounces of black candy melts, black decorating icing, or a food-safe black edible marker.
- Green decorations: Green candy melts or green icing are optional for stems and vines.
- Parchment or wax paper: This keeps the coated pops from sticking to the tray.
Have everything ready before melting the candy. The coating begins to thicken as it cools, and prepared decorations make it easier to work efficiently while each pop is still glossy.
If you are planning a larger Halloween snack spread, these pops pair nicely with a savory dip such as our easy fiesta dip. A sweet-and-savory table gives guests plenty of choices.
How to Make It Step-by-Step
Step 1: Prepare the tray and coating. Line a baking sheet with parchment or wax paper, then place the orange candy melts in a microwave-safe bowl. Microwave for 20–30 seconds at a time, stirring well after each interval, until the coating is smooth and fluid; add the optional teaspoon of shortening only when necessary.
Step 2: Separate the cookies carefully. Twist or gently lift each Oreo apart while trying to keep the white cream filling attached to one cookie half. If a cookie breaks, set it aside and use another, since the cream center needs to support the stick.
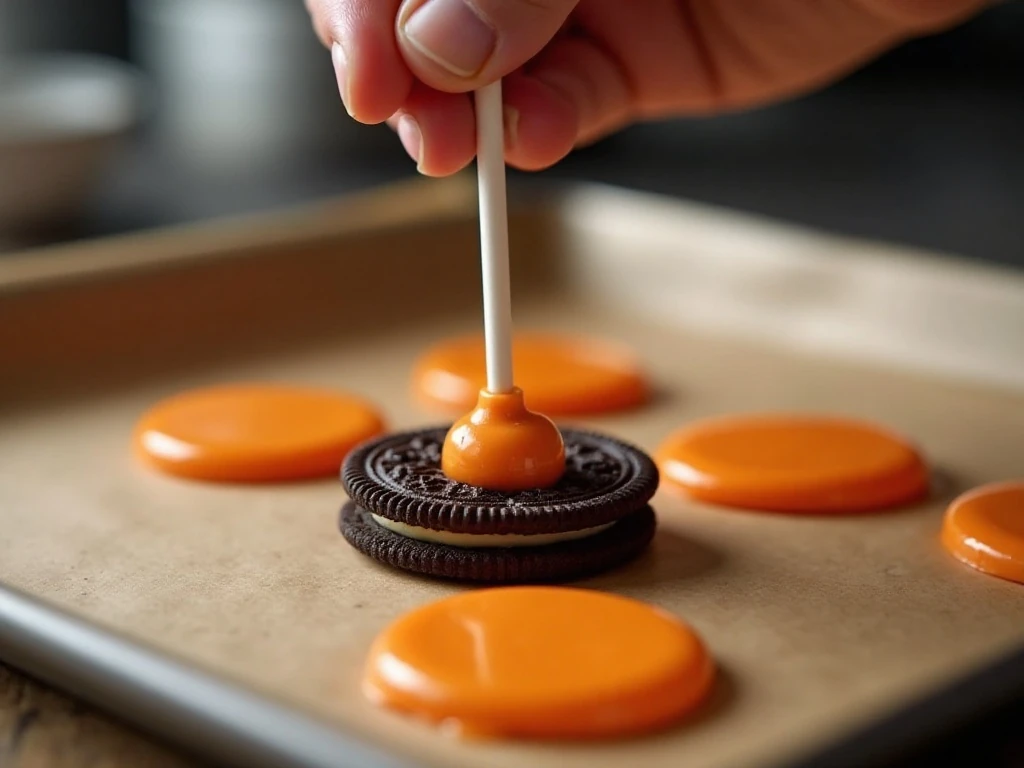
Step 3: Anchor the lollipop sticks. Dip the tip of one stick into the melted orange coating, then press it into the cream center of an Oreo half. Replace the top cookie and press gently so the sandwich closes without cracking.
Step 4: Firm the cookie sandwiches. Let the coating around the stick set briefly before dipping, or place the assembled cookies in the refrigerator for about 5–10 minutes. This short rest helps the stick stay in place during the full coating step.
Step 5: Dip the Oreo pops. Hold each stick and lower the entire cookie into the orange candy coating until it is covered. Lift it slowly, then gently tap the stick against the side of the bowl so extra coating runs back into the bowl instead of pooling around the cookie.
Step 6: Add green details while the coating is wet. Place each pop on the lined tray, then add a small green candy-melt stem or a short green icing vine if you want more pumpkin detail. Work one or two pops at a time so the green decoration sticks securely.
Step 7: Let the orange coating harden. Leave the pops at room temperature until firm, or refrigerate them for 10–15 minutes. They should feel dry and solid before you begin drawing the faces.
Step 8: Decorate the pumpkin faces. Use melted black candy melts, black decorating icing, or a food-safe edible marker to add eyes, noses, smiling mouths, and curved or vertical pumpkin lines. Allow all decorations to dry completely before serving or packaging the pops.
How to Create Cute Pumpkin Faces

For traditional jack-o-lanterns, draw two triangular eyes, a small triangle nose, and a wide mouth with a few square teeth. The designs do not need to be perfectly symmetrical; small differences make each Oreo pop look handmade.
For a faster approach, use a food-safe black edible marker after the orange coating has fully set. Markers are convenient for thin pumpkin lines, while melted candy or icing is better for bold raised faces.
Green stems can be simple dots, short rectangles, or curling vines. Add them before the orange coating hardens so they adhere without extra candy coating.
Pro Tips for Sturdy Oreo Pops
The most important technique is inserting the stick into the cream filling instead of pushing it directly through the chocolate cookie. Dipping the stick in melted coating first acts like edible glue and helps hold the sandwich together.
Microwave candy melts gently. Short 20–30-second intervals with stirring prevent hot spots and help produce a smooth coating. If the mixture becomes thick, reheat it briefly and stir before adding a very small amount of shortening.
Do not add too much oil. Excess shortening or coconut oil can prevent the candy coating from setting firmly, leaving the pops soft or tacky.
Keep the dipping bowl deep enough to cover the cookie, and tap off extra coating promptly. A light, even layer looks neat and dries faster than a heavy layer.
Double-stuffed Oreos can be helpful when available because the thicker filling gives the stick more room to anchor. Regular Oreos work well too and remain the most commonly used option.
For a party menu with a heartier appetizer, you can also prepare our all-purpose Buffalo chicken marinade. It brings a spicy savory option to the same gathering where these sweet pops can finish the meal.
Setting, Serving, and Storage
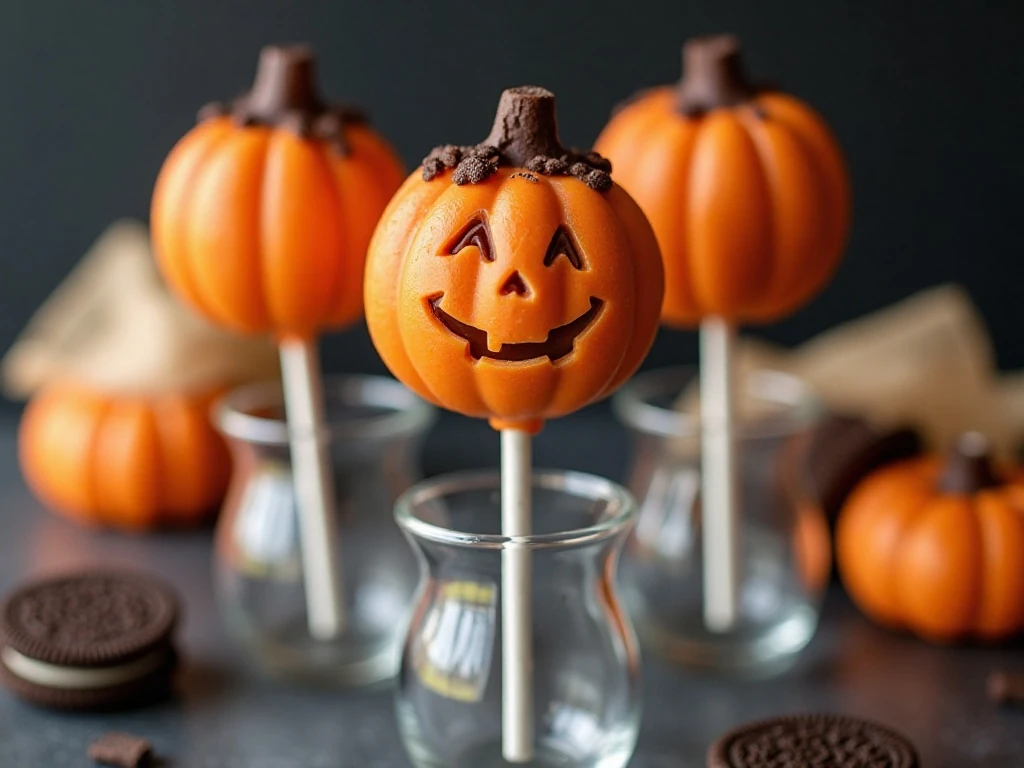
Set the coated cookies on parchment or wax paper with enough space between them that the sides do not touch. Room-temperature setting works well, while a 10–15-minute refrigerator rest speeds up the process.
Wait until the faces and green details are completely dry before moving the pops into bags or containers. If you package them too soon, the decorations may smear against the wrapper.
Keep the finished pops in a cool, dry place away from direct sunlight and heat. Candy melts can soften in a warm room, so refrigerate briefly if needed, then allow the pops to rest before serving to reduce condensation.
Arrange the pops upright in a glass or treat stand for a cheerful centerpiece. They also look charming laid flat on a parchment-lined platter with a few extra green icing vines scattered around the edges.
Easy Party Pairings
These pumpkin pops are sweet enough to serve as dessert but small enough to enjoy after a full meal. Offer them with apple slices, popcorn, pretzels, or other simple finger foods for a colorful Halloween snack station.
If you are serving a mixed crowd, a warm bowl of vegetarian ramen can provide a comforting savory main before the dessert course. The contrast between a rich broth and bright chocolate-cookie treats keeps the menu interesting.
For another savory option, our Buffalo chicken marinade recipe is useful for preparing party-friendly chicken with plenty of flavor. Serve the savory dishes first, then bring out the pumpkin pops as a festive finale.

Easy Pumpkin Oreo Pops
Ingredients
Method
- Line a baking sheet with parchment or wax paper. Melt the orange candy melts in a microwave-safe bowl in 20–30-second intervals, stirring thoroughly after every interval until smooth; add the shortening only if the coating is too thick.
- Carefully separate each Oreo, keeping the cream filling attached to one cookie half. Dip the tip of each lollipop stick into the melted orange coating, press it into the cream center, and replace the top cookie.
- Let the assembled cookies firm briefly, or chill them for about 5–10 minutes for a more secure pop. Dip each Oreo completely into the orange coating and gently tap the stick against the bowl to remove excess.
- Place the coated pops on the lined baking sheet. Before the orange coating sets, add a small green stem or vine detail with green candy melts or green decorating icing if desired.
- Allow the coating to harden at room temperature, or refrigerate the pops for 10–15 minutes. Once firm, draw or pipe pumpkin eyes, noses, mouths, and vertical pumpkin lines with black candy melts, icing, or a food-safe edible marker.
Notes
Final Thoughts
Easy Pumpkin Oreo Pops prove that a memorable Halloween dessert does not require baking or advanced decorating skills. With 12 Oreos, orange candy melts, lollipop sticks, and a few simple face details, you can create a tray of colorful pumpkin treats in about 25 minutes plus setting time.
Keep the coating smooth, anchor the sticks in the cream filling, and let every layer dry completely before serving. Whether you make sweet smiling faces or spooky jack-o-lanterns, these no-bake pops are sure to disappear quickly from the party table.
1 thought on “Easy Pumpkin Oreo Pops Recipe for a Spooky No-Bake Halloween Treat”