These crispy potato stacks are made by layering very thin Yukon Gold potato slices in a buttered 12-cup muffin tin, coating them with garlic, Parmesan, thyme, butter, and olive oil, then baking until the edges are deeply golden and crunchy. The recipe takes 20–25 minutes to prepare, 45–55 minutes to bake, and makes 12 individual potato stacks in about 1 hour 15 minutes.
Every bite delivers a delicious contrast: crisp, browned edges give way to tender, creamy potato layers seasoned with savory Parmesan, fragrant garlic, and herbs. They are an impressive side dish for a holiday meal, roast dinner, or cozy weeknight supper, yet the muffin-tin method keeps the preparation wonderfully manageable.
Jump to RecipeWhy You’ll Love This Recipe
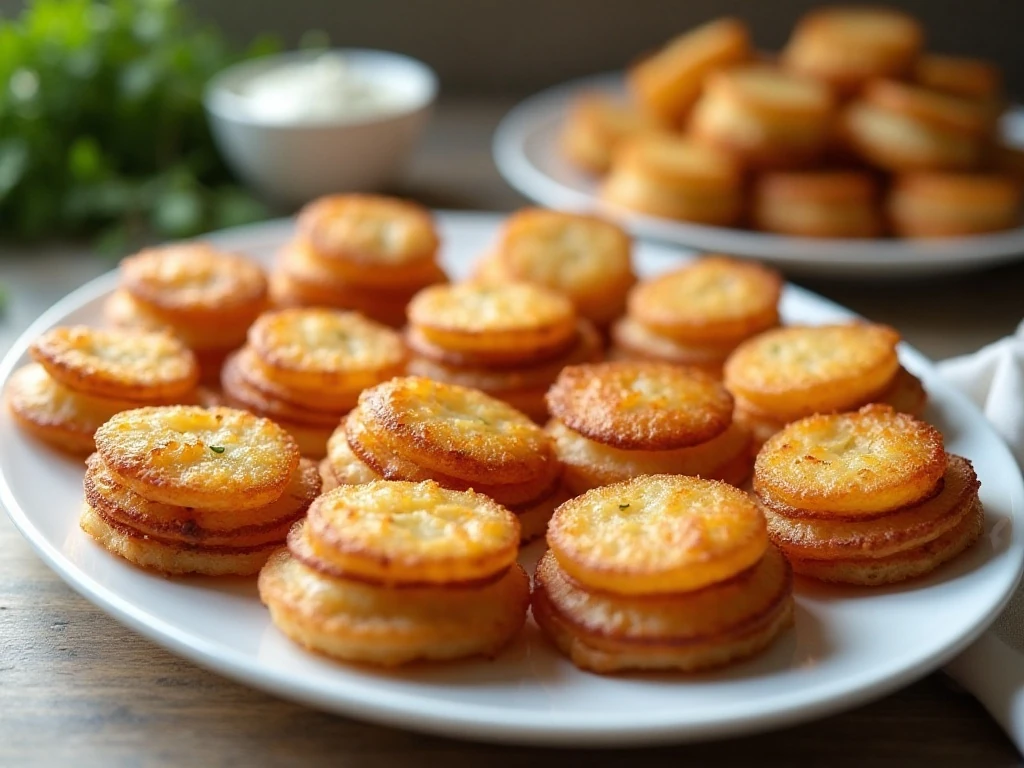
Crispy potato stacks turn simple ingredients into an eye-catching side dish with very little fuss. Each serving is already portioned, so guests can easily take one stack from the platter without cutting or serving a large casserole.
The combination of Yukon Gold potatoes, butter, olive oil, garlic, Parmesan, and thyme creates rich flavor in every layer. Yukon Golds are especially useful here because they have creamy centers and hold their shape well as they bake.
The muffin tin also does important work. Its individual cups help the potato slices stay upright, encourage the edges to crisp, and create attractive golden crowns above the tender centers.
These stacks fit beautifully beside roasted chicken, steak, pork, or a hearty vegetable entrée. For a complete comfort-food menu, serve them with slow cooker cheesy ranch chicken and a crisp green salad.
Ingredients You’ll Need
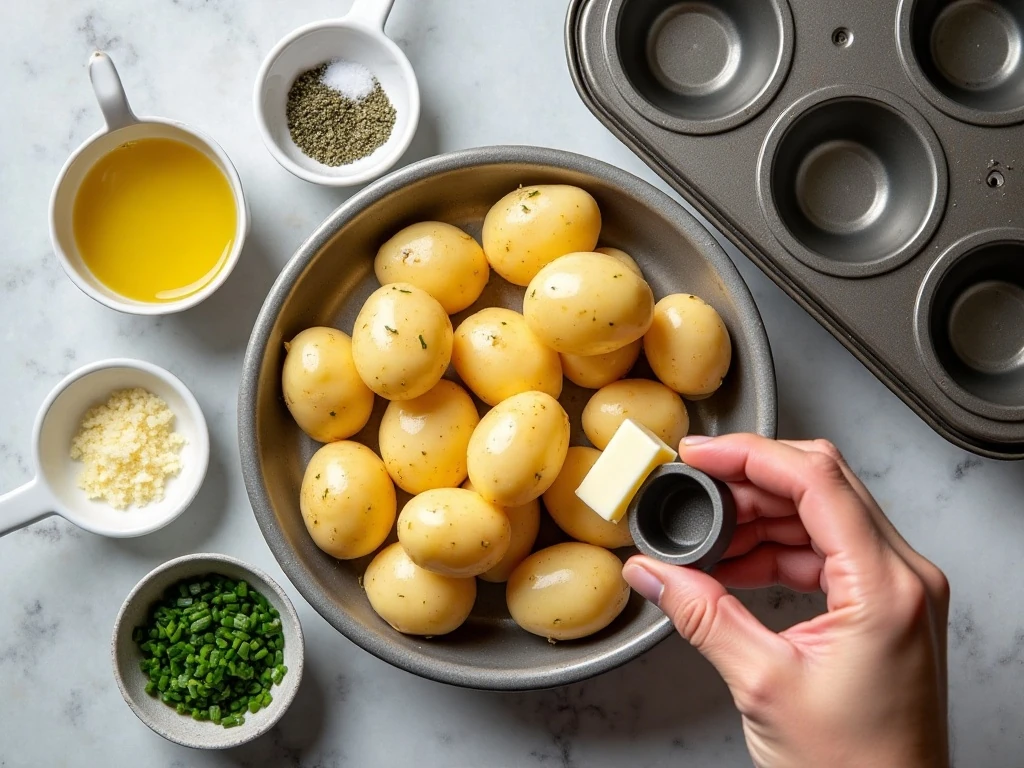
The ingredient list is short, but each item has a clear purpose. Use the best-quality potatoes and cheese available, then keep the slices thin and even for reliable cooking.
- Yukon Gold potatoes: Two pounds provide enough slices for 12 generous stacks. Scrub them well; peeling is optional, though the thin skins add color and rustic flavor.
- Butter and olive oil: Four tablespoons of melted unsalted butter bring richness, while two tablespoons of extra-virgin olive oil support browning and help the edges turn crisp.
- Garlic: Two finely grated or minced cloves spread their flavor throughout the coating.
- Parmesan: One-half cup of finely grated Parmesan adds saltiness and savory depth, with extra reserved for the finished stacks.
- Herbs and seasoning: Fresh thyme, kosher salt, and freshly ground black pepper provide a classic savory profile. Use chopped chives or parsley as an optional fresh garnish.
Freshly grated Parmesan melts and clings to the potato slices more readily than coarse packaged shreds. If you use dried thyme instead of fresh, use 1/2 teaspoon rather than 1 teaspoon.
For another comforting side to place on the table, these stacks pair nicely with our soft skillet dinner rolls. The rolls are especially welcome when there is savory butter and Parmesan flavor left on the plate.
How to Make It Step-by-Step

Step 1: Heat the oven to 400°F (200°C), then grease a 12-cup muffin tin thoroughly with butter or nonstick spray. Coat the bottoms and sides well, since the cheese and potato edges can cling as they bake.
Step 2: Scrub the potatoes and slice them into rounds about 1/16 to 1/8 inch thick. A mandoline is the easiest way to create uniform slices, but a sharp chef’s knife works if you take your time and aim for consistent thickness.
Step 3: Add the melted butter, olive oil, garlic, Parmesan, thyme, salt, and pepper to a large bowl. Mix thoroughly so the garlic and herbs are distributed throughout the coating instead of settling in one area.
Step 4: Add all of the potato slices to the bowl and toss carefully. Turn the slices gently with tongs or clean hands so each one receives a light coating without tearing.
Step 5: Build the stacks in the muffin cups, placing the slices in neat, level piles. Fill each cup slightly above the rim because the potatoes shrink as moisture cooks away, but avoid pressing the layers down too tightly.
Step 6: Loosely cover the muffin tin with foil and bake for 25–30 minutes. The foil protects the tops while the heat travels through the stacks and softens the centers.
Step 7: Remove the foil and return the tin to the oven for another 20–25 minutes. The stacks are ready when their exposed edges are deeply golden and crisp and a thin knife slides into the center with little resistance.
Step 8: Remove the tin from the oven and let the stacks rest for 5–10 minutes. Run a thin knife around any stubborn edges, lift each stack out carefully, and garnish with extra Parmesan and chopped chives or parsley.
The covered and uncovered baking stages are both important. Skipping the foil can cause the exposed edges to darken before the centers are tender, while skipping the uncovered stage prevents the signature crunchy finish.
Chef’s Pro Tips for Crisp Potato Stacks
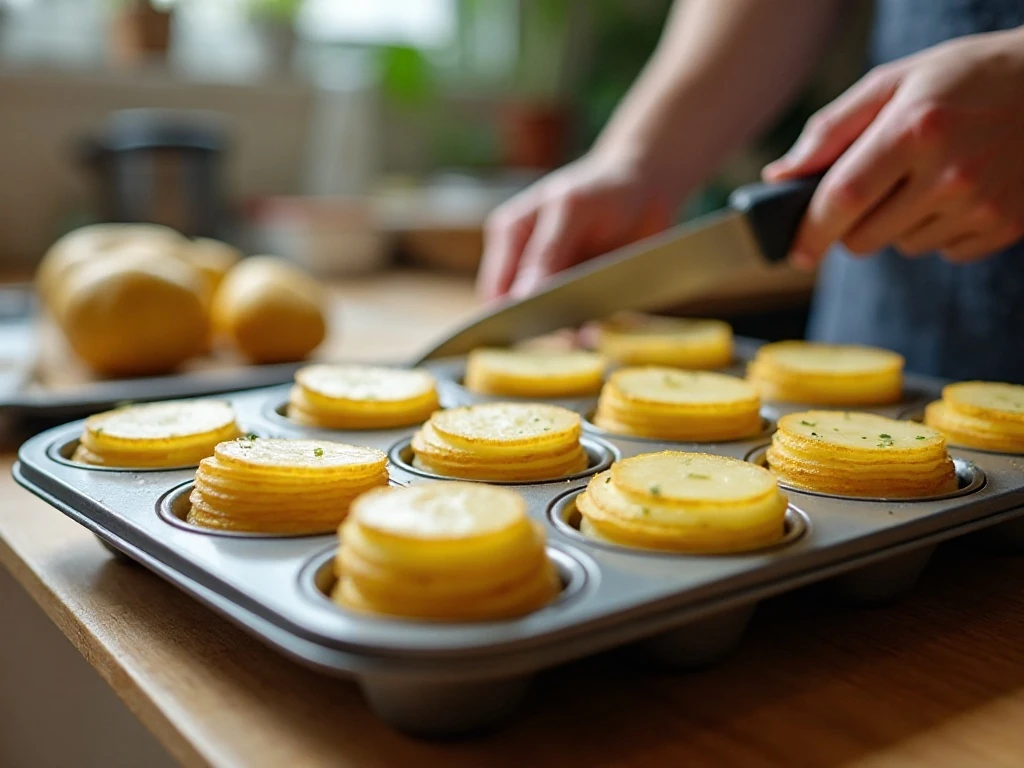
Slice with consistency. Thin slices cook more quickly and form delicate, crisp layers, but slices of different thicknesses may leave some parts underdone while others become too dark. Aim for rounds between 1/16 and 1/8 inch.
Do not soak the potatoes. Many potato recipes use water to remove starch, but that is not helpful here. Extra moisture can dilute the seasoned butter mixture and make it harder for the potatoes to brown properly.
Grease every muffin cup. A thorough coating makes removal easier after the cheese has browned. If your tin has particularly narrow corners, brush the sides with a little of the melted butter before adding the spray or remaining coating.
Pack with care. The stacks should be firm enough to stand but loose enough for heat and butter to move between the slices. Excessive compression creates dense centers and reduces the number of crisp, distinct edges.
Use the knife test. Color alone does not tell you whether the middle is tender. Pierce the center of a stack near the end of baking; it should offer only slight resistance.
Mind the tin. A dark metal muffin tin may brown the bottoms more quickly than a light-colored tin. Begin checking during the final uncovered phase, while still allowing the full 20–25 minutes if the potatoes need it.
Serving Suggestions and Pairings
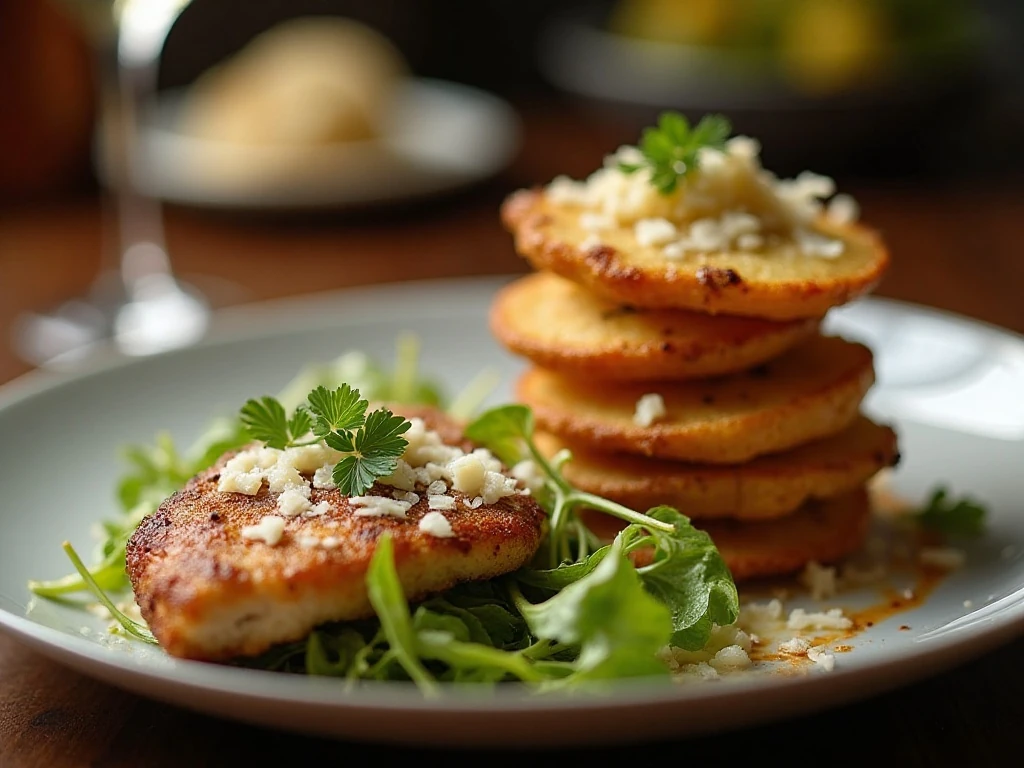
Serve the stacks warm, when the edges are at their crispest and the Parmesan aroma is strongest. A final sprinkle of cheese and a few green herbs make the golden tops look especially inviting.
They are substantial enough for a holiday sideboard but easy enough for a weeknight meal. Pair them with roast beef, grilled chicken, baked salmon, pork tenderloin, or sautéed mushrooms.
For a casual family dinner, serve the potatoes alongside a fresh salad and a saucy main dish. Our homemade chow mein offers a fun contrast of chewy noodles and savory vegetables if you want to build a varied comfort-food spread.
The stacks can also become the centerpiece of a brunch plate with eggs and roasted vegetables. Keep the garnish simple so the crisp potato layers and nutty Parmesan remain the focus.
Storage, Reheating, and Make-Ahead Notes

Let leftover potato stacks cool, then store them in an airtight container in the refrigerator. They are best enjoyed within a few days, though the edges will gradually lose some of their original crunch during storage.
For the best reheating texture, place the stacks on a baking sheet and warm them in a 400°F oven until heated through and crisp at the edges. Avoid relying on the microwave alone, since it tends to soften the browned layers.
You can prepare the potatoes shortly before baking by slicing and coating them, but do not let the raw slices sit in water. Arrange them in the muffin tin and bake according to the recipe so the potatoes retain their seasoned coating and brown properly.
For dessert after this savory meal, consider serving our frosted sugar cookie bars. Their sweet, soft texture is a pleasant finish after the crisp, salty potato stacks.
Common Variations
The classic version uses both butter and olive oil, but you can use only melted butter if you prefer a richer, more traditional flavor. The olive oil combination is useful for browning and gives the edges a particularly appealing finish.
Yukon Gold potatoes provide creamy centers and good shape retention. Russet potatoes can also be used when you want especially crisp edges, although their texture may be a little less buttery in the center.
Thyme is an excellent match for Parmesan and garlic, while rosemary offers a more pronounced herbal note. Keep the total seasoning balanced so the thin potato slices remain the main attraction.
You may add extra Parmesan during the final uncovered baking stage for a more pronounced cheese crust, but watch carefully because exposed cheese can brown quickly. A scattering of chives or parsley just before serving adds freshness and color.
If you are planning a larger meal, the recipe is easy to repeat in batches, but avoid overcrowding the oven. Good airflow and steady heat help the exposed edges become crisp rather than steamy.
For a sweet finish on another day, our no-bake coconut oil cookies are a simple treat that requires no oven space after dinner.
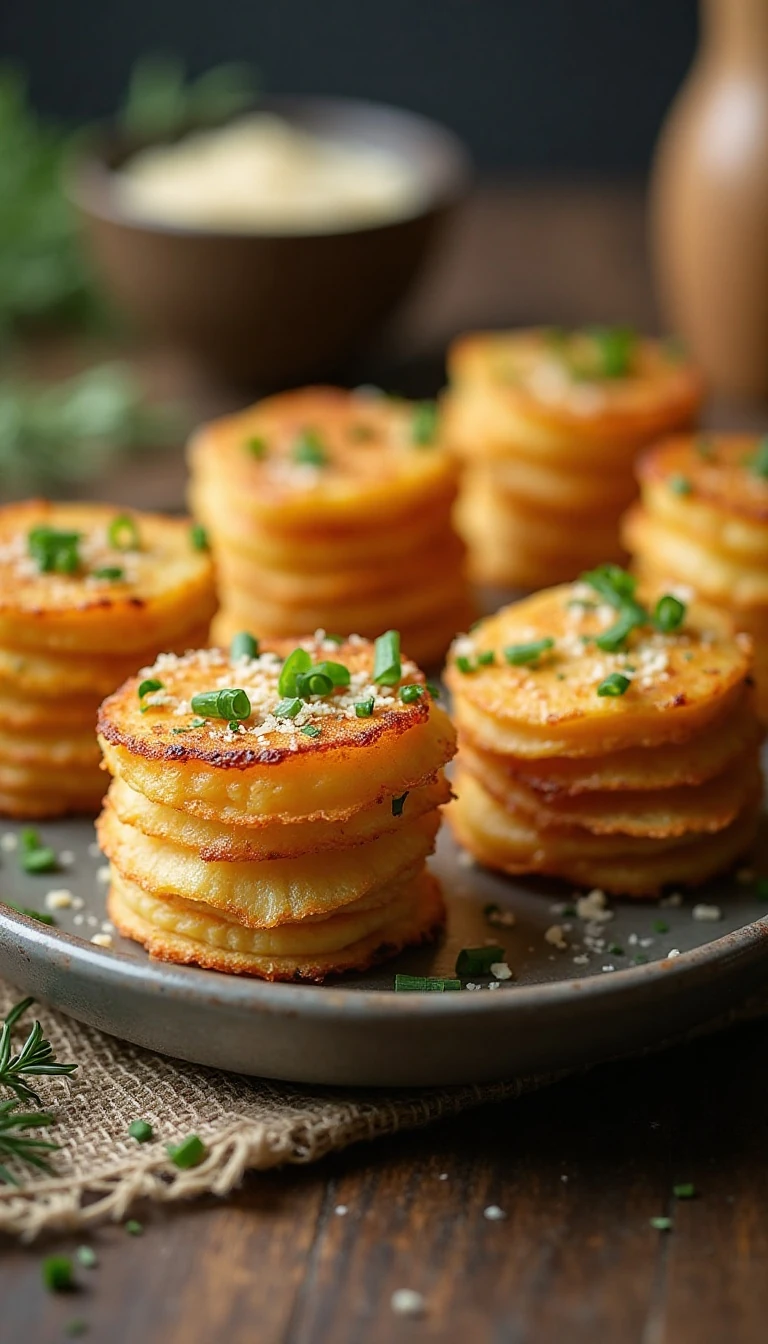
Crispy Potato Stacks Recipe
Ingredients
Method
- Heat the oven to 400°F (200°C). Grease a 12-cup muffin tin thoroughly with butter or nonstick spray, paying special attention to the sides and bottom of each cup.
- Scrub the Yukon Gold potatoes and slice them into very thin, even rounds about 1/16 to 1/8 inch thick. A mandoline gives the most consistent slices, but a sharp knife also works when used carefully.
- In a large bowl, combine the melted butter, olive oil, garlic, Parmesan, thyme, kosher salt, and black pepper. Stir until the seasonings are evenly distributed through the buttery mixture.
- Add the potato slices and toss carefully until every slice is lightly coated. Keep the slices intact as much as possible so they can form neat, distinct layers.
- Stack the coated potato slices in the muffin cups, filling each one slightly above the rim because the potatoes shrink during cooking. Keep the stacks level and pack them firmly without compressing them excessively.
- Cover the muffin tin loosely with foil and bake for 25–30 minutes. The covered portion allows the centers to soften before the exposed layers begin to brown deeply.
- Remove the foil and continue baking for 20–25 minutes, until the edges are deeply golden and crisp and the centers are tender when pierced with a knife. Watch the final minutes closely because oven temperatures and muffin tins can vary.
- Let the potato stacks rest for 5–10 minutes before removing them. Run a thin knife around the edges if needed, then finish with additional Parmesan and optional chives or parsley.
Notes
Final Thoughts
These crispy potato stacks deliver everything people love about roasted potatoes in a beautiful individual serving: golden edges, tender centers, buttery garlic flavor, and a savory Parmesan finish. The muffin tin makes the layers easy to shape, while the two-stage bake gives them both tenderness and crunch.
For the most reliable results, slice the potatoes uniformly, skip the soaking step, coat every round lightly, and give the baked stacks 5–10 minutes to rest before removing them. Add fresh herbs and extra Parmesan at the table, then serve them warm alongside your favorite main dish.
Once you make them, this recipe is likely to become a favorite for holiday dinners, dinner parties, and ordinary evenings when potatoes deserve something special.