Red, white, and blue sugar cookies are an easy patriotic dessert made from buttery sugar-cookie dough divided into three portions, tinted red and blue, twisted with an untinted white portion, chilled, sliced, and baked at 350°F. The recipe makes about 24 to 30 cookies, takes approximately 25 to 30 minutes of preparation plus 30 minutes of chilling, and each tray bakes for 9 to 12 minutes.
Every cookie has crisp, lightly golden edges, a tender center, and the classic sweet vanilla flavor that makes sugar cookies so popular. The red, white, and blue swirls look festive enough for a holiday dessert table, yet the dough is simple enough for a relaxed afternoon of baking with family.
Jump to RecipeWhy You’ll Love This Recipe
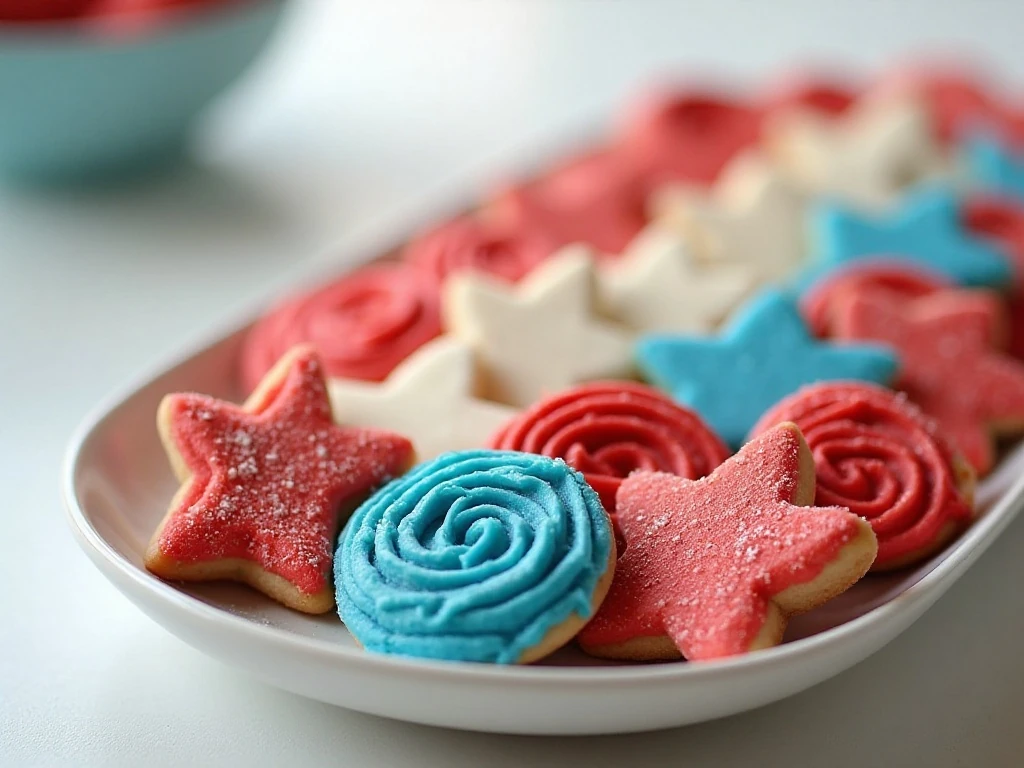
These cookies bring together everything people want in a holiday treat: a tender buttery bite, a gentle vanilla aroma, and a colorful design that makes the dessert table feel instantly festive. The dough is mixed in one bowl after the dry ingredients are whisked separately, so cleanup stays pleasantly simple.
The design is also forgiving. You can twist the three colors for a soft spiral, stack them for bold bands, or combine both techniques for cookies that look handmade and cheerful.
- Easy preparation: The dough uses familiar pantry ingredients and requires no complicated decorating skills.
- Beautiful presentation: Each slice reveals red, white, and blue color without needing royal icing.
- Make-ahead friendly: The shaped log can be chilled before slicing, making the timing flexible.
- Perfect texture: Lightly golden edges and pale centers create a tender sugar cookie rather than a dry one.
For another cookie option with a dramatic appearance, you can also browse these chocolate crinkle cookies. Their fudgy chocolate flavor makes a wonderful contrast beside these bright vanilla cookies.
Ingredients You’ll Need
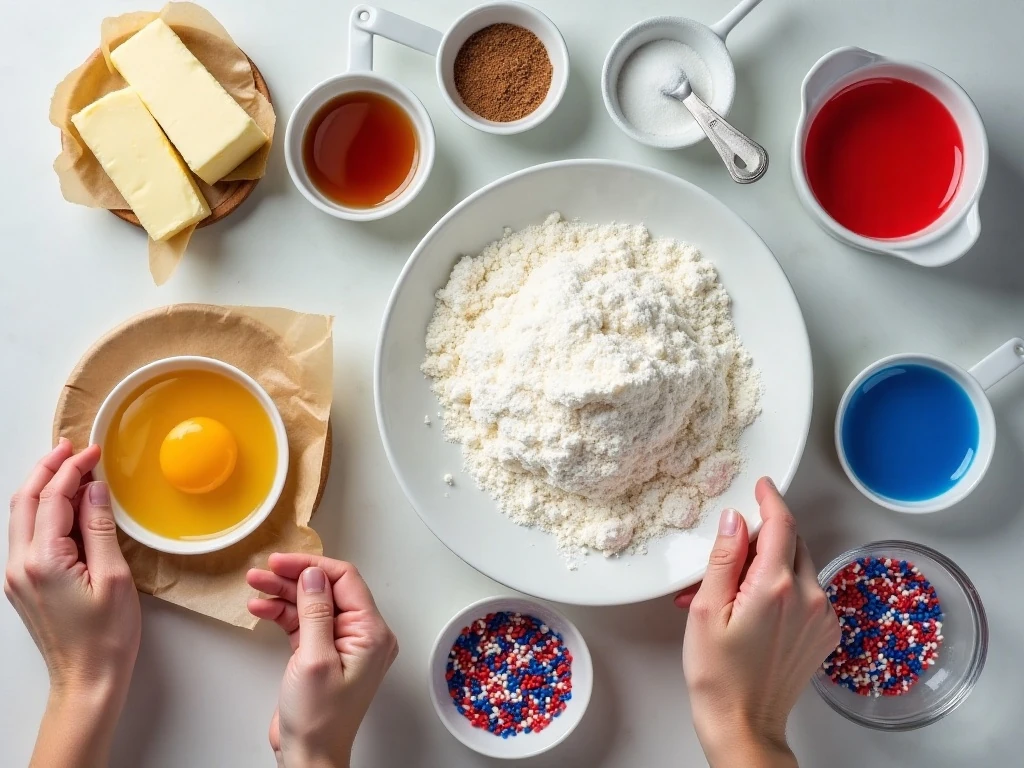
The foundation is a classic sugar-cookie dough made with softened unsalted butter, granulated sugar, one large egg, vanilla, flour, baking powder, and salt. The butter should be soft enough to press easily with a fingertip but not melted, because melted butter can make the dough greasy and difficult to shape.
Gel food coloring is the best choice for this recipe. It produces concentrated color with only a small amount, allowing the red and blue portions to become vivid without adding extra liquid to the dough.
- Use unsalted butter so the salt level stays balanced.
- Measure the flour carefully, preferably by weight when possible.
- Have red and blue gel coloring ready before dividing the dough.
- Keep parchment paper nearby for easy release and quick cleanup.
- Choose sprinkles in red, white, and blue if you want extra sparkle.
The optional drizzle is made by stirring 1/2 cup powdered sugar with 1 to 2 teaspoons milk or water. Add the liquid gradually so the icing remains thick enough to make delicate lines across the cooled cookies.
How to Make It Step-by-Step
Step 1: Heat the oven to 350°F (175°C), then line your baking sheets with parchment paper. Preparing the pans first means the cookies can go into the oven as soon as they are sliced, which helps keep the dough cold and easy to handle.
Step 2: Place the softened butter and granulated sugar in a large mixing bowl and beat for 2 to 3 minutes, until the mixture looks light and creamy. This mixing time helps create a smooth dough and distributes the sugar throughout the butter.
Step 3: Beat in the large egg and pure vanilla extract until fully incorporated. Scrape down the sides of the bowl once or twice so the egg and vanilla are evenly blended into the butter mixture.
Step 4: In a separate bowl, whisk together the all-purpose flour, baking powder, and salt. Gradually add this dry mixture to the bowl of wet ingredients, mixing just until a soft dough forms and stopping before the dough becomes overworked.
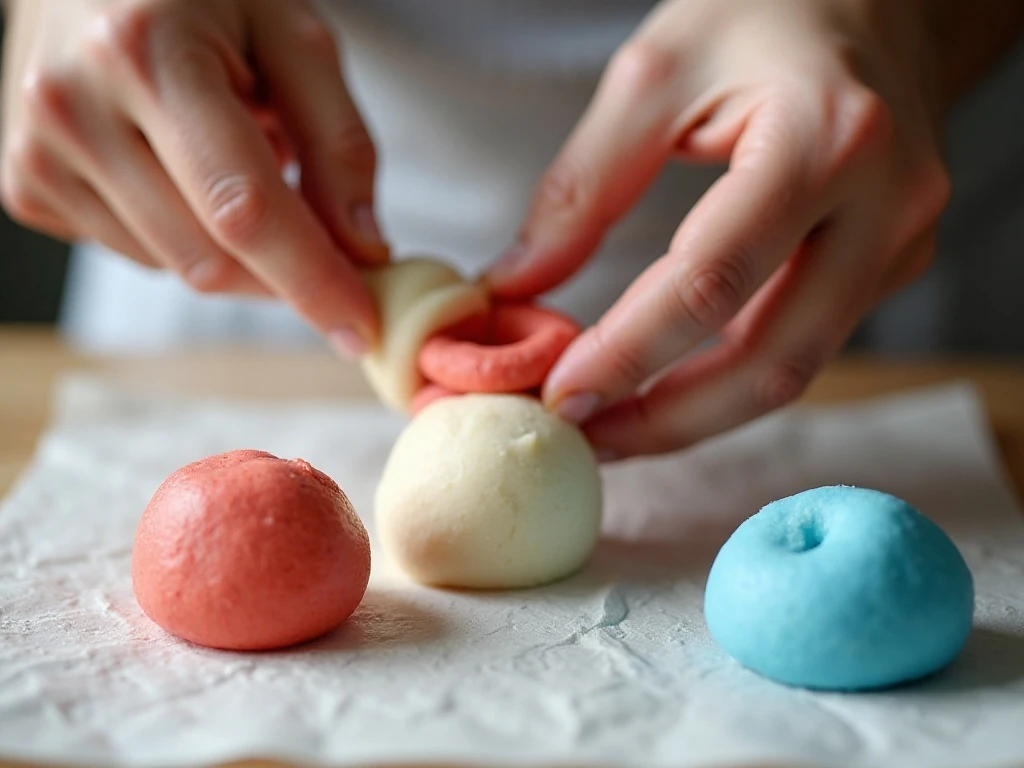
Step 5: Divide the dough into three equal portions. Leave one portion white, tint one portion red, and tint one portion blue by working in gel food coloring a little at a time until the shades are even.
Step 6: Shape each color into a rope, or flatten each portion into a rectangle. Stack or twist the colors together, then gently roll them into one log, using a light touch so the white remains visible and the red and blue do not blend into purple.
Step 7: Wrap the dough log tightly and chill it for about 30 minutes, until firm enough to slice. This pause is important because cold dough produces cleaner stripes and helps the cookies retain their round shape in the oven.
Step 8: Unwrap the chilled log and slice it into rounds about 1/4 inch thick. Place the rounds 2 inches apart on the parchment-lined baking sheets, then add a few sprinkles to the tops if you are using them.
Step 9: Bake each tray for 9 to 12 minutes. Remove the cookies when the edges are set and only very lightly golden; the centers should still look pale and slightly soft.
Step 10: Let the cookies cool on the baking sheet for 5 minutes before transferring them to a wire rack. Wait until they are completely cool before drizzling them with icing or adding any decoration that needs to set.
How to Create Crisp Patriotic Colors
The most important color tip is to add gel coloring slowly. A small amount can create a strong shade, and adding it gradually gives you better control over the final red and blue tones.
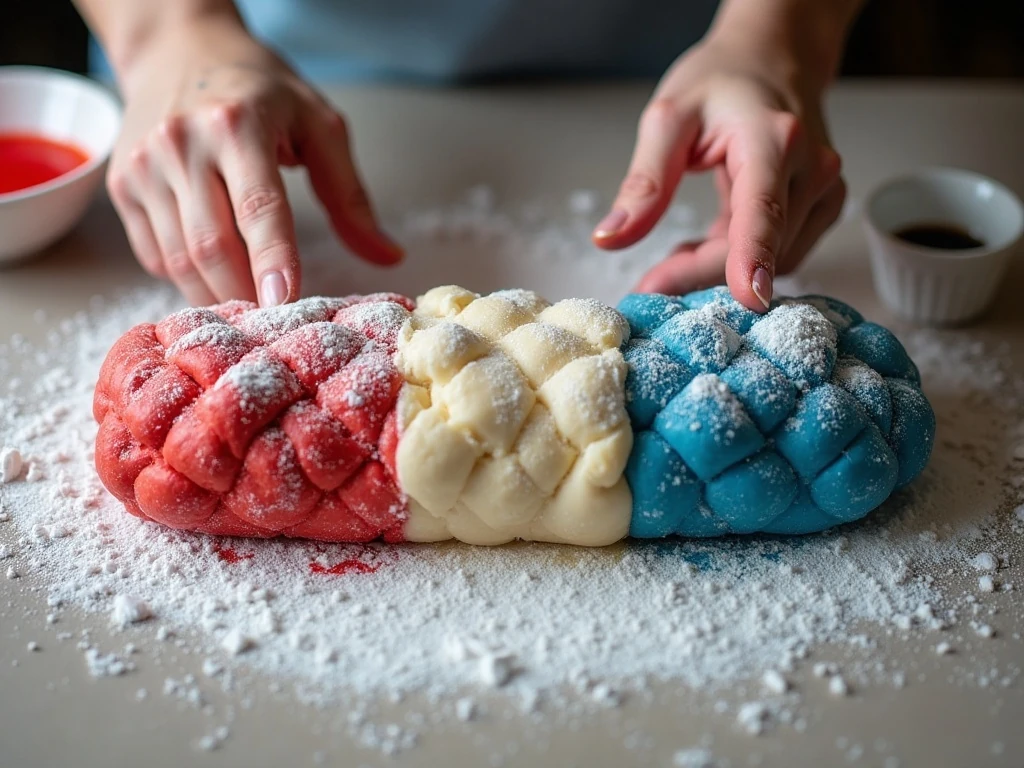
Keep the three dough portions separate until you are ready to shape the log. When combining them, twist only enough to create a pattern, then stop; too much handling will muddy the stripes and may turn the red and blue into a purple blur.
For a layered look, flatten each color into a similarly sized rectangle and place them on top of one another. For a spiral, roll each color into a rope, arrange the ropes side by side, twist them gently, and roll the bundle just enough to hold it together.
If you are serving a selection of holiday sweets, the bright cookies look especially inviting next to easy candy corn cookies. The different shapes and colors make a generous dessert platter feel varied without requiring several complicated recipes.
Pro Tips for Soft, Pretty Cookies
Room-temperature butter is essential for a smooth creamed mixture, but do not soften it so far that it becomes shiny or runny. If the dough feels sticky after coloring, cover it and chill it before attempting to shape the log.
- Keep portions equal: Dividing the dough evenly gives each cookie a balanced amount of red, white, and blue.
- Chill before slicing: A firm log cuts into neat rounds and reduces spreading.
- Use a sharp knife: Clean slices preserve the pattern better than a dull blade that compresses the dough.
- Leave space: Arrange cookies 2 inches apart so their edges do not run together.
- Watch the clock: Sugar cookies should remain pale in the center and only lightly golden at the edges.
Every oven is a little different, so begin checking toward the 9-minute mark. The cookies will continue to firm up on the hot baking sheet, which is why waiting for deep golden color can lead to a dry, overly crisp result.
Decorating and Serving Ideas
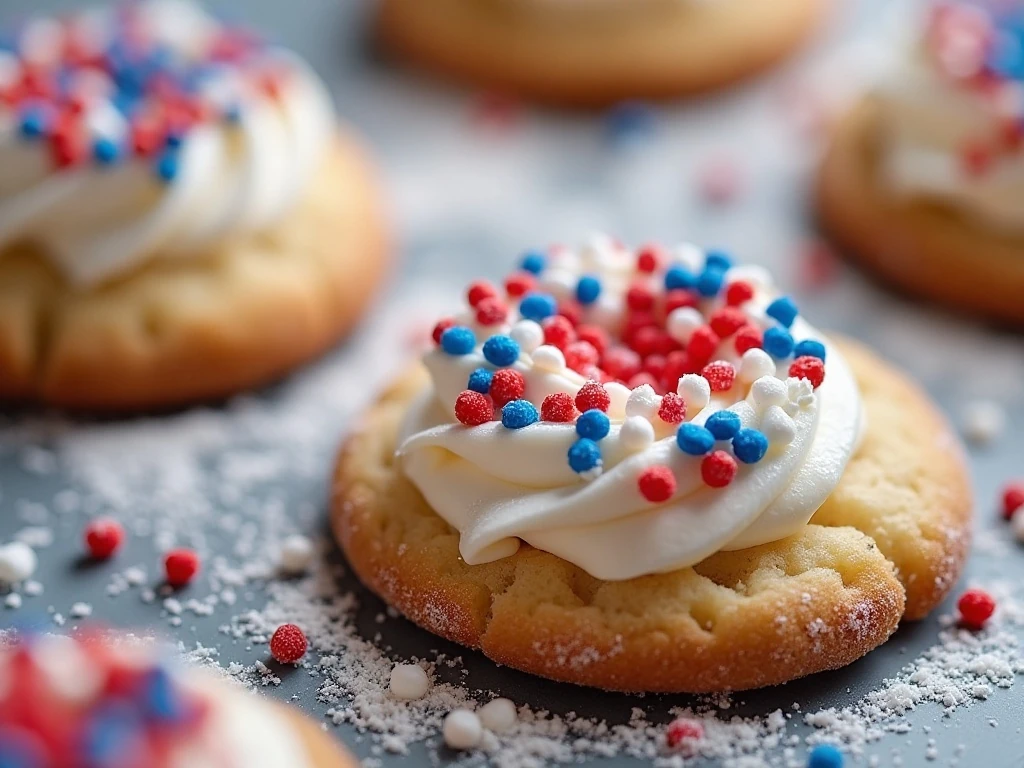
These cookies are attractive straight from the cooling rack, but a simple finish can make them even more celebratory. Scatter red, white, and blue sprinkles over the dough before baking, or add a thin powdered-sugar drizzle once the cookies have cooled completely.
To make the drizzle, stir 1/2 cup powdered sugar with 1 teaspoon milk or water, adding the second teaspoon only if needed. The icing should flow slowly from a spoon; if it becomes too thin, add a little more powdered sugar.
Serve the cookies at picnics, backyard gatherings, school celebrations, or holiday brunches. They also pack well for sharing, provided they are fully cool before being layered between sheets of parchment.
For a relaxed cookie assortment, pair them with chewy kitchen sink cookies. The colorful patriotic slices bring a crisp, buttery note while the mix-in cookies add a more generous, chunky texture.
Storage and Make-Ahead Advice
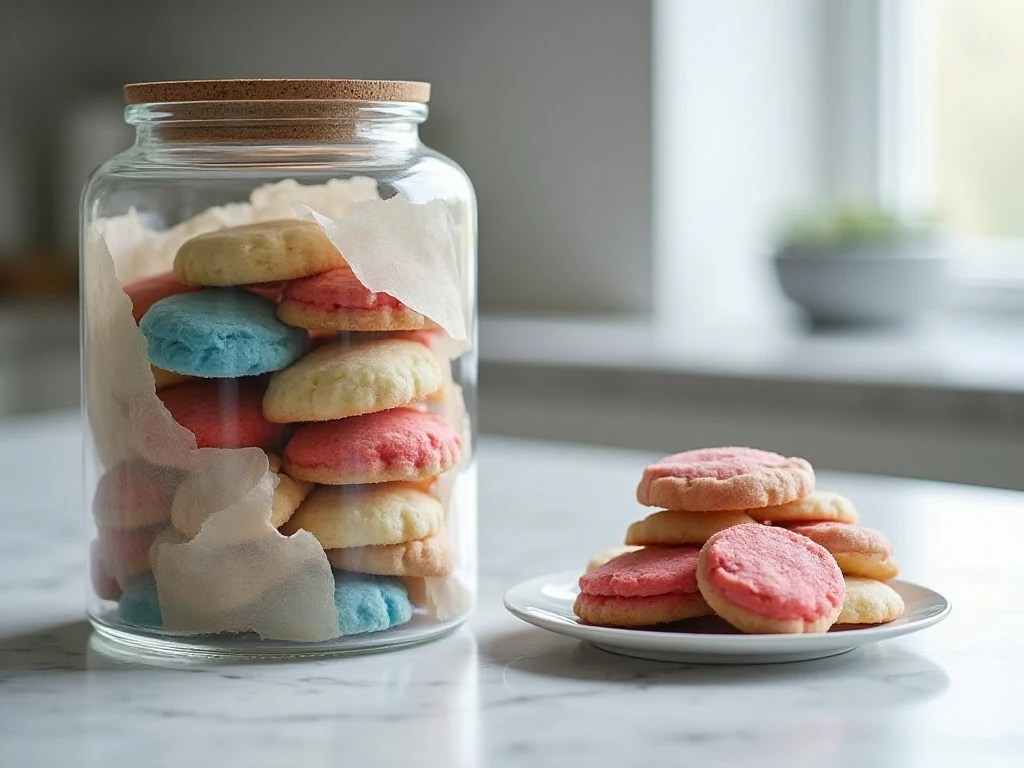
Store completely cooled cookies in an airtight container at room temperature. Place parchment between layers to protect the colored surfaces and keep any drizzle from sticking to the cookies above it.
The shaped dough log can be chilled for the planned 30 minutes before slicing, which makes it convenient to prepare while the oven heats. If the log becomes very firm, let it stand briefly at room temperature until a knife can pass through it cleanly without crushing the pattern.
For parties, bake the cookies ahead and decorate them after they are cool. Keep the finished cookies covered until serving so their buttery texture stays pleasant and the colors remain bright.
For a seasonal baking theme, you may also enjoy these festive gingerbread cookies. They make a playful companion recipe when you want to offer guests more than one decorated cookie.
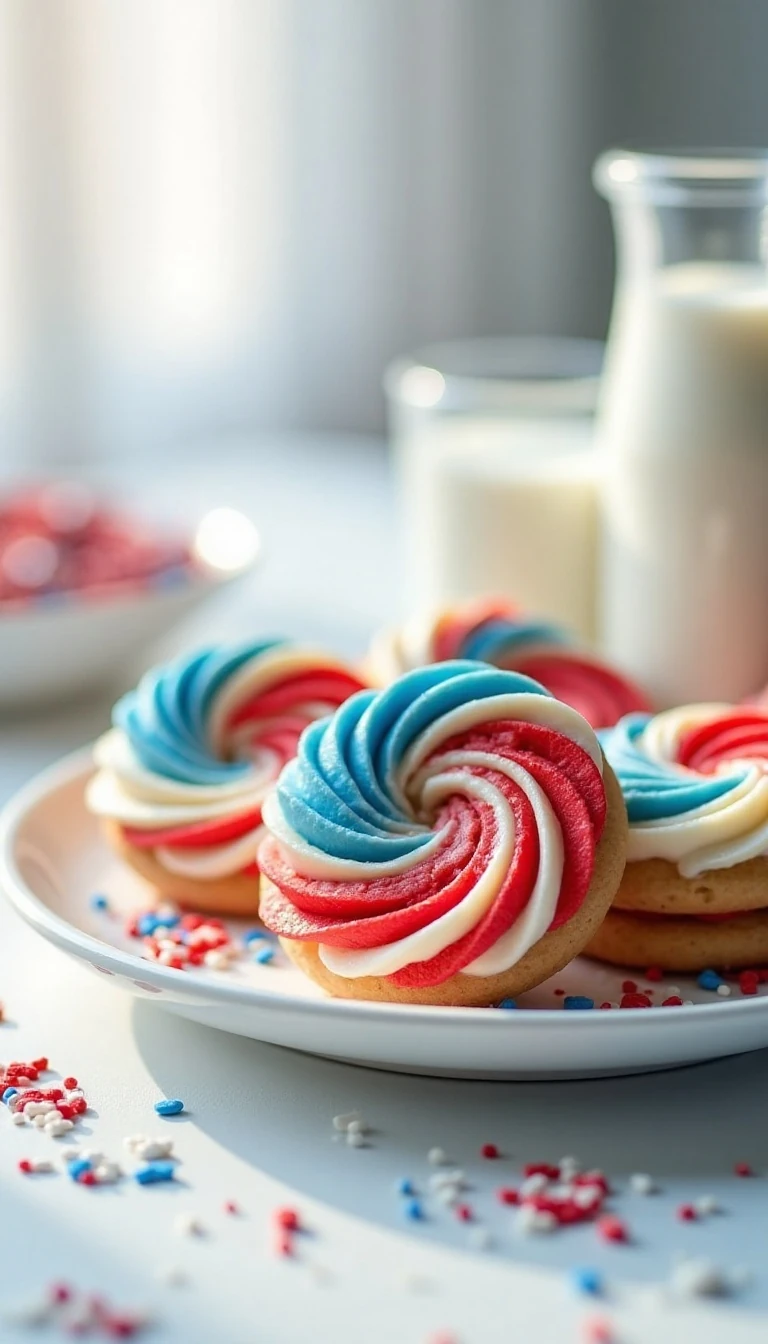
Red, White, and Blue Sugar Cookies
Ingredients
Method
- Heat the oven to 350°F (175°C) and line baking sheets with parchment paper.
- Beat the softened butter and granulated sugar for 2 to 3 minutes, until light and creamy. Beat in the egg and vanilla extract.
- Whisk the flour, baking powder, and salt in a separate bowl. Gradually mix the dry ingredients into the butter mixture just until a soft dough forms.
- Divide the dough into three equal portions. Leave one white, tint one red, and tint one blue with gel food coloring added a little at a time.
- Roll each color into a rope or flatten each into a rectangle, then stack or twist the portions together and gently roll them into a log. Avoid overmixing so the colors remain distinct.
- Wrap the dough log and chill it for about 30 minutes, until firm enough to slice.
- Slice the chilled log into rounds about 1/4 inch thick. Arrange the rounds 2 inches apart on the prepared baking sheets and add sprinkles if desired.
- Bake for 9 to 12 minutes per tray, until the edges are set and only very lightly golden while the centers remain pale.
- Cool the cookies on the baking sheet for 5 minutes, then transfer them to a wire rack. Drizzle or decorate only after the cookies are completely cool.
Notes
Final Thoughts
Red, white, and blue sugar cookies are proof that a simple dough can make a memorable dessert. With softened butter, a touch of vanilla, vivid gel coloring, and a short chill, you get tender cookies with a charming patriotic pattern in every slice.
Keep the colors distinct, handle the dough gently, and remove the cookies while the centers are still pale. Once they cool, add sprinkles or a powdered-sugar drizzle if you like, then arrange them on a platter and watch them disappear.
This is an approachable recipe for beginning bakers and an enjoyable project for experienced cooks who want a colorful holiday treat. Make one batch for your gathering, or prepare a second tray to package as a sweet edible gift.