For perfectly crisp bacon, arrange 1 pound of bacon in a single layer on a large rimmed baking sheet and bake at 400°F (205°C). Regular-cut bacon usually takes 15–20 minutes, while thick-cut bacon generally needs 20–25 minutes. No oil is needed because the bacon renders its own fat as it cooks.
Oven-baked bacon comes out deeply browned, wonderfully crisp, and evenly cooked with far less splattering than stovetop bacon. Transfer the strips to paper towels when they are done, remembering that they will firm up slightly as they cool.
Jump to RecipeWhy You’ll Love This Recipe
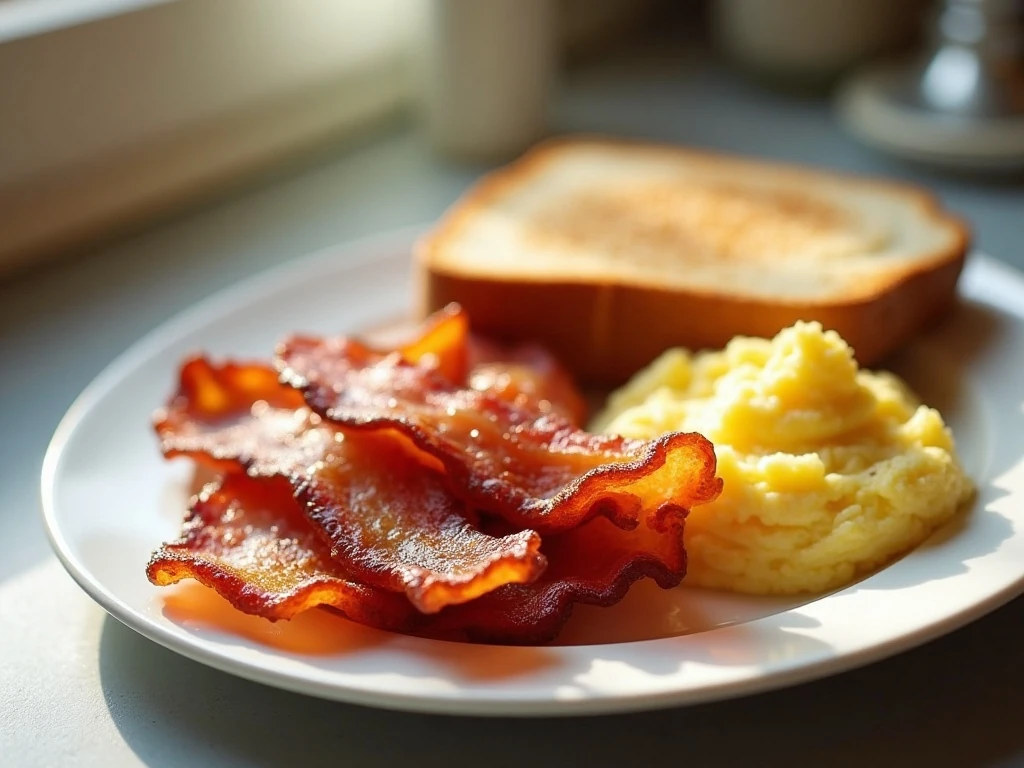
Cooking bacon in the oven is one of the easiest ways to prepare a generous batch for breakfast, brunch, sandwiches, salads, and pasta. The baking sheet gives every slice room to cook, while the oven’s steady heat browns the bacon more evenly than a crowded skillet.
There is also much less active work involved. Instead of standing at the stove and turning each strip while hot grease pops nearby, you can prepare the rest of the meal while the bacon cooks.
The finished bacon has crisp edges, savory flavor, and a satisfying texture throughout. Depending on the pan setup and your preferred doneness, it can be rich and traditional or slightly less greasy when cooked on a wire rack.
Once you master this method, you can make bacon for a family breakfast or prepare it ahead for recipes such as bacon meatball pasta, where crisp cooked bacon brings extra savory depth.
Ingredients You’ll Need
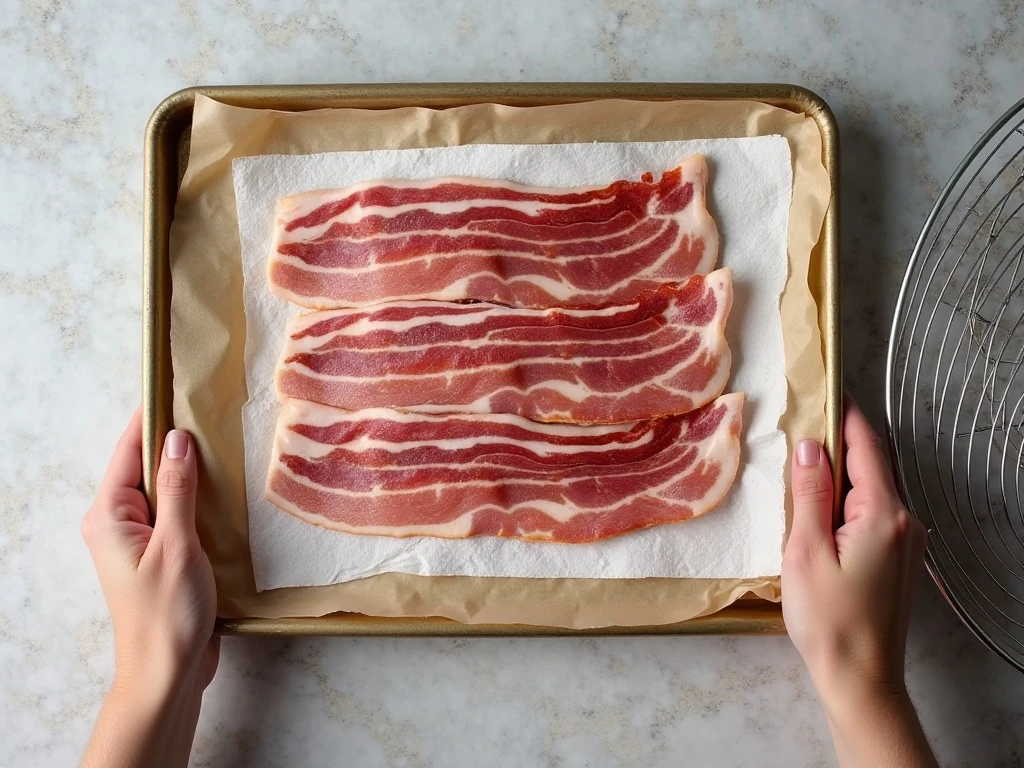
The ingredient list is wonderfully short because bacon supplies all the fat needed for cooking. Choose regular-cut bacon for a classic crisp slice or thick-cut bacon for a meatier bite and a longer cooking time.
- 1 pound bacon: Regular-cut cooks in approximately 15–20 minutes, while thick-cut generally takes 20–25 minutes.
- Parchment paper or aluminum foil: Either one is optional, but lining the pan makes cleanup easier.
- Wire rack: This is optional and allows some rendered fat to drip away for slightly less greasy bacon.
- Paper towels: Use them to drain the cooked slices and absorb excess surface fat.
No oil, butter, or cooking spray is necessary. Adding oil can make the bacon unnecessarily greasy because the slices render plenty of fat on their own.
A rimmed baking sheet is essential. The raised edges keep the hot rendered fat contained and help protect your oven from spills.
How to Make It Step-by-Step
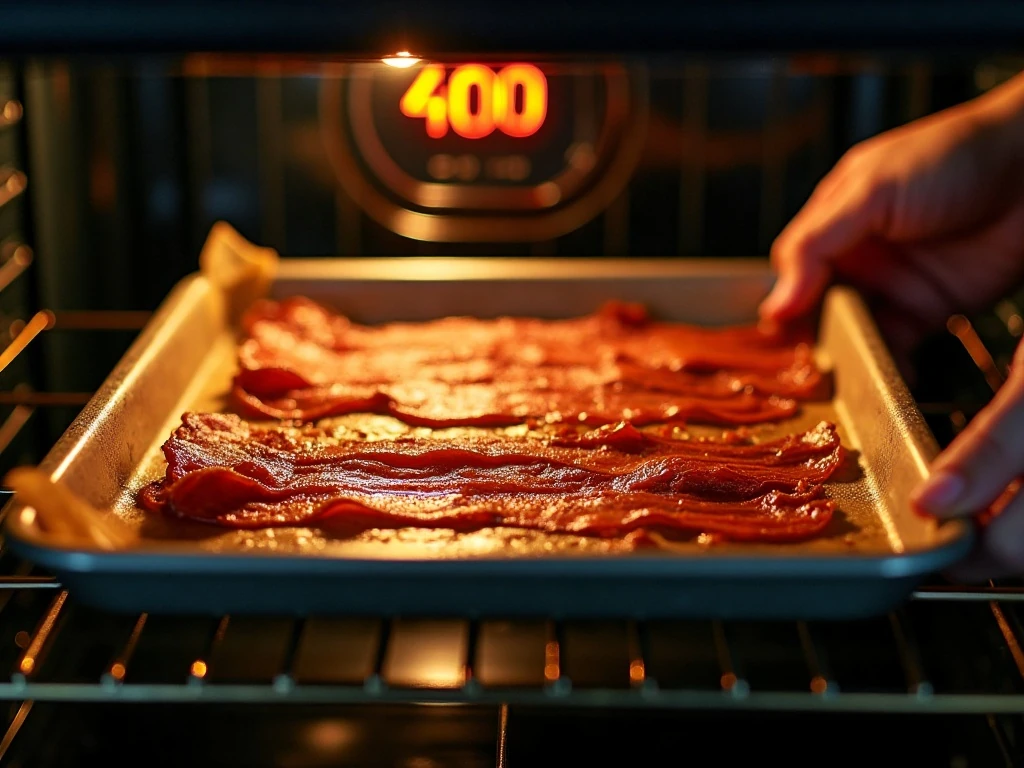
Step 1: Set up the oven and pan. Heat the oven to 400°F (205°C), the most useful all-purpose temperature for oven bacon. For the direct-on-pan method, many cooks arrange the bacon in the cold oven and then turn it on, allowing the gradual heat to render the fat evenly and reduce curling.
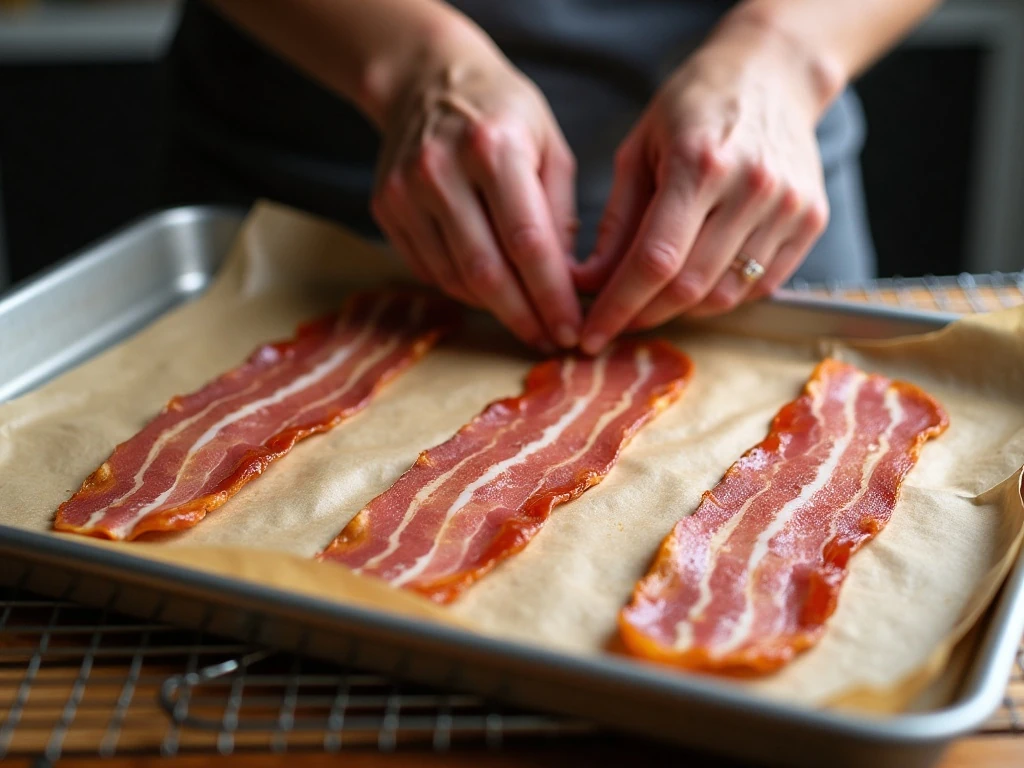
Step 2: Prepare the baking sheet. Line a large rimmed baking sheet with parchment paper or aluminum foil if you want easier cleanup. If you prefer slightly less greasy bacon, place a wire rack securely inside the baking sheet before adding the slices.
Step 3: Arrange the bacon. Lay the strips in a single layer across the pan, making sure they do not overlap. It is fine if the slices touch because they will shrink as they cook, but overlapping pieces may cook unevenly.
Step 4: Bake until browned. Place the pan in the oven and begin checking at about 15 minutes. Regular-cut bacon commonly finishes within 15–20 minutes, while thick-cut bacon generally needs closer to 20–25 minutes.
Step 5: Judge the texture. Look for browned edges and a crisp appearance, keeping in mind that bacon firms slightly after it leaves the oven. If it is not quite crisp enough for your preference, continue baking briefly and watch closely because bacon can go from perfectly crisp to burnt quickly.
Step 6: Drain and serve. Use tongs to transfer the bacon to a paper-towel-lined plate. Let it rest for a short time, then serve it whole, crumble it over another dish, or chop it for sandwiches and salads.
Step 7: Strain the rendered fat if saving it. Carefully pour the warm fat through a heat-safe strainer into a heatproof container to remove browned particles. Do not pour bacon fat down the drain, where it can cool, solidify, and cause a blockage.
Direct Pan or Wire Rack?
Placing bacon directly on the lined baking sheet is the traditional approach. The strips cook in their rendered fat, which encourages rich browning and gives the bacon an evenly savory flavor.
A wire rack lifts the bacon above the pan so the fat can drip below. This produces slightly less greasy slices, although the rack adds another item to wash and the bacon may brown a little differently depending on its position.
For the most straightforward method, use parchment or foil and cook the bacon directly on the pan. For a lighter surface texture, use the rack, but always set it inside a rimmed sheet so the fat remains contained.
Whichever method you choose, never crowd the pan with overlapping slices. A single layer is the key to consistent cooking.
Pro Tips for Perfect Crispiness
Start cold when using the direct-pan method. Beginning with the bacon in a cold oven lets the fat warm gradually as the oven heats. This can help render the fat evenly and may reduce curling, especially with thinner slices.
Check early. The stated cooking times are useful guidelines, not an absolute rule. Oven calibration, bacon thickness, pan material, and your preferred level of crispness all affect the result.
Use the middle rack. This position usually gives the baking sheet balanced exposure to the oven’s heat. If you are cooking multiple pans, rotate them carefully according to how your oven browns food.
Do not rely only on the timer. Bacon can change quickly during the last few minutes. Begin checking around 15 minutes and remove it when the color and texture look right to you.
Remember carryover crisping. Freshly baked bacon may look a little softer than you expect, but it firms as it drains and cools on the paper towels. Removing it at the right golden-brown stage helps prevent overcooking.
These crisp slices are especially useful in a vegetable side such as garlic bacon broccoli. The bacon can be cooked ahead, crumbled, and stirred in near the end so its texture remains noticeable.
Ways to Serve Oven-Baked Bacon

Fresh bacon is an obvious partner for eggs, toast, pancakes, and breakfast potatoes, but its uses go well beyond the morning meal. Chop it over baked potatoes, add it to a grilled cheese sandwich, or layer it into a lettuce and tomato sandwich.
For a fresh side dish, crumble it over a corn salad with bacon. The crisp pieces contrast beautifully with juicy vegetables and make a simple salad taste more substantial.
You can also fold chopped bacon into pasta dishes, savory casseroles, baked beans, or creamy dips. It works particularly well with greens, cheese, tomatoes, potatoes, corn, and mild vegetables that benefit from a salty smoky accent.
For dinner, use it as a finishing ingredient in chicken bacon pasta. Add the cooked bacon after the sauce is prepared so the pieces retain some of their crisp bite.
Storage, Reheating, and Leftovers
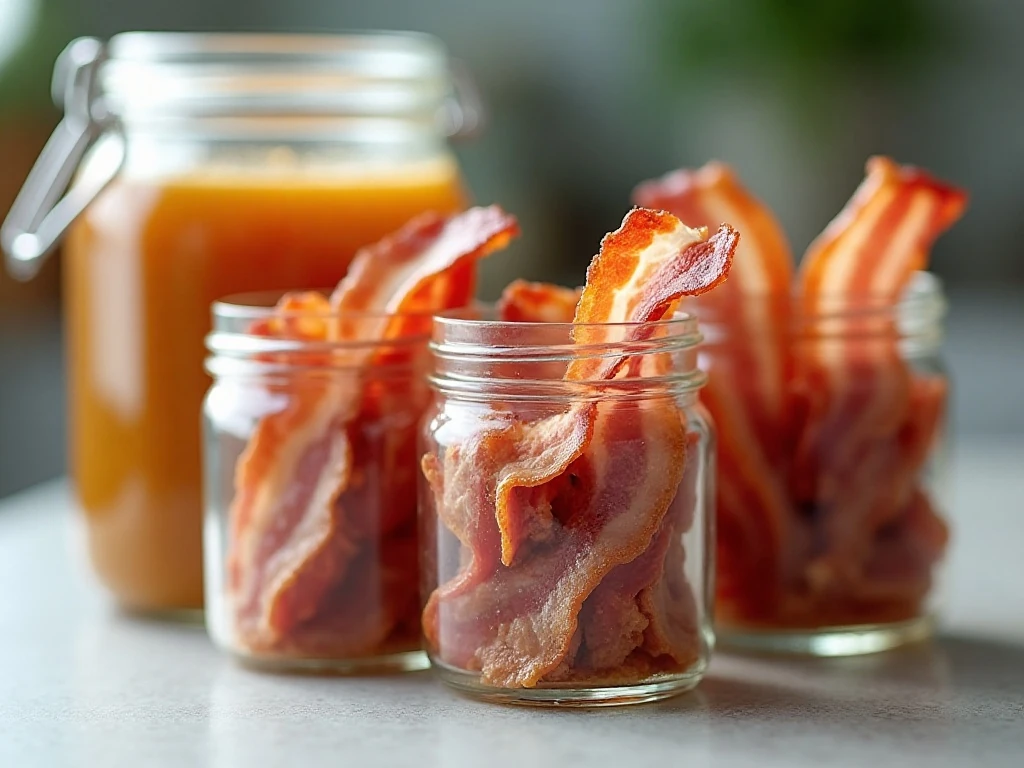
Cooked bacon is best served fresh, but leftovers can be refrigerated in an airtight container for several days. Let the bacon cool before storing it, and separate layers with paper towels if you want to absorb extra moisture.
Reheat only what you plan to eat. A short warming period in the oven or microwave can bring back some of the bacon’s savory aroma, though it may not be quite as crisp as it was immediately after baking.
For easy meal preparation, cook the full pound, crumble the cooled slices, and portion them for salads, sandwiches, and pasta. The rendered fat can also be strained and refrigerated in a sealed heat-safe container for future cooking.
Always cool saved bacon fat before storage and keep it away from the sink drain. A small spoonful can add flavor to roasted vegetables, beans, or potatoes.
If you want to build a complete oven-friendly dinner around this technique, pair the bacon with oven-baked chicken Parmesan. Prepare the bacon first, reserve the pan fat safely, and then continue with your main dish using clean equipment as needed.
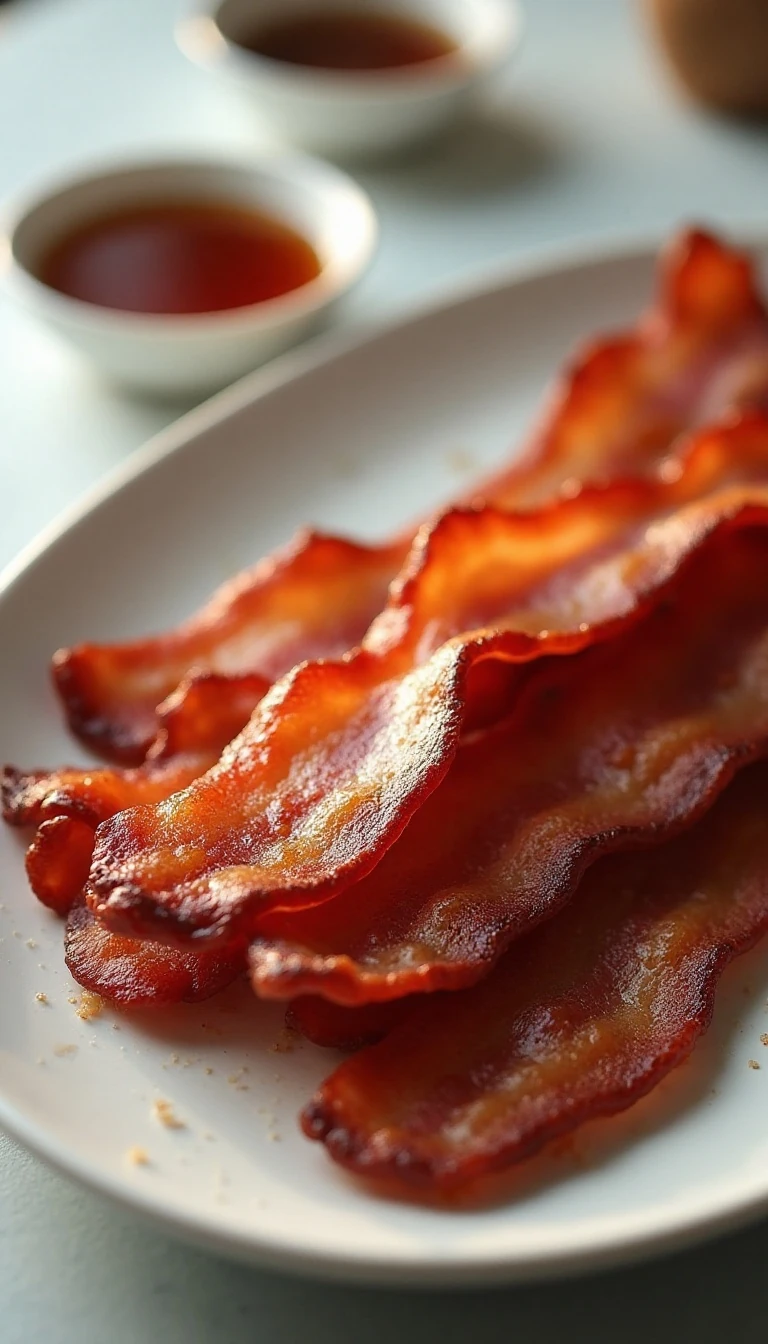
How to Cook Bacon in the Oven for Perfect Crispiness
Ingredients
Method
- Heat the oven to 400°F (205°C). If cooking bacon directly on the lined pan, you can arrange it in the cold oven first and then turn the oven on for gradual rendering.
- Line a large rimmed baking sheet with parchment paper or aluminum foil if desired. Place a wire rack over the sheet if you prefer slightly less greasy bacon.
- Arrange 1 pound of bacon in a single layer, allowing the slices to touch but not overlap.
- Bake regular-cut bacon for 15–20 minutes or thick-cut bacon for 20–25 minutes, checking around the 15-minute mark.
- Transfer the browned, crisp bacon to a paper-towel-lined plate. Let it cool briefly so the slices can firm up.
- If saving the rendered fat, pour it through a heat-safe strainer into a container. Never pour bacon fat down the drain.
Notes
Final Thoughts
Oven-baked bacon is dependable, simple, and ideal when you need several servings at once. Bake 1 pound at 400°F, keep the slices in a single layer, check around 15 minutes, and continue until the bacon reaches your preferred crispness.
Regular-cut bacon usually takes 15–20 minutes, while thick-cut bacon commonly takes 20–25 minutes. Drain the slices on paper towels, allow them to firm slightly, and save the strained rendered fat if you enjoy cooking with it.
With almost no preparation and no added oil, this method delivers beautifully browned bacon for breakfast or recipes throughout the day. Once you try it, the rimmed baking sheet may become your favorite way to cook bacon.