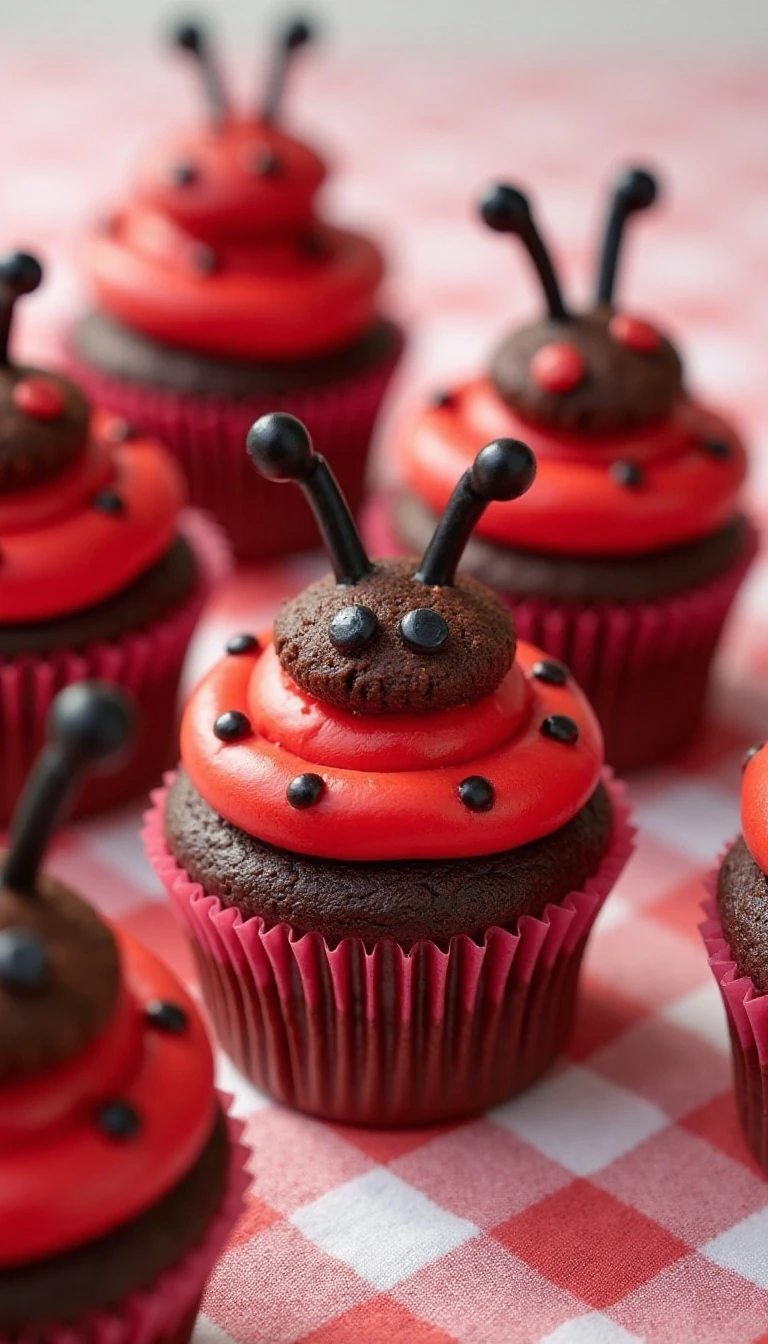
These Cute Ladybug Picnic Cupcakes are an easy dessert made with chocolate cupcakes, bright red vanilla frosting, miniature chocolate sandwich cookies, red candies, chocolate-chip spots, and black shoestring licorice antennae. The recipe makes 12 playful cupcakes and takes approximately 1 hour 15 minutes to 1 hour 30 minutes, including preparation, baking, cooling, and decorating.
Every bite brings together a tender, chocolatey cake and sweet vanilla frosting with crunchy cookie, candy, and chocolate details. They are especially charming for picnics, spring birthdays, garden parties, classroom celebrations, and any gathering where a cheerful edible centerpiece is welcome.
Jump to RecipeWhy You’ll Love This Recipe
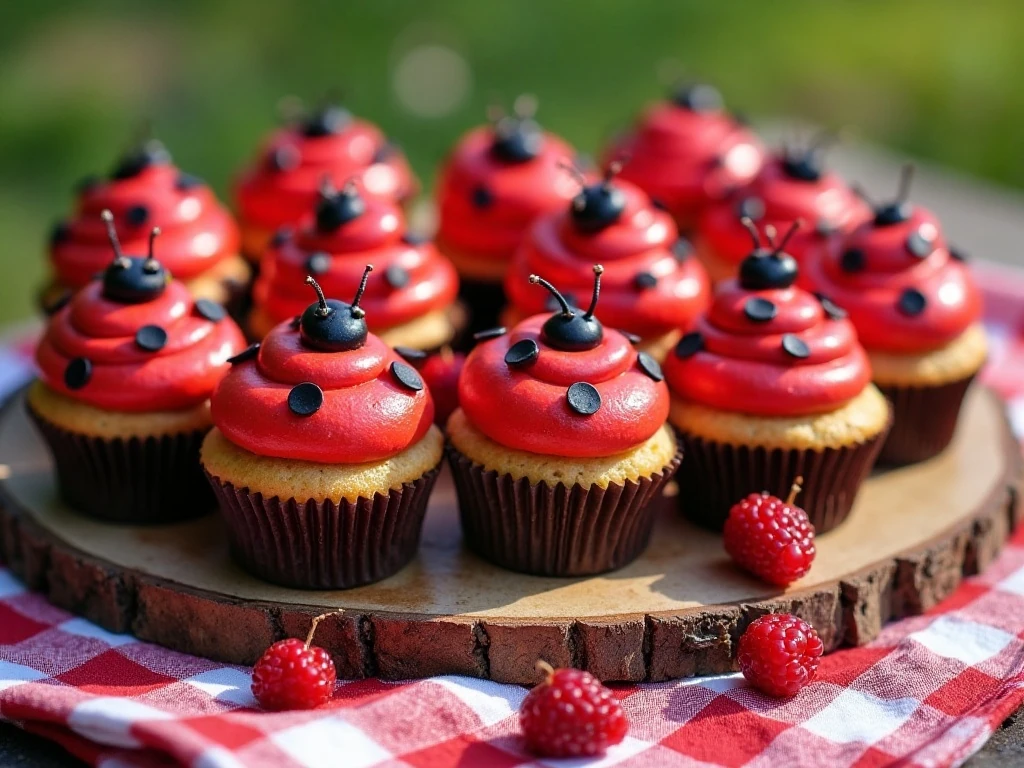
These ladybug cupcakes look intricate, but the decorating is wonderfully approachable. The chocolate cupcake base comes from a boxed mix, while the red frosting and simple candy pieces do most of the visual work.
Children can help arrange the wings and spots, making this a fun baking project rather than a dessert that has to be made entirely in secret. Each cupcake has its own little personality, especially when the antennae lean in slightly different directions.
- Uses a convenient 15.25-ounce chocolate cake mix.
- Makes exactly 12 cupcakes for a small party or picnic.
- Requires no piping experience or specialty decorating tools.
- Combines soft cake with crunchy and chewy candy textures.
If you enjoy playful cupcake themes, you may also like these sweet and savory cupcakes for another party-friendly dessert idea.
Ingredients You’ll Need
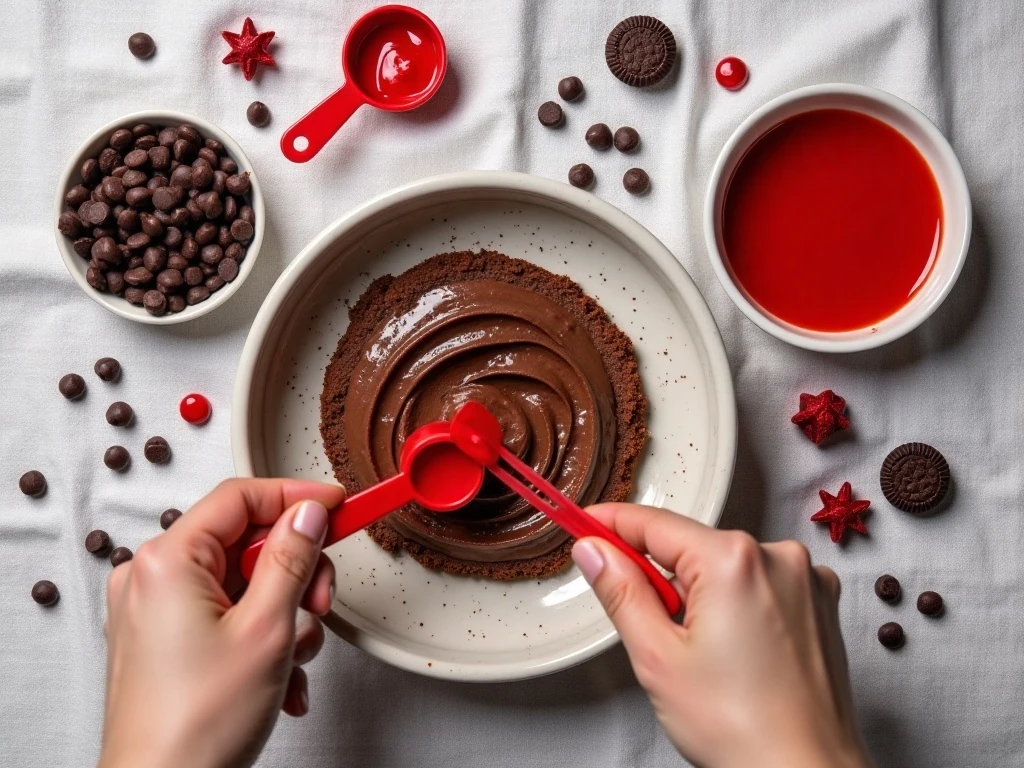
Start with one box of devil’s food or chocolate cake mix. Add the water, vegetable oil, and eggs in the amounts printed on that particular package, since different brands can vary slightly.
For the decoration, you will need one 16-ounce container of vanilla frosting, red food coloring, 12 miniature chocolate sandwich cookies, 24 small red candies, 48 miniature chocolate chips or small black candy pieces, and 12 pieces of black shoestring licorice cut to about 2 inches each.
Small black gumdrops or chocolate candies are optional if you want to give each ladybug a more distinct head. Red gel coloring usually creates a strong shade with less added moisture, but red liquid food coloring also works.
How to Make It Step-by-Step
Step 1: Heat the oven to the temperature stated on the cake-mix package, usually 350°F (175°C). Line a 12-cup muffin pan with paper liners, then prepare the batter according to the package directions.
Step 2: Divide the batter evenly among the liners, filling each one about two-thirds full. This leaves enough room for the cupcakes to rise without overflowing and gives you a stable surface for frosting.
Step 3: Bake for 18–23 minutes, checking for doneness with a light fingertip press and a toothpick. The cupcakes should spring back gently, and the toothpick should come out clean from the center.
Step 4: Let the cupcakes rest in the pan for about 5 minutes before moving them to a rack. Cool them completely, allowing about 30 minutes, because even slightly warm cake can make frosting slide.
Step 5: Tint the vanilla frosting bright red with food coloring. Spread a generous, even layer over every cupcake, keeping the tops rounded and thick enough to hold the candy pieces.
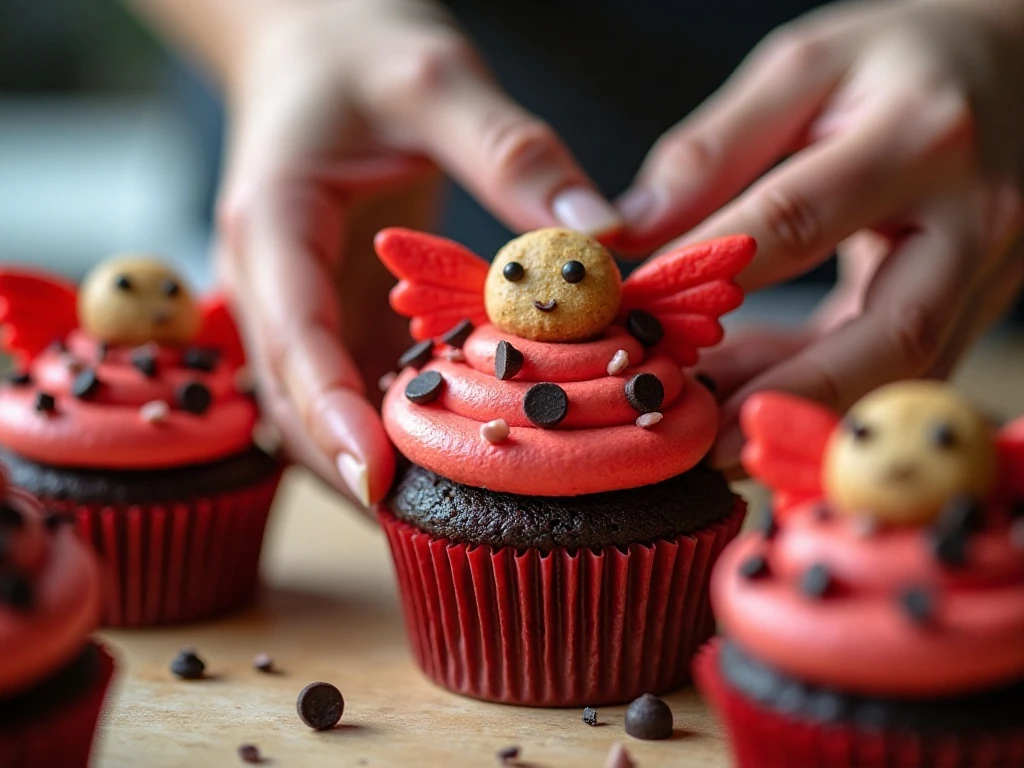
Step 6: Place a miniature chocolate sandwich cookie near the back edge of each frosted cupcake. This becomes the ladybug’s dark head and gives you a visual anchor for positioning the wings and antennae.
Step 7: Set two red candies on the frosting in front of the cookie. Arrange them as left and right wings, keeping a small line of red frosting between them to mimic the center seam of a ladybug.
Step 8: Add four miniature chocolate chips or black candy pieces to each cupcake. Place two spots on each wing and press them in gently so they remain visible and secure.
Step 9: Snip the licorice into pieces about 2 inches long and insert two near every cookie head. Do this immediately after frosting, while the surface is soft enough to hold the antennae upright.
Step 10: Chill the finished cupcakes briefly if the frosting is soft or the decorations need extra support. Serve them once set, preferably on the same day for the crispest cookie and candy textures.
Decorating Tips for Adorable Ladybugs
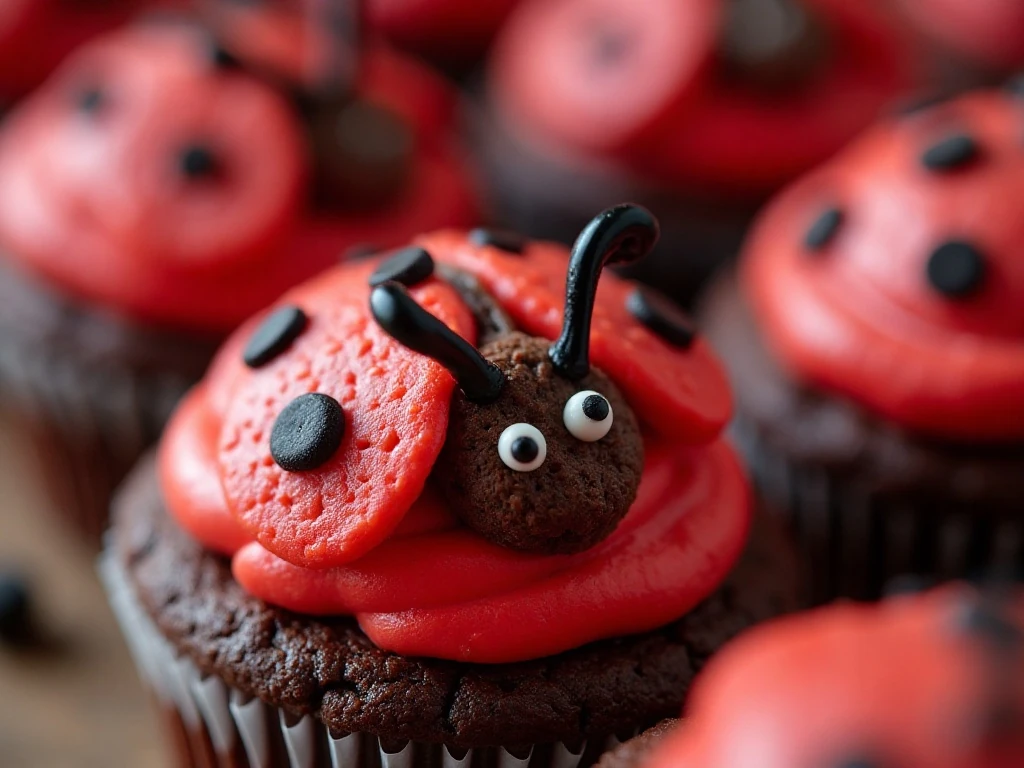
Use a small offset spatula or the back of a spoon to make the red frosting smooth. It does not need to be perfect; the cookie, candy wings, and black spots will cover small imperfections.
For an even appearance, place all 12 cookies first, then add the red candies, spots, and antennae in batches. This assembly-line approach keeps the designs consistent and makes decorating faster when children are helping.
Cut the licorice with clean kitchen scissors rather than tearing it. Short, fresh pieces stand more upright, while long pieces can bend into the frosting or make the ladybugs look untidy.
For another colorful seasonal cupcake project, serve these ladybugs alongside our pumpkin cupcakes with a creamy center. The two designs create a cheerful dessert table with different flavors and colors.
Easy Variations
You can use prepared chocolate cupcakes instead of a boxed mix if you already have a favorite recipe or need to save time. The decoration method stays the same, provided the cupcakes are fully cooled before frosting.
Red fruit leather or red candy melts can replace the two red candies as wing details. Cut fruit leather into small rounded sections, or use carefully set candy-melt pieces for a smoother, more graphic look.
Black decorating gel is another option for the spots. Pipe four small dots onto each cupcake after placing the wings, or use a split chocolate sandwich cookie as an alternative head-and-wing arrangement.
For a full picnic menu, balance these sweet treats with savory dishes such as this fresh egg salad. The creamy sandwich filling pairs nicely with fruit, lemonade, and a tray of whimsical cupcakes.
Timing, Serving, and Party Planning
Plan on 25–35 minutes for preparation, 18–23 minutes for baking, about 30 minutes for cooling, and 20–30 minutes for decorating. The complete project generally takes approximately 1 hour 15 minutes to 1 hour 30 minutes.
For a party, bake the cupcakes earlier in the day and decorate them once they are completely cool. Arrange them on a flat tray lined with parchment or a picnic-themed napkin so the licorice antennae are less likely to catch on the serving surface.
These cupcakes are best served at room temperature after the frosting has set. If the day is warm, keep them chilled until shortly before serving, then transfer them carefully so the decorations remain in place.
If your picnic includes a larger spread, a thermos of warming taco soup and a fresh salad can provide a savory contrast to the sweet dessert course.
Storage and Make-Ahead Advice
Store decorated cupcakes in a single layer in a covered container so the cookies, red candies, and antennae are not crushed. Keep them away from direct sunlight and excessive heat, which can soften the frosting and loosen the decorations.
You can bake the cupcakes ahead of time and cool them completely before covering them. Frost and decorate closer to serving for the freshest visual finish, especially if using crisp chocolate sandwich cookies.
If a decoration shifts, gently press it back into the frosting rather than adding a large amount of extra icing. A brief chill can firm the surface and make last-minute adjustments easier.
What to Serve at a Ladybug Picnic
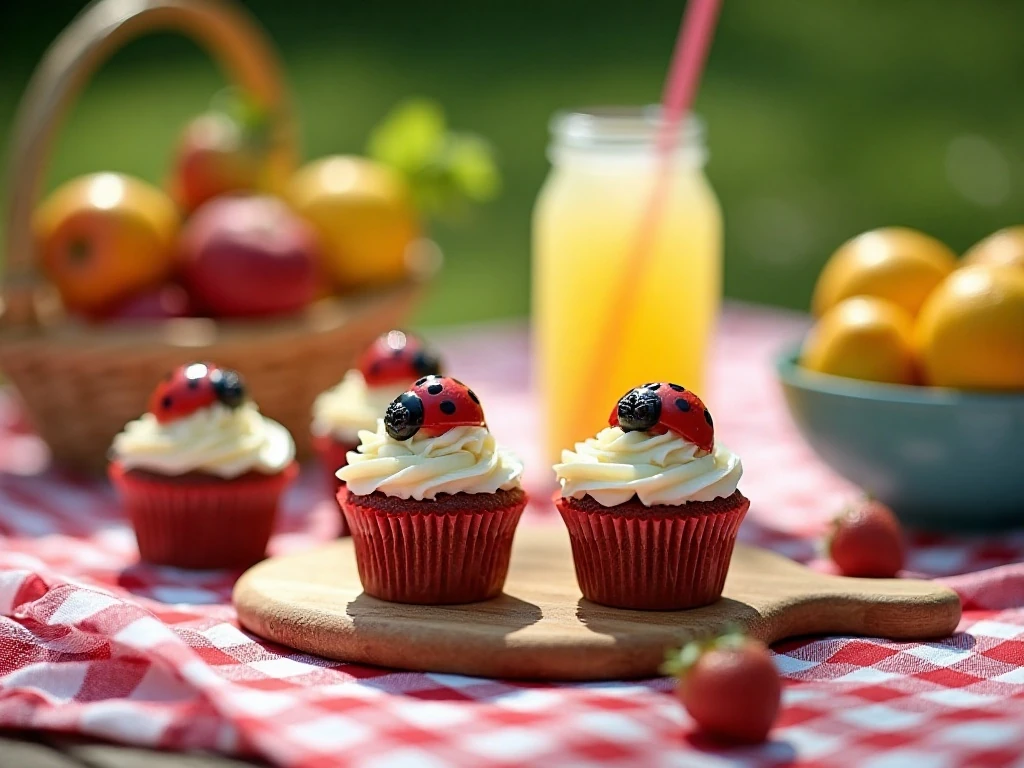
Build the theme with red and black napkins, a gingham cloth, fresh berries, lemonade, and small paper cups. Green grapes, cucumber slices, and a simple fruit platter reinforce the garden setting without competing with the cupcakes.
For a heartier menu, add sandwiches, chilled vegetables, and a savory main such as pineapple ginger chicken. Its bright, fruity flavor fits beautifully with a sunny outdoor meal.
Place the cupcakes near the end of the serving table, where guests can admire the ladybug faces before choosing one. A small card noting that the antennae are licorice can help guests identify every edible decoration.
Cute Ladybug Picnic Cupcakes
Ingredients
Method
- Heat the oven to the temperature stated on the cake-mix package, usually 350°F (175°C), and line a 12-cup muffin pan with paper liners. Prepare the devil's food or chocolate cake mix with the water, vegetable oil, and eggs listed on the package directions.
- Divide the batter evenly among the 12 liners, filling each about two-thirds full. Bake for 18–23 minutes, until the cupcakes spring back when lightly touched and a toothpick inserted in the center comes out clean.
- Cool the cupcakes in the pan for about 5 minutes, then transfer them to a wire rack. Let them cool completely, which usually takes about 30 minutes, before adding frosting or candy decorations.
- Tint the vanilla frosting bright red with red gel or liquid food coloring, adding a little at a time until the color is vivid and even. Frost each completely cooled cupcake generously, creating a smooth, rounded surface for the ladybug design.
- Place one miniature chocolate sandwich cookie near the back or edge of each cupcake to form the ladybug's head. If using optional black gumdrops or chocolate candies, position one beside or in front of the cookie as an additional head detail.
- Arrange two red candies on the frosting in front of the cookie head to suggest the ladybug's two wings. Leave a narrow red-frosting line between them if you want the wings to look clearly separated.
- Add four miniature chocolate chips or small black candy pieces to each cupcake as spots, placing two on each red wing. Press them in gently so they stay secure without crushing the frosting.
- Cut the black shoestring licorice into twelve pieces about 2 inches long, using kitchen scissors for neat ends. Insert two pieces into the frosting immediately behind or beside each cookie head so they stand upright as antennae.
- If the frosting feels soft or the decorations begin to slide, chill the decorated cupcakes briefly until the frosting firms. Serve the ladybugs once set, arranging them on a picnic board or colorful dessert tray.
Notes
Final Thoughts
Cute Ladybug Picnic Cupcakes turn a simple chocolate cupcake into a memorable party treat with only a few colorful decorations. The red frosting, cookie heads, candy wings, chocolate spots, and licorice antennae create an instantly recognizable design without requiring advanced cake-decorating skills.
For the best results, allow the cupcakes to cool fully, use enough frosting to anchor the decorations, and insert the antennae immediately after frosting. Once assembled, these cheerful little ladybugs are ready to brighten a picnic blanket, birthday table, or spring dessert spread.
Make the recipe your own with fruit-leather wings, gel spots, or prepared chocolate cupcakes, then invite young helpers to arrange the details. The finished dozen will be as enjoyable to make as they are to eat.
1 thought on “Cute Ladybug Picnic Cupcakes Recipe”