Mousse-Filled Chocolate Chip Cookie Cups are an easy bite-size dessert made by baking refrigerated chocolate chip cookie dough in miniature muffin cups, then filling the cooled shells with a quick chocolate pudding mousse. The complete recipe makes about 24 miniature cookie cups and takes roughly 45 to 60 minutes, including cooling and chilling time.
Every little cup combines a lightly crisp cookie edge, a tender chocolate chip center, and a cool, airy chocolate filling. They are simple enough for a weeknight treat but pretty enough for parties, holiday dessert trays, showers, birthdays, and buffet tables.
Jump to RecipeWhy You’ll Love This Recipe

These cookie cups deliver the pleasure of two classic desserts in one small serving. The cookie dough creates a reliable shell without requiring a long list of pantry ingredients, while the instant pudding and whipped topping become a fluffy mousse in just a few minutes.
The contrast is especially satisfying: warm-baked cookie flavor meets chilled, creamy chocolate filling. Because each portion is miniature, guests can enjoy one or two without needing forks, plates, or a complicated dessert setup.
If your household enjoys traditional chocolate chip treats, you may also like these classic chocolate chip cookies for a larger, homestyle batch.
- Fast preparation: Most of the work is portioning dough and whisking the mousse.
- Party-friendly: The individual cups are easy to arrange on a serving platter.
- Make-ahead potential: The shells can cool before filling, and the completed cups can chill before guests arrive.
Ingredients You’ll Need
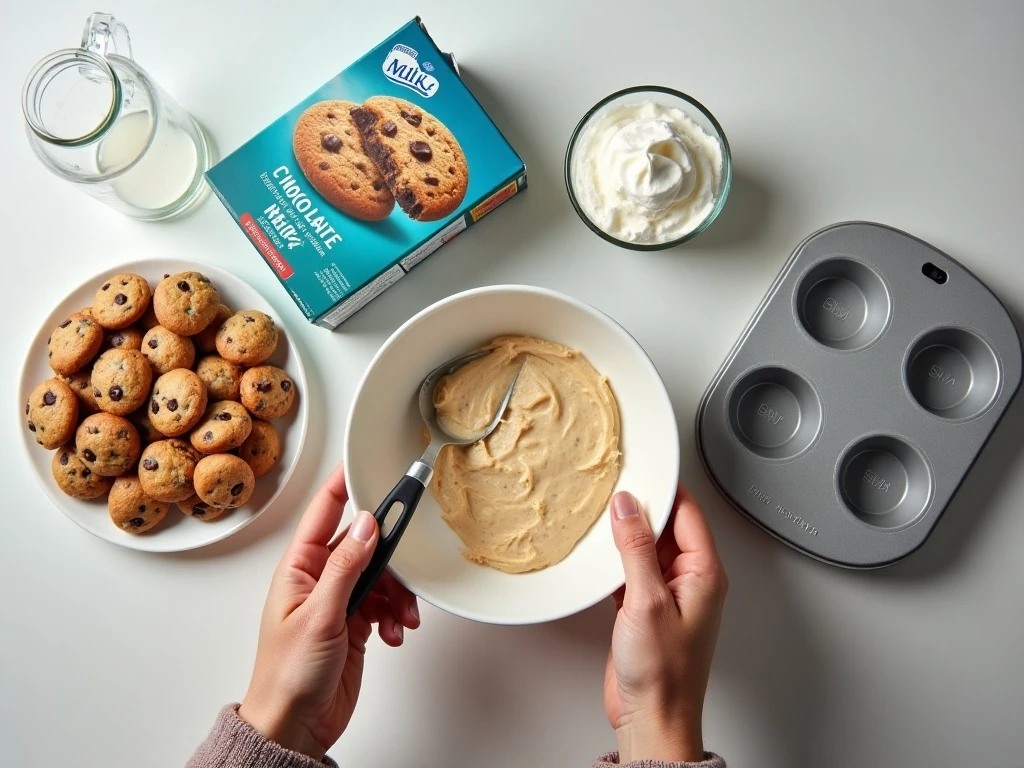
The cookie base starts with one 16 1/2-ounce tube of refrigerated chocolate chip cookie dough. Divide it into 24 portions so the cups bake evenly and have enough room for the mousse without becoming overly thick.
For the filling, use one 3.9-ounce package of instant chocolate pudding mix, one cup of cold 2% milk, and one 8-ounce carton of frozen whipped topping that has been thawed. Instant pudding is important here because it thickens with cold milk and does not require stovetop cooking.
- Grease for the miniature muffin pan, such as nonstick spray or a thin coating of butter.
- A 24-cup miniature muffin pan.
- A mixing bowl, whisk, rubber spatula, wire rack, and spoon or piping bag.
Keep the milk cold until you are ready to mix the pudding. Cold milk helps the instant pudding reach its thick texture quickly, giving the mousse enough body to sit inside the cookie shells.
For another playful chocolate chip idea, take a look at these mint chocolate chip cookies; their cool mint flavor makes a lovely companion to this chocolate-filled dessert.
How to Make It Step-by-Step
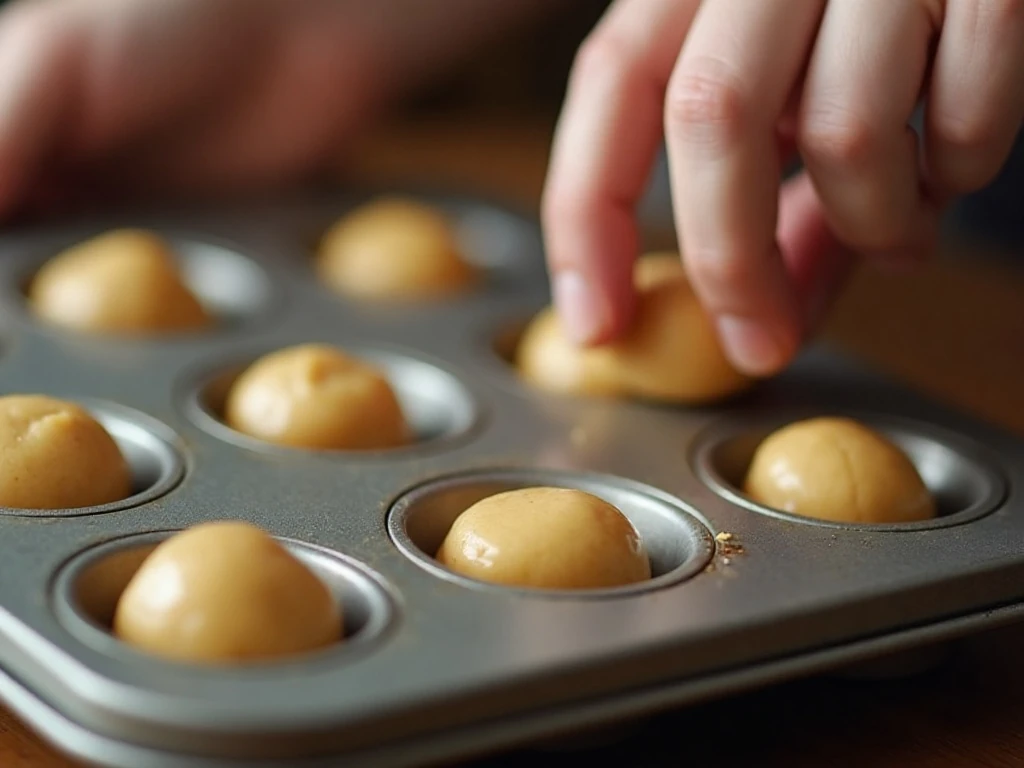
Step 1: Heat the oven to 350°F (175°C), then grease 24 miniature muffin cups. Use a light, even coating so the baked cookie shells release without leaving a heavy greasy edge.
Step 2: Divide the tube of refrigerated cookie dough into 24 portions. Press one portion across the bottom of each muffin cup and slightly up the sides, forming a shallow cup with a small hollow in the center.
Step 3: Bake the shells for 10 to 12 minutes, watching for lightly browned edges. The centers should look set around the perimeter but remain slightly soft, since they continue cooking briefly in the hot pan.
Step 4: Leave the cookie cups in the muffin pan for approximately 5 minutes after baking. Carefully loosen and move them to a wire rack, then let them cool completely so the mousse will not soften or melt.
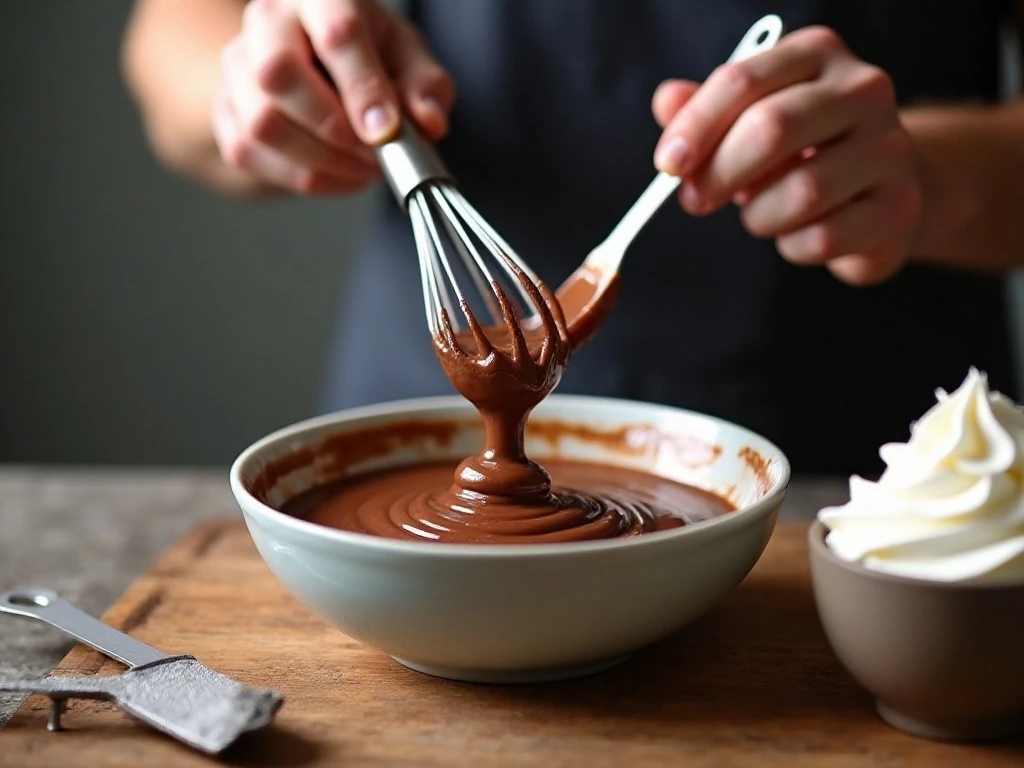
Step 5: Add the instant chocolate pudding mix and cold milk to a bowl. Whisk for about 2 minutes, until the mixture is visibly thickened and smooth.
Step 6: Fold in the thawed whipped topping with a rubber spatula. Turn the mixture from the bottom of the bowl upward until the chocolate mousse is evenly blended while still looking light and airy.
Step 7: Fill each cooled cookie shell with mousse using a spoon, or transfer the mousse to a pastry bag for a cleaner swirl. Refrigerate the finished cups until serving, giving the filling time to become cool and pleasantly set.
Chef’s Tips for Perfect Cookie Cups
The most important detail is the bake time. Overbaked shells can become dry and brittle once cool, so remove the pan when the edges are lightly browned and the centers still have a little softness.
Press the dough evenly rather than making the sides extremely thin. A consistent layer helps each cookie cup hold its shape and gives every serving a balanced amount of cookie and mousse.
Do not fill warm shells. Even if the cookie cups feel firm enough to handle, residual heat can make the mousse loose and difficult to pipe neatly.
- For even portions: Divide the dough in half, then continue dividing each section until you have 24 pieces.
- For clean edges: Avoid pressing dough above the halfway point of the miniature muffin cup.
- For a polished finish: Use a star tip or snipped zip-top bag to create a simple swirl.
- For easy release: Let the shells rest for the full 5 minutes before transferring them to the rack.
If you are building a dessert table around cookie favorites, these bakery-style chocolate chip cookies can provide a larger companion treat beside the miniature cups.
Serving Ideas and Flavor Variations

Serve the cookie cups chilled on a platter with the mousse swirled high enough to show its creamy texture. A few chocolate chips on top make a simple decoration, while a light dusting of cocoa powder adds a more finished dessert-shop appearance.
For a holiday tray, arrange the cups beside colorful candies or seasonal sprinkles. During warmer months, keep the platter refrigerated until shortly before serving so the mousse stays firm and refreshing.
The recipe is intentionally streamlined, but small finishing touches can make it feel special. Try adding one chocolate chip to each mousse swirl, or use a tiny pinch of chocolate curls if you have them available.
These cups also pair well with a selection of other baked treats. For a seasonal spread, include chewy Christmas chocolate chip cookies for a contrasting shape and texture.
Storage and Make-Ahead Advice

Refrigerate filled cookie cups until you are ready to serve them. Keeping them chilled helps the mousse maintain its shape and preserves the pleasant contrast between the tender cookie and cool filling.
For the neatest preparation, bake the cookie shells first and cool them completely before making the mousse. Fill them closer to serving time when possible, especially if you want the cookie texture to remain at its best.
Arrange the finished cups in a single layer on a covered platter or in a shallow airtight container. Avoid stacking them, since the mousse can be marked or flattened by the cookie cup above it.
These are best enjoyed cold and do not need reheating. Allow them only a brief time at room temperature for serving, then return any remaining pieces to the refrigerator.
Common Questions About the Recipe
Can I use a regular muffin pan? The researched proportions are designed for 24 miniature muffin cups, so a regular-size pan will not produce the same number or size of shells. For the intended bite-size result, use a miniature muffin pan.
Why did my cookie cups become hard? The likely cause is overbaking. Remove them when the edges are lightly browned and the centers are still slightly soft, then let them finish setting as they cool.
Can I spoon in the mousse instead of piping it? Absolutely. A spoon works well for a casual presentation, while a pastry bag or zip-top bag with the corner snipped off creates a more defined, tidy finish.
Can the mousse be made with warm milk? Use cold milk as specified. The pudding mix is whisked with cold milk for about 2 minutes, allowing it to thicken properly before the whipped topping is folded in.

Mousse-Filled Chocolate Chip Cookie Cups
Ingredients
Method
- Heat the oven to 350°F (175°C) and grease 24 miniature muffin cups. Divide the refrigerated cookie dough into 24 portions, then press each portion over the bottom and slightly up the sides of a muffin cup.
- Bake the cookie shells for 10 to 12 minutes, until the edges are lightly browned. Keep a close eye on them because the centers should remain slightly soft rather than dry or brittle.
- Let the cookie cups cool in the pan for about 5 minutes. Carefully transfer them to a wire rack and allow them to cool completely before adding the mousse.
- Whisk the instant chocolate pudding mix with the cold milk for about 2 minutes, or until the mixture thickens. Scrape the sides and bottom of the bowl so the pudding powder hydrates evenly.
- Fold the thawed whipped topping into the thickened pudding until the mousse is evenly blended and no obvious white streaks remain. Use a gentle folding motion to keep the mixture light.
- Spoon or pipe the mousse into the cooled cookie cups. Refrigerate the filled cups until serving so the mousse is cool and pleasantly firm.
Notes
Final Thoughts
Mousse-Filled Chocolate Chip Cookie Cups are proof that an impressive dessert does not have to be complicated. With refrigerated cookie dough, instant chocolate pudding, cold milk, and thawed whipped topping, you can create about 24 individual treats with a tender cookie shell and creamy chocolate center.
Remember the three keys to success: press the dough into an even shallow cup, avoid overbaking, and cool the shells completely before filling. Once the mousse is piped or spooned into place, a short chill gives these little desserts their ideal cool, creamy finish.
For a different bite-size baking project, you can also try whole wheat pumpkin chocolate chip mini muffins. But when you want a quick dessert that looks festive and tastes wonderfully indulgent, these mousse-filled cookie cups belong at the top of the list.