These Halloween Pumpkin Candy Bag Cookies are festive sugar-cookie sandwiches made from two pumpkin-shaped cookies and filled with small Halloween candies. The recipe uses a tender orange-tinted dough, a cutout window, and simple powdered-sugar icing to create an edible candy bag that is perfect for Halloween parties, school celebrations, trick-or-treat tables, and homemade gifts.
Every bite begins with a buttery, lightly vanilla-flavored cookie before giving way to colorful M&M’s, candy corn, mini chocolate candies, or sprinkles. The cookies take about 30–40 minutes to prepare, 30–60 minutes to chill, 8–10 minutes per baking sheet, and another 30–45 minutes to cool and decorate, for a total time of approximately 1½–2½ hours.
Jump to RecipeWhy You’ll Love This Recipe
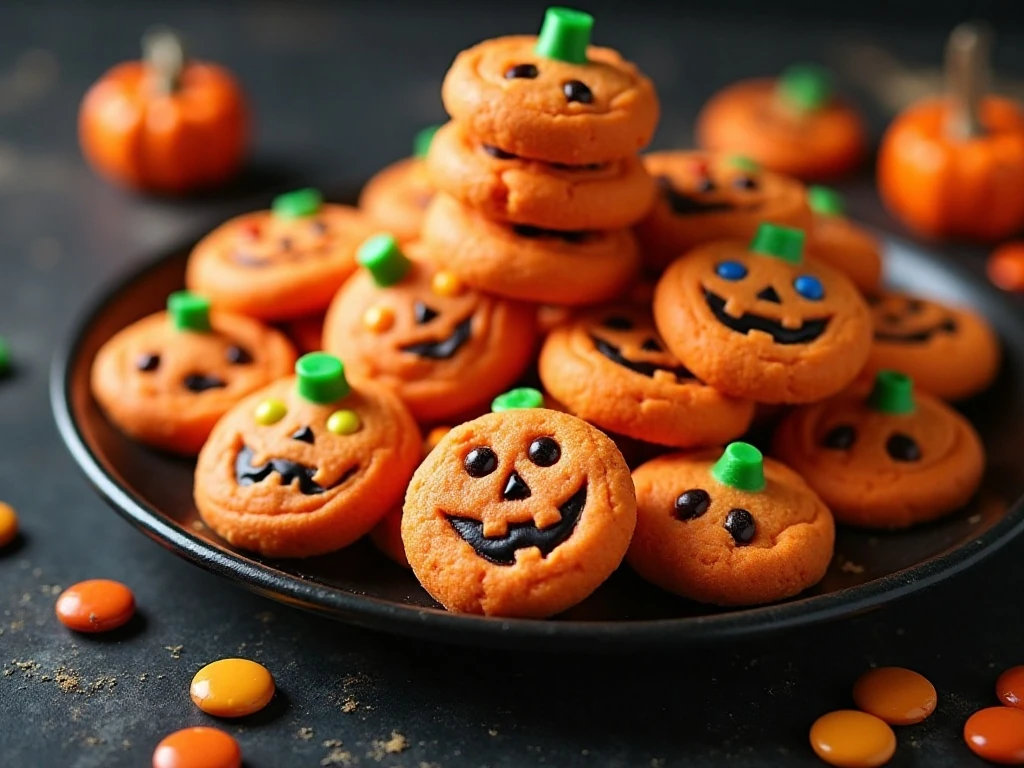
Halloween Pumpkin Candy Bag Cookies combine the charm of a decorated sugar cookie with the surprise of a tiny candy-filled treat. They look like miniature pumpkin packages, yet every part of the package is edible and easy to personalize.
The cookie dough is tender, buttery, and pleasantly sweet without being overwhelming. Vanilla gives the pumpkins a familiar bakery flavor, while orange food coloring makes them instantly recognizable even before the icing goes on.
Children can help choose the candy filling and decorate the faces, stems, and borders. For another autumn cookie idea with warm spice and a soft, sugary coating, take a look at these pumpkin snickerdoodles.
- Festive enough for Halloween parties and bake sales.
- Easy to customize with different candies and icing colors.
- Made with a straightforward rolled sugar-cookie dough.
- Fun to package as individual edible gifts.
Ingredients You’ll Need
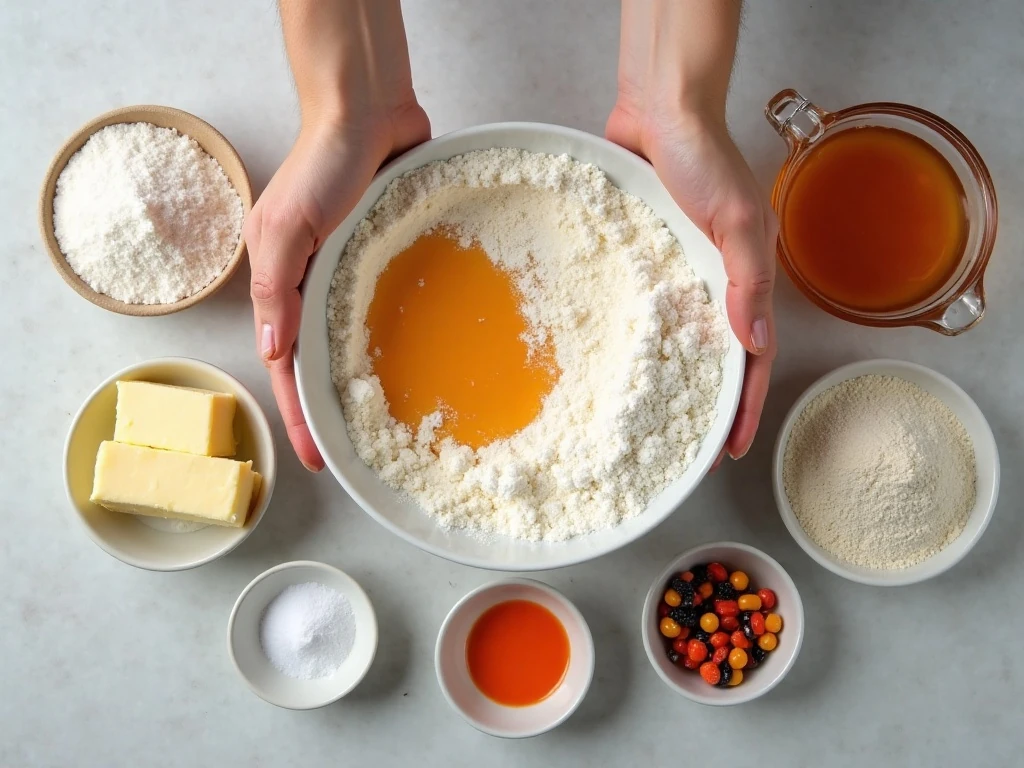
Start with softened unsalted butter, granulated sugar, one large egg, and vanilla extract. These ingredients create the rich, tender base of the cookie and help the dough bake with a delicate crumb.
The dry ingredients are all-purpose flour, baking powder, and salt. Measure the flour carefully, preferably by spooning it into a measuring cup and leveling the top, because too much flour can make the cookies firm and difficult to roll.
Orange food coloring is optional, but it gives the pumpkins a cheerful Halloween appearance. Gel coloring works especially well because it adds strong color without introducing much extra liquid to the dough.
For assembly, plan on 1½–2 cups of small Halloween candies. M&M’s, candy corn, mini chocolate candies, and sprinkles are all suitable choices, although smaller pieces make the cookie bags easier to close and eat.
The icing begins with 1 cup powdered sugar and 1–2 tablespoons milk or water. Black and green gel food coloring create classic jack-o’-lantern details and stems, while additional orange icing or candy melts can be used for borders and finishing touches.
How to Make It Step-by-Step
Step 1: Bring the butter to room temperature so it is soft but not melted. Cream it with the granulated sugar for 2–3 minutes, scraping the bowl once or twice, until the mixture looks pale and fluffy.
Step 2: Beat in the egg and vanilla extract until smooth. If using orange food coloring, add it now and mix until the color is evenly distributed throughout the butter mixture.
Step 3: Whisk together the all-purpose flour, baking powder, and salt in a separate bowl. Add the dry ingredients gradually, mixing on low speed or stirring by hand until no large streaks of flour remain and a soft dough forms.
Step 4: Divide the dough into manageable portions and wrap each portion. Chill it for 30–60 minutes, or until firm enough to roll without sticking excessively to the counter or rolling pin.
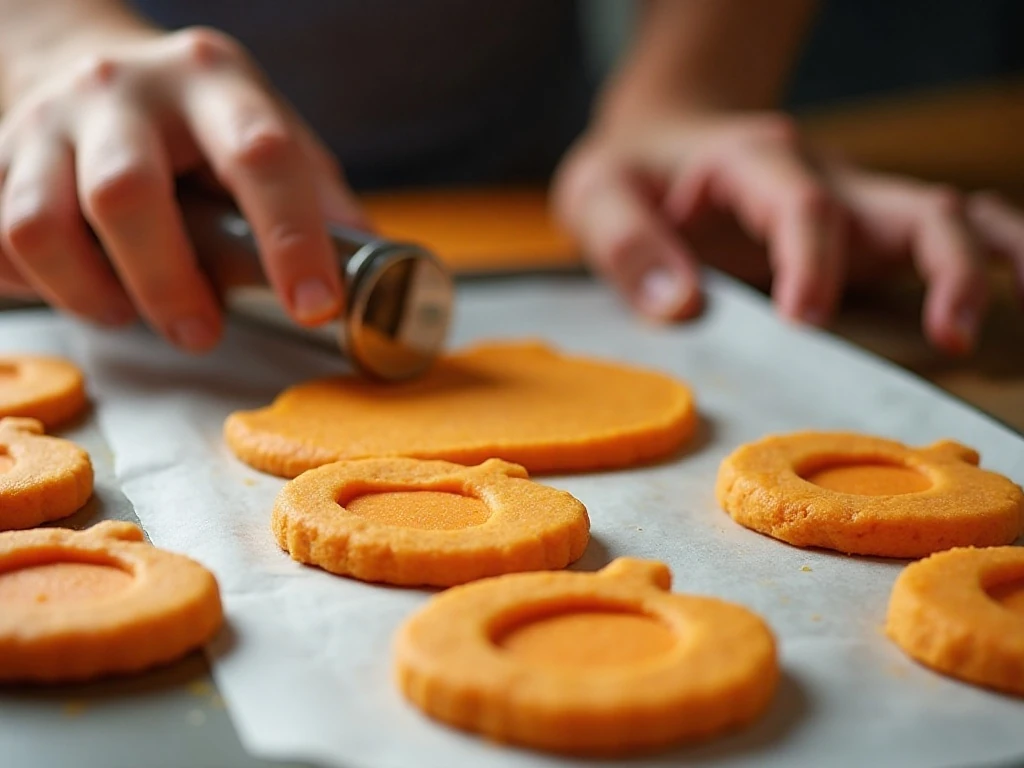
Step 5: Lightly flour the work surface and roll the dough to approximately ⅛–¼ inch thick. Cut an even number of pumpkin shapes so every solid base has a matching window cookie.
Step 6: Transfer the pumpkin shapes to parchment-lined baking sheets. For especially clean windows, place the whole pumpkin shape on the sheet first, then cut the smaller center opening directly on the parchment so the outline is less likely to distort.
Step 7: Chill the cut cookies on the baking sheets for 10–15 minutes. Bake at 350°F (175°C) for about 8–10 minutes per sheet, removing them when the edges are set but still pale rather than browned.
Step 8: Cool the cookies completely before decorating. While they cool, mix the powdered sugar with milk or water until a thick icing forms, adding liquid slowly so the icing remains suitable for piping.
Step 9: Tint portions of the icing black, green, or orange. Pipe icing around the outer edge of each solid pumpkin cookie, then place a window cookie on top and press gently to form the candy cavity.
Step 10: Spoon small candies into the opening, taking care not to overfill it. Add icing around the remaining edges or attach a decorated pumpkin top as desired, then allow the icing to set fully before serving or packaging.
Pro Tips for Crisp Pumpkin Shapes
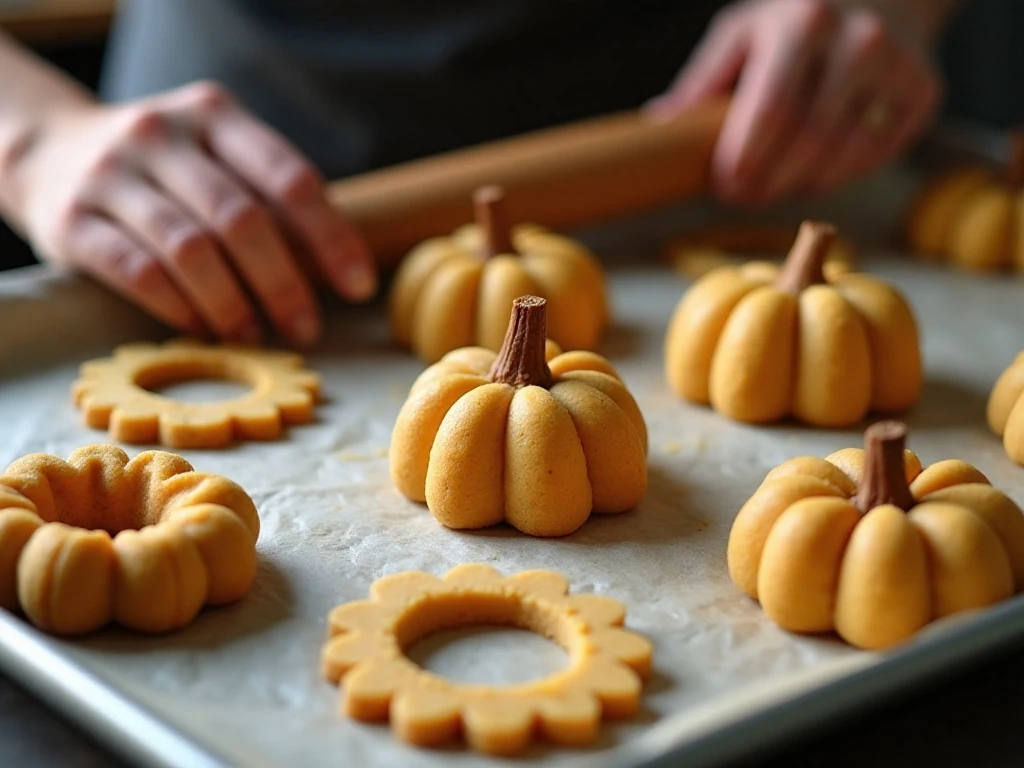
Chilling is the most important detail for attractive pumpkin cookies. The initial 30–60 minute chill firms the dough for rolling, while the additional 10–15 minutes after cutting helps the ridges, stem, and window remain sharp in the oven.
If your dough becomes soft while you work, return it to the refrigerator rather than adding a large amount of flour. Extra flour can make the finished cookies dry and can mute the buttery flavor.
For the cleanest center openings, cut the small window after the pumpkin has been moved to the lined baking sheet. If you cut the window on the counter and then lift the dough, the shape may stretch or lose its symmetry.
Use small and relatively dry candies. Sticky caramels, large pieces, or moist fillings may make the cookies difficult to seal and can soften the interior over time.
Keep the icing thick enough to hold a border. If it runs, add a little more powdered sugar; if it is too stiff to pipe, add a few drops of milk or water at a time.
For more classic cookie inspiration when planning a Halloween dessert tray, these brown sugar butter cookies offer a rich, caramel-like contrast to the bright pumpkin designs.
Decorating Ideas for Halloween

Classic jack-o’-lantern faces are always popular. Use black icing to pipe triangle eyes, a small nose, and a toothy or crooked smile on the solid cookie or around the window cookie.
Green icing makes simple stems and curling vines. You can also pipe tiny leaves near the stem or add green details to the top edge without covering the candy-filled center.
For a more colorful party platter, use orange icing around the border and add black sprinkles to the face. Purple, green, and black candies inside the window make the filling look especially festive against the orange dough.
Sprinkles can be added while the icing is still wet so they adhere properly. Let decorated cookies rest until the icing is firm before stacking them, especially if you plan to transport them to a party.
If you are preparing a larger assortment, pair these candy bags with chewy chocolate chip cookies for a soft, familiar option that balances the crisp decorated pumpkins.
Storage, Packaging, and Serving
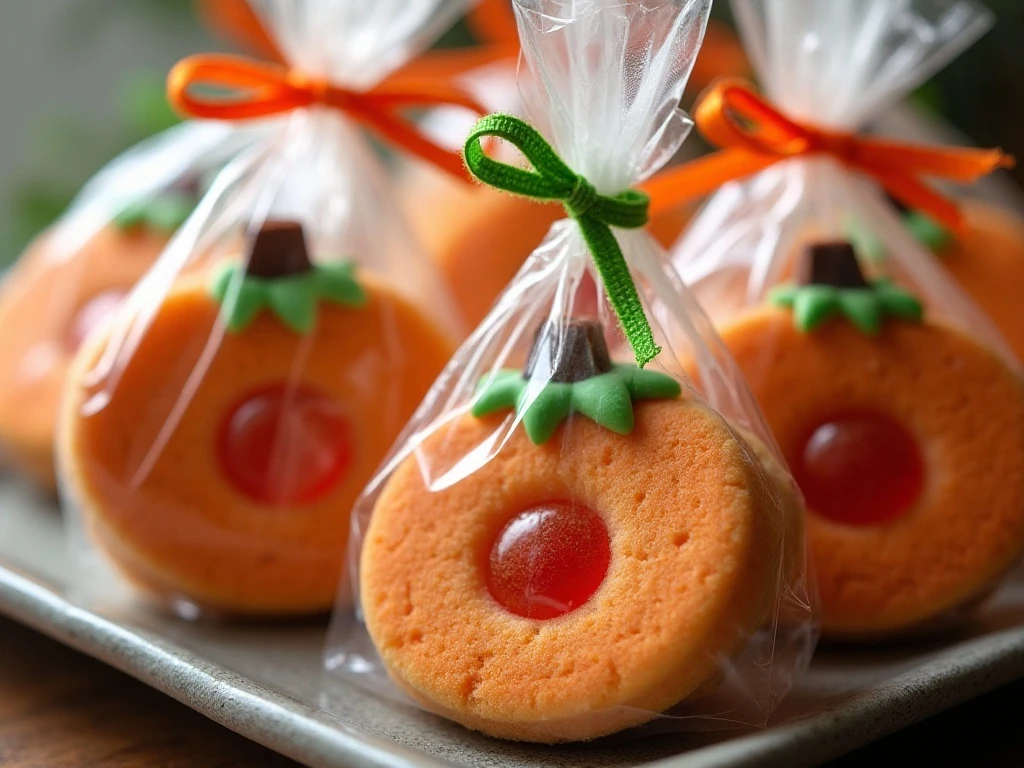
Allow the icing to set completely before placing the cookies in an airtight container. Arrange them in a single layer when possible, or separate layers with parchment paper to protect the icing and keep the candy windows neat.
Store the cookies at room temperature in a cool, dry place. Avoid warm areas, direct sunlight, and humid conditions because heat can soften the icing and moisture can affect the texture of the cookie and filling.
For individual Halloween favors, wrap each cookie in a clear food-safe bag after the icing has dried. Tie the bag with orange, green, or black ribbon, leaving the pumpkin window visible so guests can see the candy inside.
Serve the cookies with hot cider, cocoa, or a bowl of fresh fruit. A platter that includes a rich chocolate choice, such as these double chocolate chip cookies, gives guests several textures and flavors to enjoy.
These cookies are best enjoyed once assembled, while the cookie edges are crisp and the candy remains distinct. If you are baking ahead, bake and cool the cookie pieces first, then decorate and fill them closer to serving time.
Common Questions
Can I skip the orange food coloring? Yes. The cookies will still have the same buttery vanilla flavor and pumpkin shape, and the icing can provide the orange color instead.
Can I use refrigerated sugar-cookie dough? Some versions use refrigerated dough, but this recipe provides a homemade dough with the listed butter, sugar, egg, flour, baking powder, and salt. If using another dough, make sure it can be rolled and holds its shape after chilling.
Should the center be covered? The window cookie can remain open so the candy is visible, or you can finish the edges with icing and add a decorated pumpkin top as desired. The important part is allowing the icing to set before the cookies are moved.
What other fall dessert pairs well with these cookies? A slice of pumpkin bread made with yogurt brings a moist, warmly spiced texture to the dessert table alongside the crisp candy-filled cookies.
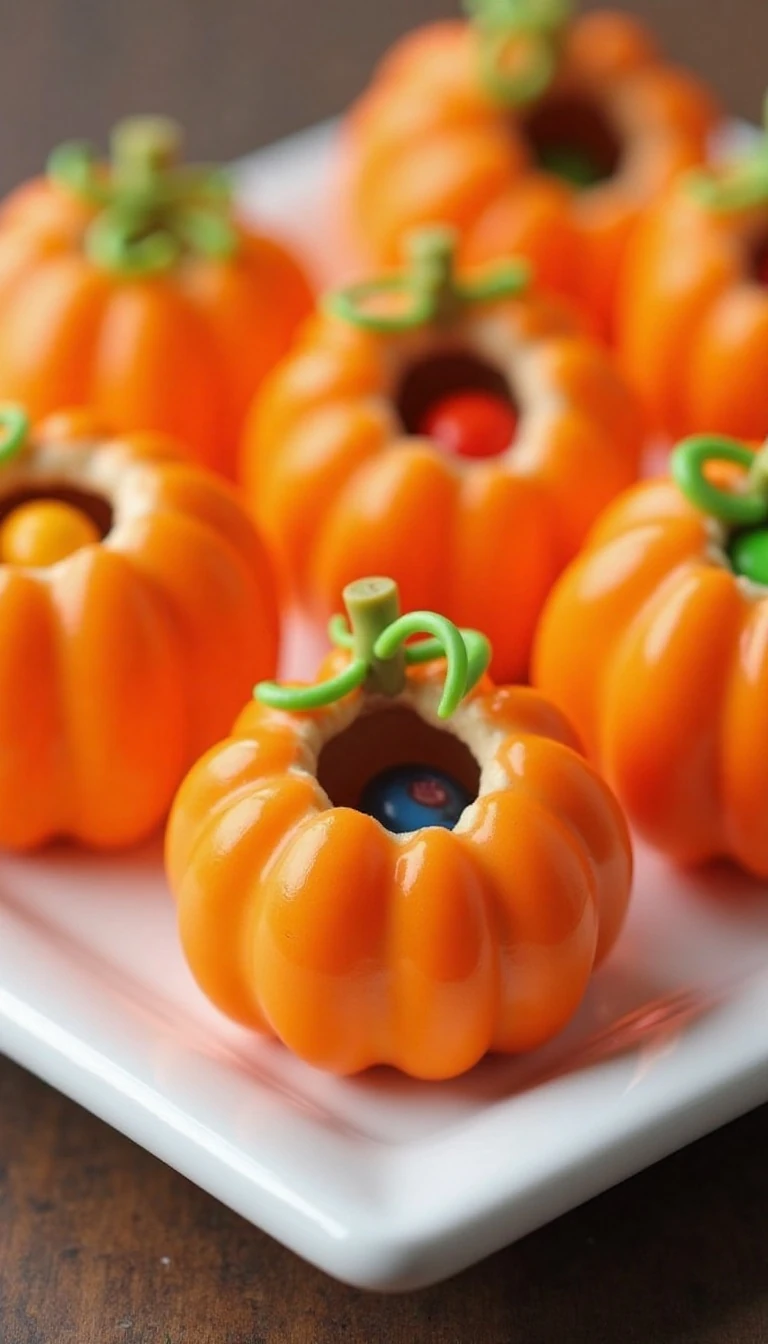
Halloween Pumpkin Candy Bag Cookies
Ingredients
Method
- Cream the softened butter and granulated sugar in a large bowl for 2–3 minutes, until light and fluffy. Beat in the egg and vanilla extract, then add orange food coloring if you want a bright pumpkin-colored dough.
- Whisk the flour, baking powder, and salt in a separate bowl. Gradually add the dry mixture to the butter mixture, mixing just until a soft dough forms.
- Divide the dough, wrap it, and chill for 30–60 minutes, or until firm enough to roll. Chilling makes the dough easier to handle and helps the pumpkin shapes stay defined.
- Roll the dough on a lightly floured surface to approximately ⅛–¼ inch thick. Cut an even number of pumpkin shapes, then cut a smaller opening in the center of half of them.
- Arrange the cookies on parchment-lined baking sheets and chill the cut cookies for 10–15 minutes. Bake at 350°F (175°C) for 8–10 minutes per sheet, until the edges are set but not browned.
- Let the cookies cool completely on the baking sheets or wire racks. Warm cookies can soften the icing and cause the candies to stick, so wait until they are fully cool before assembling.
- Mix the powdered sugar with 1–2 tablespoons of milk or water to make a thick icing. Divide and tint it black, green, or orange, depending on the pumpkin faces, stems, borders, and details you want to pipe.
- Pipe icing around the outer edge of each solid pumpkin cookie. Place a window cookie on top and gently press it into the icing to create a sealed cavity.
- Fill the center opening with small Halloween candies, using approximately 1½–2 cups in total. Finish the edges with more icing, add a decorated pumpkin top if desired, and let the icing set before serving or packaging.
Notes
Final Thoughts
Halloween Pumpkin Candy Bag Cookies turn an ordinary sugar-cookie recipe into a festive surprise. The crisp pumpkin outlines, bright icing, and hidden candy filling make each cookie feel like a tiny Halloween present.
For the best results, keep the dough chilled, bake the cookies only until the edges are set, and wait until every piece is completely cool before assembly. Small, dry candies and thick icing will give you the cleanest windows and the sturdiest cookie sandwiches.
Prepare a batch for a school celebration, a Halloween movie night, or a dessert table filled with homemade treats. Once the icing has set, these cheerful pumpkin cookies are ready to share, package, and enjoy.