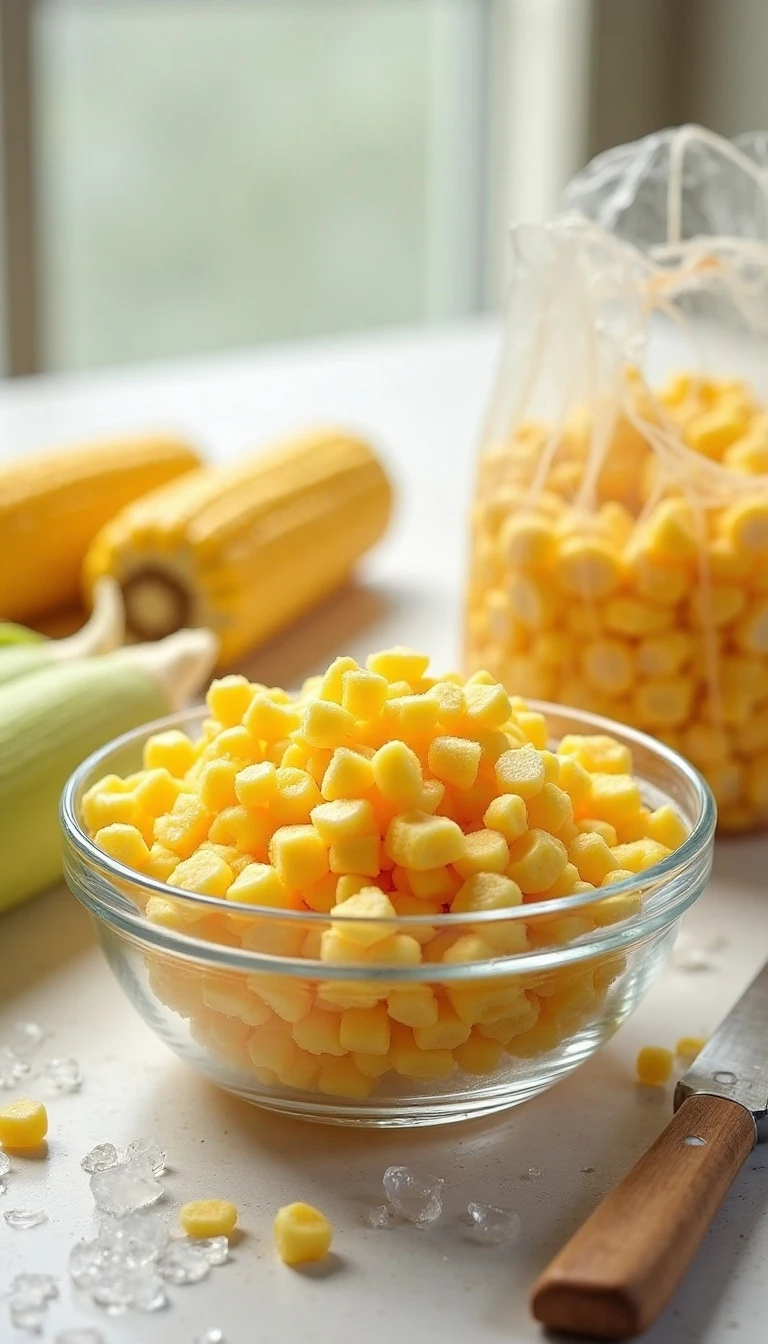
To freeze corn, remove the husks and silks, blanch six whole ears in boiling water for 4 minutes, cool them immediately in an ice bath for 4–5 minutes, cut off the kernels, and package them in freezer bags or airtight containers. Press out excess air, label the package, and freeze at 0°F (-18°C) or below. This method yields about 4 cups of sweet, colorful frozen corn and takes approximately 30–35 minutes from start to finish.
Properly blanched corn keeps the sunny sweetness, tender bite, and fresh summer flavor that make it so useful in soups, salads, casseroles, tacos, and skillet meals. Once frozen in meal-size portions, it is ready whenever you want a taste of peak-season corn without shucking another ear.
Jump to RecipeWhy You’ll Love This Recipe
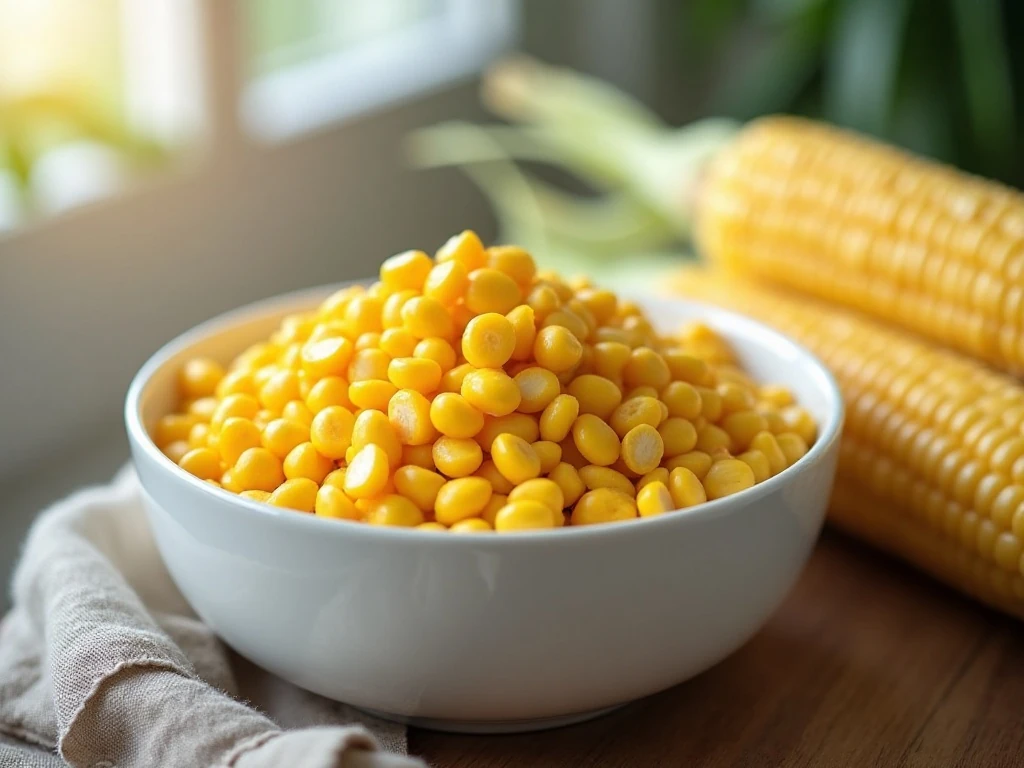
Freezing corn is one of the easiest ways to preserve the best part of summer. The short blanching process helps slow enzyme activity that can otherwise cause corn to lose its sweetness, bright color, and pleasant texture during freezer storage.
This method also gives you flexible portions. Freeze the kernels in quantities suited to your household, then add them straight to soups, sautés, pasta salads, casseroles, or chili without a long thawing process.
Six medium ears produce about 4 cups of frozen corn, making this a practical project when the farmers market or garden gives you more corn than you can eat in a few days.
For a fresh recipe using corn in a zesty, creamy dish, try this lime black bean and corn salsa after your next batch is ready.
Ingredients You’ll Need
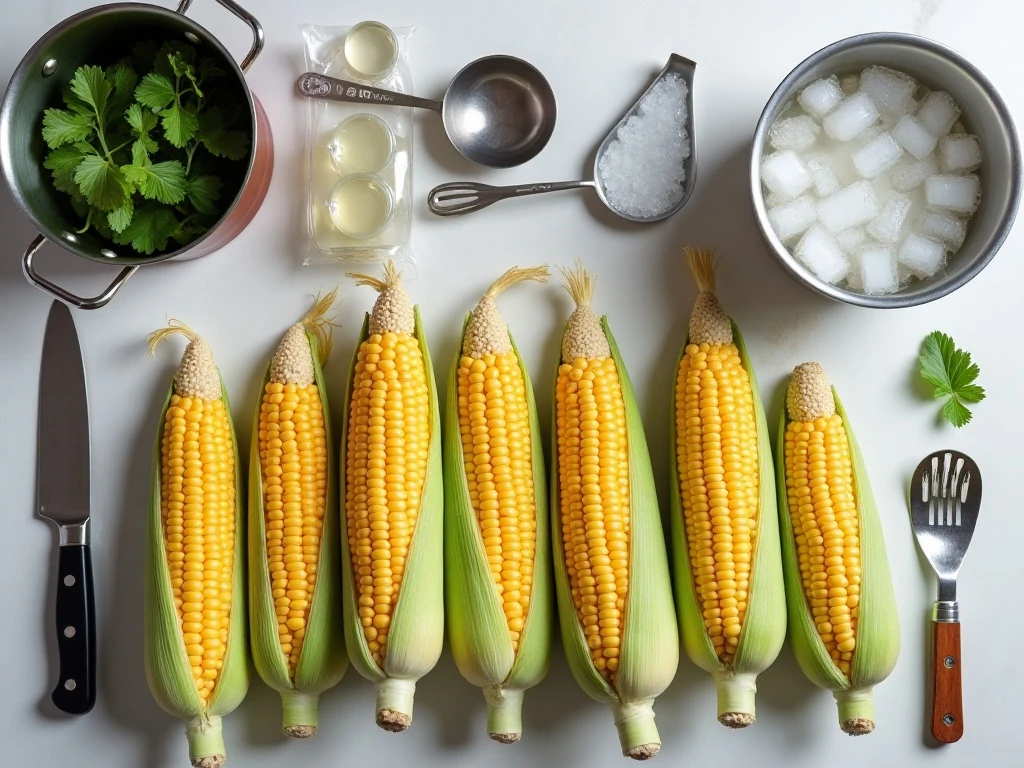
The ingredient list is wonderfully short because good corn provides most of the flavor. Choose fresh ears with plump kernels, green husks, and silk that is moist rather than dry.
- 6 fresh ears of sweet corn: Medium ears yield approximately 4 cups of kernels.
- 4 quarts water: Use this for blanching the whole ears.
- 1 gallon ice water: Prepare the cooling bath before the corn leaves the pot.
- 4 cups ice, if needed: Keep extra ice nearby so the bath stays very cold.
You will also need a large stockpot, tongs, a large bowl or clean sink, a sharp knife, and freezer bags or airtight freezer containers. Have labels and a marker ready before packaging so the finished portions can go into the freezer promptly.
How to Make It Step-by-Step

Step 1: Remove the husks and silk from the corn, taking a moment to pull away stubborn strands. Rinse each ear under cool water to remove loose silk and any garden debris.
Step 2: Bring 4 quarts of water to a full, vigorous boil in a large stockpot. Once the water is boiling, carefully add the whole ears so the water can return to a boil quickly.
Step 3: Blanch the whole ears for 4 minutes. This short timing is the commonly recommended timing for corn kernels that will later be removed from the cob, and it helps preserve a sweet, crisp-tender result.
Step 4: Transfer the corn immediately to a large ice-water bath using tongs. Cool the ears for 4–5 minutes, adding more ice if the water is no longer very cold; rapid cooling stops carryover cooking and protects the texture.
Step 5: Drain the ears thoroughly. Excess water left on the corn can form extra ice crystals, so allow the ears to drain well while you prepare your cutting area.
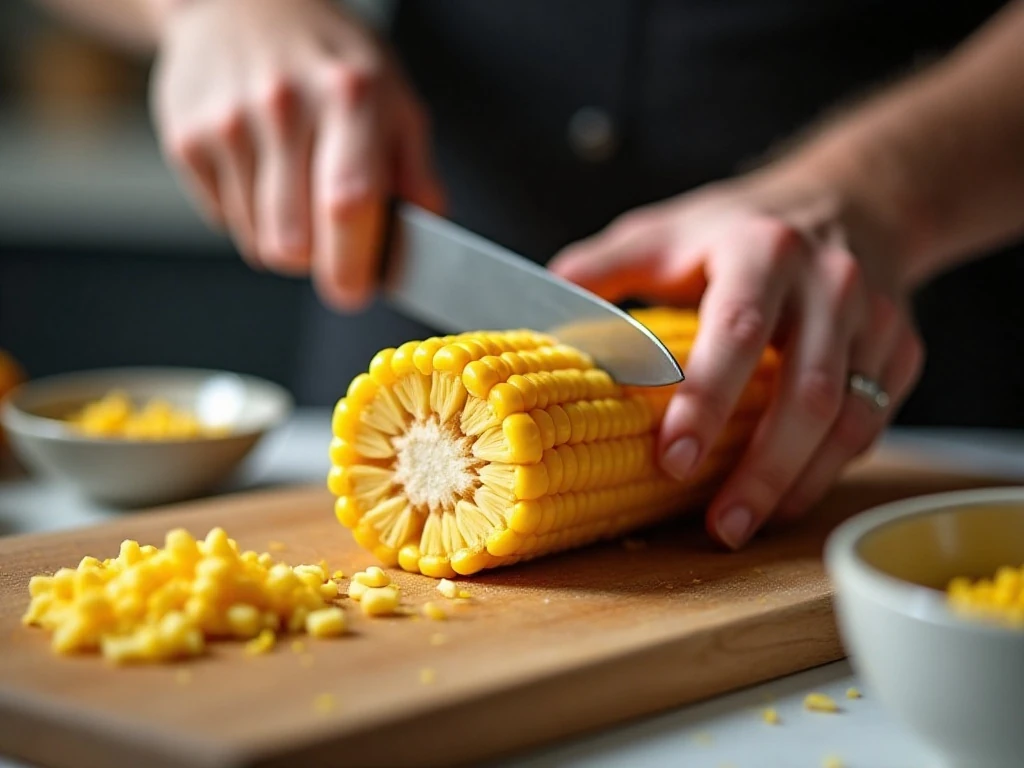
Step 6: Stand one ear upright on its flat end and use a sharp knife to cut downward, close to but not into the cob. If you prefer less milky corn, cut only about two-thirds of the way through each row, then lightly scrape the cob to collect the remaining kernels and milk.
Step 7: Measure the kernels into meal-size portions. Pack them into freezer bags, pressing out as much air as possible, or use rigid airtight containers with about 1/2 inch of headspace.
Step 8: Label every package with the date and place it in a freezer set to 0°F (-18°C) or below. Flatten freezer bags into thin layers so they freeze quickly and can be stacked neatly.
Pro Tips for the Best Frozen Corn
Blanching is not a step to skip. Fresh corn continues to undergo enzyme activity after harvest, and blanching slows the changes that can diminish flavor, color, and texture in the freezer.
Prepare the ice bath before you start boiling the corn. The transition from hot water to icy water should be immediate, because leaving the ears warm allows carryover cooking and can produce softer kernels.
Use a stable cutting board and a sharp knife when removing the kernels. Cutting close to the cob without cutting into it prevents tough cob fragments from mixing with the corn.
For the easiest portioning, freeze the corn in thin, flat bags. Thin packages freeze and thaw more quickly, take less freezer space, and allow you to break off just the amount needed for dinner.
For inspiration, frozen corn is excellent in a colorful summer pasta salad. Add it while still frozen or thaw it briefly and drain it first, depending on the recipe.
Optional Whole-Cob Freezing Method
You can freeze corn on the cob if you want full ears for a later meal. The blanching time is longer because the cob and the larger piece of corn need additional heat exposure.
- Small ears: Blanch for 7 minutes.
- Medium ears: Blanch for 9 minutes.
- Large ears: Blanch for 11 minutes.
After blanching, cool the ears rapidly in ice water before draining and packaging. These whole-cob timings are the standard recommendations published by the National Center for Home Food Preservation.
Whole ears require more freezer space than kernels, so the cut-kernel method is usually more convenient for soups, salads, and casseroles. Still, whole-cob corn can be a satisfying choice when you want a simple side dish later.
Storage, Thawing, and Cooking
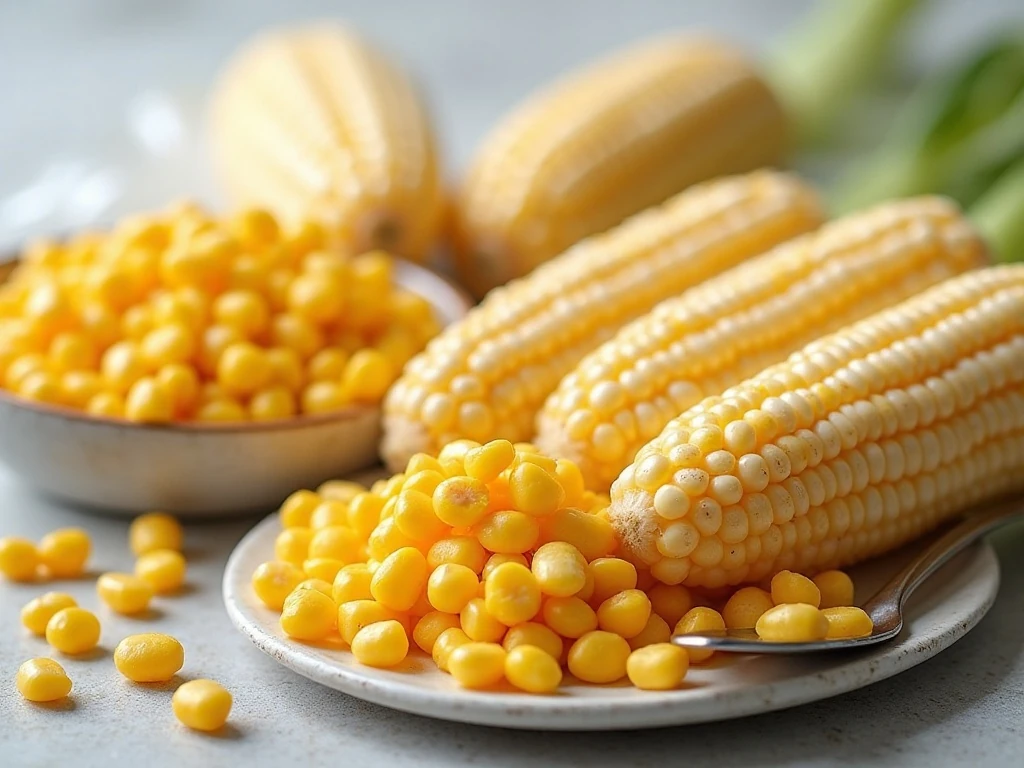
Properly packaged corn is best used within about 8–12 months for the highest quality. It remains safe longer if it stays continuously frozen at 0°F (-18°C) or below, although flavor and texture may gradually decline.
To thaw, place a portion in the refrigerator overnight or set the sealed bag in the refrigerator until softened. You can also cook many recipes with the corn directly from frozen, especially soups, stews, casseroles, and skillet dishes.
Drain thawed corn before adding it to recipes where extra moisture could affect the finished texture. Frozen kernels are already blanched, so warm them only until hot and tender rather than cooking them for an unnecessarily long time.
Use your preserved corn in a comforting cheesy corn casserole, where its natural sweetness pairs beautifully with a rich, savory sauce.
Delicious Ways to Use Frozen Corn
A bag of frozen corn can become a fast side dish with butter, salt, black pepper, and a squeeze of lime. For more flavor, sauté it with diced peppers, onions, garlic, or smoked paprika until the edges begin to brown.
- Stir it into chicken soup, vegetable soup, or chowder.
- Fold it into quesadillas, tacos, burrito bowls, or enchiladas.
- Add it to scrambled eggs, frittatas, and savory breakfast bowls.
- Mix it into rice, quinoa, grain bowls, or couscous.
- Use it in pasta salads such as this colorful rainbow pasta salad.
Frozen corn is also a natural partner for tomatoes. When the weather turns cooler, serve a corn-topped meal alongside a bowl of fresh tomato soup for a bright combination of summer flavors.
How to Freeze Corn
Ingredients
Method
- Remove the husks and silks from 6 medium ears of sweet corn, then rinse the ears under cool water.
- Bring 4 quarts of water to a full boil in a large stockpot. Add the whole ears and blanch for 4 minutes.
- Use tongs to transfer the hot corn immediately to a large bowl or sink filled with 1 gallon of ice water. Cool for 4–5 minutes, adding up to 4 cups more ice if needed.
- Drain the ears thoroughly so excess water does not become ice inside the package.
- Cut the kernels from each cob with a sharp knife, cutting close to but not into the cob. For a less milky texture, cut about two-thirds of the way through the kernels, then lightly scrape the cob to remove the remaining corn and milk.
- Measure the corn into freezer bags or airtight freezer containers. Leave about 1/2 inch of headspace in rigid containers, or press out as much air as possible from freezer bags.
- Label each package with the date and freeze at 0°F (-18°C) or below.
Notes
Final Thoughts
Freezing corn takes only a few simple steps, but the details matter: blanch for 4 minutes, cool immediately for 4–5 minutes, drain thoroughly, and package with as little air as possible. Done correctly, six medium ears become about 4 cups of convenient frozen kernels with excellent flavor and texture.
Mark the date, keep portions thin and meal-sized, and use the corn within about 8–12 months for the best quality. Every bag will give you an easy way to bring sweet summer corn to the table long after fresh ears have disappeared from the market.