Stuffed Tuna Melts are a quick, comforting fish dinner made with two cans of solid white tuna, creamy mayonnaise, crisp celery, onion, sweet pickle relish, Dijon mustard, lemon juice, and cheddar cheese. Spoon the mixture onto eight split English muffin halves, then bake at 400°F for 6–8 minutes, or broil for 2–3 minutes, until the filling is hot and the cheese is bubbling.
Each bite delivers a satisfying contrast of crisp toasted muffin, cool-bright pickle and lemon notes, savory tuna, and rich melted cheddar. With 10–15 minutes of preparation and a total time of about 25 minutes, these open-faced melts are an easy weeknight meal, speedy lunch, or cozy casual supper served fresh from the oven.
Jump to RecipeWhy You’ll Love This Recipe
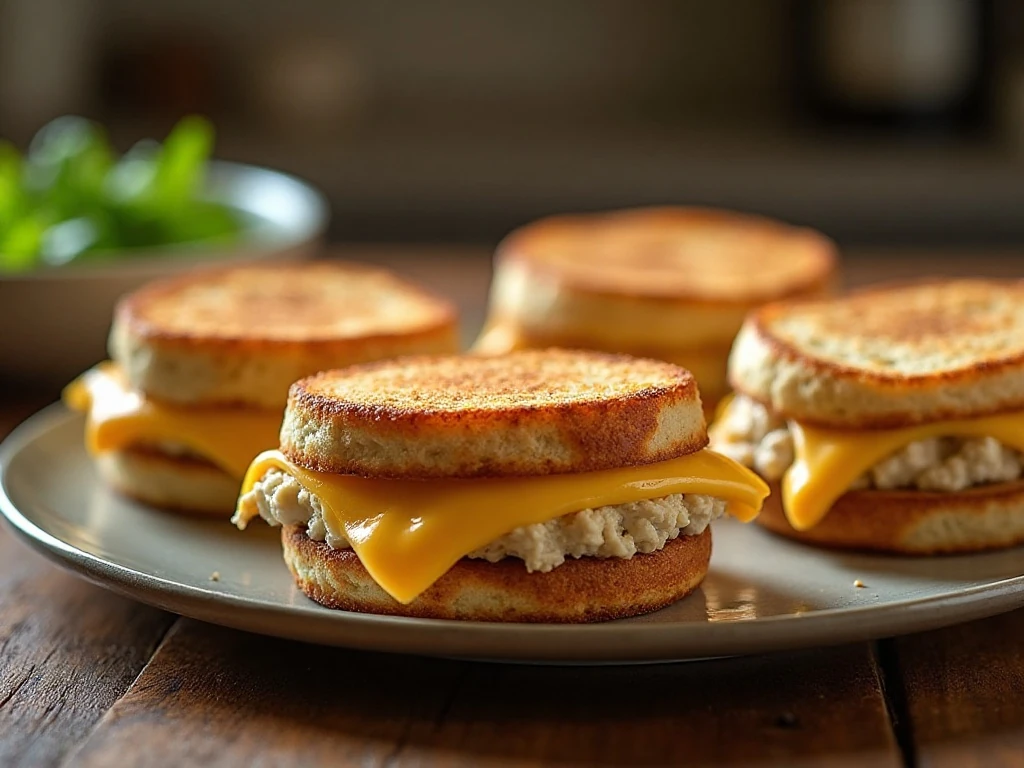
Stuffed Tuna Melts bring the comfort of a hot sandwich to the table with very little effort. Instead of building a closed sandwich, you spread the savory tuna mixture over English muffin halves, which gives every portion plenty of filling and a wonderfully crisp edge.
The tuna salad balances creamy, tangy, sweet, and crunchy elements in one bowl. Mayonnaise supplies richness, sweet pickle relish adds a gentle bite, lemon juice keeps the flavor lively, and celery and onion provide the fresh crunch that makes the filling taste homemade.
Cheddar is an especially good match because its bold flavor stands up to the tuna and its melting texture creates a golden blanket over each serving. For another oven-ready appetizer idea, see our hot spinach and artichoke dip for a similarly cozy way to gather around warm food.
This recipe makes four open-faced melts, with two muffin halves per serving. It is practical for a quick lunch, an easy fish dinner, or a relaxed weekend meal when you want something hot without a long cooking project.
Ingredients You’ll Need
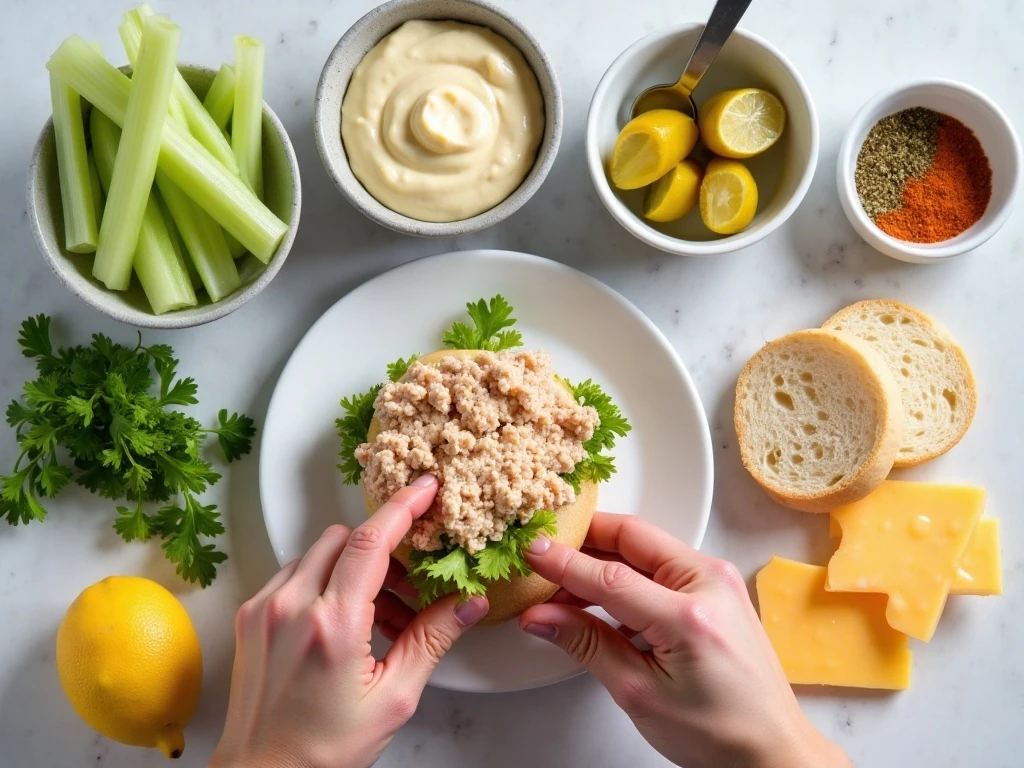
The ingredient list is short, but each item has a clear purpose. Begin with two 5-ounce cans of solid white tuna, drained and flaked; thorough draining is important because excess liquid can make the mixture loose and soften the muffin.
- Tuna: Solid white tuna gives the filling a substantial texture that holds up beneath the cheese.
- Mayonnaise: One-third cup binds the mixture and keeps it creamy as it heats.
- Celery and onion: These finely chopped vegetables add freshness, crunch, and savory depth.
- Sweet pickle relish: Two tablespoons bring sweetness and tang without requiring chopped pickles.
- Dijon mustard and lemon juice: This pair brightens the rich mayonnaise and tuna.
- Seasoning: A quarter teaspoon of salt and an eighth teaspoon of black pepper provide a simple, balanced finish.
- English muffins: Four split muffins create eight sturdy bases with crispable nooks and crannies.
- Cheddar: Four slices, about 4 ounces total, melt over the tuna and add familiar sandwich comfort.
For the best texture, chop the celery and onion finely rather than leaving large pieces. Fine pieces distribute throughout the tuna, so every bite includes a little crunch without making the topping difficult to spread.
If you enjoy preparing homemade bread projects, you can also browse this sourdough starter guide for a future baking project. For this recipe, however, English muffins are the specified base and require no special preparation.
How to Make It Step-by-Step
Step 1: Heat the oven to 400°F before mixing the filling. Starting with a fully heated oven helps the assembled melts warm evenly and allows the cheddar to melt within the short baking time.
Step 2: Drain the tuna thoroughly, then flake it into a medium bowl with a fork. Add the mayonnaise, finely chopped celery, onion, sweet pickle relish, Dijon mustard, lemon juice, salt, and black pepper, and mix until everything is evenly combined.
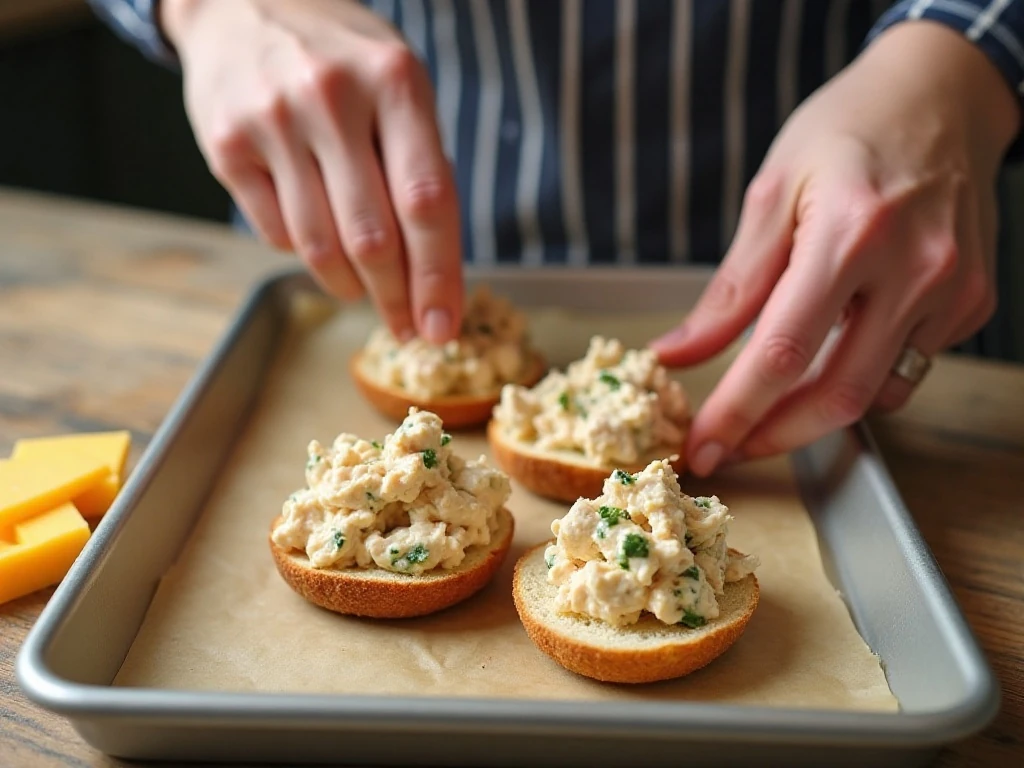
Step 3: Arrange the eight English muffin halves cut-side up on a baking sheet. If you prefer a crisper foundation, toast the bare muffin halves for 3–4 minutes, taking care not to let them become too dark.
Step 4: Divide the tuna mixture evenly among the eight muffin halves. Spread the filling across the surface, keeping it thick enough to feel generous but level enough that the cheese can sit securely on top.
Step 5: Place one cheddar slice on each filled half. If a slice extends slightly beyond the muffin, that is fine, but centering it helps keep most of the melting cheese over the tuna rather than on the pan.
Step 6: Bake the melts for 6–8 minutes, until the filling is hot and the cheese has melted. Alternatively, broil them for 2–3 minutes until the cheese bubbles and becomes lightly browned, watching closely because broilers can brown food quickly.
Step 7: Serve immediately. The best contrast comes straight from the oven, when the muffin remains crisp around the edges, the tuna is warm and moist, and the cheddar is soft and glossy.
Pro Tips for the Best Tuna Melts
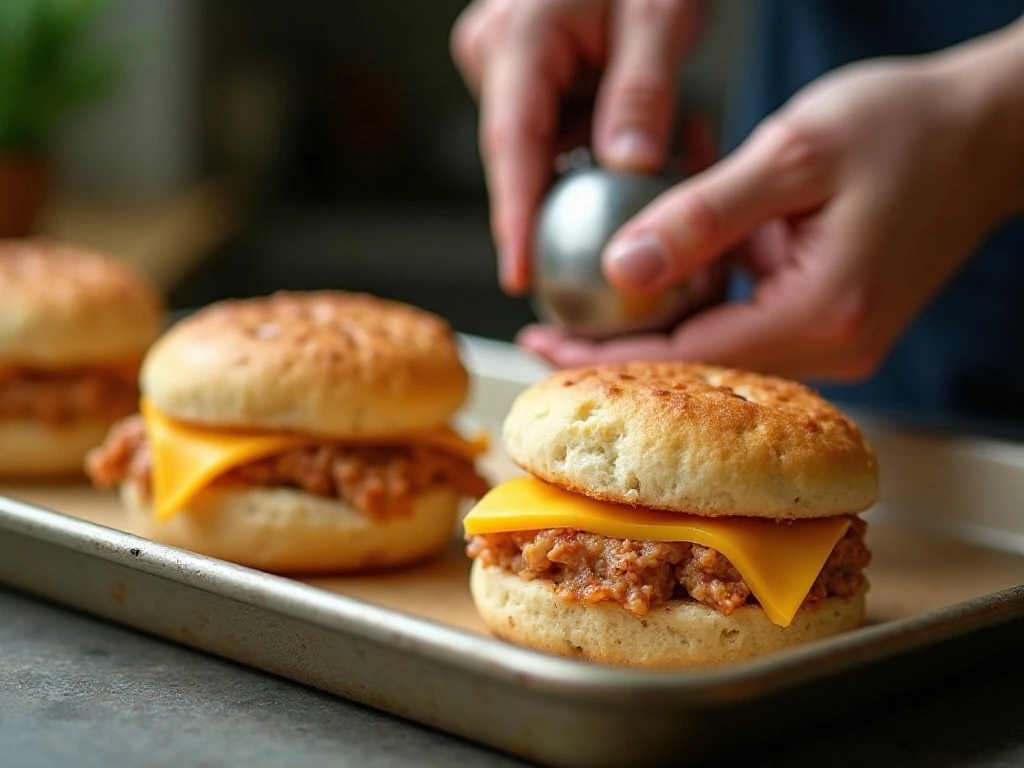
Drain the tuna more thoroughly than you might for a cold tuna salad. Pressing the flakes gently against a strainer or letting them sit for a moment removes excess moisture that could make the mixture runny and prevent the English muffins from crisping.
Mix just until the ingredients are evenly distributed. Overmixing can turn the tuna into a paste and reduce the pleasant contrast between tender fish and crisp vegetables.
To protect the tuna from overcooking, use the cheese as the final finishing layer. The short bake or broiler period warms the filling while melting the cheddar, rather than leaving the tuna in a hot oven for an unnecessarily long time.
Keep the muffins cut-side up throughout assembly and baking. Their textured surface catches the creamy filling, while the bottom and edges become sturdy enough to pick up or eat with a knife and fork.
- Use a baking sheet with a rim to catch any cheese that drips over the sides.
- Keep the broiler finish to 2–3 minutes and watch constantly for bubbling and light browning.
- Serve as soon as the melts are ready for the crispest texture.
- Place the tuna mixture all the way toward the muffin edges so each bite includes filling.
For a bright meal pairing, serve the melts with a simple green salad, sliced tomatoes, or crisp raw vegetables. A bowl of hot and sour soup can also make a warming companion when you want a more substantial, cozy spread.
Variations and Serving Ideas
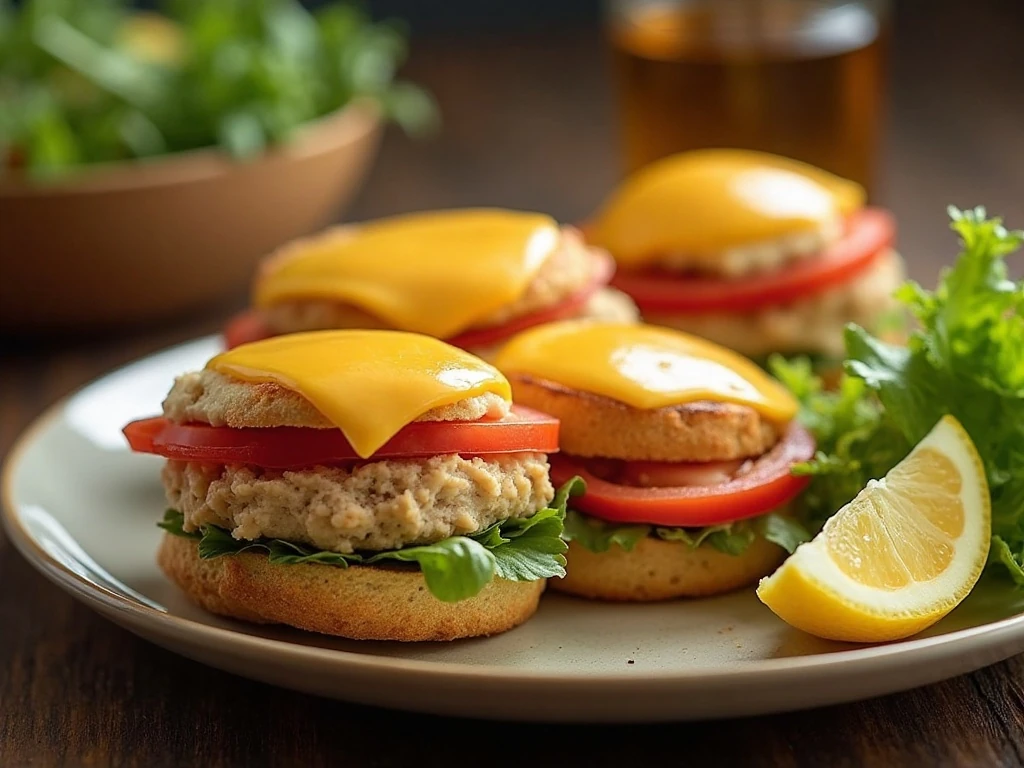
Cheddar is the classic choice here, but the same preparation works with American, Swiss, provolone, or Monterey Jack. Choose a mild cheese for a smooth, familiar flavor or a sharper cheese when you want more contrast with the creamy tuna.
Some tuna-melt versions include chopped hard-boiled egg, scallions, dill pickle, chopped apple, or capers. These are optional variations rather than part of the core formula, so try one at a time if you want to change the texture or flavor while keeping the recipe recognizable.
The English muffin gives this version its crisp, nubby base, but similar tuna melts can be prepared with sliced sandwich bread, pita halves, hamburger buns, or small rolls. Adjust the baking sheet arrangement as needed, and watch thinner bread carefully so it does not toast too quickly.
For a casual meal, place the hot melts on a large platter and add lemon wedges on the side. For lunch, pair two halves with a handful of greens or fresh fruit; for dinner, add a simple vegetable side to round out the plate.
These melts also work well for a relaxed brunch menu. If you are planning a sweeter brunch course afterward, our stuffed French toast idea offers a rich contrast to the savory tuna and cheddar.
Storage and Reheating
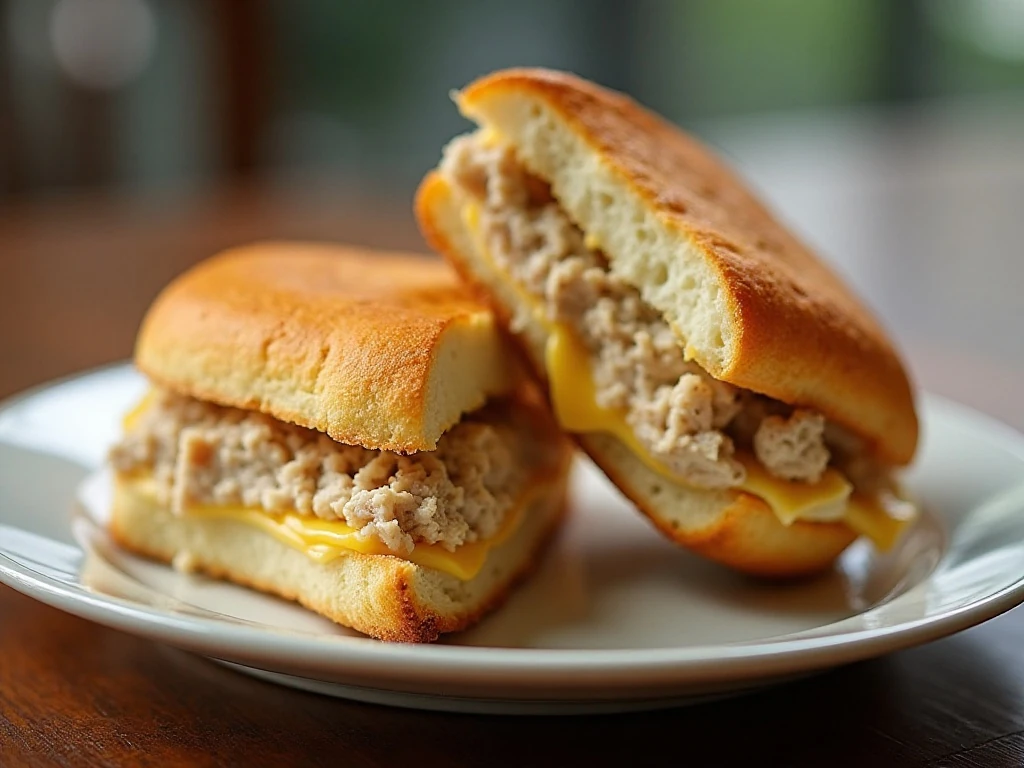
Stuffed Tuna Melts are best served immediately, when the bread is crisp and the cheese is freshly melted. If you have leftover tuna mixture, store it separately from the English muffins in the refrigerator and assemble fresh melts when you are ready to eat.
Keeping the filling separate helps prevent the bread from absorbing moisture and becoming soft. When reheating assembled melts, use a hot oven or toaster oven so the base can regain some crispness while the topping warms.
Do not leave the finished melts sitting at room temperature longer than necessary. The recipe contains mayonnaise and fish, so prompt serving and sensible refrigeration are important for quality and food safety.
For a complete meal plan, finish with a small citrus dessert such as fresh lime macarons. Their bright flavor echoes the lemon in the tuna mixture while providing a delicate ending after the warm, savory sandwich.
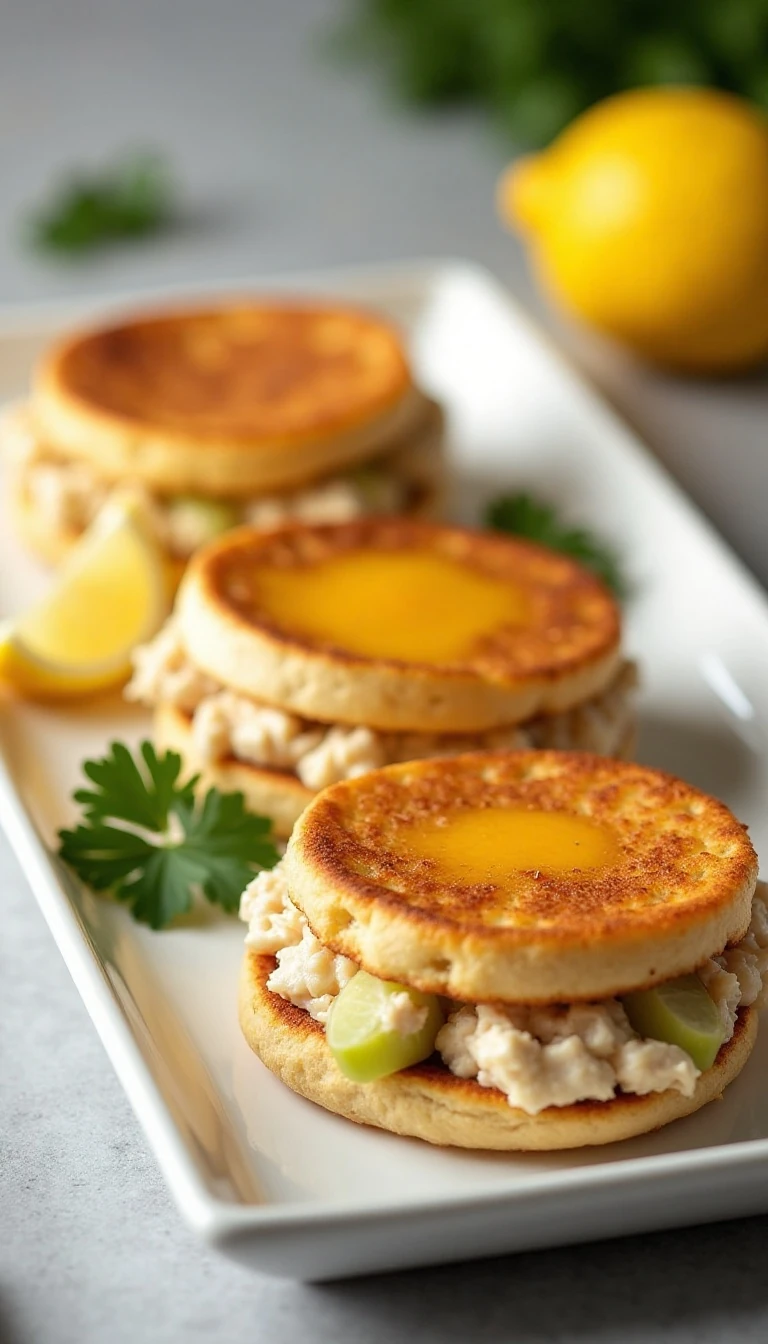
Stuffed Tuna Melts: Fresh and Hot from the Oven
Ingredients
Method
- Heat the oven to 400°F. If using the broiler for the final finish, position the rack appropriately and plan to watch the melts closely.
- In a medium bowl, combine the thoroughly drained and flaked tuna with mayonnaise, celery, onion, sweet pickle relish, Dijon mustard, lemon juice, salt, and black pepper. Stir until the ingredients are evenly blended but still retain some texture.
- Arrange the eight split English muffin halves cut-side up on a baking sheet. Toast them for 3–4 minutes if you prefer a crisper base before adding the tuna mixture.
- Divide the tuna mixture evenly among the eight muffin halves, spreading it close to the edges without pressing it down too firmly. This creates a generous layer that warms quickly and supports the cheese.
- Place one cheddar slice on each filled muffin half. Keep the cheese centered so it melts over the tuna without sliding too far onto the baking sheet.
- Bake for 6–8 minutes, until the tuna filling is hot and the cheddar has melted. For bubbling, lightly browned cheese, broil the assembled melts for 2–3 minutes instead, watching continuously.
- Serve the tuna melts immediately while the muffin edges are crisp and the cheese is soft. Use a spatula to transfer them carefully from the baking sheet to plates.
Notes
Final Thoughts
Stuffed Tuna Melts prove that a few dependable ingredients can create a hot, satisfying fish meal in about 25 minutes. The creamy tuna filling, crisp English muffin, and melted cheddar come together quickly, yet the finished dish feels comforting and complete.
Remember the two details that make the biggest difference: drain the tuna thoroughly and keep the final baking or broiling time brief. Those simple choices protect the crisp base, keep the filling moist, and give the cheese just enough heat to bubble and brown.
Make these open-faced melts for a quick lunch, an easy dinner, or a casual gathering where everyone appreciates food served fresh from the oven. Once the platter arrives at the table, serve immediately and enjoy every crisp, creamy, cheesy bite.