To make roasted garlic in the air fryer, trim the top from one whole garlic head, drizzle the exposed cloves with 1 teaspoon olive oil, wrap it loosely in foil, and air-fry at 375°F (190°C) for 20–25 minutes. Check near the 20-minute mark; the garlic is ready when the cloves are very soft, lightly golden, and easy to spread.
After cooking, let the wrapped garlic cool for 5–10 minutes, then squeeze the tender cloves from their skins to make about 2–3 tablespoons of sweet, creamy roasted garlic paste. This easy air fryer method turns sharp raw garlic into a mellow ingredient that is wonderful on toast, stirred into sauces, folded into mashed potatoes, or spread over roasted vegetables.
Jump to RecipeWhy You’ll Love This Recipe
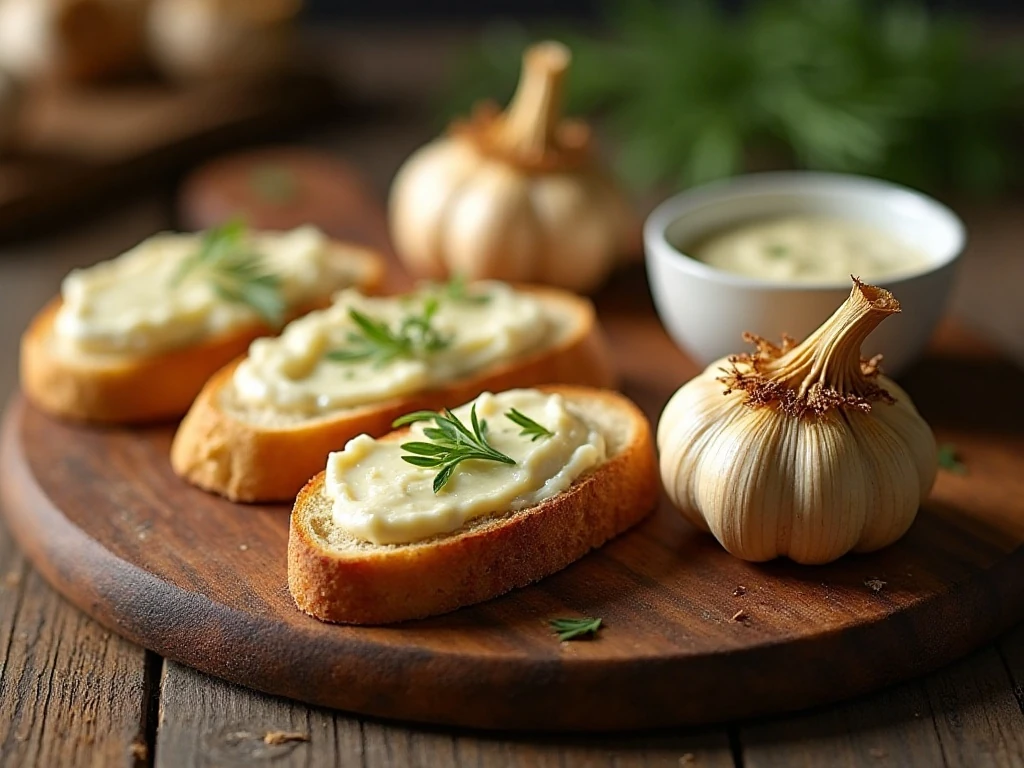
Roasting garlic in the air fryer is one of the simplest ways to create a rich, sweet, spreadable ingredient without turning on a full-size oven. The compact cooking chamber heats quickly, and the foil packet helps the cloves soften in their own fragrant steam while the olive oil adds a silky finish.
Raw garlic can be sharp and spicy, but roasted garlic is gentle, rounded, and almost buttery. Its flavor is savory with a subtle sweetness, making it useful in everything from breakfast toast to dinner sauces.
A single medium garlic head yields about 2–3 tablespoons of paste. That is enough for several small meals, so one short cooking session can give you a versatile ingredient for the week.
For another easy vegetable side from the air fryer, try these tender roasted mushrooms alongside your roasted garlic toast or a simple grilled dinner.
Ingredients You’ll Need

The ingredient list is intentionally short, and each item has a clear purpose. Use a firm, fresh garlic head with tight cloves and no soft or damp spots for the best texture.
- One whole garlic head: Keep it intact so the cloves cook together and retain moisture.
- One teaspoon olive oil: Drizzle it over the cut surface so it can seep around the cloves as they cook.
- One-eighth teaspoon kosher salt: This is optional, but it brings out the garlic’s savory flavor.
- A small sheet of aluminum foil: The foil should wrap the garlic loosely but completely.
Olive oil is the classic choice, although avocado oil also works if that is what you have available. If you roast multiple heads, use approximately 1 teaspoon of oil per head and make sure each head has enough room to sit securely in the air fryer basket.
How to Make It Step-by-Step

Step 1: Prepare the garlic head by peeling away only the loose outer papery layers. Leave the head and cloves connected, then use a sharp knife to slice about 1/4 to 1/2 inch from the top so the individual clove centers are visible.
Step 2: Place the trimmed garlic in the center of a small sheet of aluminum foil, cut side facing up. Drizzle exactly 1 teaspoon olive oil over the exposed cloves, allowing it to collect in the natural spaces between them, and add the optional kosher salt.
Step 3: Bring the foil up around the garlic and close it into a loose packet. The packet should be fully closed so the oil and steam stay inside, but it should not be pressed tightly against the cloves.
Step 4: Put the foil-wrapped garlic in the air fryer basket. Cook at 375°F (190°C) for 20–25 minutes, checking near the 20-minute mark because air fryers can vary considerably in heat and airflow.
Step 5: Carefully open the foil just enough to inspect the cloves, watching for escaping hot steam. The garlic is done when every clove feels very soft, looks lightly golden, and can be pressed easily with a fork.
Step 6: If the center cloves are still firm, close the foil around the garlic again and return it to the air fryer for another 3–5 minutes. Larger heads may require 25–30 minutes, so use softness as the final test instead of relying only on the clock.
Step 7: Let the cooked garlic cool in the opened foil for 5–10 minutes. Once it is comfortable to handle, squeeze the base of the head to push out the creamy cloves, or use a small knife to remove them one at a time.
Step 8: Mash the cloves into a smooth paste with a fork, or leave them slightly chunky if you want little pockets of roasted garlic in a sauce or spread. Taste before adding more salt, since the garlic may already be seasoned enough for your recipe.
How to Tell When Roasted Garlic Is Done
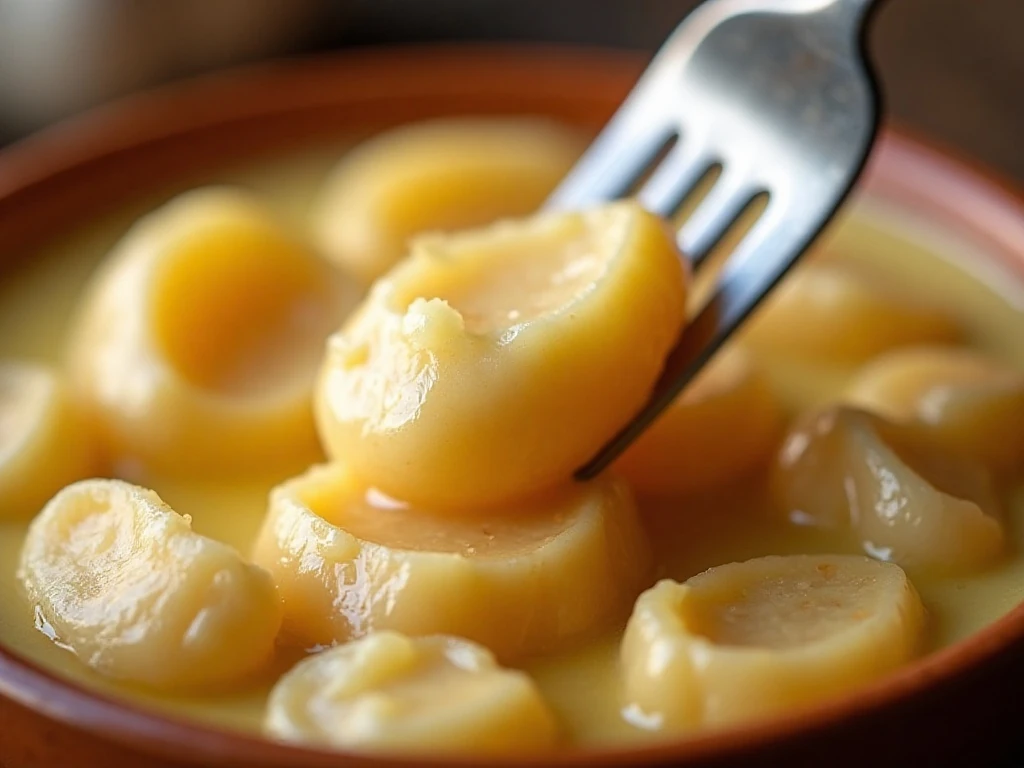
Color is a helpful clue, but texture matters most. Properly roasted cloves should be very soft from edge to center, lightly golden rather than deeply browned, and easy to smear across a piece of bread.
If a clove resists when pressed, it needs more time. Rewrap the head and continue cooking in 3–5-minute increments so the outer cloves do not become overly dark while the center finishes.
Be careful when opening the packet, as trapped steam can be hot. Cooling the garlic for 5–10 minutes also improves the texture, making the cloves easier to squeeze from their skins and more spreadable.
Best Ways to Use Air Fryer Roasted Garlic

Spread the warm, creamy paste on crusty bread with a pinch of salt for an instant appetizer. You can also stir it into softened butter, mayonnaise, vinaigrette, hummus, soup, pasta sauce, or mashed potatoes.
Roasted garlic is especially delicious with crisp vegetables. Spoon it over air-fried broccoli, toss it with cauliflower, or mix it into a dip served with fresh vegetables.
For a crunchy topping, spread roasted garlic onto bread before cutting it into cubes for homemade air fryer croutons. The mellow garlic flavor adds depth without the harsh bite that raw garlic can sometimes leave behind.
You can also combine the paste with butter and herbs, then serve it with potatoes. It pairs beautifully with these garlic chive butter roasted potatoes for a comforting side dish.
Pro Tips for the Best Results
- Choose a medium head: A medium head generally gives about 2–3 tablespoons of roasted garlic paste.
- Do not separate the cloves: Keeping the head whole helps maintain moisture and makes the packet easy to handle.
- Check early: Begin checking at 20 minutes, since air fryer temperatures and fan strength differ between models.
- Use gradual extra cooking: If the cloves are not tender, continue in 3–5-minute increments rather than adding a long second cooking period.
- Cool before squeezing: The cloves become easier to handle and develop a smoother, sweeter texture as they cool.
- Watch larger heads: A large head may need 25–30 minutes to soften all the way through.
For a creamy vegetable pairing, fold the finished garlic into a sauce for air fryer Parmesan cauliflower. The roasted garlic paste blends into the seasoning and gives the florets a warm, savory finish.
Storage and Serving Ideas
Let the roasted garlic cool completely before storing it. Transfer the peeled cloves or mashed paste to a clean airtight container and refrigerate it, using a clean spoon whenever you remove a portion.
For the best flavor and texture, make only what you expect to use promptly. You can keep the cloves whole for spreading, or mash them in advance so they are ready to stir into dressings, sauces, and compound butter.
When serving, bring a small portion to room temperature for easier spreading. The paste is delicious on toast, mixed into warm grains, stirred through pasta, or spooned over roasted meat and vegetables.
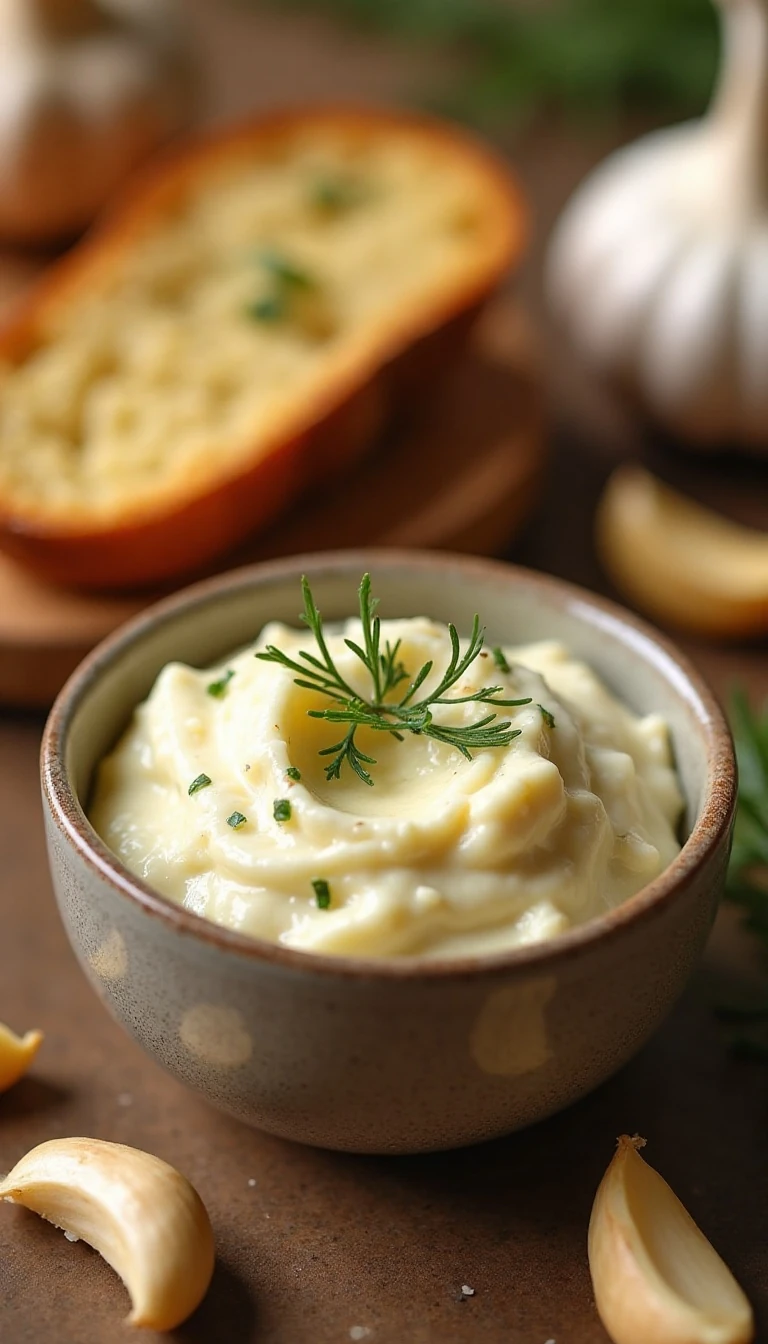
Air Fryer Roasted Garlic
Ingredients
Method
- Remove loose papery skin from the garlic head while keeping the head intact. Slice 1/4 to 1/2 inch from the top to expose the cloves.
- Set the garlic on a small sheet of foil. Drizzle the exposed cloves with 1 teaspoon olive oil and sprinkle with 1/8 teaspoon kosher salt, if using.
- Wrap the garlic loosely but completely in the foil. Place it in the air fryer and cook at 375°F (190°C) for 20–25 minutes.
- Check near 20 minutes. If the cloves are not completely soft, rewrap the garlic and cook in 3–5-minute increments until very tender, lightly golden, and spreadable.
- Carefully open the foil and cool the garlic for 5–10 minutes. Squeeze the softened cloves from their skins or remove them individually with a small knife.
Notes
Final Thoughts
Air fryer roasted garlic is a small recipe with a remarkably useful payoff. With one garlic head, a teaspoon of olive oil, foil, and 20–25 minutes at 375°F, you can create a sweet, silky paste that makes everyday food taste carefully prepared.
Remember to keep the head intact, expose the cloves before seasoning, and check early for softness. If the garlic needs more time, short 3–5-minute cooking increments will help you reach that perfectly spreadable texture without overbrowning the outer cloves.
Once cooled, squeeze out the tender cloves and start experimenting. Spread them on bread, mix them into butter, spoon them over vegetables, or blend them into your favorite sauce for a mellow garlic flavor that is rich, fragrant, and wonderfully versatile.