Marshmallow Dream Bars with M&M’s are chewy brown-sugar blondie bars topped with soft miniature marshmallows and colorful milk-chocolate candies. Made in a 9-by-13-inch pan, this easy dessert takes 15 minutes to prepare, bakes for 25–30 minutes, and makes about 24 irresistible bars.
Every bite brings together buttery blondie richness, caramel-like brown sugar, pillowy marshmallow, and a crisp candy shell. These bars are ideal for bake sales, birthday parties, lunch boxes, holidays, and any casual gathering where a colorful dessert disappears quickly.
Jump to RecipeWhy You’ll Love This Recipe
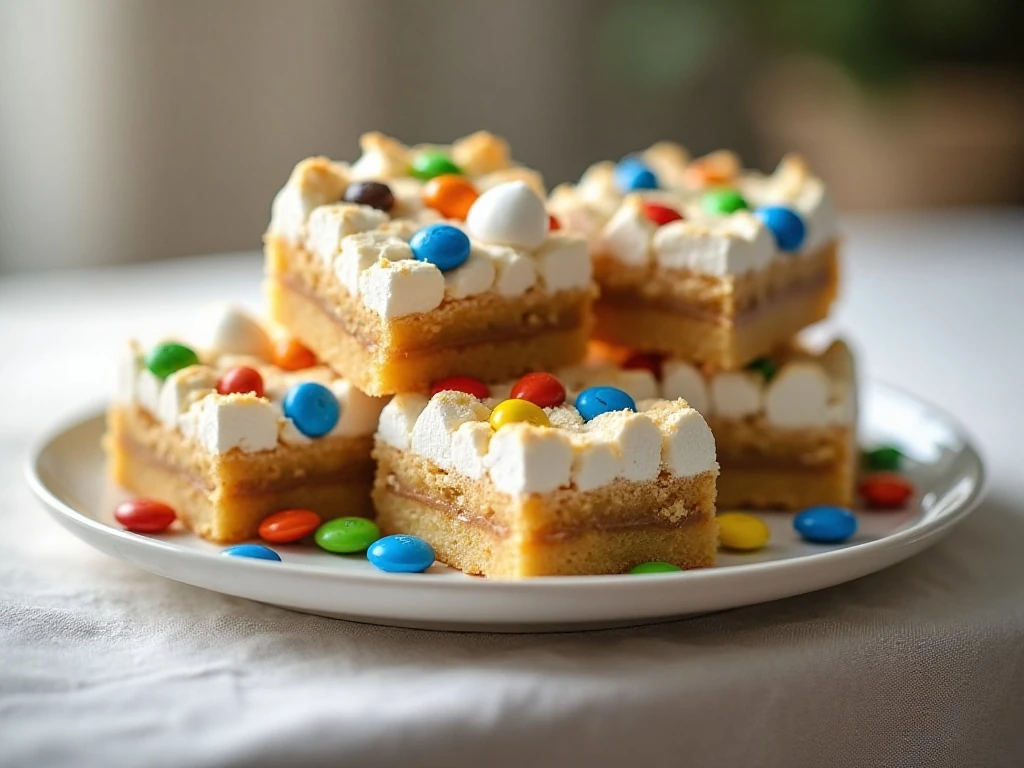
These Marshmallow Dream Bars deliver the best parts of several favorite desserts in one pan. The base is a chewy blondie with deep brown-sugar flavor, while the marshmallow topping becomes soft and puffy instead of disappearing into the batter.
The M&M’s add bright color, a little crunch, and familiar milk-chocolate flavor. Because the recipe uses everyday pantry ingredients and one baking pan, it is approachable for beginner bakers but satisfying enough for experienced dessert makers.
- Simple preparation: Melted butter means there is no need to wait for butter to soften.
- Reliable texture: A short final bake keeps the marshmallows tender.
- Party-ready appearance: Colorful candies make every square look cheerful.
- Generous yield: One 9-by-13-inch pan makes about 24 bars.
If you enjoy chewy, colorful cookie-bar desserts, you may also like these vanilla cookie bars, which are another easy option for sharing.
Ingredients You’ll Need
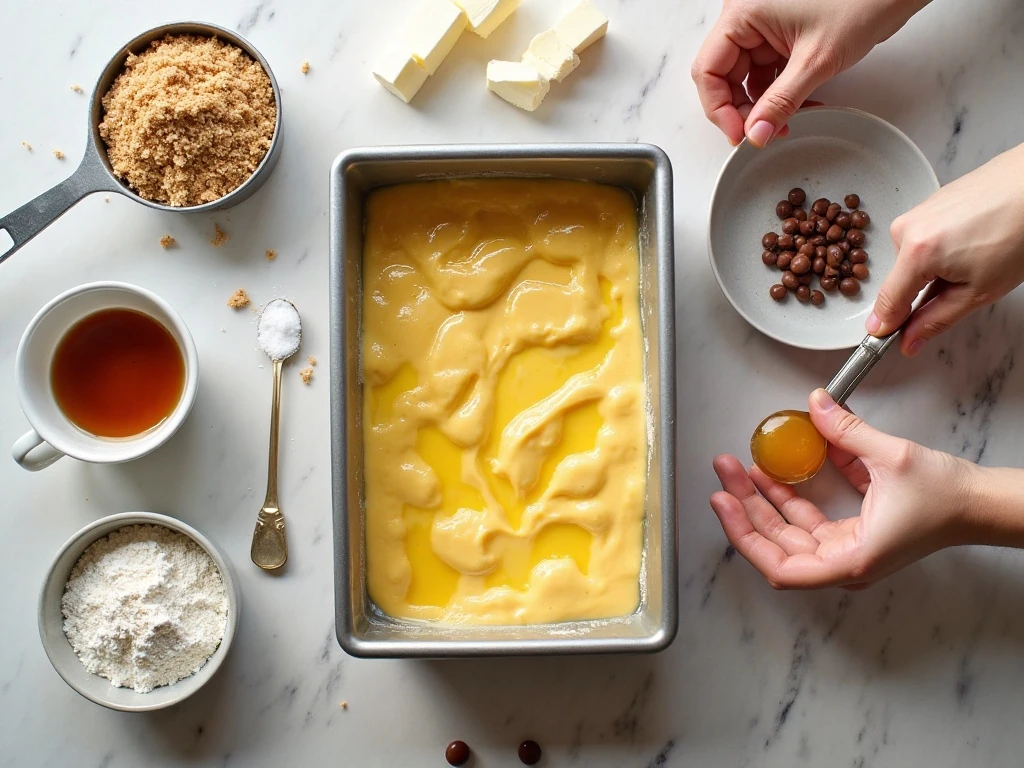
The foundation of these bars is a classic blondie mixture made with melted unsalted butter, packed light brown sugar, eggs, vanilla, flour, baking powder, and salt. Brown sugar supplies moisture and a warm caramel note, so pack it firmly into the measuring cup for the intended sweetness and texture.
Miniature marshmallows are added only after the blondie has mostly baked. Use plain milk-chocolate M&M’s for the familiar candy-shell finish, or choose seasonal colors when you want the bars to match a celebration.
- Butter: Use unsalted butter so the salt level stays balanced.
- Brown sugar: Pack it firmly, and break up any stubborn lumps while whisking.
- Flour: Measure carefully; too much flour can make the bars dry.
- Marshmallows: Spread them in an even layer for consistent coverage.
- M&M’s: Keep them on top for a colorful finish and a pleasant candy crunch.
For another dessert with a soft, layered character, take a look at these coconut dream bars before planning your next baking day.
How to Make It Step-by-Step
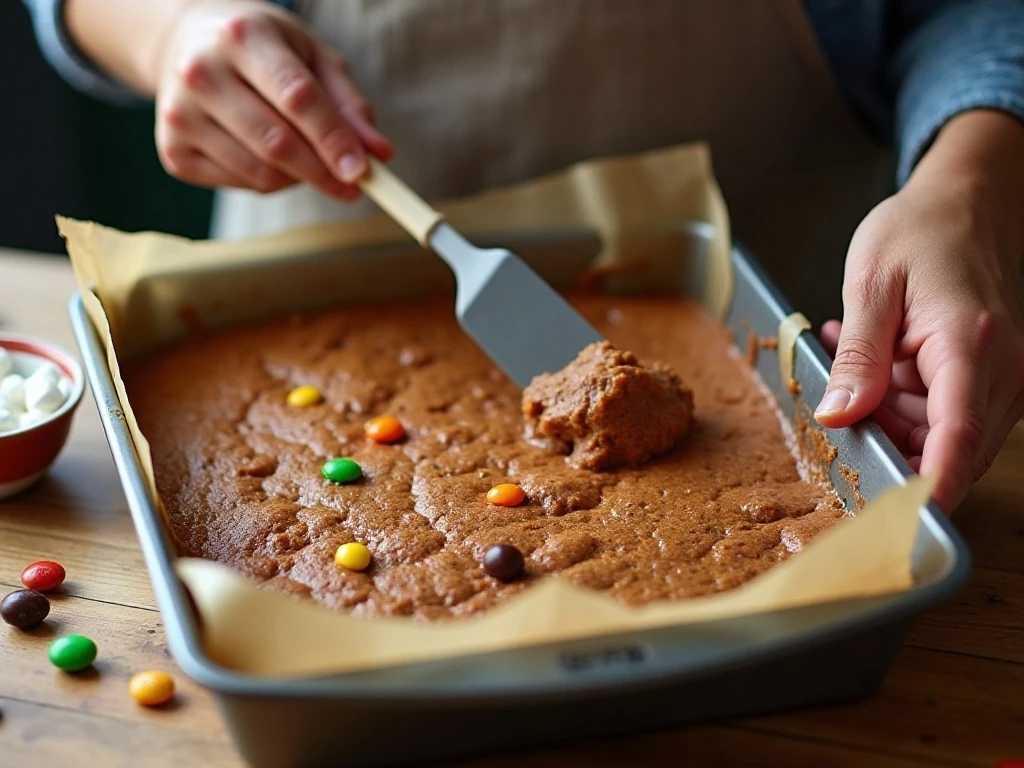
Step 1: Heat the oven to 350°F (175°C), then prepare a 9-by-13-inch baking pan with grease or parchment. Parchment makes it easier to lift the cooled slab from the pan, while greasing alone works well when you plan to serve the bars directly from the dish.
Step 2: Whisk the melted unsalted butter with the packed light brown sugar until the mixture looks smooth and thick. Add the eggs and vanilla, then beat until glossy and fully blended; this helps create a cohesive blondie batter.
Step 3: Combine the all-purpose flour, baking powder, and salt in a separate bowl. Stir this dry mixture into the wet ingredients just until no dry streaks remain, taking care not to overmix because excessive stirring can reduce the chewy texture.
Step 4: Scrape the batter into the prepared pan and spread it into an even layer. Bake for about 20–25 minutes, watching for a lightly browned, set top and a center that may still look slightly soft.
Step 5: Remove the pan from the oven and scatter the 2 cups of miniature marshmallows over the warm blondie. Return the pan to the oven for about 2–4 minutes, stopping as soon as the marshmallows soften and puff.
Step 6: Sprinkle 1 cup of M&M’s over the warm marshmallow layer. Press a few candies lightly into the surface if necessary, but avoid compacting the topping or disturbing the soft marshmallows.
Step 7: Let the bars cool completely, allowing at least 30–60 minutes before cutting. For especially neat squares, chill the cooled pan briefly, then lift the slab out and cut it into about 24 pieces with a sharp knife.
Pro Tips for Chewy Dream Bars
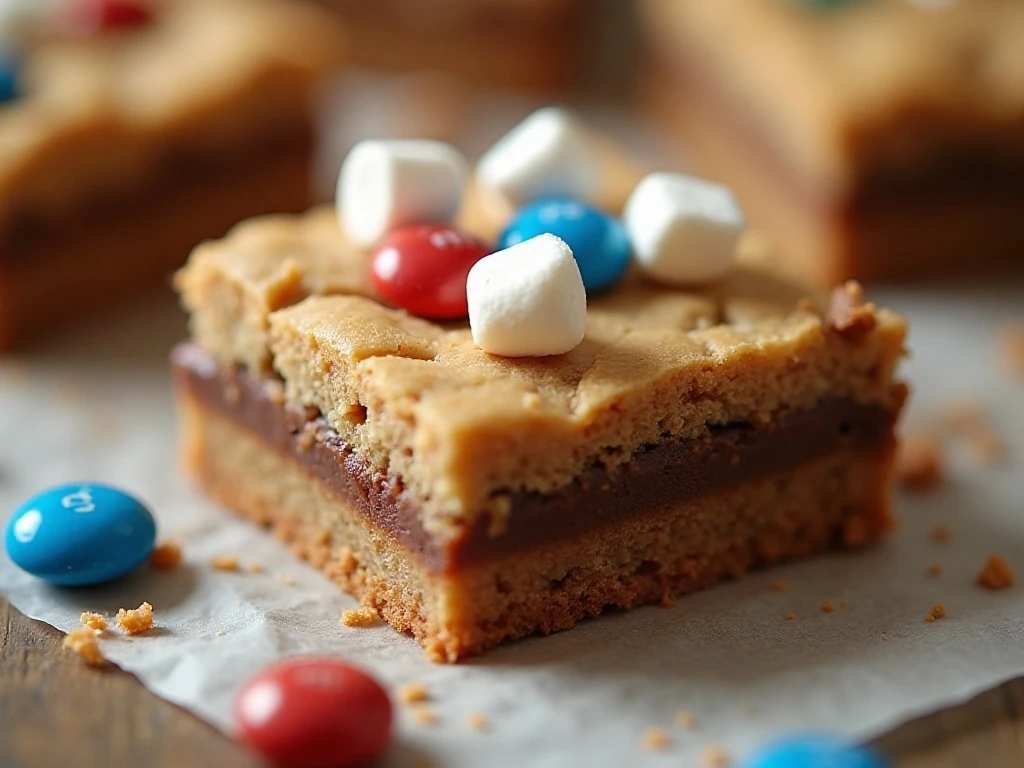
The most important detail is knowing when to stop baking the blondie base. The top should be set and lightly browned, but the center can look a little soft when the pan first comes out because it will continue to firm as it cools.
Do not add the marshmallows at the start of baking. They can dissolve into the batter or turn hard and overly browned, which takes away the soft, cloudlike topping that makes these bars special.
For easier spreading, tilt and rotate the pan while smoothing the batter with a spatula. If the batter feels thick, that is normal for a blondie; gently push it into the corners rather than adding liquid.
- Line the pan with parchment for easy removal.
- Use a light-colored pan when possible to help prevent overly dark edges.
- Let the pan cool fully before judging the final texture.
- Wipe the knife between cuts for cleaner layers.
- Press only a few M&M’s into the topping if they need help sticking.
When you are in the mood for another colorful bar dessert, these caramel apple dessert bars bring a different combination of fruit, caramel, and creamy layers.
Serving, Storage, and Make-Ahead Advice
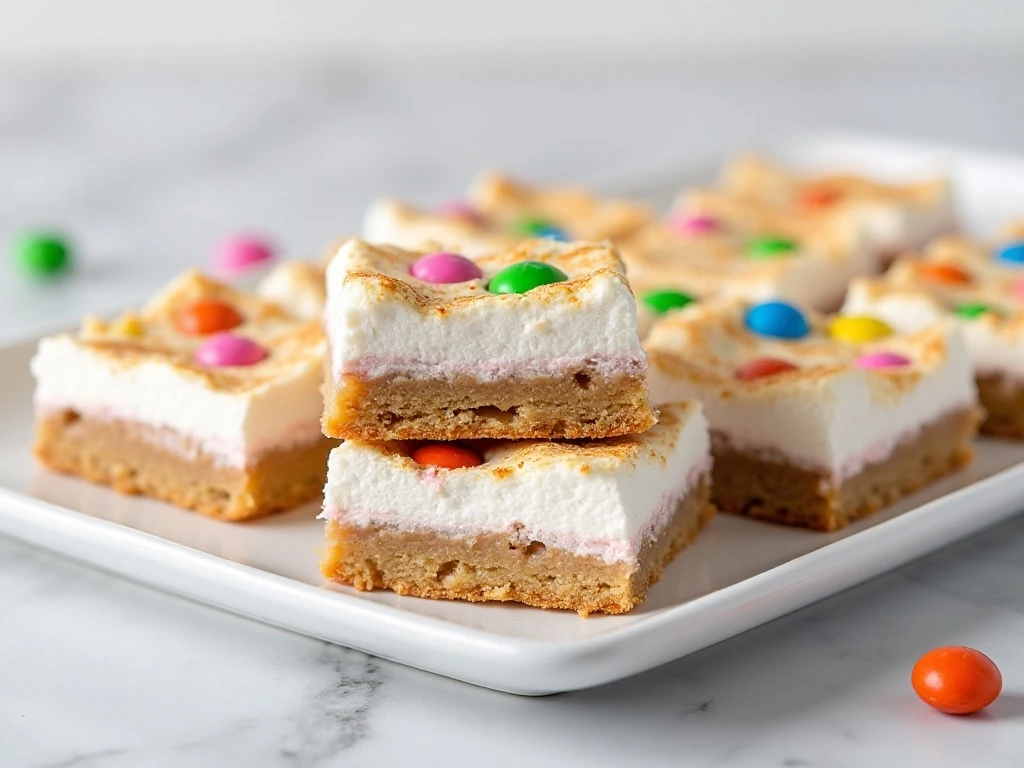
Serve Marshmallow Dream Bars at room temperature when you want the softest marshmallow texture. They are also delicious slightly chilled, when the blondie becomes firmer and the topping is easier to slice neatly.
Store the cooled bars in an airtight container at room temperature for a short period, placing parchment between layers if stacking. If your kitchen is warm, refrigeration can help the bars hold their shape, although the marshmallows may become less pillowy when cold.
For a party, bake the bars earlier in the day, cool them fully, and cut them shortly before serving. Their bright candy topping makes them a natural fit beside cookies, brownies, and other handheld treats.
Seasonal M&M’s can make the same recipe work for birthdays, school celebrations, showers, autumn gatherings, or winter cookie exchanges. For a fall dessert table, pair them with these gingersnap pumpkin cheesecake bars for a contrasting spiced flavor.
Ways to Serve and Customize Them
The classic version uses plain milk-chocolate M&M’s, but the topping can be coordinated with the occasion without changing the ingredient proportions. Choose red and green candies for winter, pastel candies for spring, or school colors for a team party.
Cut the slab into small squares for a dessert platter or slightly larger rectangles for lunch boxes. Since the bars are rich, compact pieces are often the perfect serving size, especially when several desserts are available.
- Arrange the bars on a simple platter with the M&M’s facing upward.
- Add a small scoop of vanilla ice cream for a warm dessert plate.
- Serve with coffee, hot chocolate, or cold milk.
- Use a serrated knife if the marshmallow topping clings during slicing.
If cinnamon-sugar desserts are calling your name, these easy churro cheesecake bars are a delicious companion for a varied dessert spread.

Marshmallow Dream Bars With M&M’s
Ingredients
Method
- Heat the oven to 350°F (175°C). Grease a 9-by-13-inch baking pan or line it with parchment, leaving a little overhang for easy lifting.
- Whisk the melted butter and packed brown sugar together until smooth. Beat in the eggs and vanilla until the mixture is glossy and evenly combined.
- In a separate bowl, stir together the flour, baking powder, and salt. Add the dry ingredients to the butter mixture and stir just until no dry streaks remain.
- Spread the thick batter evenly in the prepared pan. Bake for about 20–25 minutes, until the top is set and lightly browned while the center still looks slightly soft.
- Remove the pan from the oven and immediately scatter the miniature marshmallows over the surface. Return the pan to the oven for about 2–4 minutes, just until the marshmallows soften and puff.
- Sprinkle the M&M’s over the warm marshmallows, pressing them lightly into the topping if needed so they adhere. Cool completely before slicing, and chill the cooled bars briefly for cleaner cuts.
Notes
Final Thoughts
Marshmallow Dream Bars with M&M’s earn their name with very little fuss: a chewy brown-sugar base, a soft marshmallow crown, and colorful chocolate candies come together in one dependable pan dessert. The contrast of textures makes each bite feel special, even though the method is simple.
Keep the blondie slightly chewy, wait until the end to add the marshmallows, and allow the bars to cool before slicing. Follow those three details and you will have about 24 festive treats ready for sharing, gifting, or enjoying straight from the kitchen.