Lunch Lady Brownies are thick, fudgy chocolate brownies baked in a 9-by-13-inch pan and finished with a creamy chocolate frosting while they are still slightly warm. This classic recipe makes about 24 brownies and takes approximately 45 to 60 minutes from mixing bowl to frosted pan, including cooling time.
Every bite has the rich flavor of melted butter and unsweetened cocoa, a soft center, chewy edges, and a smooth frosting layer that melts slightly into the top. If you love nostalgic school-cafeteria desserts, these are the brownies to make when you want an easy, generously sized treat that tastes homemade and wonderfully indulgent.
Jump to RecipeWhy You’ll Love This Recipe
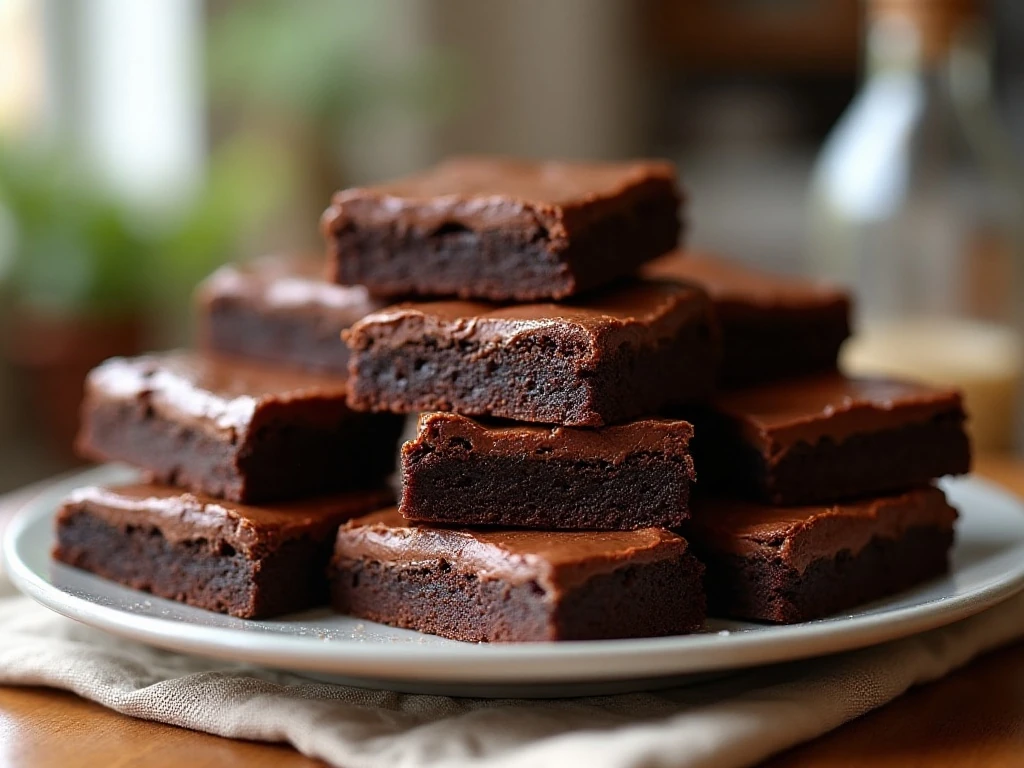
There is a reason Lunch Lady Brownies have remained a favorite for so many home bakers. The ingredient list is short, the method is straightforward, and the result is a full pan of rich chocolate brownies with the nostalgic texture people remember from school lunches and bake sales.
Unlike cake-style brownies, this version is dense and fudgy. The melted butter gives the crumb a rich, tender bite, while cocoa powder provides a bold chocolate flavor without requiring a separate pot of melted chocolate.
The frosting is the finishing touch that makes these brownies especially memorable. It is soft, creamy, and chocolatey, and spreading it over the brownies while they are slightly warm lets it settle into every crack and corner.
For another brownie idea with a nutty, sweet topping, you can also try these peanut butter frosted brownies when you are planning a dessert tray.
Ingredients You’ll Need
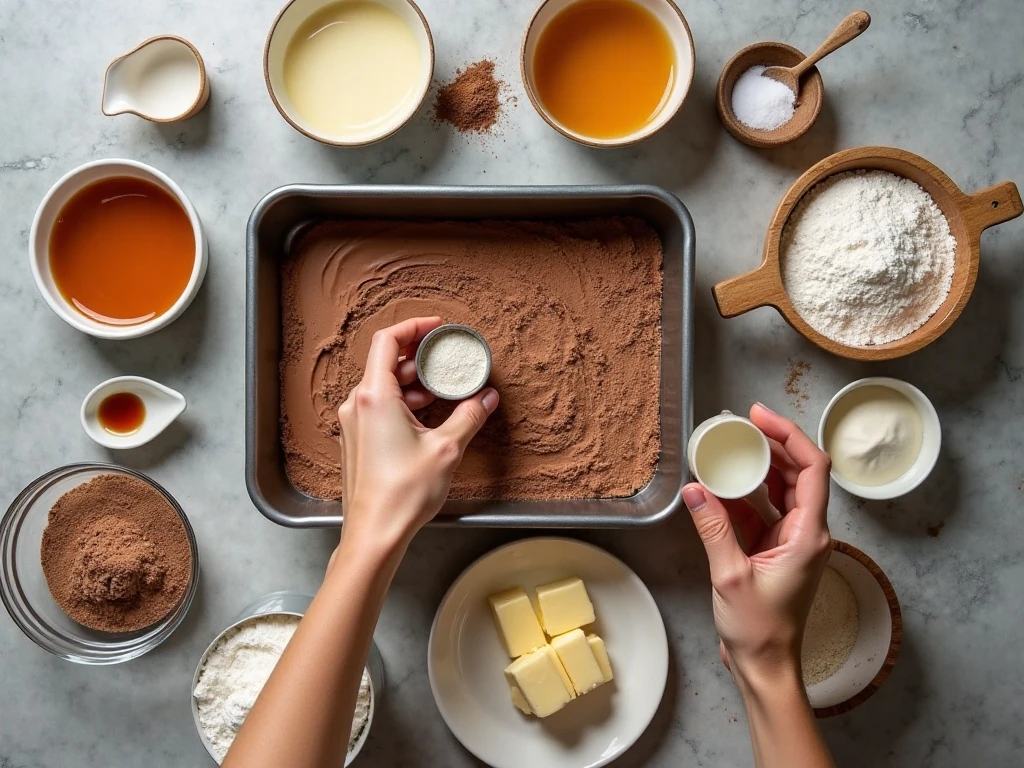
These brownies rely on everyday baking staples, but measuring them carefully helps produce the thick texture that makes the recipe special. Use unsalted butter so the chocolate flavor stays balanced and easy to control.
- Butter: One cup of melted unsalted butter gives the brownies richness and a tender, fudgy crumb.
- Cocoa powder: Unsweetened cocoa powder brings concentrated chocolate flavor to both the batter and the frosting.
- Sugar: Two cups of granulated sugar provide sweetness and help create a soft, moist center.
- Flour: Two cups of all-purpose flour provide enough structure for neat slices without making the brownies cakey.
- Eggs: Four large eggs bind the batter and help it set in the oven.
- Vanilla: Vanilla extract rounds out the cocoa flavor and adds warmth.
- Frosting ingredients: Softened butter, milk, cocoa powder, powdered sugar, and vanilla create a spreadable chocolate topping.
Have the butter melted for the brownie batter and softened for the frosting. The distinction matters: melted butter blends easily into the cocoa mixture, while softened butter helps the frosting whip into a smooth consistency.
Because the batter becomes quite thick, parchment is helpful even if your pan is well greased. A parchment sling makes it easier to lift the cooled brownies out before cutting, especially if you want tidy squares.
How to Make It Step-by-Step
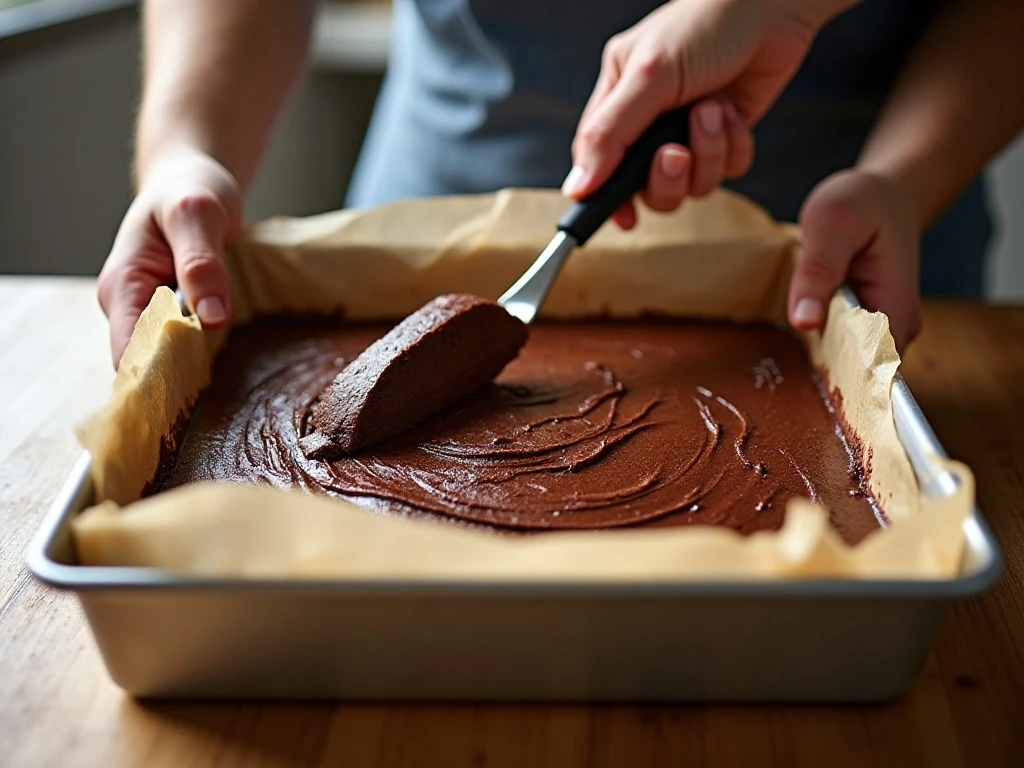
Step 1: Heat the oven to 350°F (175°C) and prepare a 9-by-13-inch baking pan. Grease the pan thoroughly or line it with parchment, making sure the corners are covered so the brownies do not stick.
Step 2: Add the melted butter and unsweetened cocoa powder to a large mixing bowl. Whisk until the mixture looks smooth and evenly colored, with no dry pockets of cocoa remaining.
Step 3: Add the granulated sugar, all-purpose flour, four large eggs, and vanilla extract to the cocoa and butter mixture. Stir just until no obvious streaks of flour remain; overmixing can make the brownies less tender.
Step 4: Scrape the thick batter into the prepared pan and spread it evenly from edge to edge. An offset spatula or the back of a spoon helps level the surface without pressing the batter too firmly.
Step 5: Bake for approximately 20 to 25 minutes. Begin checking at the shorter end of the baking range, because the brownies are ready when the center is set and a toothpick comes out with moist crumbs rather than wet batter.
Step 6: While the brownies bake, prepare the frosting. Beat the softened butter, milk, cocoa powder, powdered sugar, and vanilla extract until smooth, creamy, and easy to spread; if needed, scrape down the bowl once or twice.
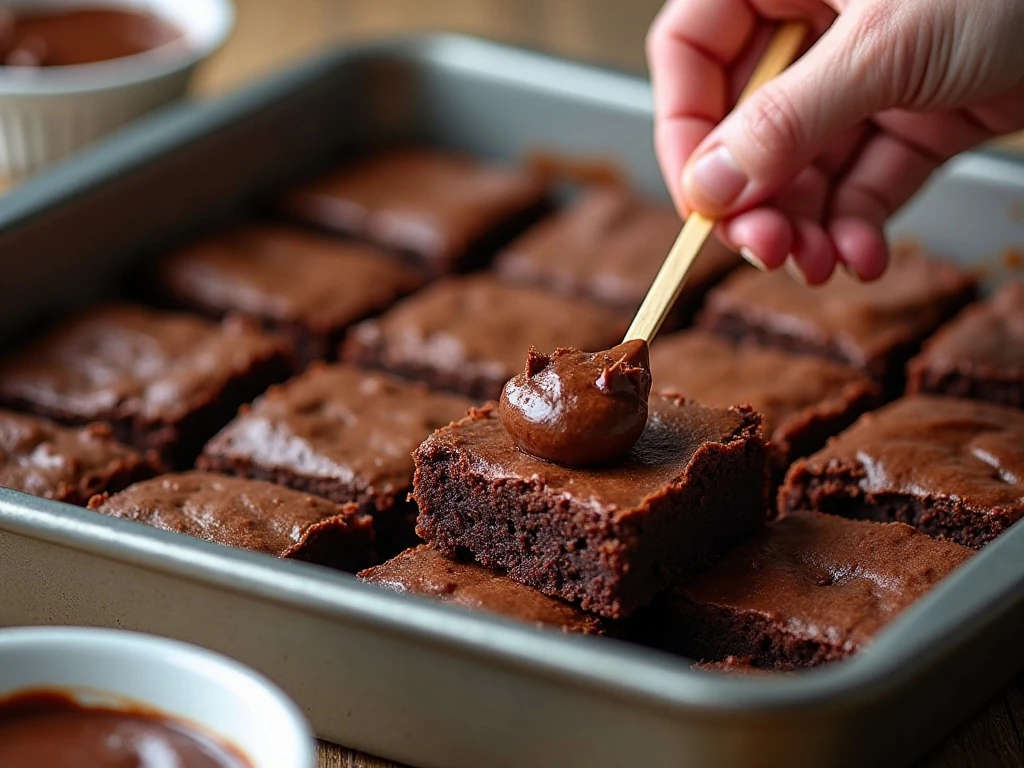
Step 7: Remove the brownies from the oven as soon as the center has set. Let them cool briefly, then spread the frosting over the warm or slightly cooled surface so it glides across the top.
Step 8: Let the frosting settle before slicing the brownies into about 24 portions. For especially clean cuts, use a sharp knife and wipe the blade between slices.
Pro Tips for Fudgy Brownies
The most important tip is to watch the brownies rather than relying only on the clock. Oven temperatures vary, and a few extra minutes can change a dense, fudgy center into a dry one.
Look for a center that is set but still looks moist. A toothpick should come out with moist crumbs attached, not completely clean. A completely clean toothpick usually means the brownies have baked farther than necessary for the classic texture.
Do not worry if the batter seems unusually thick before it goes into the pan. That consistency is expected and helps create brownies with substantial, chewy slices instead of a loose cake-like crumb.
For the frosting, softened butter is essential. Cold butter can leave small lumps, while melted butter may make the topping too thin. Set the butter out ahead of time so it yields easily when pressed.
Spread the frosting while the brownies are warm or just slightly cooled. If the brownies are hot enough to feel steamy, wait a few minutes; the goal is a warm surface that helps the frosting spread, not a pan so hot that the topping melts away.
If you are serving these after a savory family meal, keep the dessert menu balanced with something fresh or hearty, such as crispy Brussels sprouts alongside dinner.
Serving Ideas
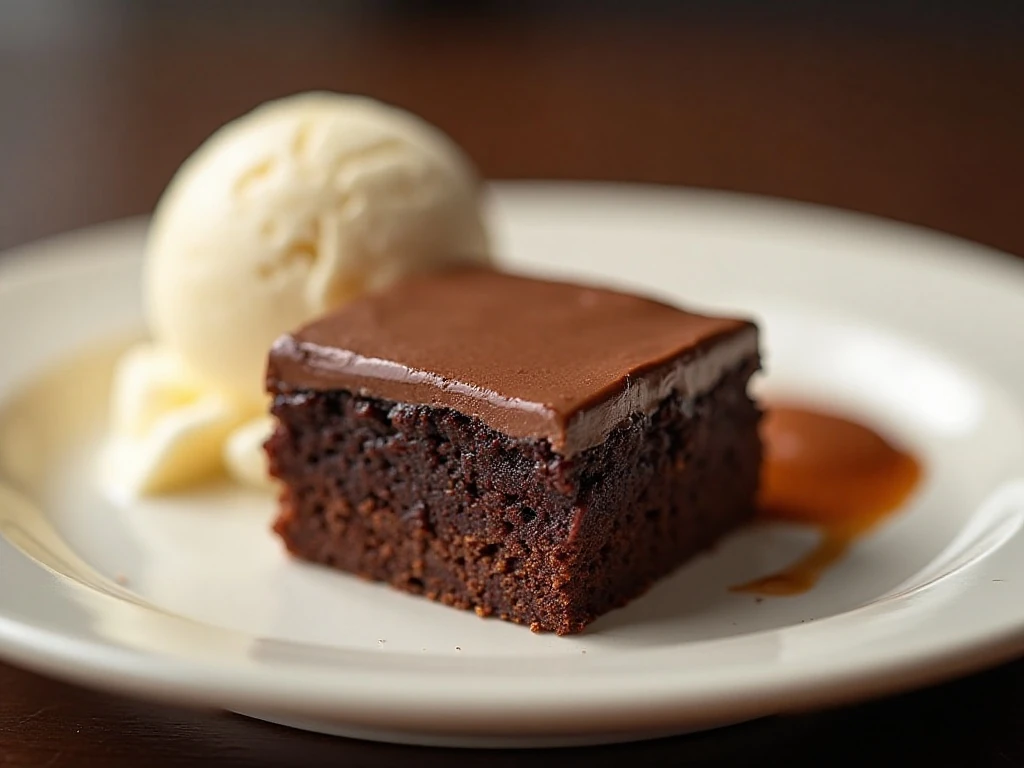
Lunch Lady Brownies are excellent on their own, but a few simple additions can turn them into a plated dessert. Serve each square with a scoop of vanilla ice cream, a drizzle of chocolate sauce, or a light dusting of powdered sugar.
For parties, cut the brownies into smaller squares and arrange them on a platter with cookies and fruit. The frosting stays soft and creamy, making the brownies feel special without requiring decorations or piping bags.
They are also a dependable choice for bake sales, school events, potlucks, and family gatherings. One pan produces about 24 brownies, so there is plenty to share while still leaving a few pieces for the baker.
When planning a larger spread, pair these rich squares with a savory menu that includes Buffalo chicken tater tot casserole. The contrast between the spicy, cheesy casserole and the cool chocolate frosting makes for a satisfying party table.
Storage and Make-Ahead Advice
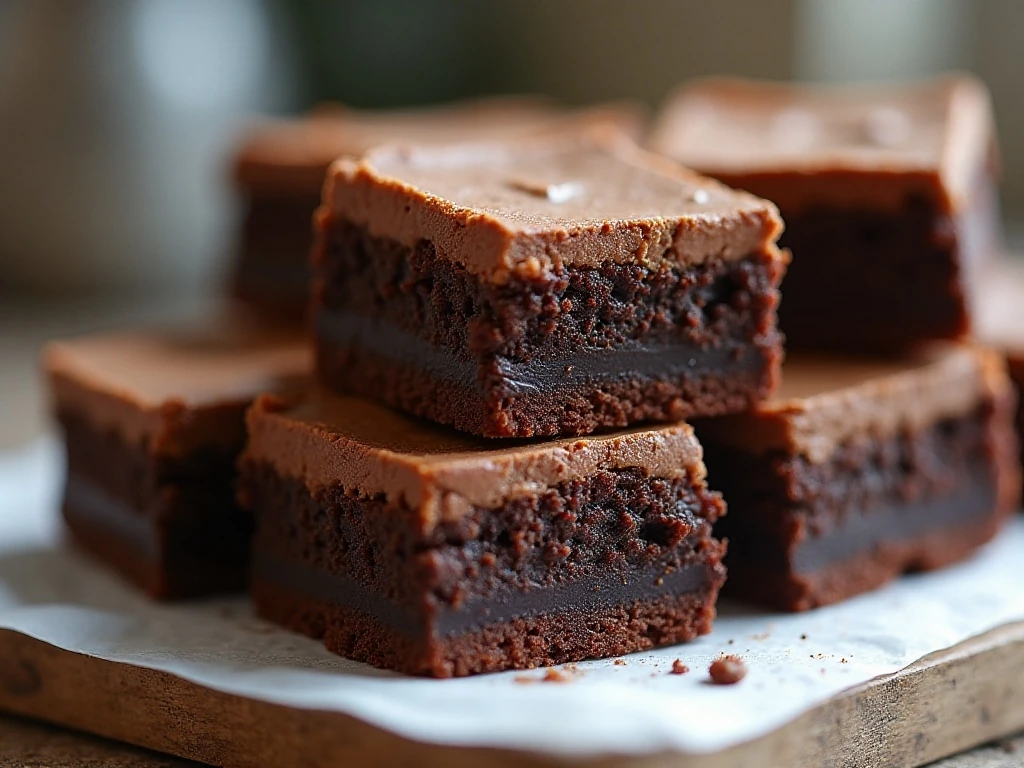
Once the frosting has settled, cover the brownies tightly in the pan or transfer them to an airtight container. They can be kept at room temperature for a short period, provided the kitchen is not excessively warm.
For firmer brownies and a more defined frosting layer, refrigerate them before slicing. Chilling also makes it easier to create neat squares, though the brownies are best enjoyed after sitting briefly at room temperature.
You can prepare the pan earlier in the day and frost it after a brief cooling period. If making the brownies ahead, keep them covered so the edges do not dry out.
For a dinner-party menu that leans toward seafood, these brownies can follow baked stuffed shrimp as an easy dessert that requires no last-minute complicated preparation. A bowl of black-eyed pea soup also makes a comforting starter for a relaxed meal before dessert.
Common Questions
Can I use a different pan? The recipe is written for a 9-by-13-inch baking pan, which gives the brownies their familiar thickness and yields about 24 pieces. A different pan will change the depth and may affect the baking time, so the toothpick test remains important.
Why are my brownies dry? The most common reason is overbaking. Remove them as soon as the center is set and the toothpick shows moist crumbs; waiting for a completely clean toothpick can take away the fudgy texture.
Should I frost them warm? Yes, warm or slightly cooled brownies are ideal. The frosting spreads more easily and develops the characteristic soft topping, but let the pan cool briefly if it is still extremely hot.
Can I make the frosting ahead? It is best prepared close to the time you frost the brownies so it remains smooth and spreadable. If it thickens while sitting, stir it well before spreading.
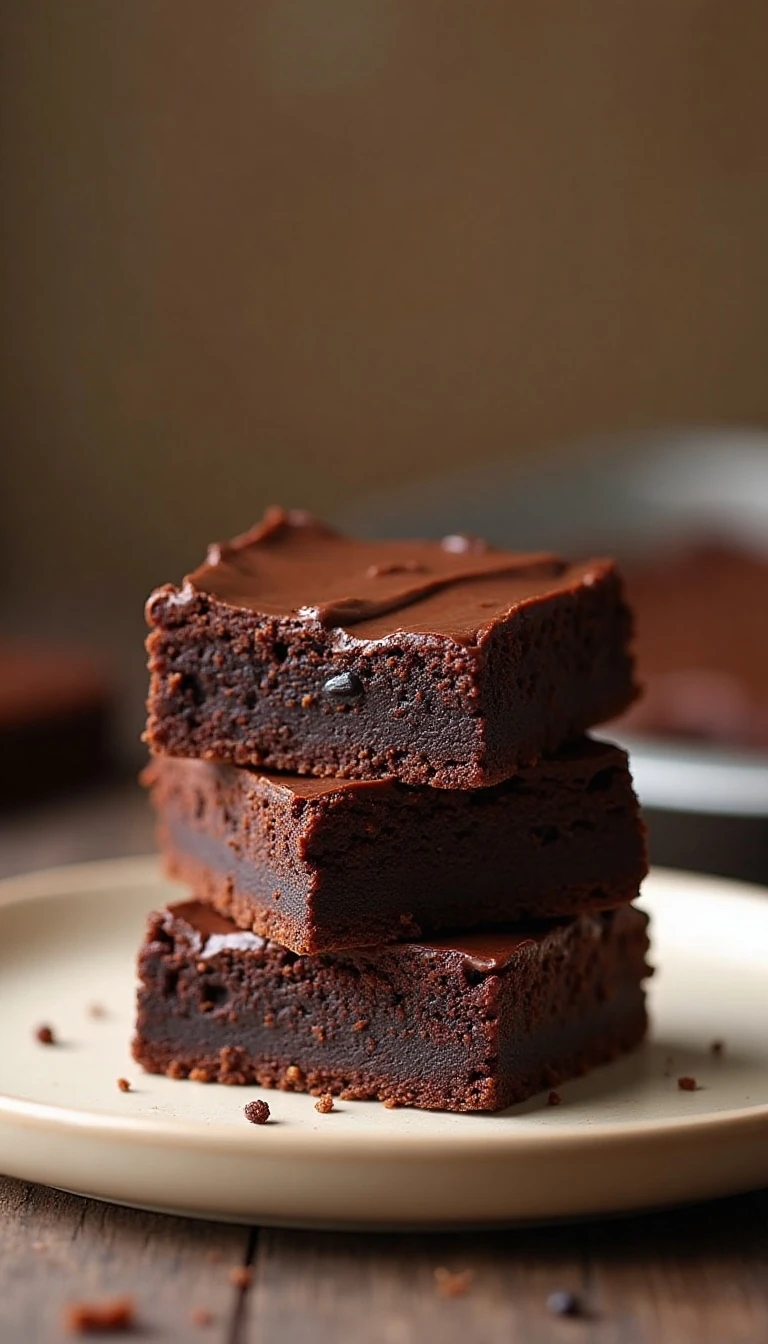
Lunch Lady Brownies
Ingredients
Method
- Heat the oven to 350°F (175°C). Grease a 9-by-13-inch baking pan or line it with parchment, leaving a little overhang for easy lifting.
- Whisk the melted butter and unsweetened cocoa powder together until smooth and evenly blended.
- Add the granulated sugar, all-purpose flour, eggs, and vanilla extract. Stir just until the batter is combined; do not overmix.
- Spread the thick batter evenly in the prepared pan. Bake at 350°F (175°C) for approximately 20 to 25 minutes, until the center is set and a toothpick comes out with moist crumbs.
- For the frosting, beat the softened butter, milk, cocoa powder, powdered sugar, and vanilla extract until smooth and spreadable.
- Spread the frosting over the brownies while they are still slightly warm or after they have cooled briefly. Allow the topping to settle before slicing.
Notes
Final Thoughts
Lunch Lady Brownies earn their name with every rich, nostalgic bite: a thick cocoa brownie, a soft fudgy center, and a creamy chocolate frosting that makes the whole pan irresistible. They are simple enough for a weekday baking project but special enough for birthdays, potlucks, and holiday dessert tables.
Keep the method gentle, avoid overmixing, and take the brownies out as soon as the center is set. Those small details protect the texture and give you the dense, moist brownies this recipe is known for.
Once the frosting has spread into a smooth layer, all that remains is to slice, serve, and enjoy. Make a batch when you need a dependable chocolate dessert, and do not be surprised when these become the first treats to disappear.