The best homemade apple pie filling starts with six medium-to-large baking apples, butter, two kinds of sugar, warm cinnamon, nutmeg, and a small amount of flour to create a glossy sauce. This easy stovetop recipe makes about 5 to 6 cups of filling, enough for one 9-inch double-crust pie, and takes about 15 to 20 minutes of preparation followed by 8 to 12 minutes of cooking.
Each spoonful is sweet, gently tart, buttery, and warmly spiced, with apple slices that remain tender but still hold their shape. Cooking the filling briefly before it goes into the crust gives you dependable flavor and texture, while allowing it to cool first helps protect the pastry from a soggy bottom.
Jump to RecipeWhy You’ll Love This Recipe
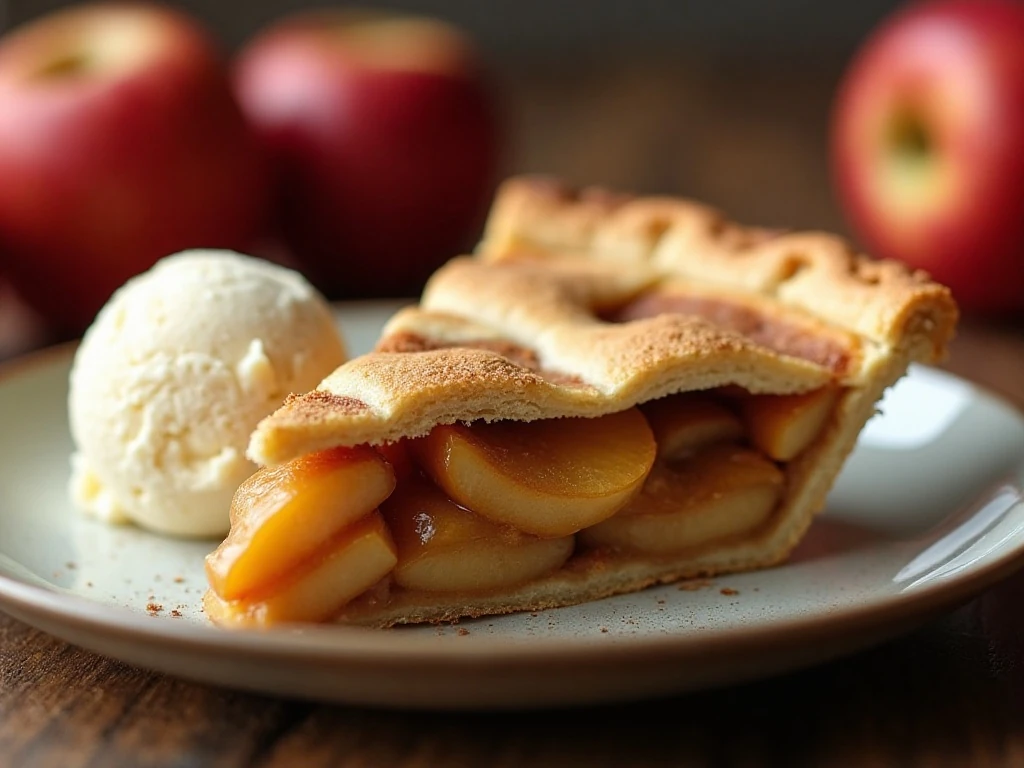
This apple pie filling has the cozy flavor of a classic holiday pie without requiring a complicated technique. The sauce comes together in one saucepan, and the apples spend only a few minutes on the stovetop before finishing in the oven.
Butter gives the filling a round, rich flavor, while granulated sugar provides clean sweetness and brown sugar adds a deeper caramel note. Cinnamon and nutmeg bring familiar warmth without overpowering the natural taste of the apples.
The method also gives you more control than adding raw apples directly to a crust. You can see the sauce thicken, check the apples for firmness, and make sure every slice is coated before assembly.
If you are preparing the pastry too, pair this filling with our buttery flaky pie crust for a classic dessert from scratch.
Ingredients You’ll Need
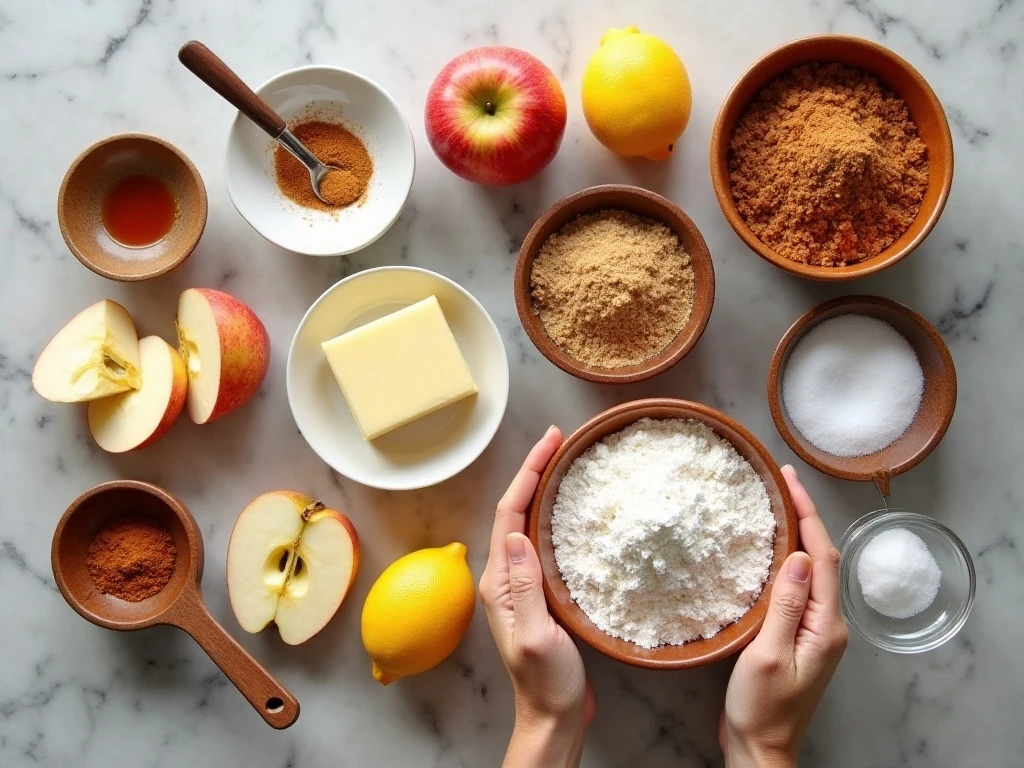
Choose six medium-to-large baking apples, weighing about 2 1/2 to 3 pounds total. Granny Smith, Honeycrisp, Braeburn, and Golden Delicious are all excellent choices, and combining two varieties creates more interesting flavor and texture.
- Apples: Peel, core, and slice them about 1/4 inch thick.
- Butter: Use unsalted butter so the salt level stays balanced.
- Sugars: Equal amounts of granulated sugar and packed light brown sugar create a rounded sweetness.
- Flour: Three tablespoons thicken the buttery sauce.
- Spices: Cinnamon and nutmeg provide the classic apple pie profile.
- Lemon juice: This is optional, but it adds brightness and helps balance especially sweet apples.
The salt may seem like a small addition, but it sharpens the fruit and keeps the sauce from tasting one-dimensional. Measure the flour carefully because too much can make the filling pasty instead of silky.
For another homemade pie idea, you can also browse this chocolate pudding pie when you are planning a dessert table.
How to Make It Step-by-Step
Step 1: Prepare the apples by peeling, coring, and slicing them into uniform 1/4-inch pieces. Even slices matter because thin pieces soften quickly while thick pieces may remain hard, and a consistent cut helps the entire filling cook at the same rate.
Step 2: If using lemon juice, toss it with the sliced apples in a large bowl. Set the apples aside while you begin the sauce, keeping them ready to add as soon as the butter mixture is prepared.
Step 3: Melt the unsalted butter in a large saucepan or skillet over medium heat. Whisk in the flour and cook the mixture for about 1 minute, stirring constantly, until it becomes a smooth paste without taking on much color.
Step 4: Add the water, granulated sugar, packed brown sugar, cinnamon, nutmeg, and salt. Stir frequently as the mixture heats, then bring it to a gentle boil so the sugar dissolves and the flour begins to thicken the sauce.
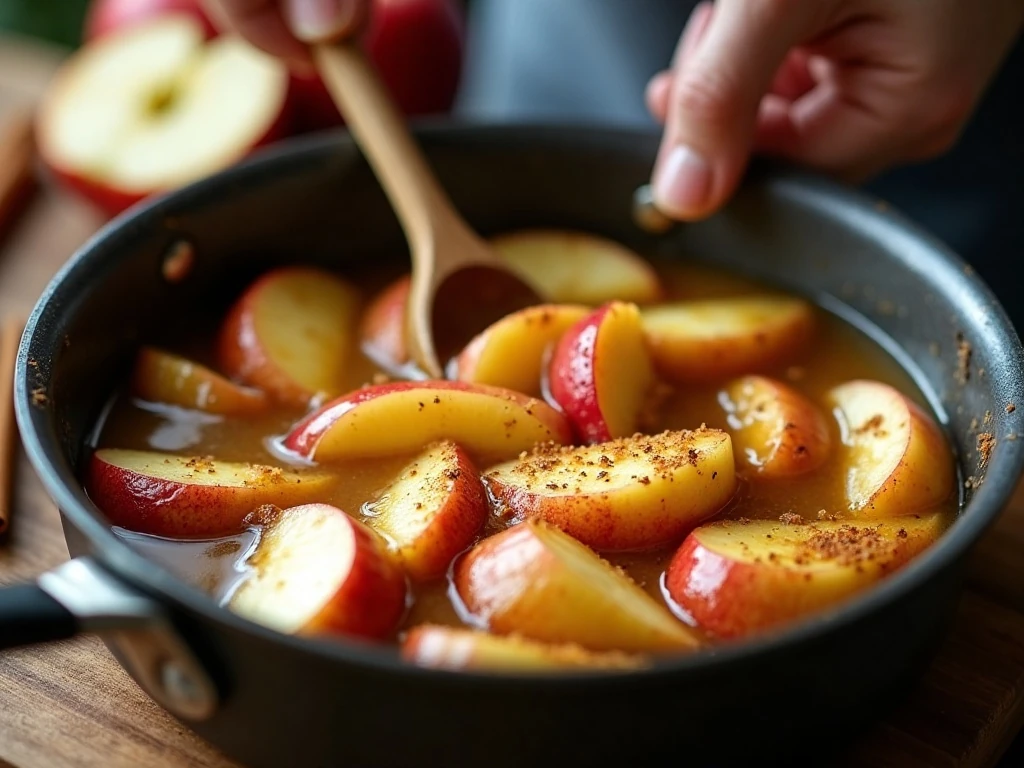
Step 5: Add the apples to the pan and stir gently until the slices are fully coated. Take care not to break them, especially if you are using a softer apple variety.
Step 6: Cook the apples for 5 to 8 minutes, stirring occasionally, until they just begin to soften and the sauce looks thicker. They should still have some firmness and hold their shape because baking will continue the cooking process.
Step 7: Remove the pan from the heat and let the filling cool for 20 to 30 minutes. Wait until it is warm or room temperature before adding it to an unbaked crust, since very hot filling can soften or melt the butter in the pastry.
Step 8: Spoon the cooled filling into your prepared bottom crust, arranging the apple slices evenly and scraping in all of the sauce. Add the top crust, seal and crimp the edges, cut vents, and bake at 425°F for about 15 minutes.
Step 9: Reduce the oven temperature to 375°F and continue baking for another 35 to 45 minutes. The pie is ready when the crust is golden and the filling is visibly bubbling through the vents.
Choosing the Best Apples
A mixture of sweet and tart apples gives the most balanced result. Granny Smith apples contribute a bright, pleasantly sharp flavor, while Honeycrisp, Golden Delicious, or Braeburn apples add sweetness and a softer fruit note.
Using only Granny Smith apples can make the filling quite tart, especially if your pie crust is not very sweet. On the other hand, using only sweet apples may create a flat-tasting filling, so a combination is usually the best choice.
Look for firm apples without bruises or soft spots. They should feel solid when pressed and smell fresh, since good fruit flavor is the foundation of the finished pie.
Uniform slicing is just as important as variety. Pieces around 1/4 inch thick soften at a similar rate and create neat layers when the pie is cut.
Pro Tips for Perfect Filling
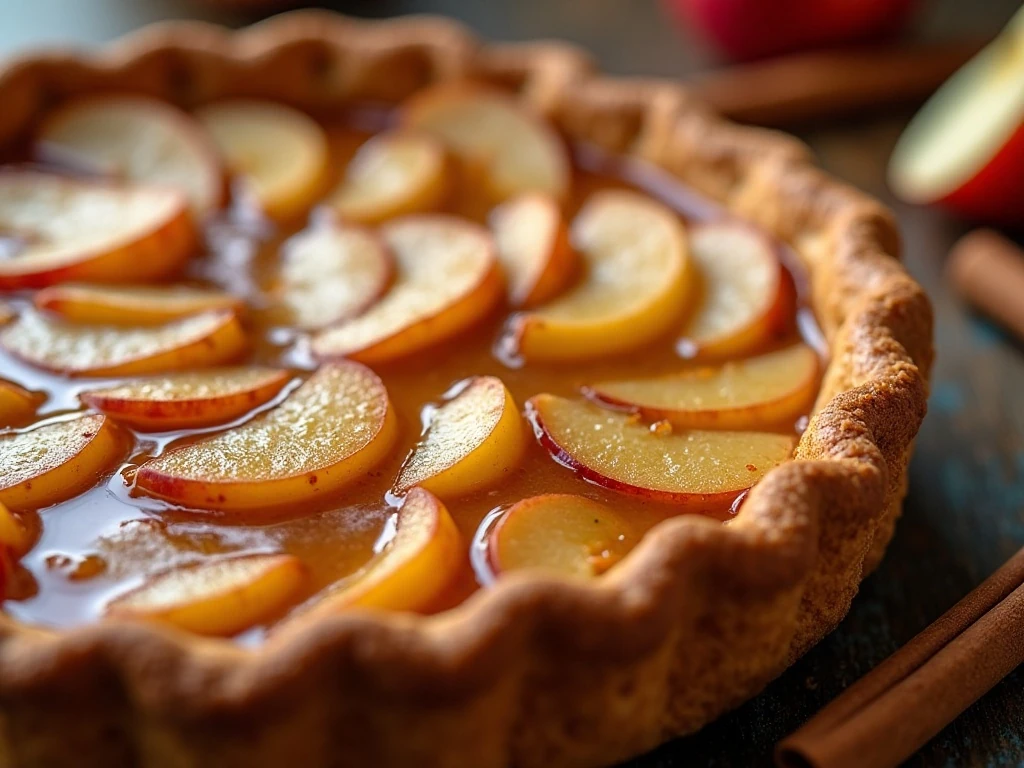
- Do not overcook: Stop when the apples are just beginning to soften. Fully tender apples on the stovetop can turn mushy during baking.
- Watch the boil: A gentle boil is enough to dissolve the sugars and thicken the sauce. A very aggressive boil may cause the butter mixture to separate or cook the apples too quickly.
- Cool before assembly: The sauce thickens noticeably as it cools, making it easier to place in the crust without flooding the pastry.
- Check the texture: The filling should be glossy and spoonable, with apple slices that remain visibly distinct.
- Vent the pie: Cut several openings in the top crust so steam can escape and the sauce can bubble without forcing the crust apart.
For a polished presentation, brush the top crust with a little beaten egg before baking if desired, though the filling itself already contains all the essential ingredients for a flavorful pie.
If you enjoy desserts that combine classic pie flavors with creamy layers, this pecan pie cheesecake is another lovely option for a special meal.
How to Bake and Serve the Pie
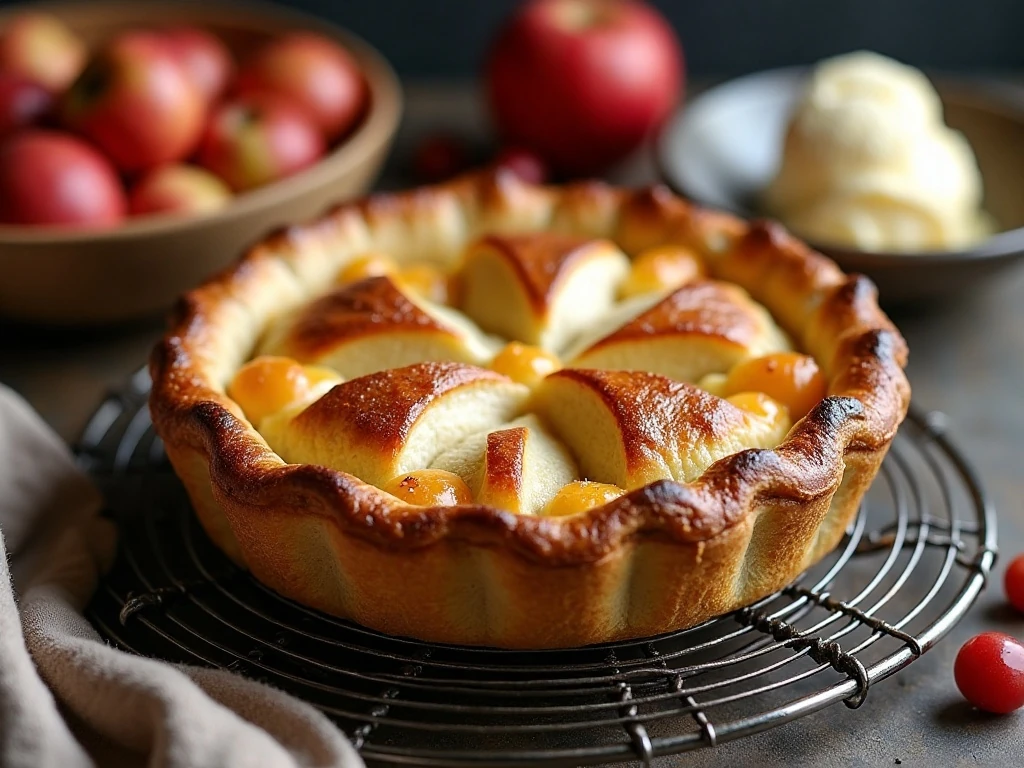
Once the cooled filling is tucked into an unbaked crust, begin baking at 425°F for about 15 minutes. The initial high heat helps the pastry start browning, then reducing the temperature to 375°F allows the apples and sauce to finish cooking without burning the crust.
Continue baking for 35 to 45 minutes after lowering the temperature. Look for a golden crust and bubbling filling, especially near the center vents; bubbling indicates that the sauce is hot and fully cooked.
Let the finished pie rest before slicing so the filling can settle. Serve it warm or at room temperature with vanilla ice cream, softly whipped cream, or a small spoonful of caramel sauce.
This filling is also useful beyond a traditional pie. Spoon it into baked turnovers, use it between layers of pastry, or warm a small portion for oatmeal and pancakes.
For a playful dessert spread, our homemade whoopie pies can sit alongside the apple pie as a second sweet option.
Storage and Make-Ahead Advice
Cool the filling completely before storing it. Place it in a covered container and refrigerate it until you are ready to assemble the pie, keeping the fruit and sauce chilled rather than leaving it at room temperature for an extended period.
When making the pie ahead, prepare the filling first and allow it to cool fully before adding it to the pastry. This makes assembly calmer and gives the sauce time to reach its proper thicker consistency.
If the filling seems especially loose after cooling, stir it gently before using and make sure you have included the full amount of flour. Avoid adding extra flour late in the process, as it can create an uneven, floury texture.
Store leftover baked pie covered in the refrigerator and enjoy slices cold, at room temperature, or gently warmed. A short warming time brings back the buttery aroma and softens the apples without making the crust too wet.
Although coleslaw is not a dessert, a crisp side can balance a rich meal before pie is served; keep our homemade coleslaw in mind for the savory course.
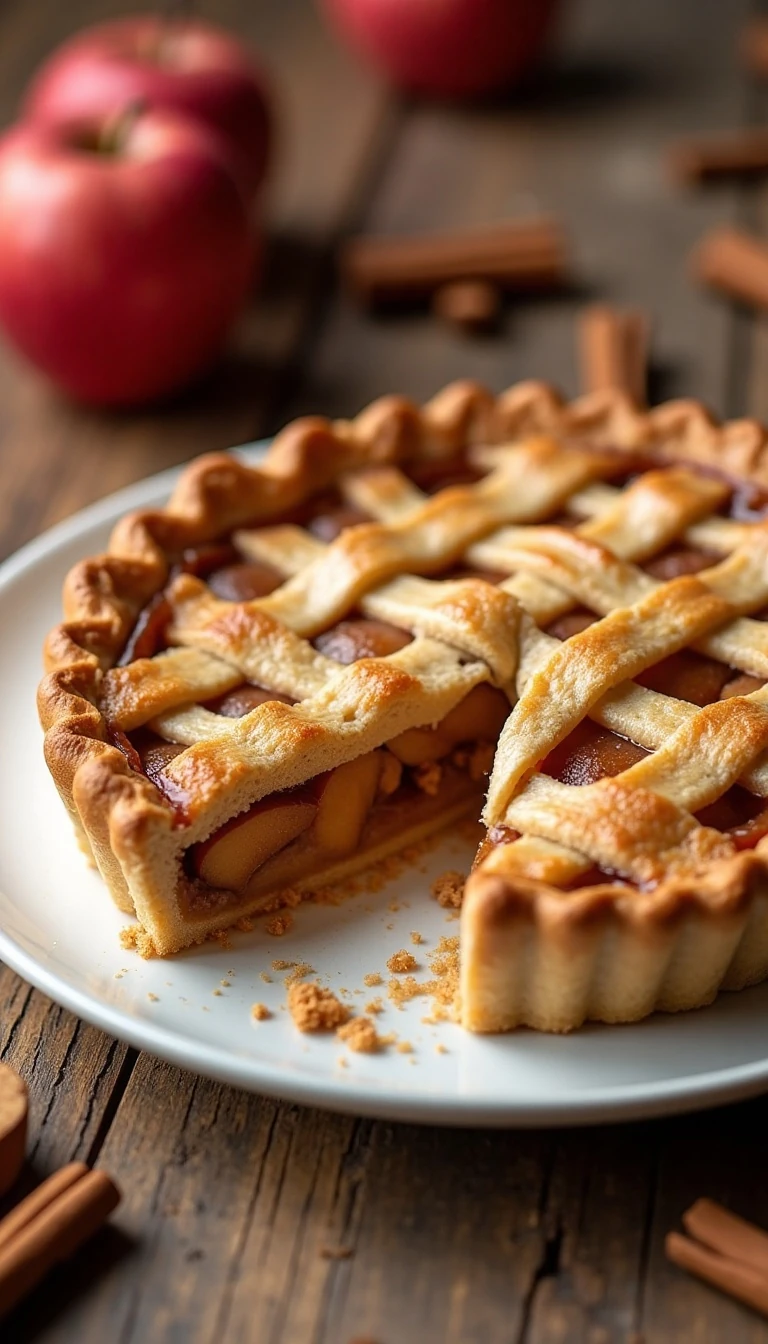
The Best Homemade Apple Pie Filling Recipe
Ingredients
Method
- Peel, core, and slice the apples into even 1/4-inch pieces. Toss them with the lemon juice if using.
- Melt the butter in a large saucepan or skillet over medium heat. Whisk in the flour and cook for about 1 minute to form a smooth paste.
- Add the water, granulated sugar, brown sugar, cinnamon, nutmeg, and salt. Stir frequently and bring the mixture to a gentle boil.
- Add the sliced apples and stir carefully until every piece is coated in the buttery sauce.
- Cook for 5 to 8 minutes, stirring occasionally, until the apples begin to soften and the sauce thickens. Keep the slices slightly firm because they will continue cooking inside the pie.
- Remove the pan from the heat and cool the filling for 20 to 30 minutes, or until warm or room temperature, before spooning it into an unbaked crust.
Notes
Final Thoughts
This homemade apple pie filling is a dependable foundation for a deeply comforting dessert. The combination of tart and sweet apples, buttery sauce, brown sugar, cinnamon, and nutmeg creates the familiar flavor people expect from a classic apple pie, while the brief stovetop cooking keeps the fruit from collapsing.
Remember the three details that make the biggest difference: slice the apples evenly, stop cooking while they are still slightly firm, and cool the filling before it touches the unbaked crust. Those simple choices lead to a pie with distinct apple slices, a thick glossy sauce, and a crisp bottom crust.
Prepare the filling for a holiday dinner, a weekend baking project, or any evening when the kitchen deserves the aroma of warm apples and spice. Once you taste how fresh and balanced this version is, it may become the apple pie recipe you return to every season.