These easy homemade protein bars are a practical, no-bake snack made with peanut butter, honey, powdered milk, protein powder, oats, crisp rice cereal, and raisins. Mix the ingredients, press everything into a 9-by-13-inch pan, chill for about 1 hour, and cut the firm slab into approximately 18 to 24 bars.
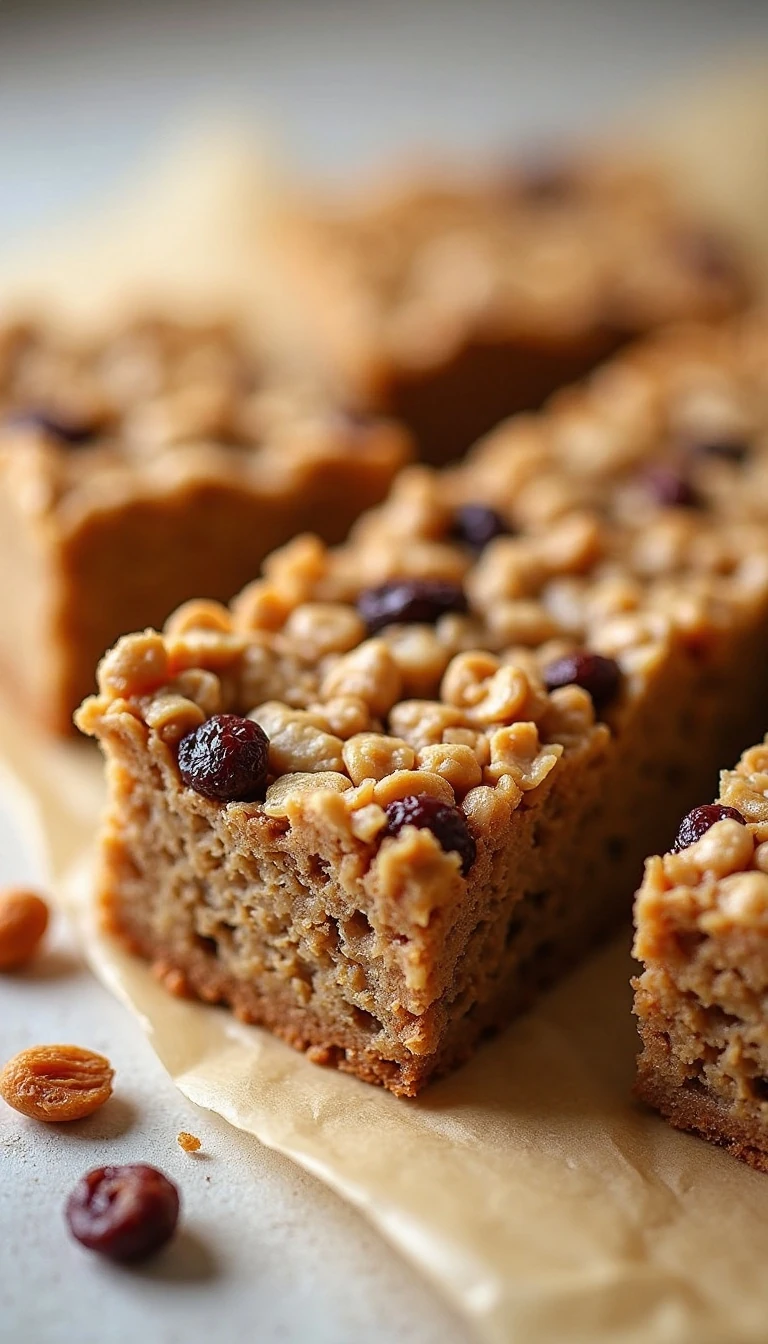
Fuel to Go Bars have a chewy, nutty center, crisp little bites from the cereal, and sweet bursts of raisin throughout. They are ideal for busy mornings, lunch boxes, hiking bags, after-school snacks, or any time you want a homemade bar with a satisfying combination of protein, carbohydrates, and texture.
Jump to RecipeWhy You’ll Love This Recipe
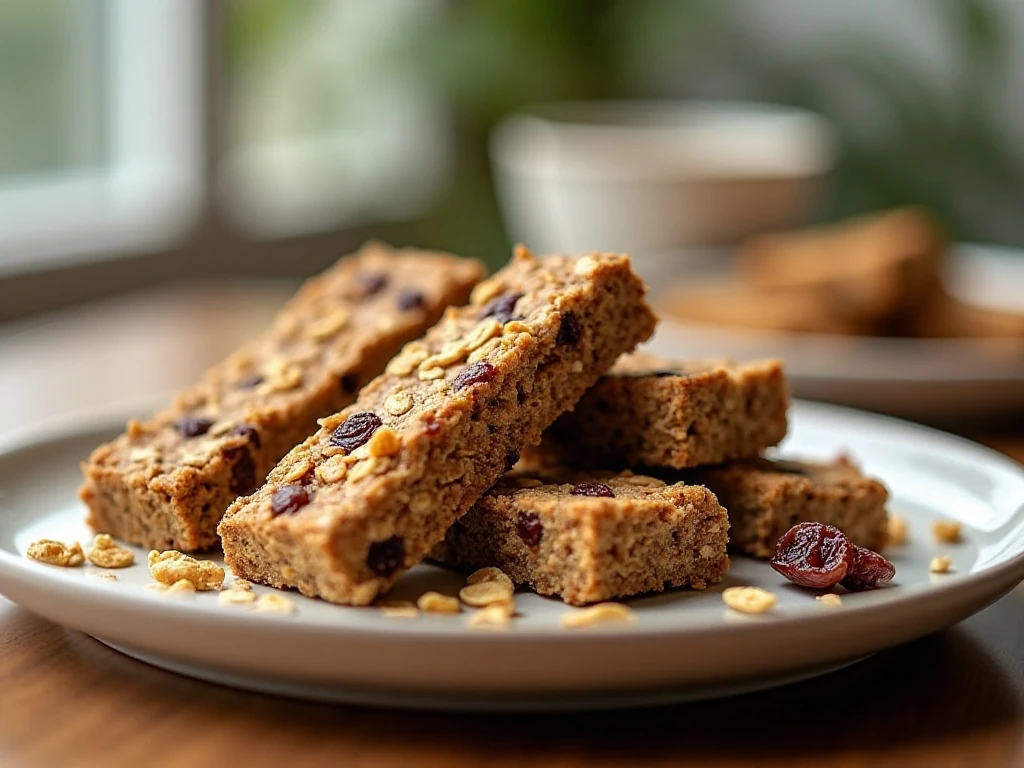
There is a lot to appreciate about a snack that comes together without baking, specialty equipment, or a long ingredient list. These bars require only mixing, pressing, chilling, and slicing, so they are especially useful when the oven is busy or you need a batch of snacks in a hurry.
The texture is what makes Fuel to Go Bars memorable. Creamy peanut butter and honey bind the mixture, oats provide a pleasant chew, crisp rice cereal adds a light crunch, and raisins bring small pockets of fruity sweetness.
Because the recipe makes about 18 to 24 bars, it is easy to prepare a batch for several days of breakfasts and snacks. Cut smaller pieces for lunch boxes or larger bars for a more substantial portable bite.
If you enjoy making sweet bars for sharing, you may also like these vanilla cookie bars when you are in the mood for a dessert rather than a protein snack.
Ingredients You’ll Need
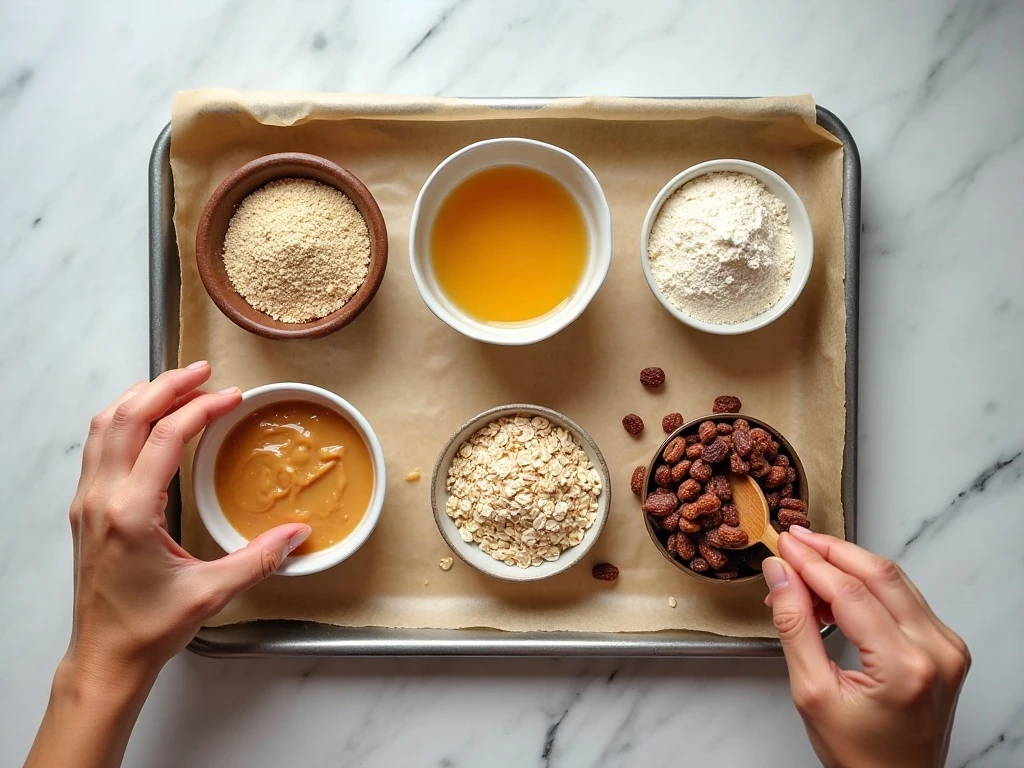
The ingredient list uses equal one-cup portions, which makes measuring particularly simple. The peanut butter and honey create the sticky base, while powdered milk and protein powder add body and a hearty, creamy flavor.
- Peanut butter: Use a smooth peanut butter for the easiest mixing and most cohesive bars.
- Honey: Honey supplies sweetness and helps bind the dry ingredients together.
- Powdered milk: Nonfat dry milk powder contributes a mild dairy flavor and helps create a firm, chewy texture.
- Protein powder: Choose a flavor that works well with peanut butter, such as vanilla or chocolate.
- Oats: Quick-cooking oats or rolled oats both fit the commonly published versions of this recipe.
- Crisp rice cereal: Rice Krispies or a similar cereal gives each bite a delicate crunch.
- Raisins: Raisins add chewiness and a naturally sweet contrast to the nutty base.
Set out all seven ingredients before you begin. Once the peanut butter and honey are mixed, the dry ingredients should be added promptly so the mixture stays easy to combine and press.
How to Make It Step-by-Step
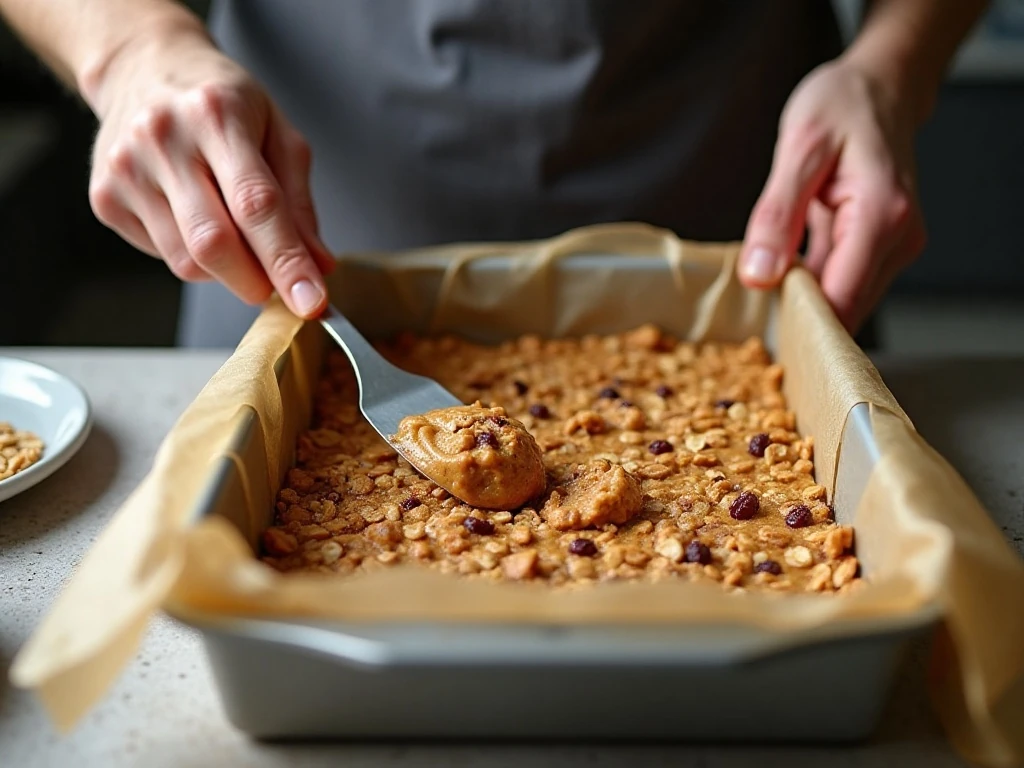
Step 1: Prepare a 9-by-13-inch baking pan by lining it with parchment paper or lightly greasing it. A parchment sling with overhang on two opposite sides makes it much easier to remove the chilled slab without breaking the edges.
Step 2: Place the peanut butter and honey in a saucepan over low heat, or combine them in a microwave-safe bowl. Warm them gently for about 2 to 3 minutes only if needed, stirring often until the mixture is smooth; never boil the mixture, since boiling can make the texture overly stiff.
Step 3: Stir the powdered milk and protein powder into the warm or room-temperature peanut butter mixture. Work slowly at first, scraping the sides and bottom of the bowl so no dry pockets remain.
Step 4: Add the oats, crisp rice cereal, and raisins. Fold and stir until the oats and cereal are coated, the raisins are spread throughout, and the mixture has a consistent appearance from edge to edge.
Step 5: Scrape the mixture into the prepared pan. Use the back of a sturdy spatula, a piece of parchment, or lightly greased fingertips to press it into an even layer, applying firm pressure across the entire surface.
Step 6: Refrigerate the pan for about 1 hour, or until the slab feels firm when gently touched. Lift it out using the parchment overhang and cut it into 18 to 24 bars, depending on the size you prefer.
Do not rush the pressing stage. The more compact the mixture is before chilling, the less likely the finished bars are to crumble when sliced or packed for travel.
Pro Tips for Firm, Chewy Bars
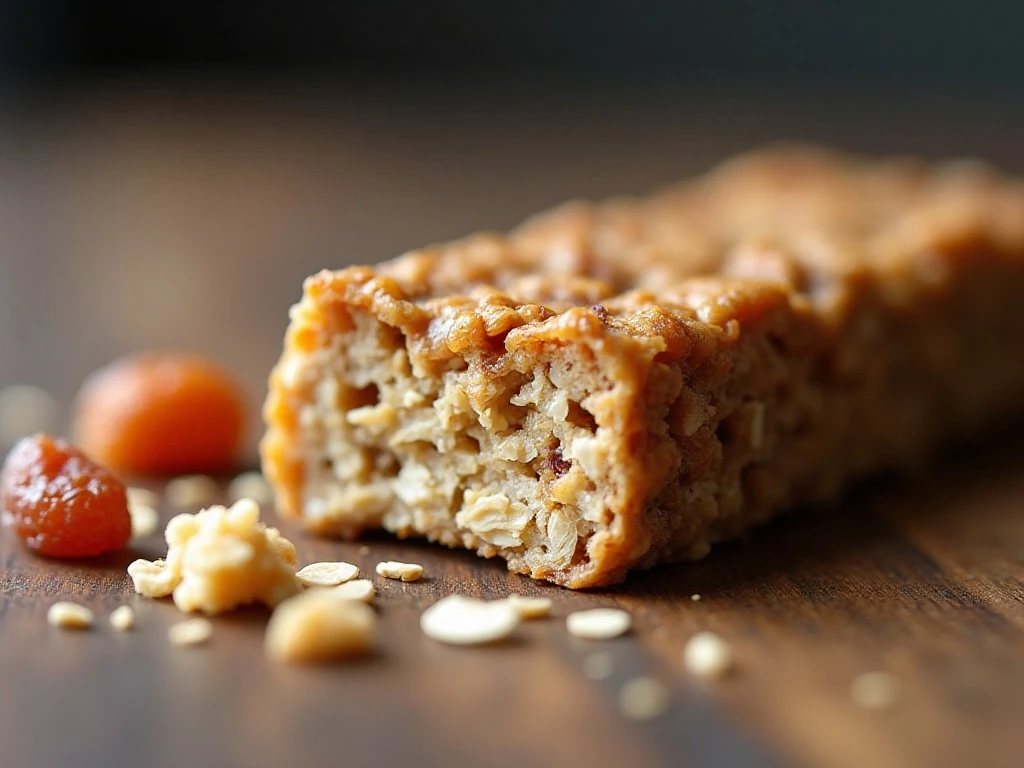
The most important technique is controlling the consistency of the peanut butter and honey mixture. If your peanut butter is naturally thick or the mixture feels difficult to stir, gentle warming will make it more fluid and help coat the dry ingredients evenly.
Keep the heat low and stop as soon as the mixture is smooth. The goal is softening, not cooking, and the honey-peanut butter base should never bubble or boil.
- Use parchment: The overhang creates a simple lifting handle and keeps the pan cleaner.
- Compact the slab: Press firmly in several directions, including the corners and edges.
- Chill fully: Give the bars the full hour whenever possible so they slice cleanly.
- Use a sharp knife: Wipe the blade between cuts for tidier edges.
- Choose your cut: Make 18 large bars, 20 medium bars, or 24 smaller snack pieces.
For a dessert-focused baking project after making these bars, try the buttery layers in this caramel apple bar recipe. It is a richer treat with a completely different texture and flavor profile.
Storage and Serving Ideas
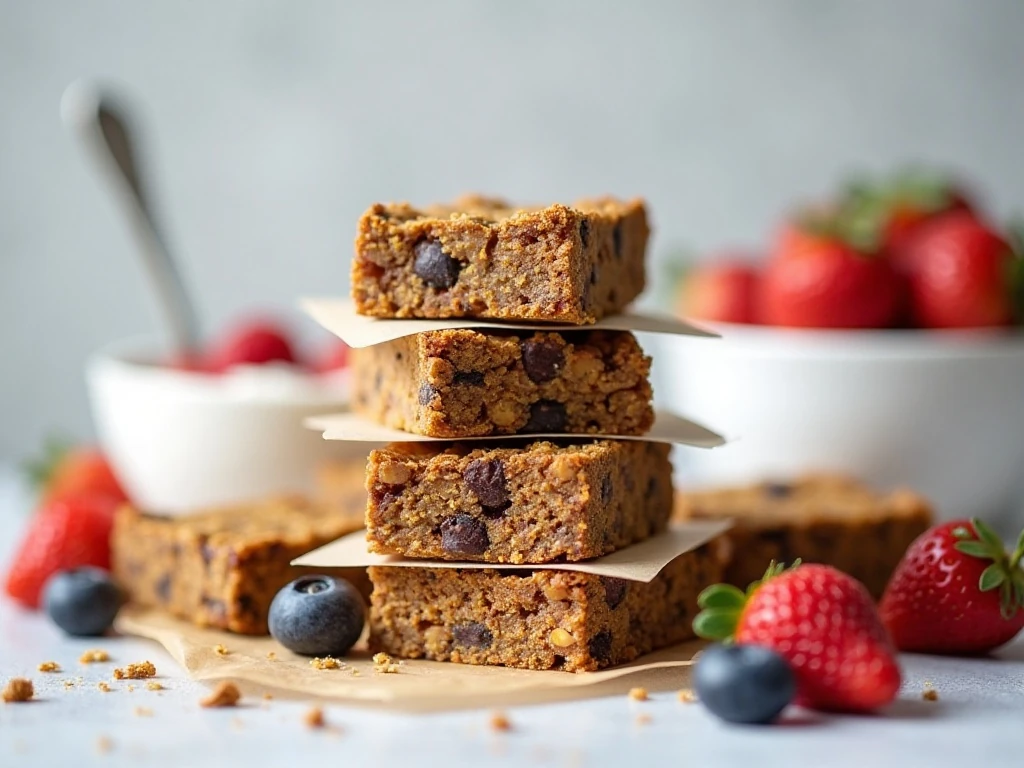
Keep the cut bars in a covered container in the refrigerator. Chilling helps them retain their shape, especially when the kitchen is warm or the peanut butter is particularly soft.
For easy meal planning, separate the bars with small pieces of parchment before stacking. They can be portioned into lunch boxes, placed in a work bag, or packed for a day outdoors once they are firm.
Serve them cold for the firmest bite, or let one sit at room temperature briefly if you prefer a softer, chewier texture. Since the recipe is no-cook, it is also convenient for preparing ahead when you want snacks ready in the refrigerator.
When you want another simple no-bake dessert, take a look at this easy no-bake chocolate pie. It makes a lovely contrast to the wholesome, chewy character of these bars.
Ways to Enjoy Fuel to Go Bars
These bars are satisfying on their own, but they can also become part of a simple snack plate. Pair one with fresh fruit, yogurt, or a glass of milk for a balanced-feeling breakfast or afternoon break.
The crisp rice cereal makes them especially pleasant for children who enjoy a little crunch, while the raisins add familiar sweetness without requiring extra preparation. If making them for a group, cut a few into smaller pieces so guests can sample them alongside other snacks.
For a sweet weekend baking session, you can make the protein bars first because they need time to chill, then prepare another project while they firm up. A batch of homemade cinnamon rolls can follow when you are ready for a warm, indulgent treat.
These bars also work well as a practical pantry-style recipe because every ingredient has a clear job. The result is a dependable snack with a soft chew, a little crunch, and enough sweetness to feel like a treat.
Fuel to Go: Easy Homemade Protein Bars
Ingredients
Method
- Line or lightly grease a 9-by-13-inch baking pan. If using parchment, leave some overhang on two sides so the chilled slab can be lifted out easily.
- Combine the peanut butter and honey in a saucepan over low heat or in a microwave-safe bowl. Warm gently for about 2 to 3 minutes if needed, stirring until smooth, and do not boil.
- Stir the powdered milk and protein powder into the smooth peanut butter mixture until evenly blended.
- Add the oats, crisp rice cereal, and raisins. Mix thoroughly until the dry ingredients are coated and the mixture looks evenly distributed.
- Transfer the mixture to the prepared pan and press it firmly and evenly into one compact layer.
- Refrigerate for about 1 hour, or until firm. Lift out the slab if using parchment, then cut into approximately 18 to 24 bars.
Notes
Final Thoughts
Fuel to Go: Easy Homemade Protein Bars are proof that a useful homemade snack does not need an oven or a complicated method. With one cup each of the seven key ingredients, a firm press into a 9-by-13-inch pan, and about an hour in the refrigerator, you get a generous batch of chewy, crunchy bars ready for the week.
Remember to warm the peanut butter and honey only when necessary, avoid boiling, and press the mixture firmly for the best texture. Once chilled, cut the slab into 18 to 24 bars and keep them covered in the refrigerator for a convenient grab-and-go option.
If you are assembling a dessert spread alongside these snack bars, finish with a pan of churro cheesecake bars for cinnamon-sugar flavor and a creamy contrast. Whether enjoyed after exercise, packed for a busy day, or served as an afternoon snack, these homemade bars are simple, filling, and wonderfully easy to make.