This classic crunchy oven-roasted chickpeas recipe turns two cans of chickpeas into a crisp, savory dinner topping or snack in about 40–50 minutes. Toss the thoroughly dried chickpeas with olive oil, kosher salt, smoked or sweet paprika, cumin, garlic powder, black pepper, and optional cayenne, then roast them at 400°F (200°C) for 30–40 minutes.
Each chickpea becomes browned and pleasantly crisp on the outside while retaining a hearty center. They are delicious scattered over salads, grain bowls, roasted vegetables, soups, or served alongside a main course when you want a simple, protein-rich bite with smoky, garlicky flavor.
Jump to RecipeWhy You’ll Love This Recipe
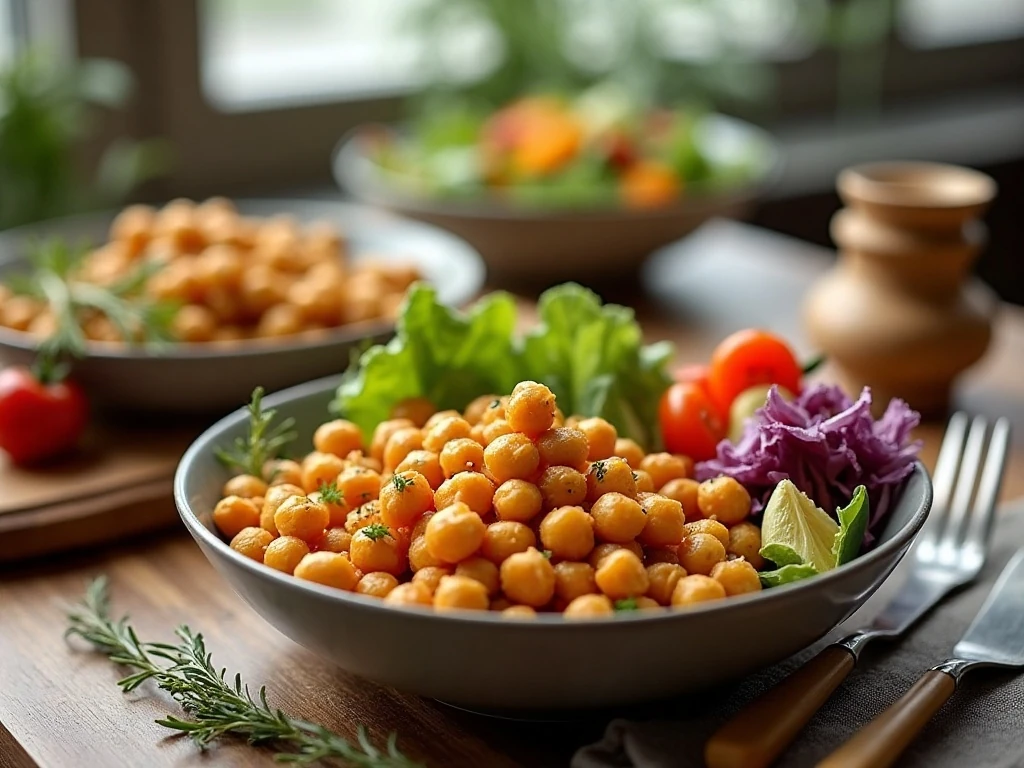
These roasted chickpeas are proof that a humble pantry ingredient can become the most exciting part of dinner. They require only a short ingredient list, a bowl, and one baking sheet, yet the finished bites deliver a deeply savory crunch that canned chickpeas rarely provide on their own.
The seasoning is balanced rather than overpowering. Smoked paprika brings gentle warmth, cumin adds an earthy note, garlic powder contributes savory depth, and a tiny pinch of cayenne gives the option of extra heat without taking over the dish.
They are also wonderfully versatile. Use them as a crunchy topping for a green salad, spoon them over rice or quinoa, mix them into a grain bowl, or serve them beside a roasted vegetable dinner. For another sheet-pan-friendly side, try these roasted carrots and beets with the chickpeas.
Ingredients You’ll Need

The foundation is two 15-ounce cans of chickpeas, drained and rinsed. Canned chickpeas make this recipe quick enough for a weeknight dinner, and rinsing removes excess liquid and some of the canned flavor before roasting.
Use 1 1/2 tablespoons of olive oil for a lightly coated, crisp exterior. The oil helps the spices cling to the chickpeas and supports browning, but using more does not automatically make them crunchier.
For the seasoning, gather 1/2 teaspoon kosher salt, 1/2 teaspoon smoked paprika or sweet paprika, 1/4 teaspoon ground cumin, 1/4 teaspoon garlic powder, and 1/8 teaspoon black pepper. Add a pinch of cayenne when you prefer a spicy finish.
If using fine salt instead of kosher salt, use 1/4 teaspoon. Smoked paprika creates a subtle roasted flavor, while sweet paprika keeps the profile milder and more pepper-forward.
- Two cans provide about 2 cups of roasted chickpeas.
- The finished recipe serves 2–4 people, depending on whether it is a side, topping, or snack.
- Parchment paper is optional, but it can make cleanup easier.
How to Make It Step-by-Step
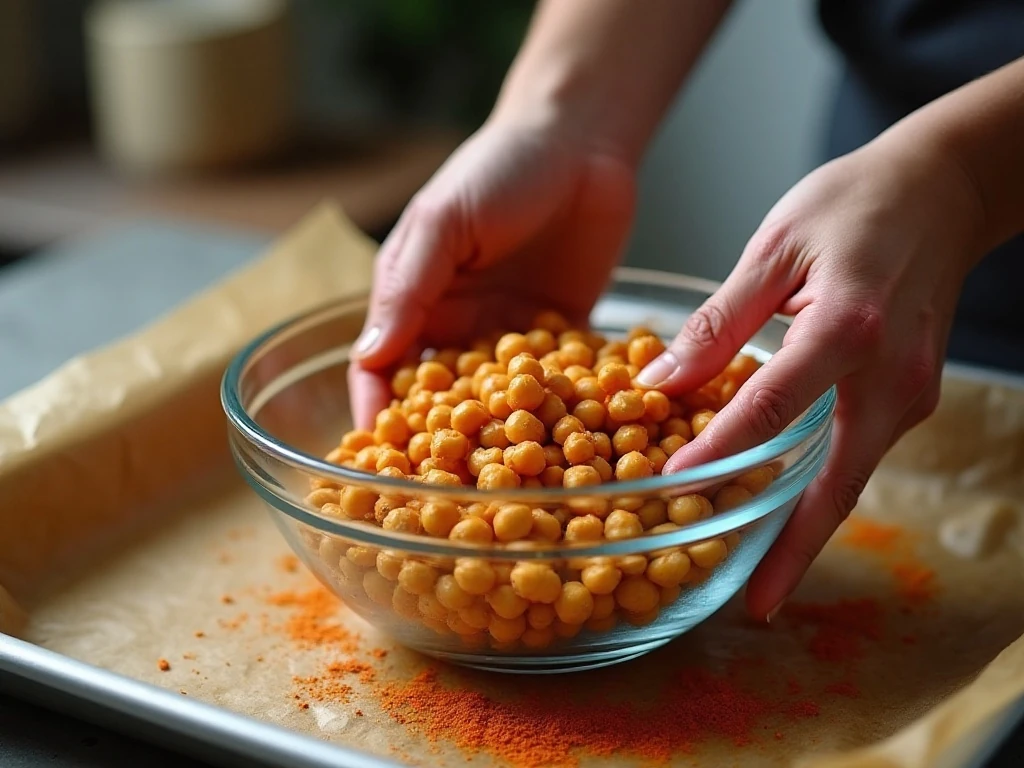
Step 1: Heat the oven to 400°F (200°C), making sure the rack is positioned in the center. Line a rimmed baking sheet with parchment paper if desired, then set it aside while you prepare the chickpeas.
Step 2: Drain and rinse the chickpeas thoroughly in a colander. Spread them over a clean kitchen towel or several layers of paper towel, pat them dry, and gently rub them to remove loose skins; do not worry if every skin does not come off.
Step 3: Continue drying until the chickpeas feel dry on the surface. This is the most important preparation detail because moisture makes the chickpeas steam, which prevents the browned, crunchy texture you want.
Step 4: Place the dry chickpeas in a bowl and add the olive oil, kosher salt, paprika, cumin, garlic powder, black pepper, and optional cayenne. Toss gently until the chickpeas are evenly coated and the spices cling to their surfaces.
Step 5: Spread the chickpeas across the baking sheet in a single layer. Leave space between them instead of crowding the pan, since open space allows hot air to circulate and helps them roast rather than steam.
Step 6: Roast for 30–40 minutes, shaking the pan or stirring the chickpeas every 10–15 minutes. Begin checking toward the end of the cooking time, looking for chickpeas that are browned, crisp, and dry on the outside.
Step 7: Turn off the oven and leave the baking sheet inside for 5–10 minutes with the door slightly open if the chickpeas need extra crispness. This gentle finishing period can remove a little more moisture without requiring a higher oven temperature.
Step 8: Remove the pan and cool the chickpeas completely before serving. Their texture becomes somewhat crispier as they cool, so avoid judging the final crunch while they are still piping hot.
Pro Tips for Maximum Crunch
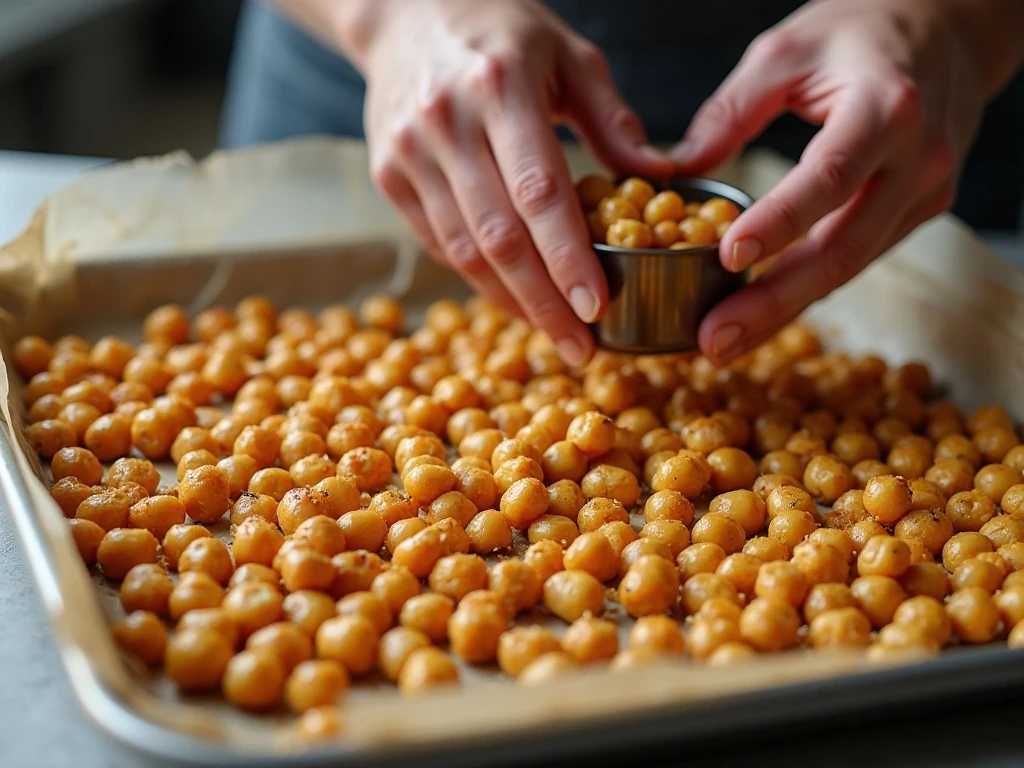
Drying deserves your full attention. Even though chickpeas naturally contain moisture, the wet surface is the main obstacle to crisping, so pat them carefully and give them a few extra minutes of air-drying when you have time.
Do not crowd the baking sheet. If the chickpeas are touching in a thick layer, the moisture released during roasting has nowhere to escape, and the result will be softer instead of crisp.
Stirring every 10–15 minutes promotes even browning. It also helps you notice if a few chickpeas are darkening faster than the rest, especially around the edges of the pan.
Delicate seasonings can scorch during a long roast. Garlic powder is included in this classic version, but if your oven runs hot or you prefer a fresher garlic flavor, reserve a small amount of garlic powder or fresh herbs to add after roasting.
For a dinner-party presentation, cool the chickpeas completely and transfer them to a shallow bowl just before serving. Their crisp, craggy surfaces catch the light beautifully and make an inviting contrast against creamy sauces or tender vegetables.
Flavor Variations and Dinner Pairings
The classic paprika-cumin mixture is an excellent starting point, but the same roasting method welcomes other flavors. Try olive oil, salt, and chili powder for a bolder, peppery batch, or combine olive oil, salt, cumin, and coriander for a warmer, more fragrant profile.
For a savory garlic blend, use olive oil, salt, garlic powder, onion powder, and smoked paprika. A sweet version can be made with cinnamon and a little sugar, creating a crisp topping for yogurt, oatmeal, or fruit, although the recipe as written is especially suited to dinner.
Serve the chickpeas over a crisp salad for contrast, alongside roasted vegetables, or on top of a creamy soup. They also make a hearty garnish for a bowl of grains and greens, where their crunch keeps every bite interesting.
When planning a comforting meal, these chickpeas can sit beside a braised entrée such as an easy oven-braised pot roast. The contrast between tender meat and crisp, seasoned chickpeas makes the table feel abundant without requiring another complicated side dish.
Storage and Serving Advice
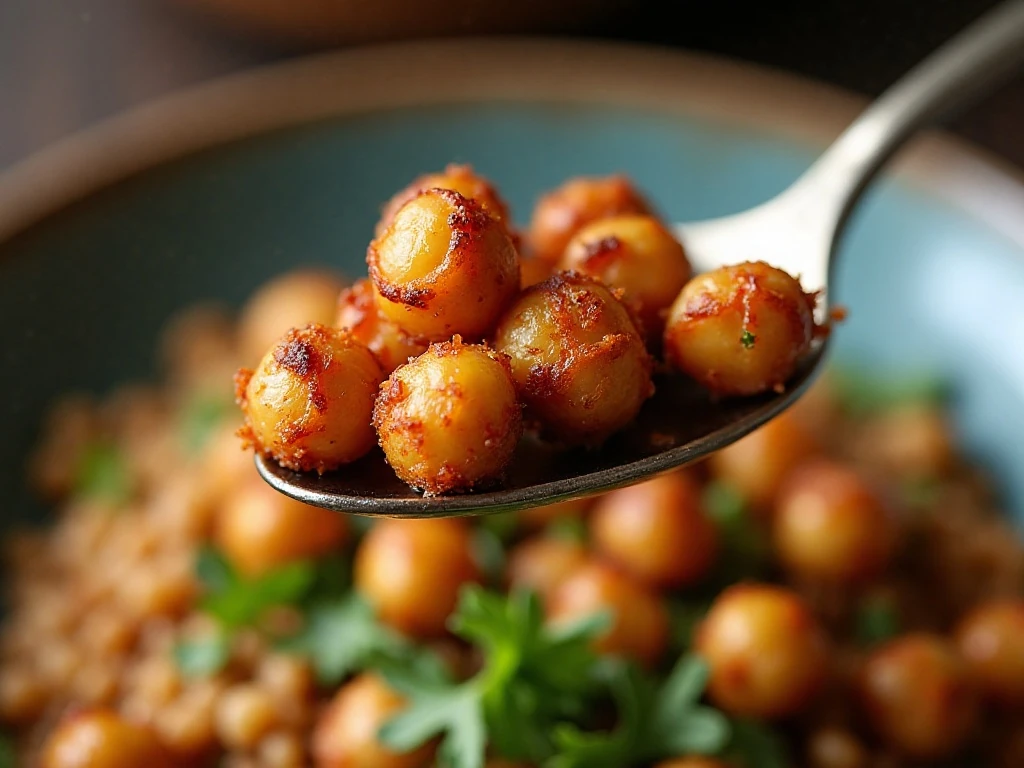
Allow the chickpeas to cool completely before storing them. Trapping warm chickpeas in a sealed container creates condensation, and that moisture quickly softens the crust you worked to create.
For the best texture, keep them uncovered or loosely covered at room temperature and use them within 1–2 days. They will soften somewhat after storage, but a short uncovered rest can help them retain more of their original crunch than an airtight container would.
Make the chickpeas shortly before serving when maximum crispness matters. They are especially good sprinkled over a dinner salad or served with garlic butter chicken thighs and mushrooms, where their smoky crunch complements the tender, savory main course.
Because the finished amount is about 2 cups, plan on 2–4 servings. A smaller portion works as a garnish, while a generous scoop makes a satisfying snack or substantial plant-based side.
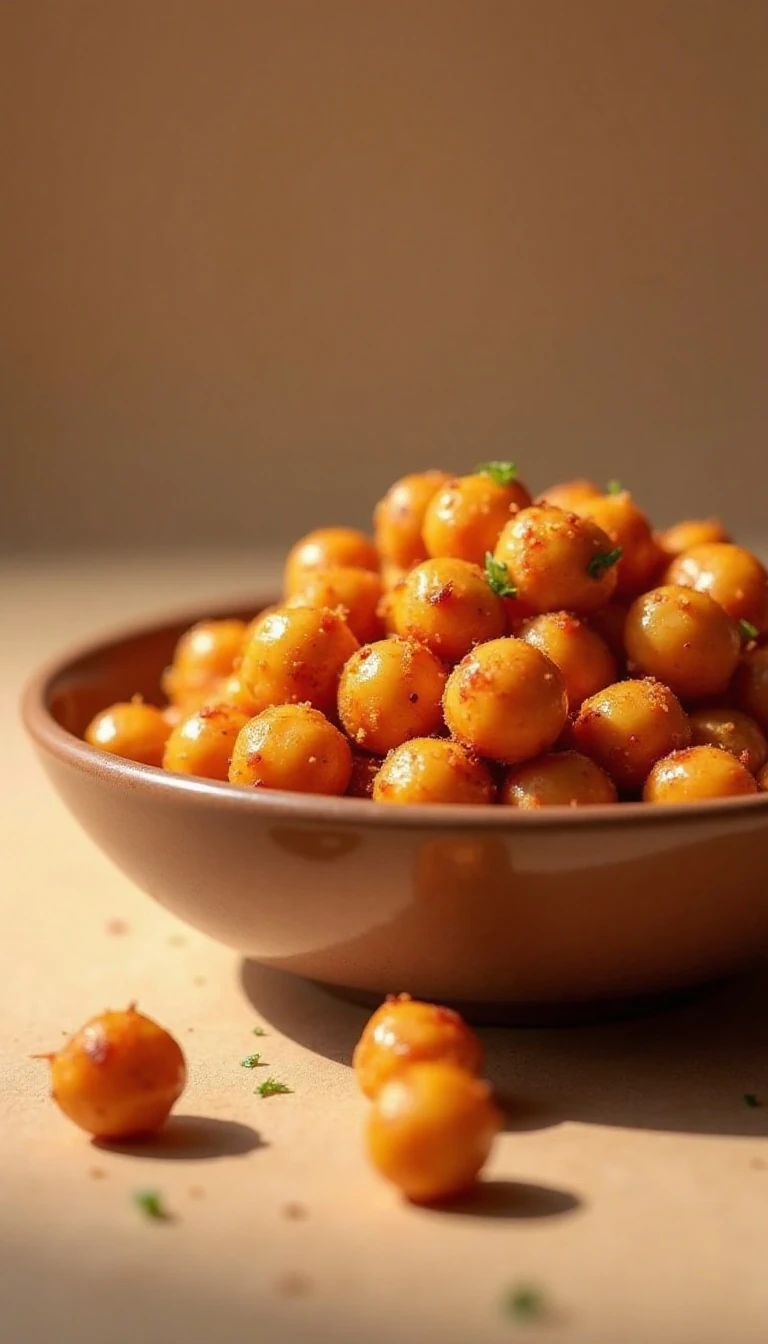
Classic Crunchy Oven-Roasted Chickpeas Recipe
Ingredients
Method
- Heat the oven to 400°F (200°C). Line a rimmed baking sheet with parchment paper if desired.
- Drain and rinse the chickpeas, then spread them on a clean kitchen towel or several layers of paper towel. Dry them very thoroughly and gently rub away any loose skins.
- Transfer the chickpeas to a bowl and toss with olive oil, kosher salt, paprika, cumin, garlic powder, black pepper, and cayenne if using.
- Arrange the seasoned chickpeas in a single layer on the baking sheet, leaving space between them. Roast for 30–40 minutes, shaking the pan or stirring every 10–15 minutes.
- When the chickpeas are browned, crisp, and dry on the outside, turn off the oven. Leave them inside for 5–10 minutes with the door slightly open if they need extra crispness.
- Cool the chickpeas completely before serving. They become somewhat crispier as they cool.
Notes
Final Thoughts
Classic oven-roasted chickpeas are an easy way to bring satisfying crunch and warm spice to dinner. The key is simple: dry the chickpeas thoroughly, coat them lightly, give them room on the baking sheet, and roast at 400°F (200°C) until browned and crisp.
Once cooled, they are ready to scatter over salads, vegetables, soups, and grain bowls, or to enjoy straight from the serving bowl. Keep the seasoning classic, or try one of the suggested variations whenever you want a different flavor direction from the same dependable method.