This no-bake peanut butter cheesecake is the answer when you want a rich, creamy dessert without turning on the oven. It combines a buttery graham-cracker crust, silky peanut-butter cream cheese filling, and optional chocolate ganache in a 9-inch springform pan, with just 20 to 30 minutes of active preparation and at least 6 hours of chilling.
Every slice is smooth, fluffy, and full of classic peanut butter flavor, while the crisp crumb crust adds a gentle contrast. Make it the night before for the cleanest slices, then finish it with chopped peanuts or peanut-butter cups for a dessert that is especially welcome at holidays, birthdays, potlucks, and family dinners.
Jump to RecipeWhy You’ll Love This Recipe
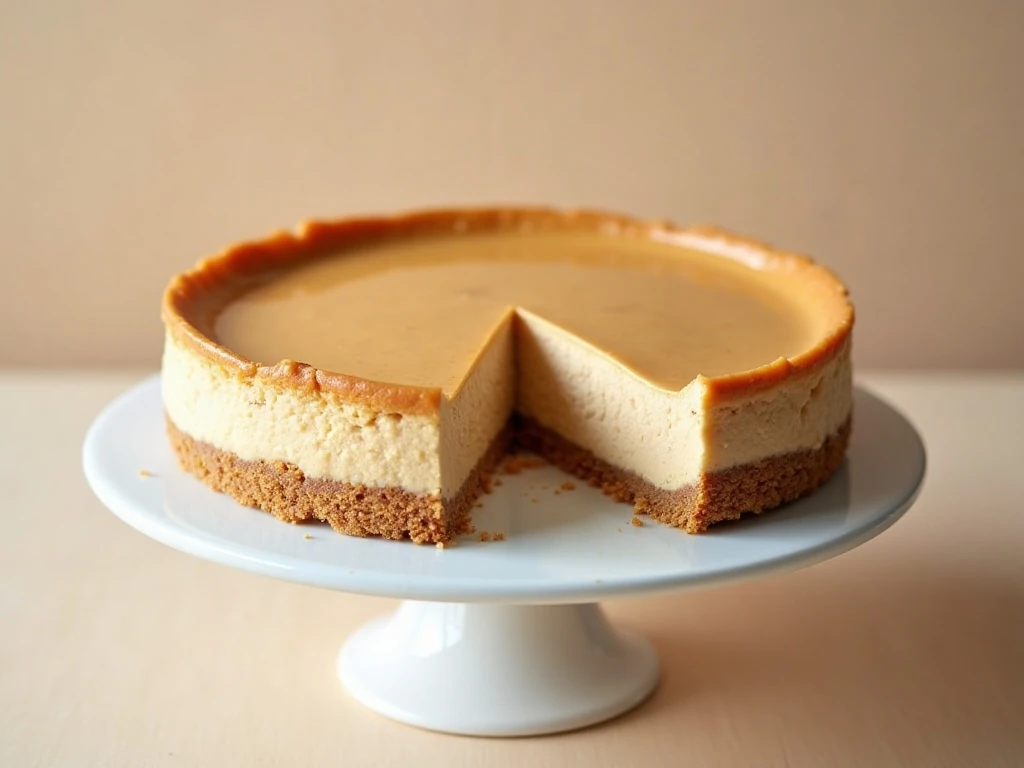
This cheesecake delivers the flavor of a peanut butter cup in a cool, spoon-soft dessert with no oven required. The filling is made from full-fat cream cheese, creamy peanut butter, confectioners’ sugar, vanilla, and freshly whipped heavy cream, so each bite tastes rich without becoming dense.
The graham-cracker crust gives the dessert a lightly toasted, buttery foundation even though the crust itself is not baked. A chocolate ganache topping is optional, but its bittersweet flavor makes a beautiful counterpoint to the sweet peanut-butter filling.
Another reason this recipe is so dependable is that most of the work happens ahead of time. Assemble it in the afternoon for an evening gathering, or refrigerate it overnight so the filling has plenty of time to become firm and easy to slice.
If you enjoy chilled desserts for entertaining, you may also like these Baileys pudding parfaits for another simple make-ahead option.
Ingredients You’ll Need
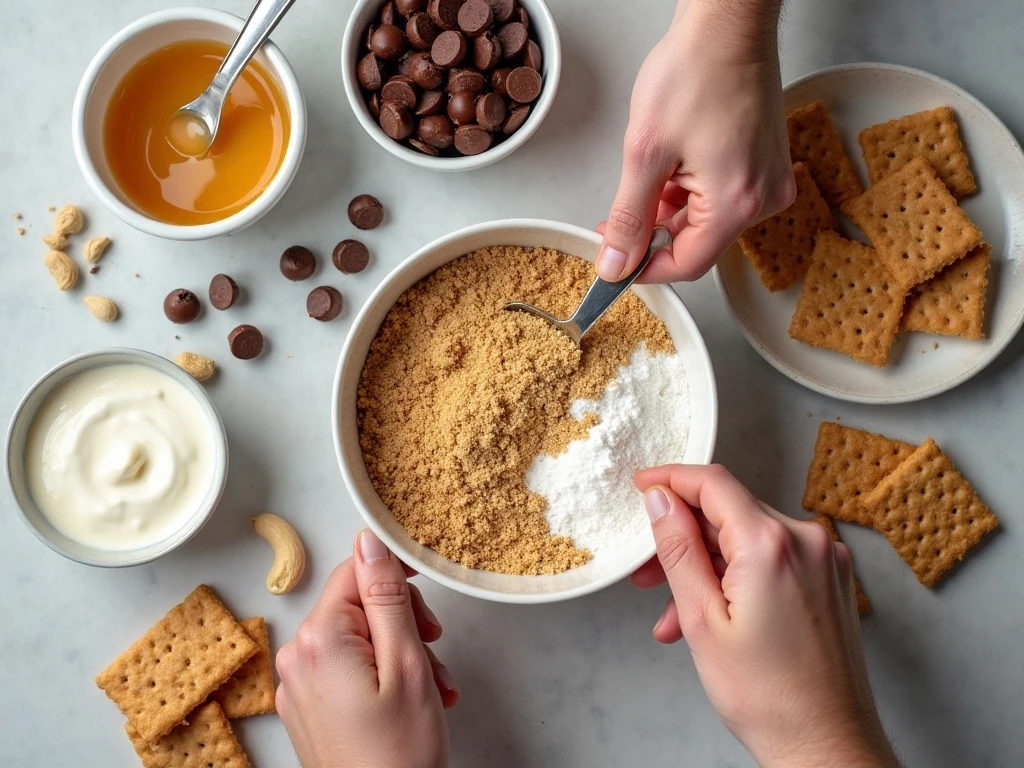
The ingredient list is short, but each item has an important job. Have everything measured before you begin, and soften the cream cheese fully so the filling becomes smooth instead of lumpy.
- Graham-cracker crumbs: Use 2 cups, or about 14 whole crackers, for a substantial crust that can support the creamy filling.
- Unsalted butter: The 1/2 cup of melted butter binds the crumbs together while allowing you to control the salt in the recipe.
- Granulated sugar: A 1/4 cup adds sweetness and helps the crust taste balanced beside the rich filling.
- Full-fat cream cheese: Use 16 ounces, softened to room temperature for the smoothest result and the best structure.
- Creamy peanut butter: One cup of commercially prepared creamy peanut butter gives the filling a consistent texture and strong peanut flavor.
- Confectioners’ sugar and vanilla: These provide sweetness and a soft vanilla note without adding grit.
- Cold heavy whipping cream: The 1 1/2 cups of cream are whipped separately to stiff peaks, creating the light texture that makes this cheesecake feel airy.
- Optional topping: Semisweet chocolate chips, heavy cream, chopped peanuts, and peanut-butter cups create a polished finish.
Natural peanut butter is best saved for another use here because its oil can separate during mixing. Commercially prepared creamy peanut butter keeps the filling smooth and stable.
For another peanut butter treat with a crisp, snackable texture, try these chocolate peanut butter muddy buddies alongside your dessert table.
How to Make It Step-by-Step
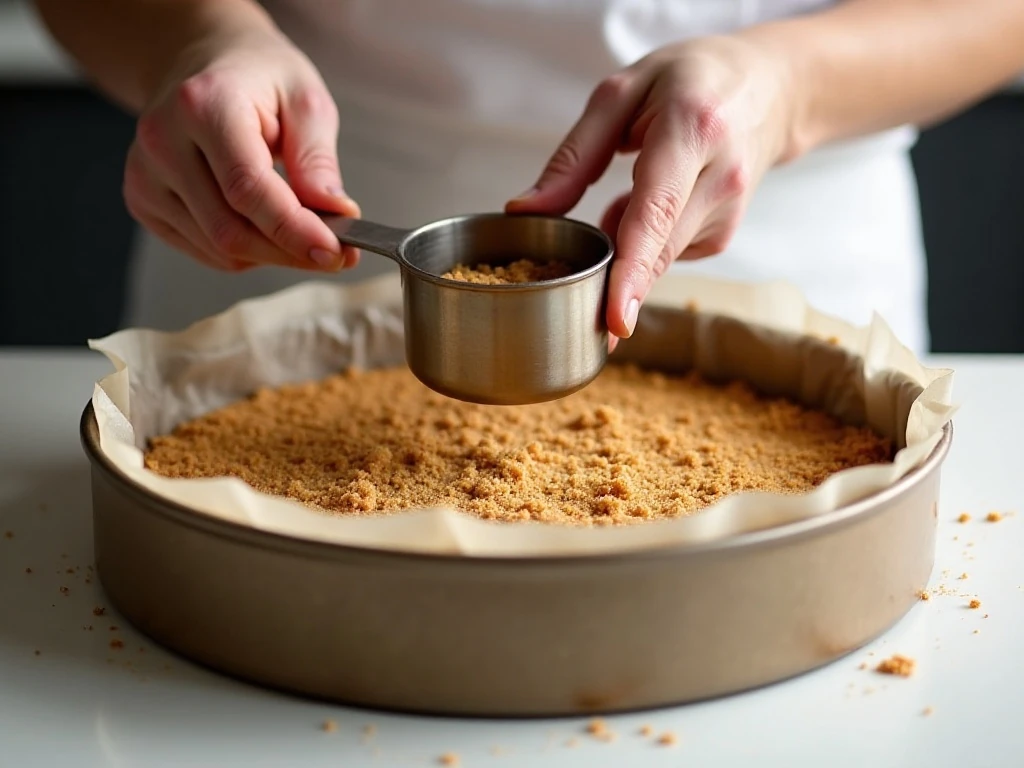
Step 1: Prepare the pan by lining the bottom of a 9-inch springform pan with parchment paper if desired. The parchment makes it easier to transfer the finished cheesecake to a serving plate, while the removable ring helps release the chilled dessert without damaging the sides.
Step 2: Make the crust by combining the 2 cups of graham-cracker crumbs, melted unsalted butter, and granulated sugar in a bowl. Stir until every crumb looks evenly moistened, then press the mixture firmly over the bottom of the pan and slightly up the sides using the bottom of a measuring cup.
Step 3: Refrigerate the crust while you make the filling. This short rest helps the butter firm up and gives the crust enough strength to hold the cheesecake when it is sliced.
Step 4: Beat the softened cream cheese in a mixing bowl until completely smooth. Add the creamy peanut butter, confectioners’ sugar, and vanilla extract, then continue beating until the mixture is evenly blended with no visible streaks of cream cheese.
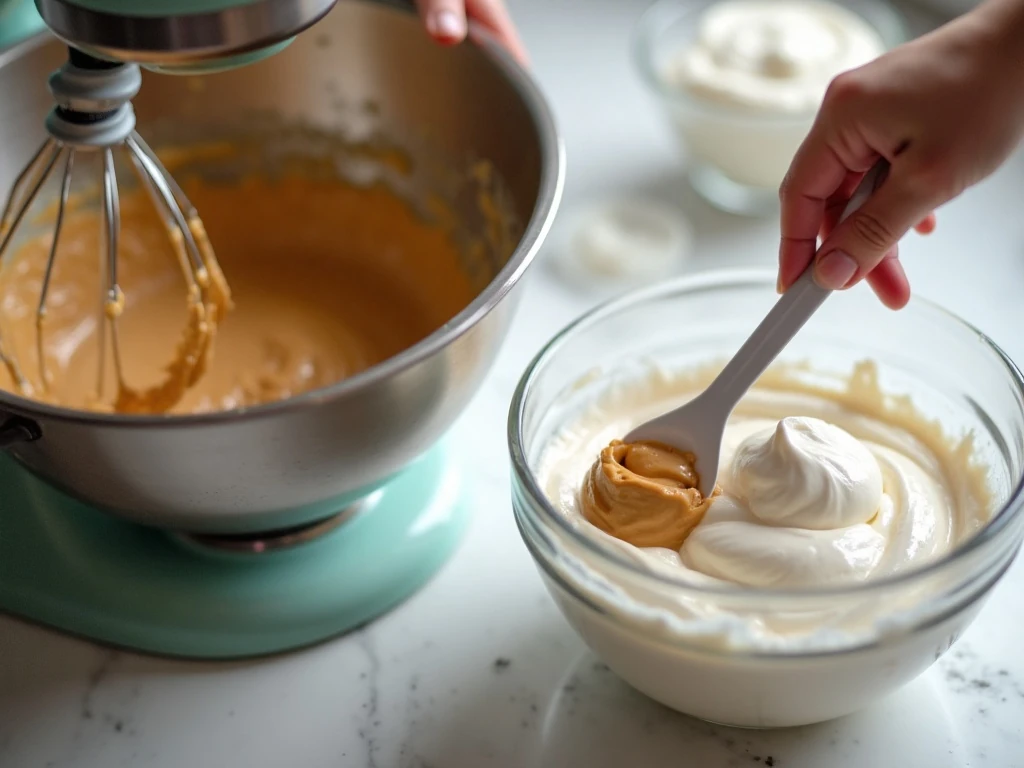
Step 5: Pour the cold heavy whipping cream into a separate cold bowl and whip it to stiff peaks. The cream should hold its shape when the beaters are lifted, because softly whipped cream will not provide the same support after folding.
Step 6: Add the whipped cream to the peanut-butter mixture in two or three additions. Fold gently with a spatula, turning the mixture from the bottom upward and stopping as soon as no large white streaks remain.
Step 7: Spoon the filling over the chilled crust and smooth the top with an offset spatula or the back of a spoon. Cover the pan and refrigerate for at least 6 hours, although an overnight chill gives the cheesecake a firmer texture and cleaner slices.
Step 8: Prepare the optional ganache by heating 2 tablespoons of heavy cream until hot but not boiling. Pour it over the 1/2 cup of semisweet chocolate chips, let it stand for 2 minutes, then stir until glossy and smooth.
Step 9: Cool the ganache slightly before spreading it over the cheesecake so it does not soften the filling. Sprinkle the top with chopped peanuts or add small pieces of peanut-butter cups while the chocolate is still soft.
Step 10: Before serving, run a thin knife around the edge of the cheesecake to loosen it from the pan. Remove the springform ring, keep the cheesecake refrigerated, and cut it into 8 to 12 portions with a clean knife.
Pro Tips for a Firm, Creamy Cheesecake
Start with truly softened cream cheese. If it is still cold in the center, beating may leave small lumps that cannot be completely removed later.
For a neat crust, press firmly rather than simply scattering the crumbs into the pan. The flat bottom of a measuring cup works especially well, and pressing slightly up the sides creates a defined edge around each slice.
Whip the heavy cream in a cold bowl until stiff peaks form, then fold it carefully. Beating the whipped cream into the filling can deflate it and leave the cheesecake heavier than intended.
Do not rush the chilling stage. Six hours is the minimum setting time, while an overnight rest gives the filling more stability and makes it easier to achieve restaurant-style slices.
If you prefer a thinner crust, some versions use 1 3/4 cups of graham-cracker crumbs, 6 tablespoons of melted butter, and 1/4 cup of sugar. Chocolate cookie crumbs can also replace the graham crackers, but the quantities in this recipe provide the classic thicker graham-cracker base.
For a lighter shortcut, many cooks replace the whipped cream with one 8-ounce container of thawed whipped topping. That variation produces a slightly sweeter, softer filling, while freshly whipped cream gives this version a more delicate texture.
Optional Chocolate Topping and Garnishes
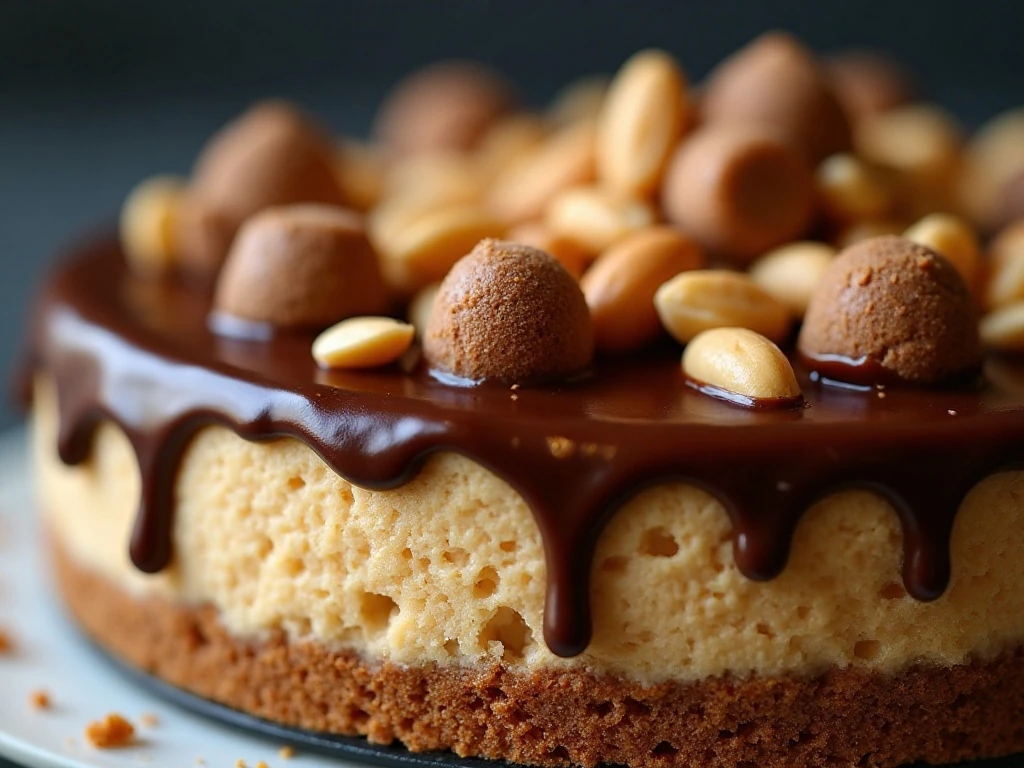
The cheesecake is delicious without a topping, but chocolate ganache makes it look finished and adds a pleasant bittersweet note. Let the ganache cool slightly before spreading it so the surface remains smooth and the filling stays firm.
Chopped roasted peanuts add crunch and make the peanut flavor more pronounced. For a party-ready finish, press small peanut-butter cup pieces into the ganache, or arrange them around the edge for an easy bakery-style presentation.
Keep the garnish simple if you want the creamy filling to remain the focus. A thin chocolate layer with a light sprinkle of peanuts is enough to make every slice look special.
For a seasonal dessert with the same relaxed refrigerator preparation, consider serving this no-bake pumpkin pie at an autumn gathering.
Serving, Storage, and Make-Ahead Notes
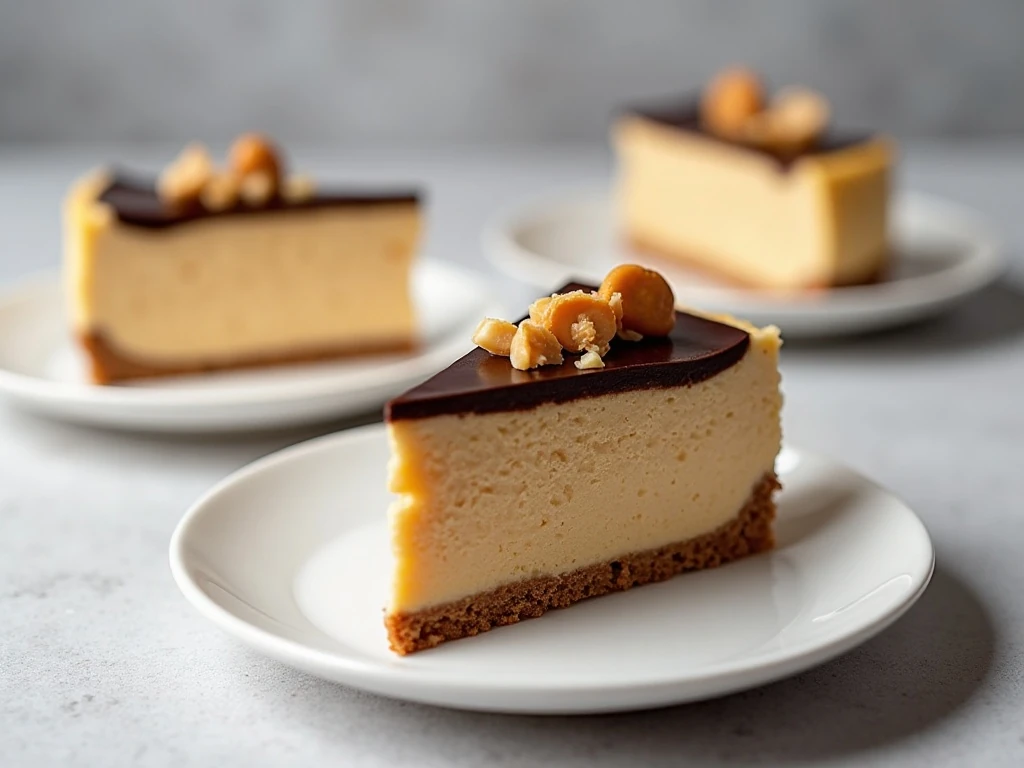
Serve the cheesecake cold, directly from the refrigerator, for the firmest texture. Use a thin sharp knife, wipe it clean between cuts, and make each slice slightly smaller if you are serving a large dessert spread.
Because this recipe serves 8 to 12 people, it works well for both intimate dinners and larger celebrations. A 9-inch springform pan gives the cheesecake enough height for attractive slices without making the portions overwhelming.
Keep the finished cheesecake covered and refrigerated until serving. It is best prepared the night before, and the long chill makes the filling more stable than a quick refrigerator rest.
Store any leftovers in the refrigerator in the covered springform pan or in an airtight container. Keep the cheesecake chilled whenever it is not being served so the whipped-cream filling maintains its shape.
If you want individual portions for a dessert buffet, explore these mini banana cream pies or these mini no-bake key lime pies for similarly convenient servings.
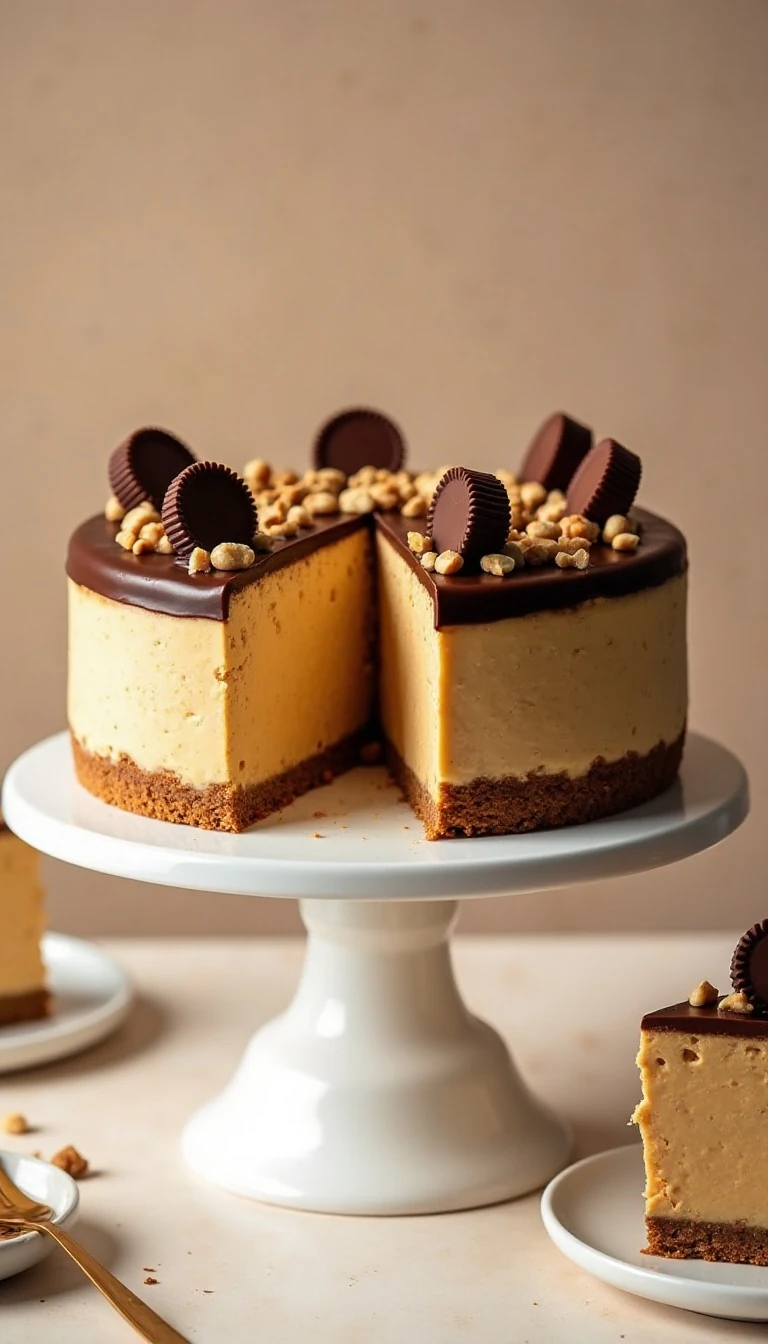
No-Bake Peanut Butter Cheesecake
Ingredients
Method
- Line the bottom of a 9-inch springform pan with parchment paper if desired.
- Mix the graham-cracker crumbs, melted butter, and granulated sugar until evenly moistened. Press the mixture firmly over the bottom of the pan and slightly up the sides, then refrigerate while preparing the filling.
- Beat the softened cream cheese until smooth. Add the peanut butter, confectioners’ sugar, and vanilla extract, then beat until completely blended.
- In a separate cold bowl, whip the cold heavy cream to stiff peaks. Gently fold it into the peanut-butter mixture in two or three additions, taking care not to overmix.
- Spread the filling over the chilled crust and smooth the top. Cover and refrigerate for at least 6 hours, preferably overnight, until firm.
- For optional ganache, heat the 2 tablespoons of heavy cream until hot, pour it over the chocolate chips, and let it rest for 2 minutes. Stir until smooth, cool slightly, and spread over the cheesecake.
- Run a thin knife around the edge before removing the springform ring. Keep refrigerated until serving and garnish with chopped peanuts or peanut-butter cups.
Notes
Final Thoughts
This no-bake peanut butter cheesecake earns its place among the most reliable crowd-pleasing desserts. It has a buttery crumb crust, a light yet rich peanut-butter filling, and enough chocolate and crunch on top to satisfy anyone who loves the classic peanut butter cup combination.
Remember the essentials: soften the cream cheese completely, use creamy commercial peanut butter, whip the cold cream to stiff peaks, press the crust firmly, and allow at least 6 hours of chilling. When you can plan ahead, an overnight rest is the best route to firm filling and clean, beautiful slices.
Make it plain for a simple family dessert, or add ganache and chopped peanuts for a celebration centerpiece. Either way, this refrigerator cheesecake gives you an impressive dessert with no baking and very little active preparation.