This authentic chicken teriyaki recipe delivers juicy, deeply browned chicken thighs coated in a shiny homemade glaze made with Japanese soy sauce, mirin, sake, and sugar. The entire dish takes approximately 30 to 40 minutes, uses one skillet, and does not require cornstarch, bottled teriyaki sauce, garlic, or ginger.
Traditional Japanese-style teriyaki is all about balance: savory soy sauce, delicate sweetness, gentle acidity from sake, and the fragrant richness of mirin. Browning the chicken before adding the sauce creates tender meat and a glossy coating that tastes fresher and more satisfying than takeout.
Jump to RecipeWhy You’ll Love This Recipe
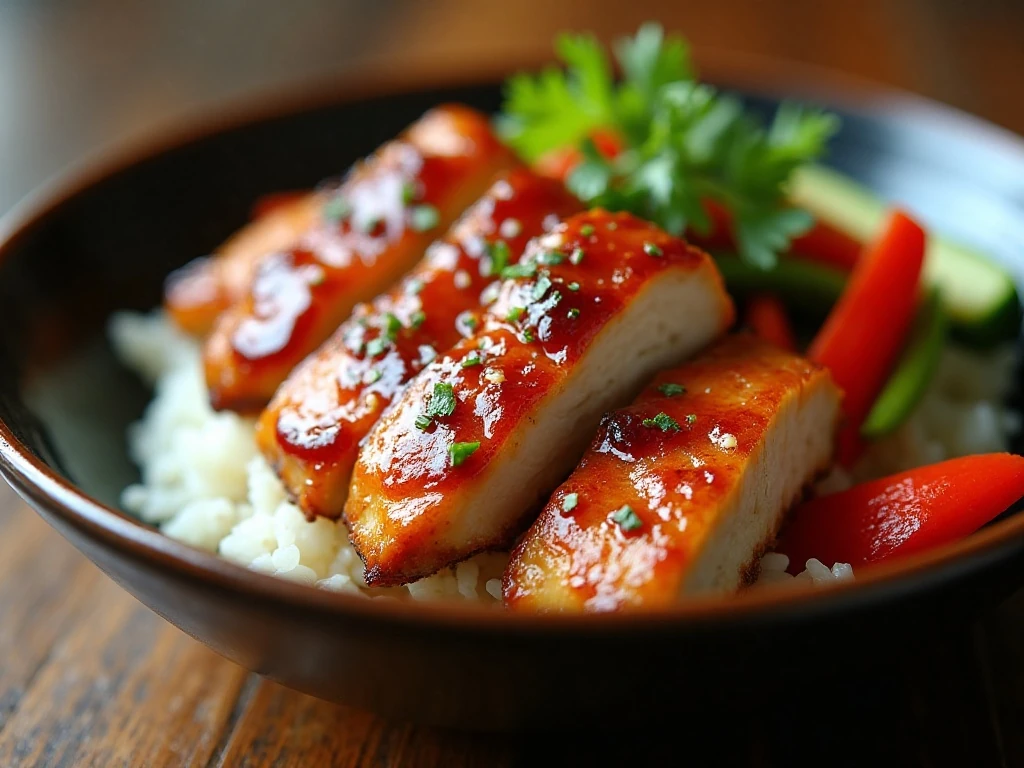
This chicken teriyaki is simple enough for a weeknight dinner but flavorful enough to become a regular family favorite. The sauce is mixed in a bowl, reduced directly in the skillet, and transformed into a glossy glaze without any starch or bottled sauce.
Chicken thighs are the ideal choice because their natural fat keeps them tender while the exterior develops a rich, savory crust. The result is juicy meat with caramelized edges and a balanced glaze that clings to every slice.
Unlike many American takeout versions, this recipe keeps the flavor profile focused and traditional. You will taste the distinct character of each ingredient instead of a heavy sauce overwhelmed by garlic, ginger, or excessive sweetness.
If you are planning a larger chicken dinner menu, you can also browse this fresh chicken salad idea for a completely different way to use chicken.
Ingredients You’ll Need
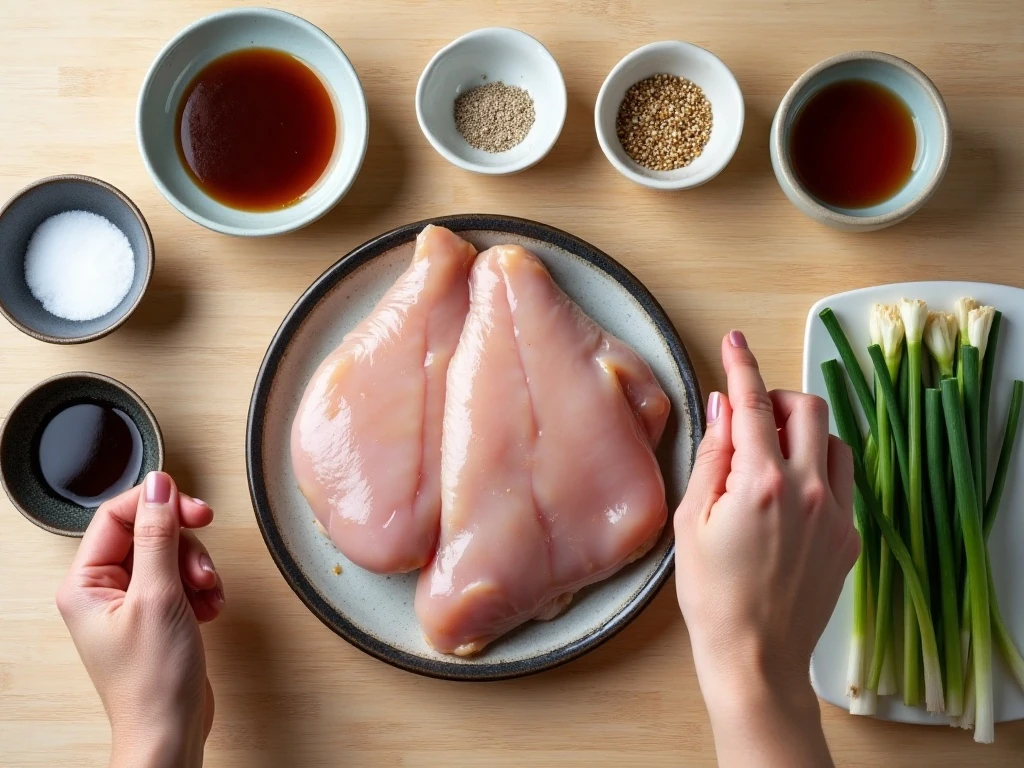
The sauce follows the classic four-part teriyaki formula: equal parts Japanese soy sauce, mirin, and sake, balanced with sugar. Together, these ingredients create a salty, sweet, aromatic mixture that thickens naturally as it reduces.
- Chicken thighs: Use 1 1/2 pounds of boneless, skinless thighs, trimming only excessive fat.
- Japanese soy sauce: This supplies the savory foundation, so choose a naturally brewed Japanese-style soy sauce when possible.
- Mirin: Mirin adds sweetness, subtle acidity, and a characteristic Japanese aroma.
- Sake: Sake adds fragrance and helps keep the sauce from tasting one-dimensional.
- Sugar: Two tablespoons provide a balanced sweetness and help create the lacquered finish.
- Neutral oil: Vegetable or canola oil is best for searing because it does not compete with the sauce.
- Garnish: Sliced scallions or toasted sesame seeds are optional but add color and a pleasant finishing texture.
Keep the ingredient list focused and measure the sauce components accurately. Since there are so few ingredients, small changes can noticeably affect the final balance.
For another comforting chicken skillet dinner, take a look at this creamy mushroom chicken, which offers a rich sauce in a completely different style.
How to Make It Step-by-Step
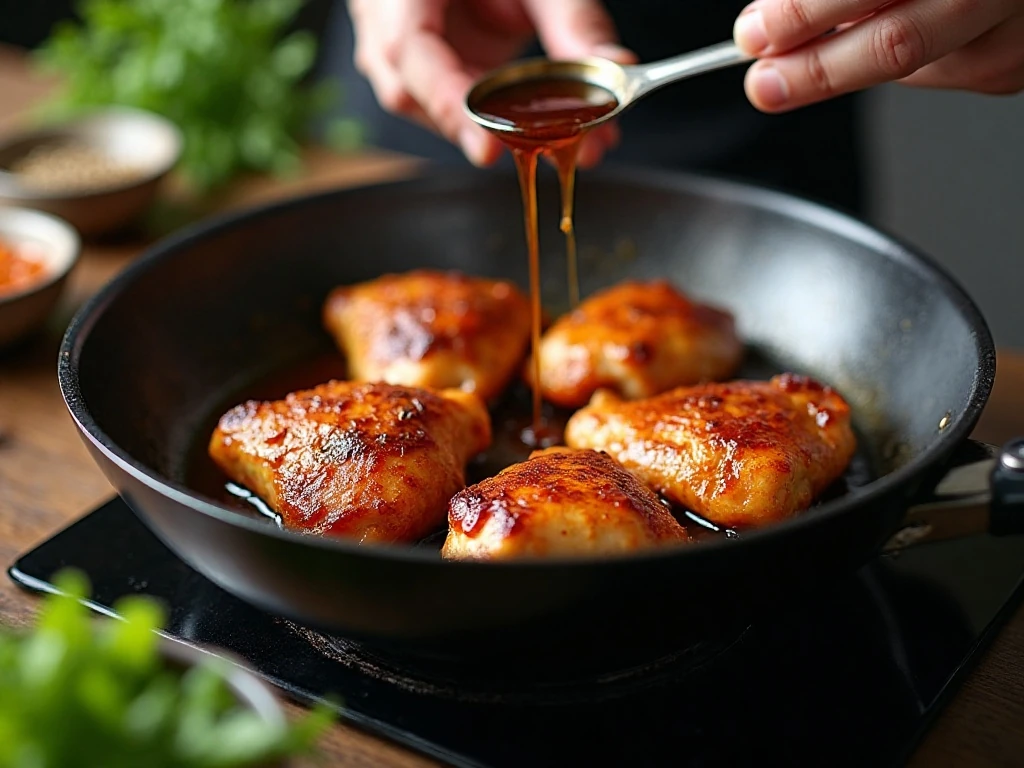
Step 1: Trim away any large pieces of excess fat from the chicken thighs, then pat every surface very dry with paper towels. Moisture left on the meat will steam in the pan instead of allowing the chicken to brown properly, so take a moment to dry the smooth side and the underside thoroughly.
Step 2: Season both sides lightly with the kosher salt. The soy sauce will bring plenty of savory flavor later, so the salt should be restrained rather than heavy.
Step 3: Add the Japanese soy sauce, mirin, sake, and sugar to a small bowl. Stir until the sugar is mostly dissolved, then keep the mixture nearby so it can be added quickly after the chicken has nearly finished cooking.
Step 4: Heat one tablespoon of neutral oil in a large skillet over medium heat. Arrange the chicken smooth-side down without crowding the pieces, and cook for 5 to 7 minutes until the underside is deeply browned and releases easily from the pan.
Step 5: Turn the chicken over and reduce the heat to medium-low. Cook for another 5 to 7 minutes, checking the thickest piece with an instant-read thermometer; it should reach at least 165°F (74°C) and be nearly cooked through.
Step 6: If the skillet contains a large amount of rendered chicken fat, carefully pour off the excess. Leave the browned bits in the pan because they add flavor, then pour in the prepared sauce mixture after the heat has been reduced.
Step 7: Simmer the sauce gently for 3 to 6 minutes, turning the chicken several times so every surface becomes coated. Avoid an aggressive boil, because the sugar can scorch before the glaze reaches the right consistency.
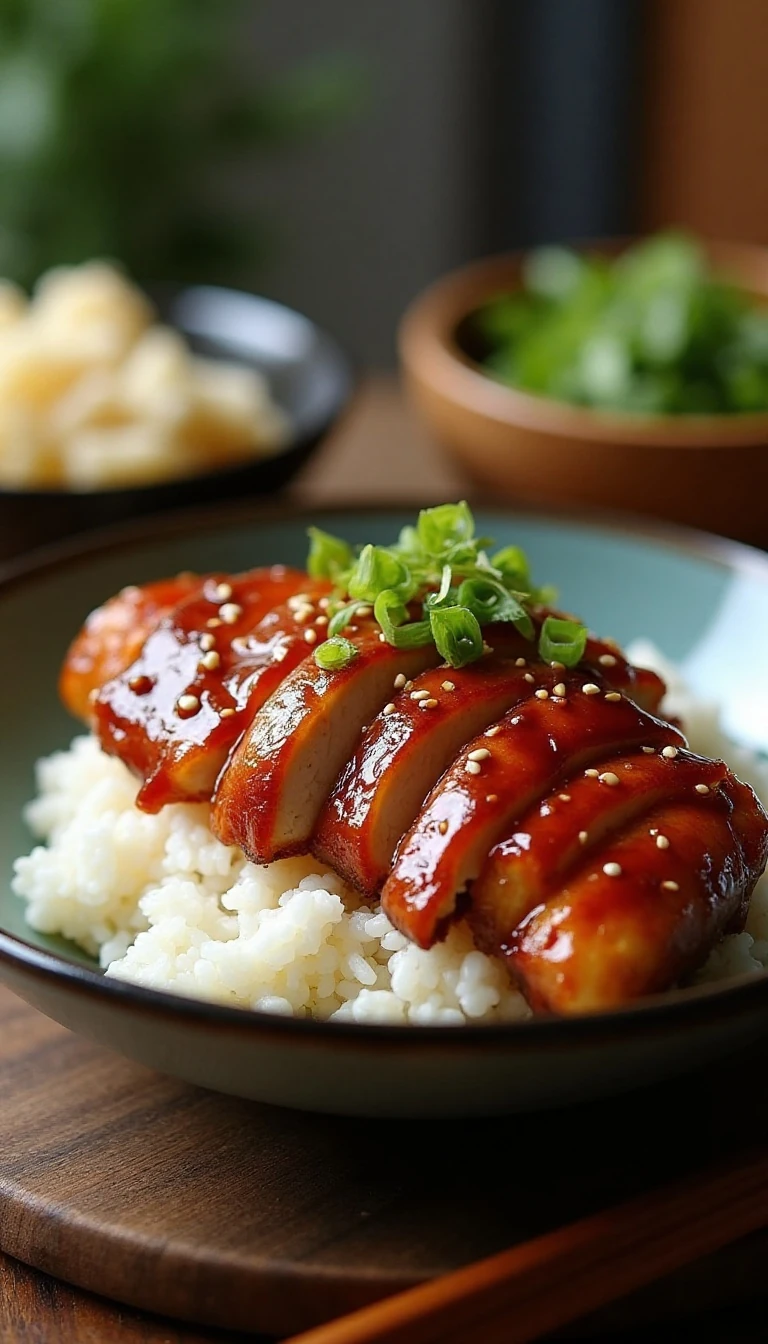
Step 8: Transfer the glazed chicken to a cutting board and let it rest for 3 to 5 minutes. Slice across the grain, arrange the pieces over steamed rice, and spoon the remaining skillet glaze over the top.
Serve immediately with steamed vegetables such as broccoli, green beans, or cabbage. A simple side keeps the meal balanced and lets the teriyaki chicken remain the star.
Pro Tips for a Glossy Teriyaki Glaze
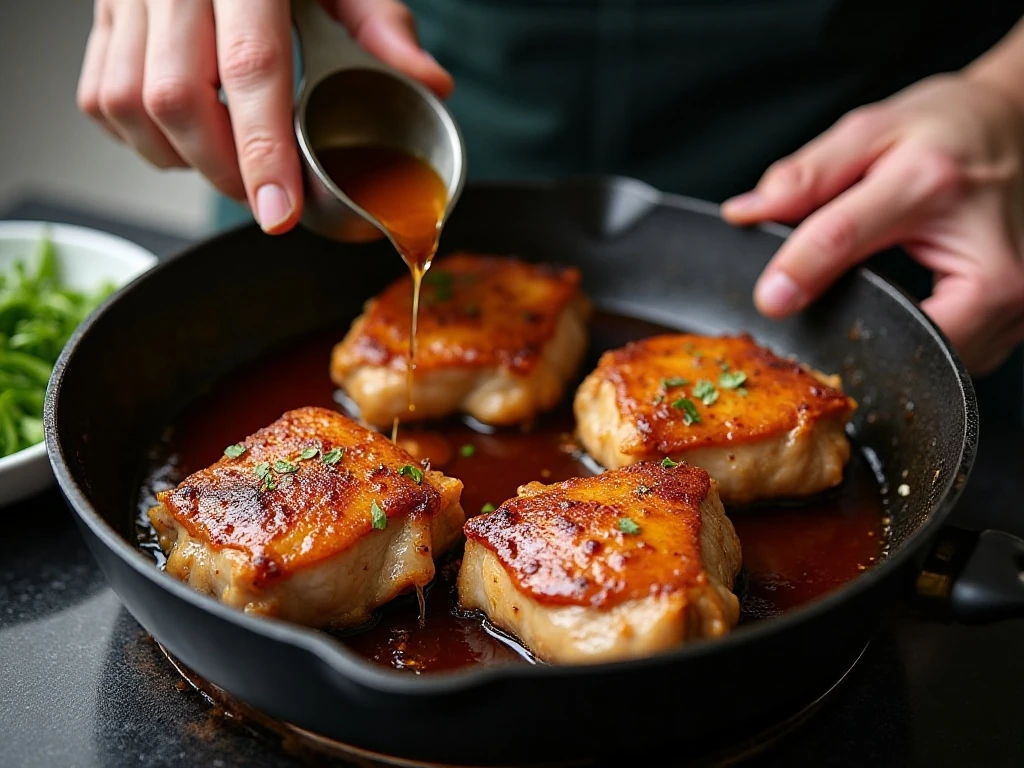
The first important detail is drying the chicken thoroughly. A wet surface lowers the pan temperature and prevents the deep browning that gives this dish its roasted, savory character.
The second detail is timing the sauce correctly. Add it only after the chicken has browned and is nearly cooked, because the sugar needs gentle reduction time and may scorch if introduced while the chicken still requires extended cooking.
- Use a wide skillet: More surface area allows the sauce to reduce efficiently and gives the chicken room to brown.
- Do not rush the first side: Leave the chicken undisturbed for most of the 5 to 7 minute sear so a crust can form.
- Watch the final minutes: The glaze can change from thin to glossy quickly, so turn the chicken often during reduction.
- Rest before slicing: A 3 to 5 minute rest helps the juices remain in the meat instead of running onto the cutting board.
- Taste the traditional version first: Garlic and ginger are optional additions, not necessities for this Japanese-style formula.
For a sweeter American takeout-style result, use 3 tablespoons of sugar instead of 2. This variation produces a more pronounced candy-like glaze while keeping the same soy, mirin, and sake foundation.
If you enjoy trying chicken recipes from different culinary traditions, this grilled chicken Milanese brings crisp, bright flavors to the table.
What to Serve With Chicken Teriyaki

Steamed white rice is the classic partner because it absorbs the extra glaze and softens the salty-sweet flavor. Short-grain Japanese rice is especially suitable, though any freshly steamed rice will work well.
For vegetables, choose sides that are lightly seasoned so they do not compete with the sauce. Steamed broccoli, snap peas, carrots, cabbage, or green beans all add color, freshness, and texture.
You can also create a simple rice bowl by layering rice, sliced chicken, vegetables, and the remaining pan glaze. Finish with scallions or toasted sesame seeds just before serving for a fresh onion note or a delicate nutty crunch.
For another rustic dinner with vegetables and a savory sauce, see this classic chicken cacciatore recipe.
Storage, Reheating, and Variations
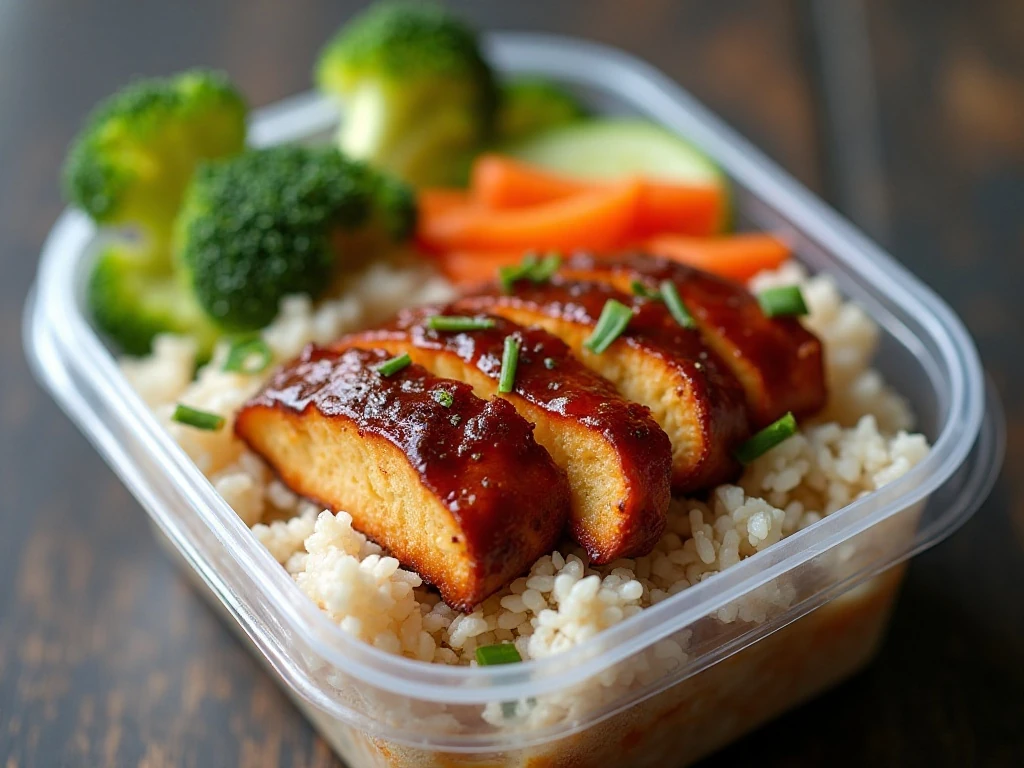
Store leftover chicken and glaze in an airtight container in the refrigerator. Reheat gently in a skillet over low to medium-low heat with a small splash of water if the glaze has become very thick.
Slice the chicken after reheating when possible, since larger pieces retain moisture better. Avoid aggressive high heat, which can dry the thighs and cause the sugary coating to darken too quickly.
Chicken breast can replace the thighs, but it is less forgiving and can become dry if overcooked. Use the same food-safety target of at least 165°F (74°C), and watch the cooking time carefully because breast pieces may vary in thickness.
Traditional teriyaki does not require garlic or ginger, but you may add grated ginger or minced garlic for a more American takeout-inspired flavor. These additions are optional and should be introduced according to personal preference rather than treated as part of the classic four-ingredient tare.
For a cozy alternative when you want a baked dinner, this easy chicken pot pie is another satisfying way to serve a family-style meal.
Authentic Chicken Teriyaki Recipe
Ingredients
Method
- Trim excess fat from the chicken thighs, pat them very dry, and lightly season both sides with the kosher salt.
- Combine the Japanese soy sauce, mirin, sake, and sugar in a bowl. Stir until the sugar is mostly dissolved.
- Heat the neutral oil in a large skillet over medium heat. Place the chicken smooth-side down and cook for 5 to 7 minutes, until deeply browned.
- Turn the chicken over, reduce the heat to medium-low, and cook for another 5 to 7 minutes. The thickest part should reach at least 165°F (74°C) and be nearly cooked through.
- Pour off excess rendered fat if necessary, leaving enough cooking residue to help flavor the sauce. Add the teriyaki sauce mixture to the skillet.
- Simmer for 3 to 6 minutes, turning the chicken several times, until the sauce reduces to a shiny glaze that coats the meat.
- Rest the chicken for 3 to 5 minutes, then slice it. Spoon the remaining glaze over the top and serve with steamed rice and vegetables.
Notes
Final Thoughts
Authentic chicken teriyaki proves that a short ingredient list can produce extraordinary flavor when each step is handled with care. Dry the thighs, brown them deeply, add the sauce at the right moment, and reduce it gently until it becomes a shiny glaze.
Serve the sliced chicken over steamed rice with simple vegetables, then finish with scallions or sesame seeds if you like. Once you taste the clean balance of soy sauce, mirin, sake, and sugar, you may find this homemade version becomes your favorite answer to a takeout craving.
The recipe is traditional at its core, but it is flexible enough for your kitchen. Keep the sugar at 2 tablespoons for a balanced Japanese-style flavor, or increase it to 3 tablespoons when you want a sweeter American takeout-style finish.
3 thoughts on “Authentic Chicken Teriyaki Recipe (Better Than Takeout)”