These crispy baked apple chips are an easy, naturally sweet snack made with just two medium apples, cinnamon, and optional sugar. Bake the thin apple rounds at 200°F for 2 to 3 hours, turning them once, then let them cool completely so they finish crisping.
The result is light, fragrant, and wonderfully crunchy around the edges, with concentrated apple flavor in every bite. They are perfect for lunchboxes, after-school snacking, party grazing, or a simple dessert when you want something sweet without making a complicated recipe.
Jump to RecipeWhy You’ll Love This Recipe
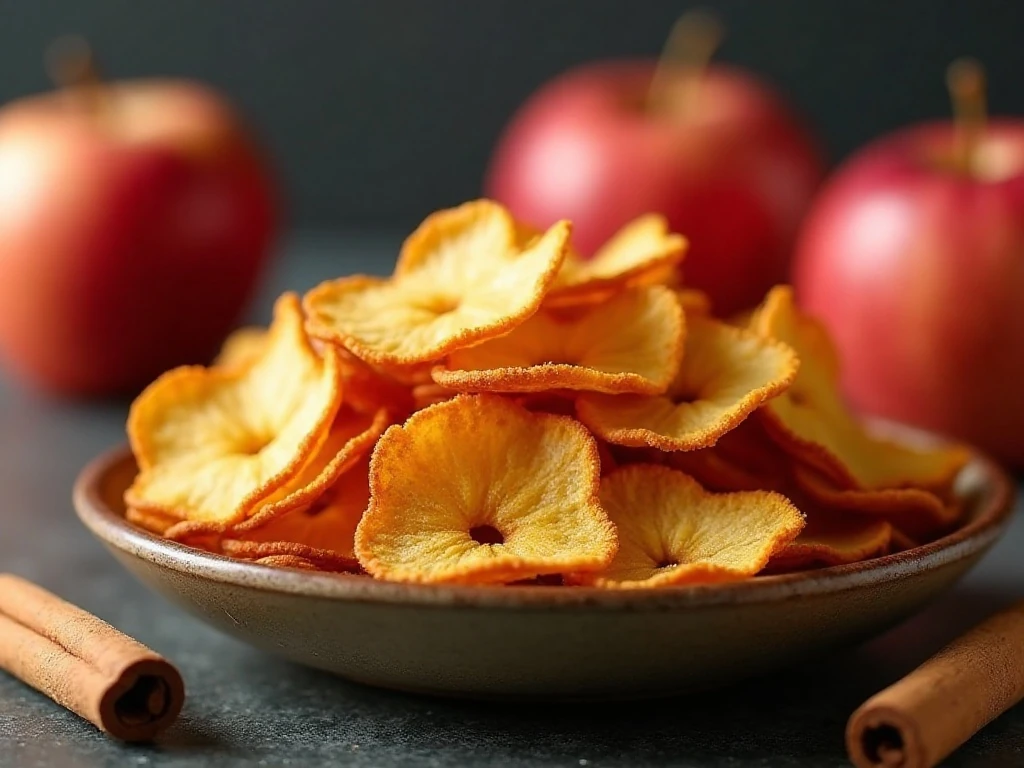
There is something special about transforming fresh apples into a crisp, snackable treat with almost no effort. The oven does the slow work, gently removing moisture while leaving behind the apple’s natural sweetness and delicate fruit flavor.
This recipe needs no oil, and sugar is completely optional. Cinnamon alone gives the slices a cozy bakery aroma, while a little sugar creates a more candy-like finish without overpowering the apples.
It is also a wonderfully flexible recipe for using the apples already in your fruit bowl. Choose Honeycrisp, Gala, Fuji, or Granny Smith, depending on whether you prefer a sweeter, more floral chip or a tangy, bright one.
For another fruit-forward baking idea, you can also try these strawberry donuts when you are in the mood for a more substantial treat.
Ingredients You’ll Need
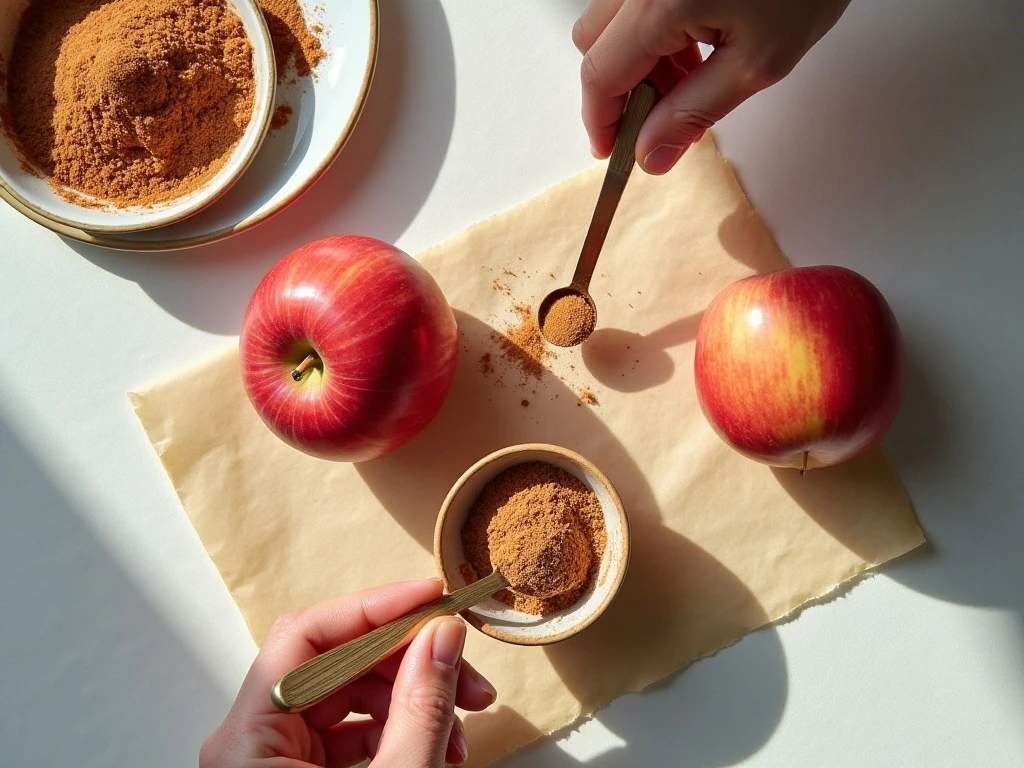
The ingredient list is short, but each choice makes a difference in the finished texture and flavor. Have the following ready before you begin:
- 2 medium apples: Firm, sweet-tart varieties such as Honeycrisp, Gala, Fuji, or Granny Smith work especially well.
- 1/2 teaspoon ground cinnamon: Sprinkle it lightly for warm spice in every bite.
- 1 tablespoon granulated sugar, optional: Use it if you prefer sweeter chips; many versions are delicious with apples and cinnamon alone.
- Parchment paper or silicone baking mats: These keep the slices from sticking to the baking sheets.
No oil is usually needed. Lemon juice is also not essential; although it can reduce browning, the extra moisture may make the chips take longer to crisp.
If you love making apple recipes from scratch, keep our apple butter recipe nearby for another cozy way to use a basket of apples.
How to Make It Step-by-Step
Step 1: Heat the oven to 200°F (95°C), choosing the low temperature rather than a hotter setting. Line one or two baking sheets with parchment paper or silicone baking mats so the apple slices release easily after their long bake.
Step 2: Wash the apples thoroughly and dry them well. Core them if you want neat rings, or leave the cores in for a rustic look; either method works, although removing the seeds can make the chips easier to eat.
Step 3: Slice the apples crosswise into rounds about 1/16 to 1/8 inch thick. A mandoline produces the most even slices, but a sharp chef’s knife works too if you take your time and aim for consistent thickness.
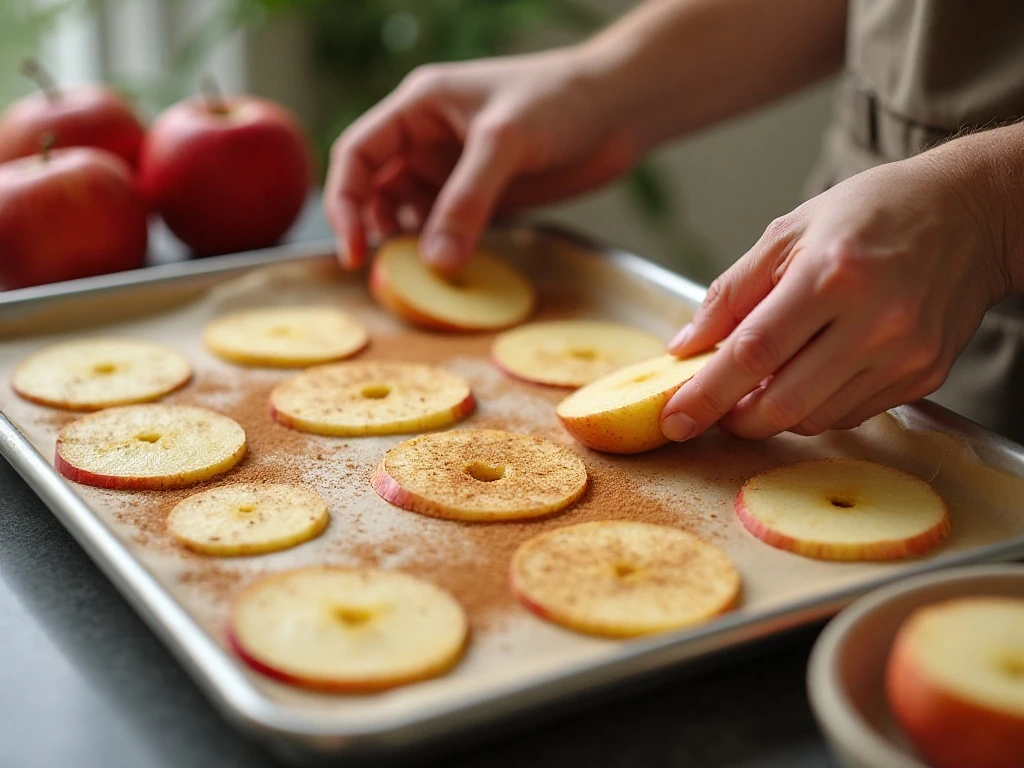
Step 4: Arrange the slices in a single layer on the prepared baking sheets. Leave a little space between them when possible, and never overlap the rounds because covered areas retain moisture and stay chewy.
Step 5: Sprinkle the slices lightly with the cinnamon. If using sugar, combine the 1 tablespoon sugar with the 1/2 teaspoon cinnamon first, then distribute the mixture sparingly so the apple flavor remains clear.
Step 6: Bake for 1 hour, then carefully turn the slices over with a thin spatula or your fingers once they are cool enough to handle. Continue baking for another 1 to 2 hours, watching for apples that look visibly dried and crisp around the edges.
Step 7: Turn off the oven and leave the chips inside for 15 to 30 minutes with the door slightly open if they need a little more drying. This gentle finishing period can help remove lingering moisture without exposing the apples to a higher temperature.
Step 8: Transfer the chips to a cooling rack or leave them on the baking sheets until completely cool. Do not judge their final texture while they are warm, because apple chips often become substantially crisper as they cool.
Pro Tips for Truly Crisp Apple Chips
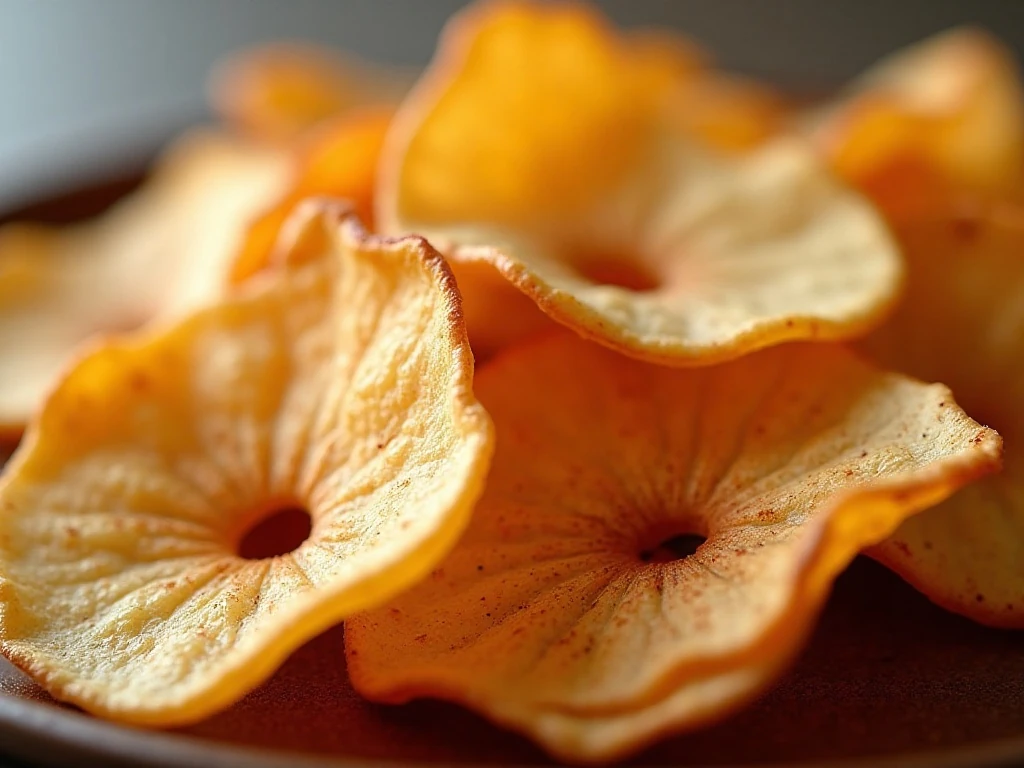
The most important detail is slice thickness. Thin, even rounds dry at a similar rate, while thick or uneven pieces may remain chewy in the center as the thinner slices become overly dark.
If your apples are especially juicy, expect the full 3-hour baking window. The exact time can vary slightly with the apple variety, slice thickness, and how much moisture the fruit contains.
- Use a mandoline carefully: It creates consistent slices, which is the best path to an evenly crisp batch.
- Keep the seasoning light: Too much sugar can darken during the long bake, and heavy cinnamon can mask the apple flavor.
- Rotate the pans if needed: If using two baking sheets, switch their oven positions during the bake for more even drying.
- Trust the cooling stage: Warm chips may feel flexible but can become crisp after 15 to 30 minutes at room temperature.
- Rebake soft chips: Return fully cooled chips to a 200°F oven for another 15 to 30 minutes if they are still soft.
For a savory snack board, pair these sweet chips with a bowl of dip and crunchy bites. Our easy cheeseburger dip makes a fun contrast for a casual gathering, even if you serve the apple chips separately.
Storage and Make-Ahead Advice
Cool the apple chips completely before storing them. Any trapped warmth can create condensation inside a container, which softens the chips and takes away their crunch.
Place the cooled chips in an airtight container at room temperature. Keep them in a dry spot away from steam and humidity, and enjoy them soon for the best texture.
If the chips soften after storage, spread them on a baking sheet and return them to a 200°F oven for 15 to 30 minutes. Let them cool fully again before sealing the container.
They are especially useful as a make-ahead snack because the oven time requires little active work. Prepare a batch while you are tidying the kitchen, then let the chips cool while you handle the rest of your day.
Easy Ways to Serve Apple Chips
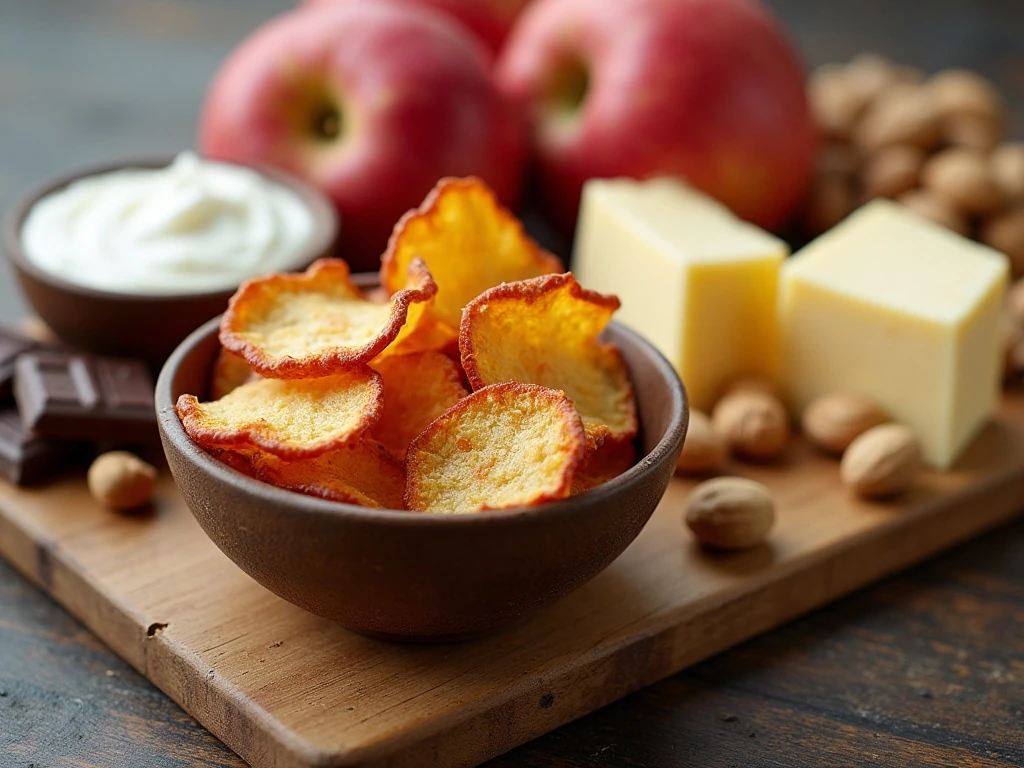
Serve the chips by themselves, or use them as a crisp topping for oatmeal, yogurt, chia pudding, or vanilla ice cream. A small bowl also looks inviting on a brunch table beside fresh fruit and coffee.
For a lunchbox-friendly snack, pack the chips only after they are fully cool and crisp. Their delicate texture makes them especially enjoyable when combined with nuts, cheese, or a few squares of dark chocolate.
You can also create a casual snack spread with both sweet and savory bites. Add loaded baked potato slices for a hearty option, or include crispy Brussels sprouts when serving a larger appetizer table.
Common Questions
Do I need to peel the apples? No. Apple skin adds color and a little extra texture, and leaving it on keeps preparation quick. If you prefer a very delicate chip, peeling is an option, but it is not required.
Should I use sugar? Sugar is optional. Sweet apples taste wonderful with cinnamon alone, while Granny Smith apples may benefit from the tablespoon of sugar if you want a sweeter, more dessert-like chip.
Why are my chips chewy? They may need more time in the low oven, or the slices may have been too thick. Cool them completely before deciding, then rebake at 200°F for another 15 to 30 minutes if necessary.
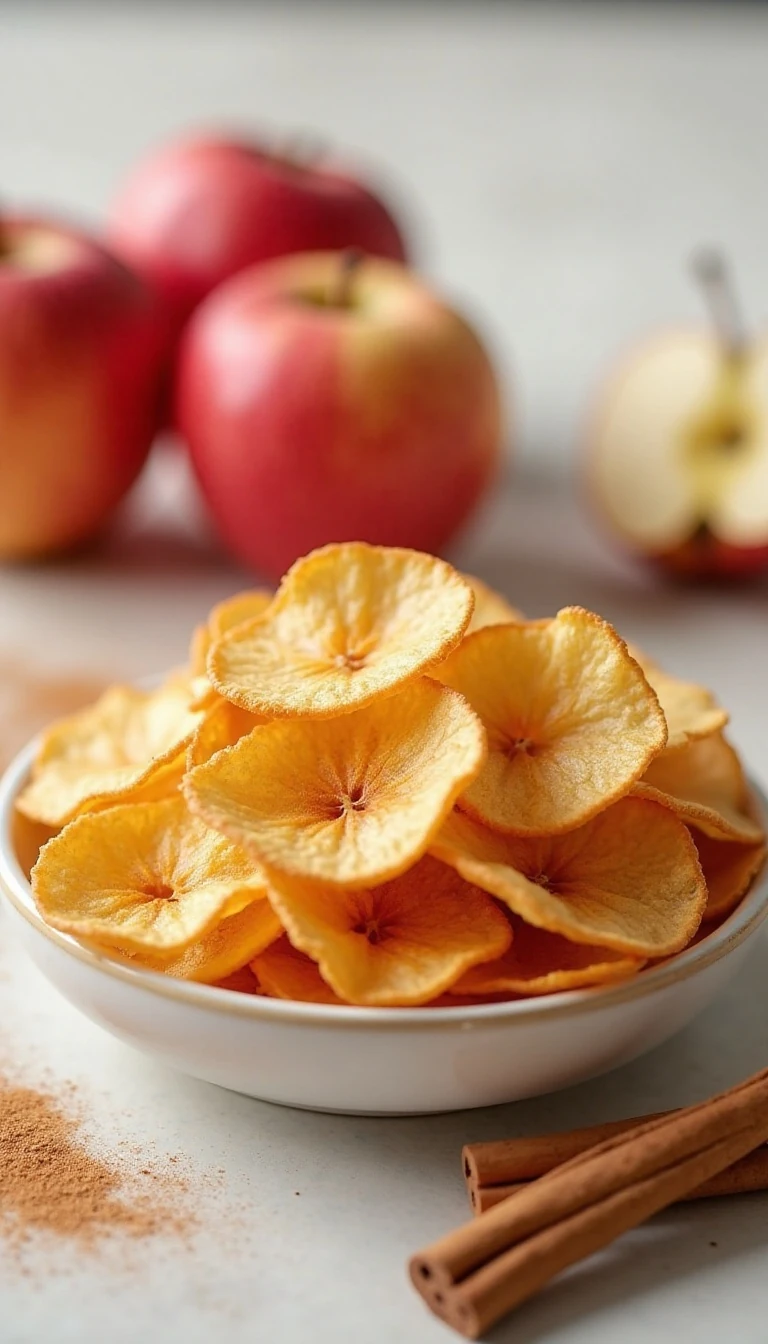
Crispy Baked Apple Chips
Ingredients
Method
- Heat the oven to 200°F (95°C). Line one or two baking sheets with parchment paper or silicone baking mats.
- Wash and dry the apples. Core them if desired, or leave the cores in, then slice the apples crosswise into very thin, even rounds about 1/16 to 1/8 inch thick.
- Arrange the apple rounds in a single layer without overlapping. Sprinkle lightly with cinnamon, or mix the cinnamon with the optional sugar before sprinkling.
- Bake for 1 hour, then turn each slice over. Continue baking for 1 to 2 hours, until the apples look visibly dried and crisp around the edges.
- Turn off the oven and leave the chips inside for 15 to 30 minutes with the door slightly open if they need additional drying. Cool completely before storing, because the chips firm up as they cool.
Notes
Final Thoughts
This crispy baked apple chips recipe is proof that a simple ingredient list can produce an irresistibly good snack. With two apples, a little cinnamon, and a slow 200°F bake, you get fragrant, naturally sweet slices with crisp edges and a satisfying crunch.
Take your time with even slicing, avoid overlapping the rounds, and remember that cooling is part of the cooking process. Once you make a batch, you may find yourself keeping apples on hand just for this easy homemade treat.
1 thought on “Crispy Baked Apple Chips Recipe (So Easy!)”