This Easy No-Bake Strawberry Cheesecake Squares Recipe makes 16 cool, creamy dessert bars in a 9 x 13-inch pan with no oven required. A buttery graham-cracker crust is topped with sweetened cream cheese, fluffy whipped topping, and fresh sliced strawberries, then chilled for at least 4 hours until firm enough to cut.
Every bite combines a crisp, lightly sweet crust with a smooth vanilla cheesecake layer and juicy berries. Prep takes about 25–30 minutes, while the refrigerator does the rest of the work, making these squares a dependable choice for summer gatherings, potlucks, holidays, and make-ahead dessert tables.
Jump to RecipeWhy You’ll Love This Recipe

These strawberry cheesecake squares deliver the flavor of a classic cheesecake in a simple refrigerator dessert. There is no water bath, springform pan, or oven temperature to manage, so the preparation is especially friendly for busy cooks and warm-weather entertaining.
The filling is rich from full-fat cream cheese but lightened with thawed whipped topping. Fresh strawberries add bright color and a juicy, lightly tart contrast to the sweet vanilla filling.
The 9 x 13-inch pan makes 16 squares, giving you generous portions for a family gathering or neatly cut bites for a buffet. For another chilled dessert idea, you can also try our no-bake pineapple pie, which brings a tropical flavor to the same easy dessert category.
Ingredients You’ll Need

The crust starts with 1 1/2 cups of graham-cracker crumbs, about 12–14 whole graham crackers, plus 1/4 cup granulated sugar and 1/2 cup melted unsalted butter. The butter binds the crumbs and helps the base firm up as it chills.
For the cheesecake layer, use two 8-ounce packages of full-fat cream cheese, 1/2 cup granulated sugar, 1 teaspoon vanilla extract, and one 8-ounce container of frozen whipped topping that has been thawed. Full-fat cream cheese gives the squares their richest texture and best structure.
Finish with 1 pound of fresh strawberries. Hull and slice the berries just before arranging them, and keep additional whipped topping nearby if you would like a soft white accent when serving.
- Pan: 9 x 13-inch baking dish
- Yield: 16 squares
- Prep: 25–30 minutes
- Chilling: At least 4 hours, preferably overnight
How to Make It Step-by-Step
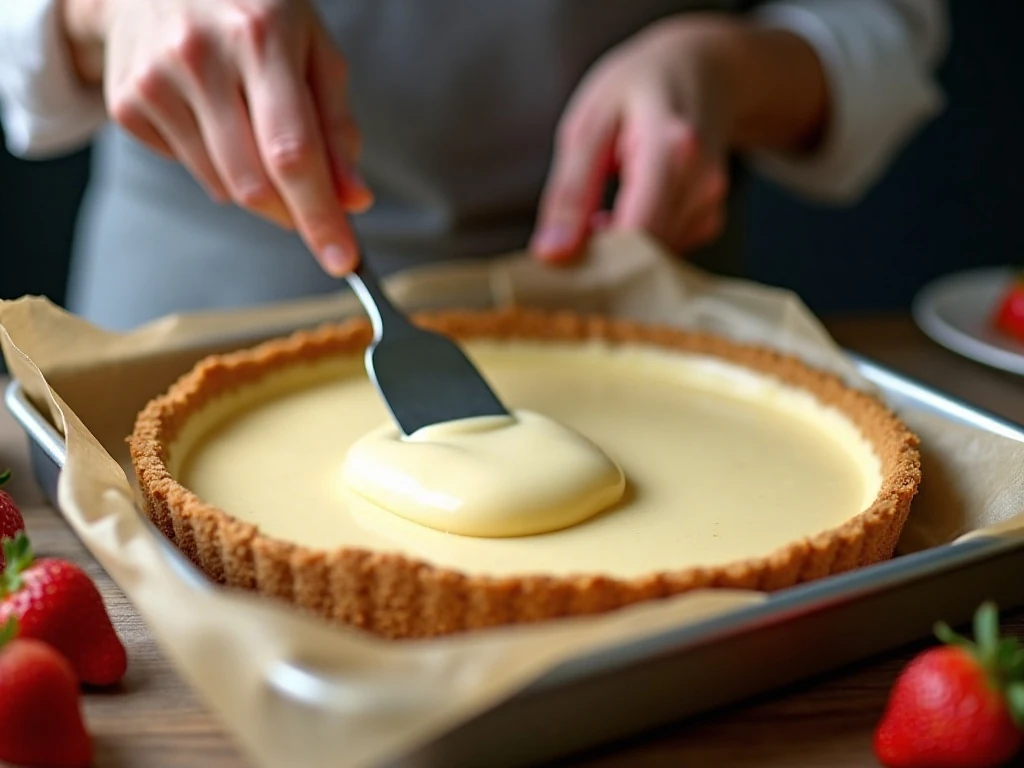
Step 1: Prepare the pan by lining a 9 x 13-inch baking dish with parchment paper. Leave enough parchment over the sides to create handles, or lightly grease the dish if you prefer to serve the squares directly from the pan.
Step 2: Make the crust by stirring together the graham-cracker crumbs, 1/4 cup sugar, and melted butter in a bowl. Mix until all of the crumbs look evenly moistened, then press the mixture into the pan in a firm, level layer.
Step 3: Chill the crust for 15–20 minutes while you prepare the filling. This short rest gives the butter time to firm and makes it easier to spread the cheesecake mixture without disturbing the base.
Step 4: Beat the softened cream cheese with 1/2 cup sugar and the vanilla extract. Continue until the mixture is smooth and lump-free, scraping down the bowl as needed so no firm pieces remain around the edges.
Step 5: Add the thawed whipped topping and fold it in gently with a spatula. Stop as soon as the mixture looks evenly blended, since overmixing can reduce the filling’s airy volume.
Step 6: Spoon the filling over the chilled graham-cracker crust. Spread it carefully from edge to edge, using an offset spatula or the back of a spoon to create an even surface.
Step 7: Arrange the sliced strawberries over the top in slightly overlapping rows or a simple scattered pattern. Press the fruit very lightly into the filling so it stays in place without sinking deeply.
Step 8: Cover the pan and refrigerate the cheesecake for at least 4 hours. Overnight chilling is preferable because it gives the crust and filling more time to firm for cleaner cuts.
Step 9: Lift the chilled cheesecake from the pan using the parchment handles. Cut it into 16 squares with a sharp knife, wiping the blade between cuts for tidy edges, and serve cold.
Pro Tips for Firm, Creamy Squares
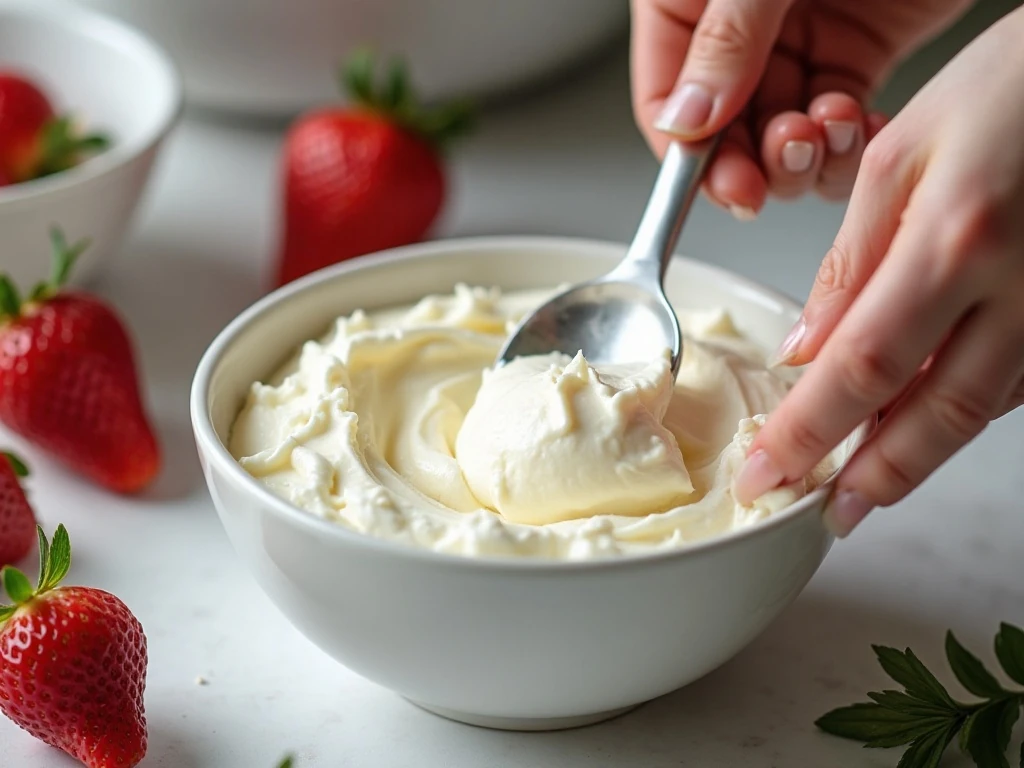
Softened cream cheese is one of the most important details in this recipe. Let it soften fully before mixing; cold cream cheese can leave small lumps that are difficult to smooth out once the whipped topping has been added.
Press the crust firmly and evenly, especially in the corners. A flat-bottomed measuring cup works well for compacting the crumbs without creating a thick center or thin edges.
Fold rather than vigorously stir when combining the whipped topping with the cream cheese mixture. Gentle mixing helps preserve the light texture that makes these squares feel creamy instead of heavy.
Strawberries naturally release juice after slicing. For a less watery topping, pat the berries dry with paper towels, or add them shortly before serving if the dessert will be refrigerated overnight.
For another rich chilled treat with a playful candy flavor, see our no-bake Butterfinger cream pie. It is a handy option when you want a dessert without turning on the oven.
Chilling, Cutting, and Serving

Refrigerate the covered pan for a minimum of 4 hours, allowing about 4 1/2 hours total elapsed time when the initial prep and chilling are included. The dessert is ready when the center feels firm and the filling holds its shape rather than wobbling loosely.
For the neatest squares, use the parchment overhang to lift the dessert onto a cutting board. Run a sharp knife under hot water, dry it thoroughly, and slice; repeat the warming and drying process between cuts if needed.
Serve the squares chilled, either plain or with a small spoonful of additional whipped topping. A few strawberry slices placed on each portion make the presentation colorful without adding complicated decoration.
If you enjoy simple layered desserts, our no-bake chocolate pudding cake is another make-ahead choice with a soft, spoonable texture.
Storage and Make-Ahead Advice
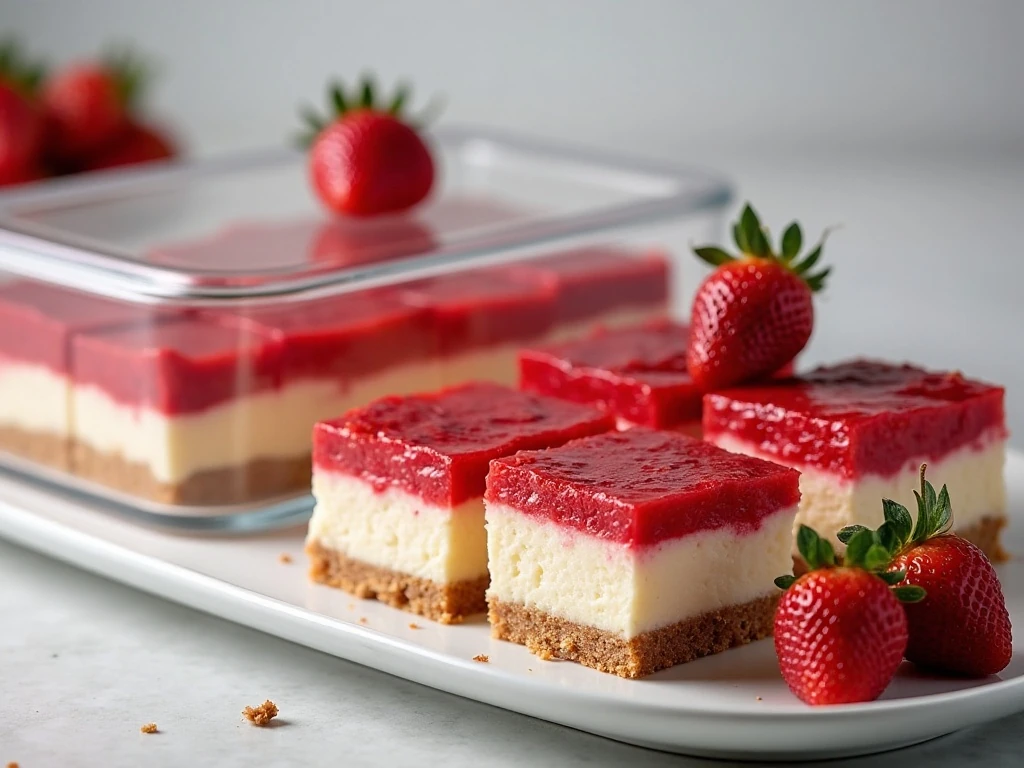
Keep the cheesecake squares covered in the refrigerator until you are ready to serve them. Because the topping contains fresh strawberries, the dessert is best enjoyed chilled while the fruit is fresh and the crust still has a pleasant firmness.
Overnight chilling is encouraged when your schedule allows it. The crust becomes firmer, the cheesecake layer sets more fully, and the squares are easier to portion for a party or dessert table.
If preparing ahead, you may chill the crust and filling first, then arrange the strawberries shortly before serving. This approach helps reduce excess berry juice on the surface while preserving the fresh appearance of the topping.
Easy Variations and Pairing Ideas
The classic combination is hard to beat, but the presentation can change with very little effort. Arrange the strawberries in tidy rows for clean geometric squares, or scatter them casually for a relaxed picnic-style dessert.
You can serve small squares as part of a mixed dessert spread alongside a richer chocolate option. For a fruit-forward cheesecake night, our banana cream cheesecake offers another creamy way to showcase fresh fruit.
Although this is a dessert recipe, planning a full brunch or party menu may call for a savory dish first. Our easy cheesy omelet can round out a relaxed weekend menu before these chilled strawberry squares make their appearance.

Easy No-Bake Strawberry Cheesecake Squares
Ingredients
Method
- Line a 9 x 13-inch baking dish with parchment paper, leaving some overhang for lifting, or lightly grease the pan.
- Combine the graham-cracker crumbs, 1/4 cup granulated sugar, and melted unsalted butter. Press the mixture firmly and evenly into the bottom of the prepared pan, then refrigerate for 15–20 minutes.
- Beat the softened cream cheese, 1/2 cup granulated sugar, and vanilla extract until completely smooth and lump-free.
- Fold in the thawed whipped topping until evenly combined. Avoid overmixing so the filling keeps its light volume.
- Spread the cheesecake mixture over the chilled crust and smooth the top.
- Arrange the hulled, sliced strawberries over the cheesecake layer, pressing them very lightly into the filling.
- Cover and refrigerate for at least 4 hours, or overnight when possible, until firm enough to cut.
- Lift the cheesecake from the pan using the parchment overhang, cut into 16 squares, and serve chilled with optional whipped topping.
Notes
Final Thoughts
These Easy No-Bake Strawberry Cheesecake Squares are a reliable dessert when you want something creamy, colorful, and easy to prepare ahead. The buttery graham-cracker crust, vanilla-sweetened cream cheese filling, and fresh strawberries create a balanced bite with plenty of classic cheesecake appeal.
Give the dessert at least 4 hours in the refrigerator, and choose overnight chilling whenever possible for the firmest texture. Once cut into 16 squares and served cold, this no-bake favorite is ready for birthdays, potlucks, cookouts, and any occasion that calls for a beautiful homemade treat.