Individual apple pies are an easy, cozy dessert made by filling six small pastry shells with cinnamon-spiced apples, topping them with more crust, and baking until golden and bubbling. This recipe takes about 25–35 minutes to prepare, 25–35 minutes to bake at 375°F, and makes six generous personal pies using ramekins or a standard muffin pan.
Every bite brings together tender apples, buttery pastry, warm cinnamon, and a lightly crisp sugar-sparkled top. The filling thickens as the pies cool, making these little desserts perfect for serving warm with vanilla ice cream, softly whipped cream, or a simple drizzle of caramel.
Jump to RecipeWhy You’ll Love This Recipe
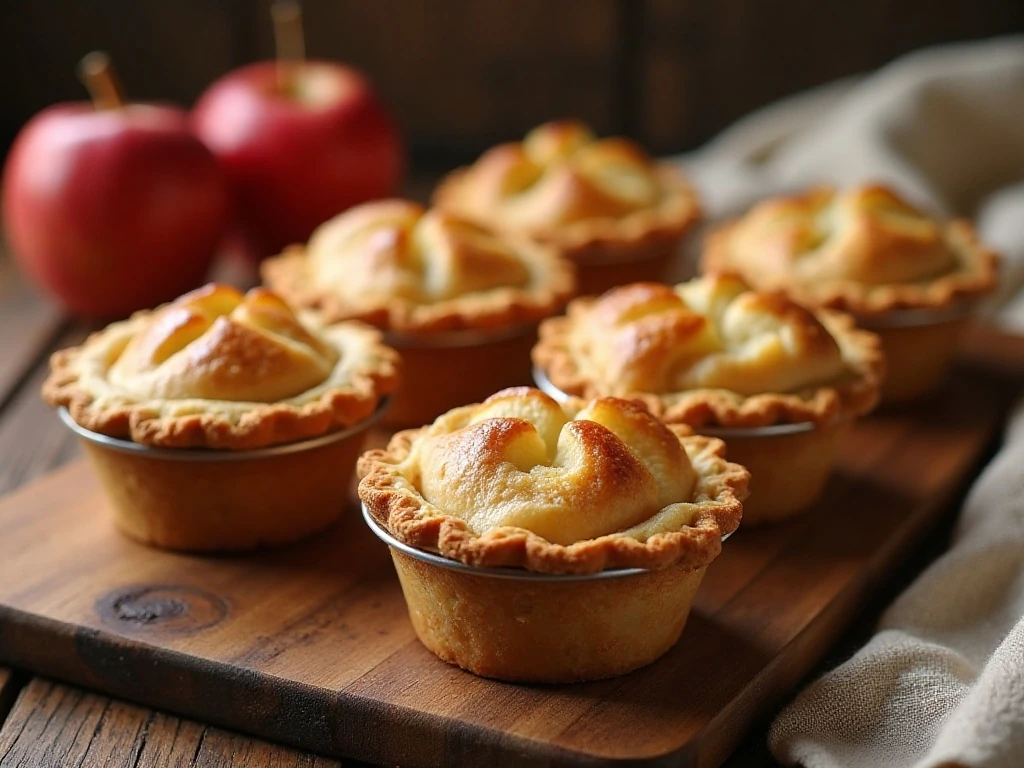
There is something especially inviting about an apple pie made just for one person. Instead of slicing a large pie and hoping each piece gets an equal share of apples and crust, these individual desserts offer a beautifully balanced portion from the first forkful to the last.
The recipe is also wonderfully practical. Two refrigerated pie crusts provide enough pastry for six bottom shells and six tops, while three medium apples create a fragrant filling without requiring a long stovetop cooking session.
These pies are ideal for a family dinner, a small holiday gathering, or a weekend baking project with children. Each person can receive a warm ramekin pie, and the small size helps the pastry bake quickly while the apples soften in their cinnamon-scented juices.
If you enjoy baking small portions, you may also like these mini apple pies made in a muffin tin, which offer another charming way to serve the same classic flavor.
Ingredients You’ll Need
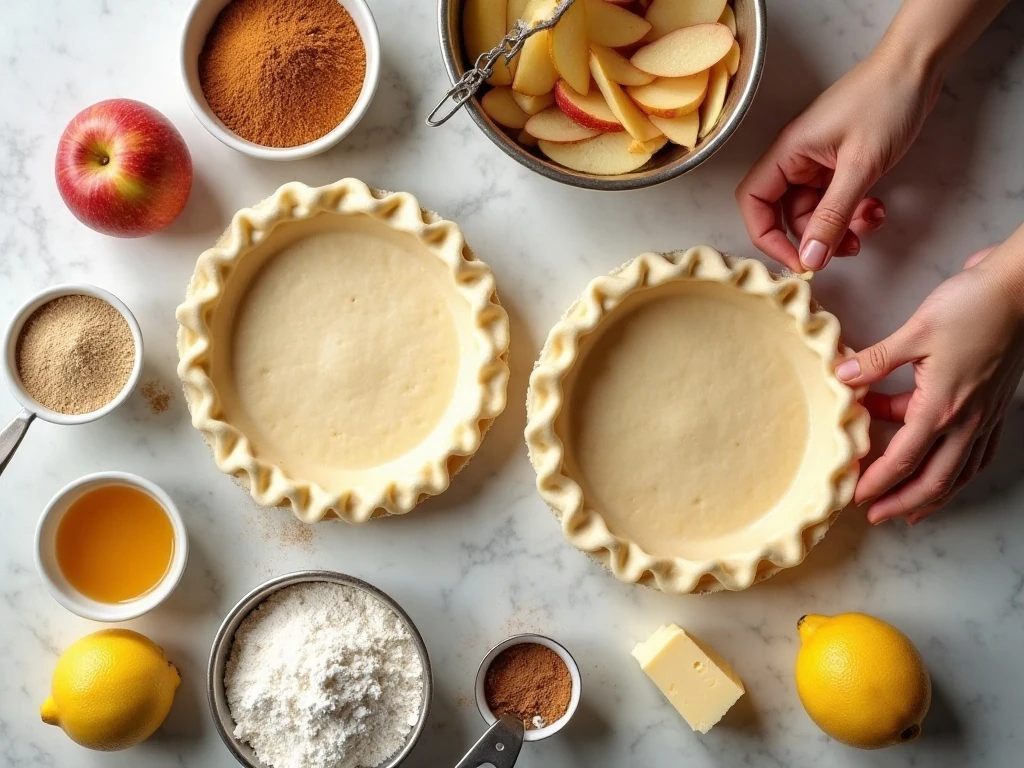
The ingredient list is short, but each item has an important role in creating a rich, well-balanced dessert. Choose apples that stay pleasantly firm while baking, then slice or dice them small enough to become tender before the pastry is finished.
- Pie crusts: Use two refrigerated 9-inch crusts, about 14–15 ounces total, or prepare two batches of homemade pastry.
- Apples: You will need three medium baking apples, about 1 1/2 pounds total, peeled, cored, and diced or thinly sliced.
- Sugar and lemon: Granulated sugar sweetens the fruit, while fresh lemon juice brings brightness and keeps the flavor from becoming flat.
- Flour: Two tablespoons absorb some of the apple juices and help create a thicker filling.
- Spices and salt: Cinnamon supplies the familiar apple-pie warmth, nutmeg adds a gentle aroma, and salt sharpens every flavor.
- Butter: Small pieces melt into the filling for a round, buttery finish.
- Egg wash and coarse sugar: The egg wash gives the tops a glossy golden color, while coarse sugar adds a delicate crunch.
For apples, Granny Smith gives a tart, firm result. Honeycrisp, Pink Lady, and Braeburn are sweeter choices that hold their shape, and a mixture of tart and sweet apples creates the most balanced flavor.
For another pastry-based fruit dessert, keep our apple hand pie recipe in mind when you want a portable treat instead of a ramekin dessert.
How to Make It Step-by-Step
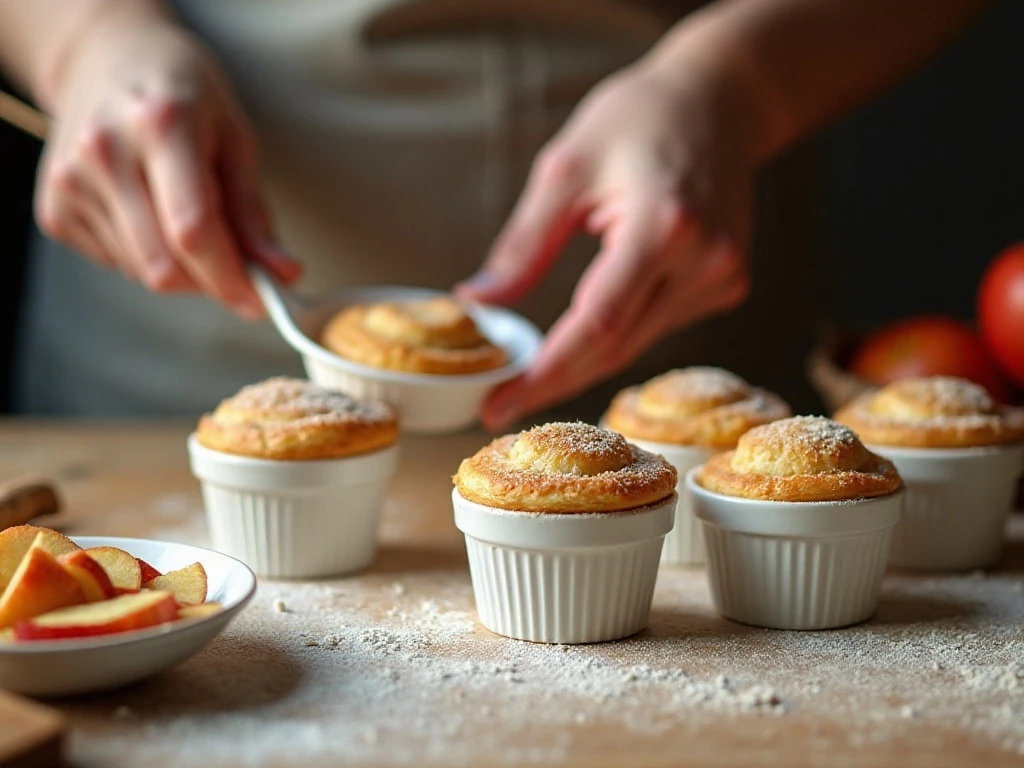
Step 1: Begin by heating the oven to 375°F. Grease six 5- to 6-ounce ramekins or six cups of a standard 12-cup muffin pan, then place them on a foil-lined baking sheet to make cleanup easier if the filling bubbles over.
Step 2: Peel, core, and dice or thinly slice the apples. Add them to a bowl with the granulated sugar, flour, cinnamon, optional nutmeg, lemon juice, and fine salt, then let the mixture stand for about 10 minutes so the fruit starts releasing its juices.
Step 3: Roll or gently unfold the pie crusts and cut six rounds about 5 to 6 inches wide. Each round should be large enough to line its baking vessel with a little overhang, and the pastry should be pressed in gently rather than stretched.
Step 4: Divide the apple filling evenly among the pastry shells. Tossing the apples with flour before they go into the shells helps control excess liquid, and avoiding overfilling leaves room for the bubbling juices beneath the top crust.
Step 5: Dot each filled shell with pieces of unsalted butter. Cut six smaller pastry rounds or strips for the tops, lay them over the apples, and press or crimp the edges firmly to seal each pie.
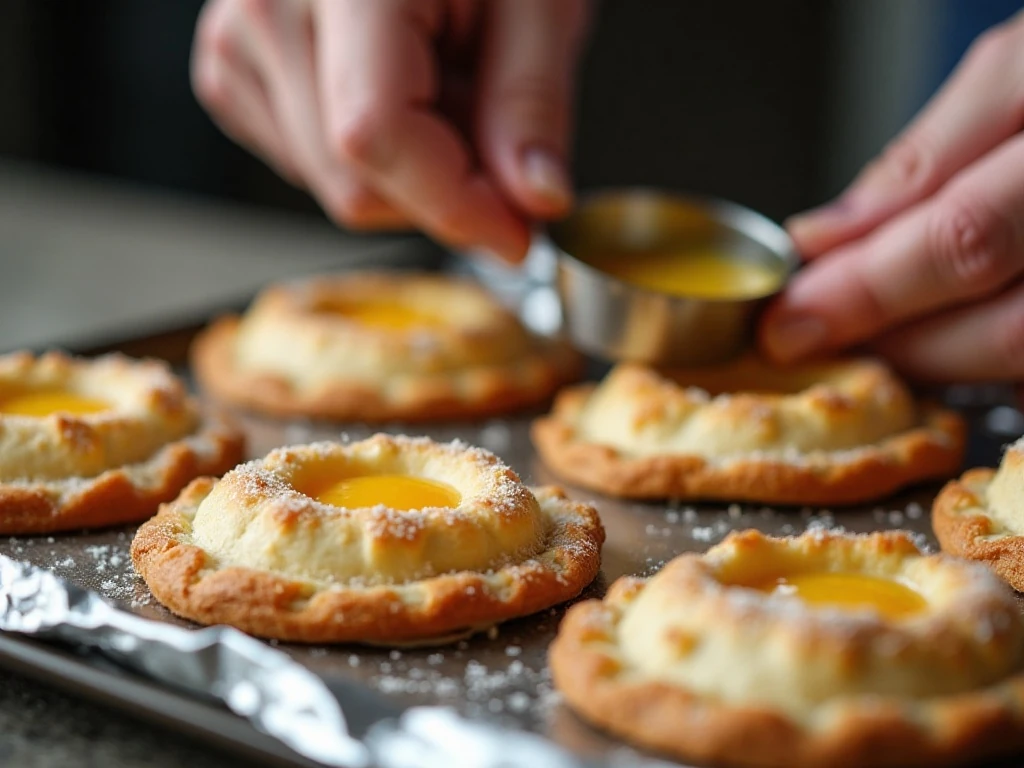
Step 6: Cut a small vent in the top of every pie so steam can escape during baking. Beat the egg with one tablespoon of water, brush the tops lightly with the egg wash, and add coarse sugar if you want a crisp, sparkling finish.
Step 7: Chill the assembled pies for 15–30 minutes, particularly if you used homemade pastry or the dough became soft while shaping. Cold pastry is less likely to slump and usually bakes into a flakier crust.
Step 8: Bake for 25–35 minutes, watching for deeply golden pastry and apple filling that is bubbling around the vents or edges. If the tops brown before the filling is fully bubbling, cover them loosely with foil and continue baking.
Step 9: Let the pies cool for at least 10–15 minutes before serving. The filling thickens as it rests, so this brief cooling period improves both texture and presentation.
Pro Tips for Flaky, Tender Pies
Apple size matters more than many bakers expect. Large chunks can remain firm while the crust is already brown, so dice the apples fairly small or slice them thinly for a tender filling in the short baking time.
Keep the pastry cool from the moment you cut it. If the dough feels soft, place the assembled pies in the refrigerator rather than trying to work quickly with warm pastry.
Do not skip the vent. A small opening releases steam and helps prevent a soggy top, while the egg wash should be brushed lightly so it does not pool along the edges and interfere with browning.
For a richer filling with less free liquid, coat the apples thoroughly with the flour and avoid packing extra fruit above the rim. The apples will soften and settle as they bake, leaving a pleasantly juicy center without overwhelming the crust.
Ramekins give the pies a deeper, homestyle shape, while a muffin pan makes smaller, easy-to-serve portions with more exposed golden crust. Whichever vessel you use, keep all six pies on the baking sheet so any bubbling filling stays contained.
When you are ready to try a sweet finish on handheld pastry, these glazed apple hand pies are a delicious variation with a pretty drizzle.
Serving Suggestions
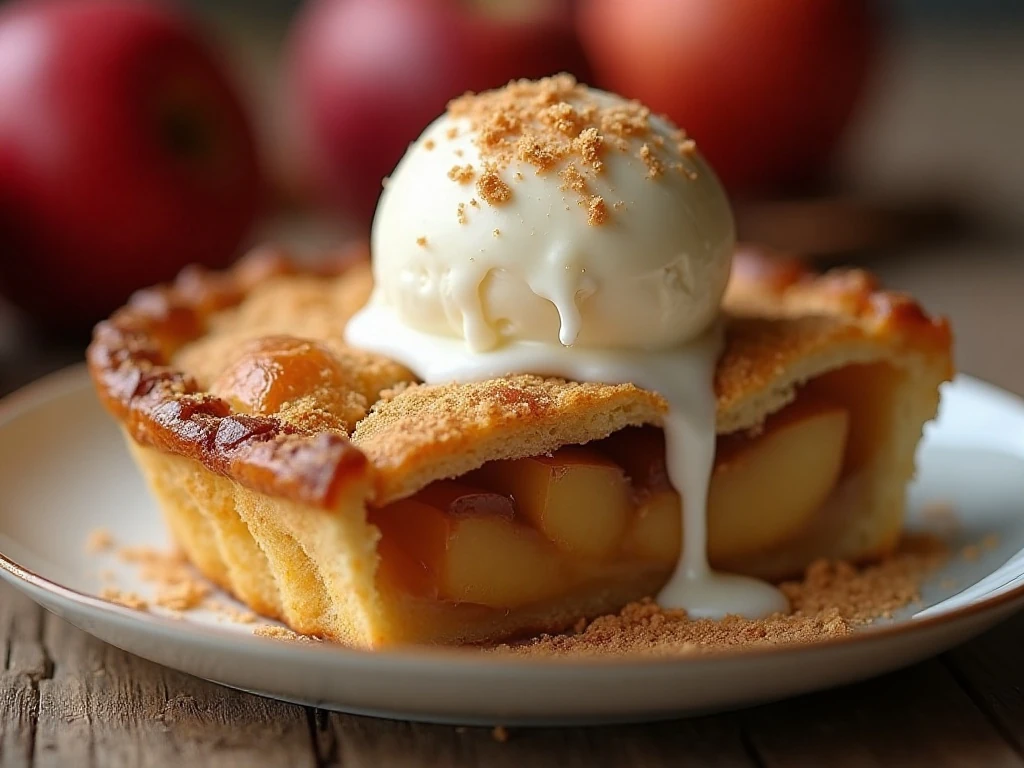
Serve the pies warm but not piping hot so the apple filling has time to settle. A scoop of vanilla ice cream melts into the cinnamon juices, creating the classic warm-and-cold contrast that makes individual apple pie so satisfying.
For a lighter finish, add a spoonful of softly whipped cream or plain Greek yogurt. A small drizzle of caramel sauce, a dusting of powdered sugar, or a few toasted pecans can also provide extra texture without hiding the apple flavor.
These pies are festive enough for a dinner party because each serving arrives in its own little vessel. For a larger dessert table, place ramekins on a wooden board with small spoons and napkins, or use a muffin pan for easy transferring and serving.
If you want the comfort of apples in a cake format, our easy apple cake is another simple choice for sharing.
Storage and Reheating
Allow the pies to cool completely before covering them and refrigerating. They are best enjoyed within a few days, and keeping them chilled helps preserve the fruit filling and pastry.
To reheat, place an individual pie in a 350°F oven until warmed through, or heat it gently in the microwave if speed matters more than crisp pastry. The oven is the better option when you want to restore some of the crust’s flaky texture.
Let refrigerated pies sit briefly before reheating so the center warms more evenly. Always use caution with the hot filling, particularly when serving children.
Although these pies are made with apples, the same small-pastry idea works beautifully with other fruit. Try our easy cherry hand pies when you want a bright, sweet-tart alternative.
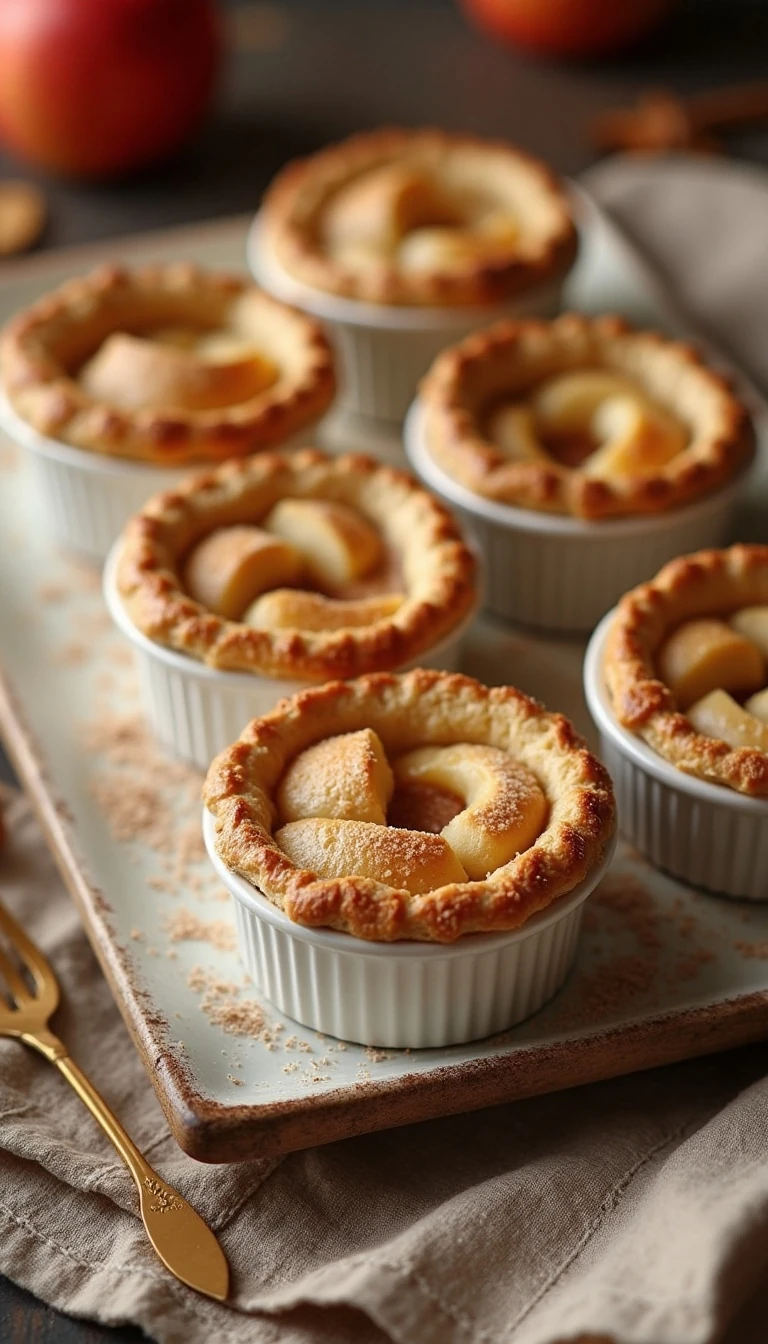
Individual Apple Pies
Ingredients
Method
- Heat the oven to 375°F and grease six 5- to 6-ounce ramekins or six cups of a standard muffin pan. Place the vessels on a foil-lined baking sheet to catch any juices that bubble over.
- Combine the apples, granulated sugar, flour, cinnamon, optional nutmeg, lemon juice, and salt in a bowl. Let the mixture stand for about 10 minutes so the apples release some juice and the flour begins coating the fruit.
- Cut six pastry rounds about 5 to 6 inches wide, making each round large enough to line a ramekin or muffin cup with a little overhang. Press the pastry gently into the greased baking vessels without stretching it.
- Divide the apple mixture among the pastry shells, taking care not to overfill them. Dot the top of each portion with the small pieces of unsalted butter.
- Cut six smaller pastry rounds or strips for the tops and place them over the apples. Press or crimp the edges to seal, then cut a small vent in every top so steam can escape.
- Beat the egg with the water to make an egg wash and brush it lightly over each pie. Sprinkle with coarse sugar if desired, then chill the assembled pies for 15–30 minutes, especially when using homemade pastry.
- Bake for 25–35 minutes, until the pastry is golden brown and the apple filling is visibly bubbling. If the tops begin to brown too quickly, cover them loosely with foil for the remainder of the baking time.
- Cool the pies for at least 10–15 minutes before serving. This short rest allows the filling to thicken and makes the pies easier to enjoy without losing their warm, soft texture.
Notes
Final Thoughts
Individual apple pies deliver all the cozy pleasure of a classic fruit pie in a simple six-serving format. With flaky pastry, warmly spiced apples, buttery pockets of flavor, and a golden egg-washed top, they feel special without requiring complicated techniques.
Remember the essentials: use small apple pieces, coat the fruit with flour, chill the assembled pies, and give them at least 10–15 minutes to cool after baking. Those small details help produce tender apples, a thicker filling, and pastry that stays beautifully crisp.
Make them for a quiet family dessert, a fall gathering, or any evening that calls for something warm from the oven. Once the first pie is opened and the cinnamon-scented steam rises, these individual treats are sure to become a favorite cozy dessert.