These crispy homemade chicken tenders are made with seasoned flour, a creamy egg wash, and a crunchy panko breadcrumb coating. Fry them in 350°F oil for about 3–4 minutes per side, until golden brown and the thickest piece reaches 165°F, for a dinner that takes about 30–35 minutes without marinating.
Every bite delivers juicy chicken inside and a deeply crunchy crust outside, with just the right balance of paprika, garlic, onion, and black pepper. Serve these better-than-takeout tenders with honey mustard, ranch, barbecue sauce, fries, coleslaw, or a crisp green salad for an easy family meal.
Jump to RecipeWhy You’ll Love This Recipe
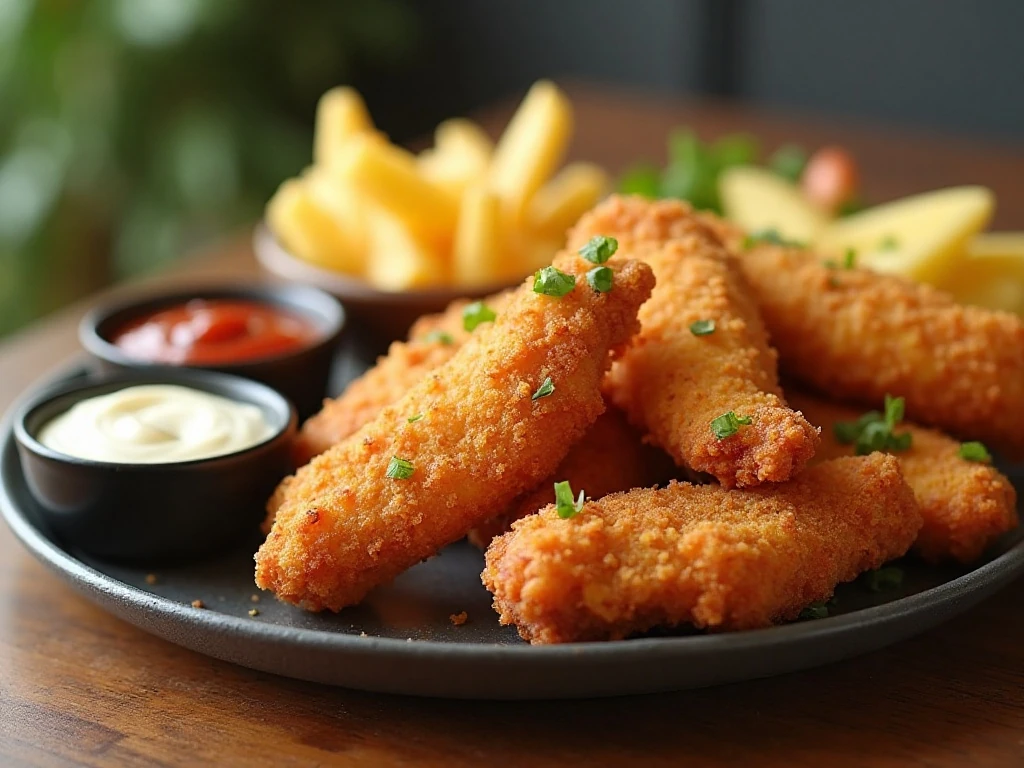
Homemade chicken tenders are one of those dinners that make everyone gather around the table quickly. The preparation is straightforward, the ingredients are familiar, and the finished chicken has a fresh, crisp texture that is difficult to get from a frozen or delivered meal.
The coating has several layers of flavor. Seasoned flour clings to the chicken, the egg wash gives the crumbs something to hold onto, and panko brings large, airy flakes that fry into a crunchy golden shell.
This recipe makes 4 servings and takes about 30–35 minutes from start to finish when you skip the optional marinade. If you enjoy saucy chicken dinners too, our Mississippi-style chicken is another comforting option for your weekly dinner menu.
Ingredients You’ll Need
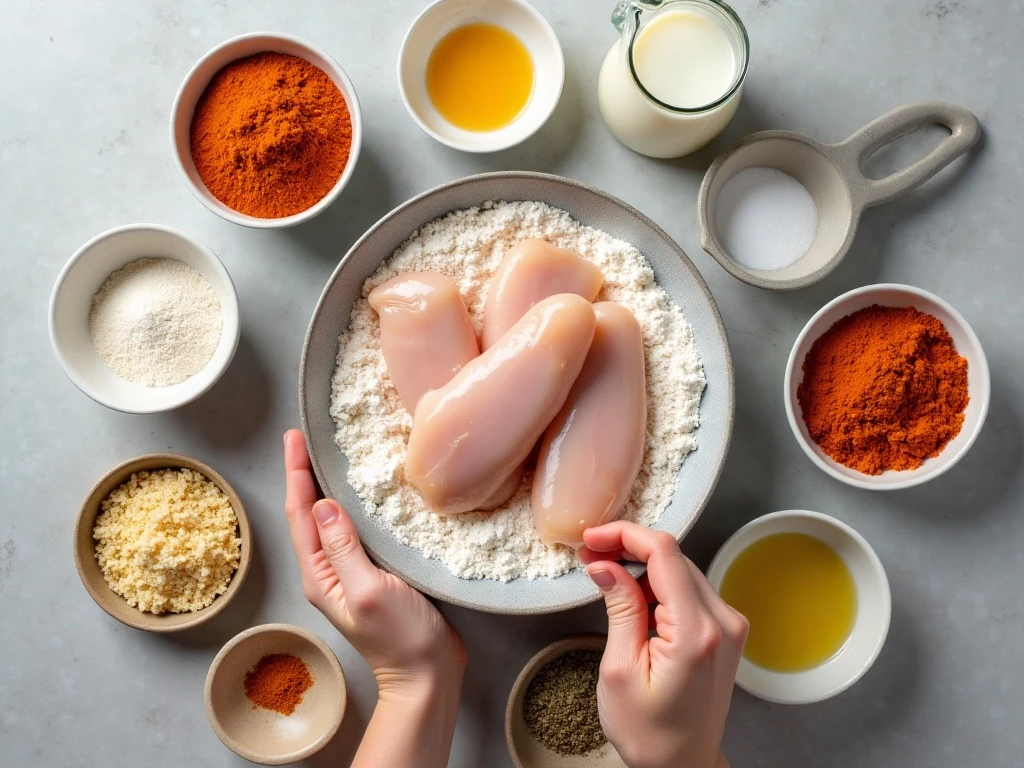
Start with 1 1/2 pounds of boneless, skinless chicken tenderloins. Tenderloins are naturally shaped for this recipe, but chicken breasts work well when sliced into strips about 1 inch thick.
- Flour mixture: Use 1 cup all-purpose flour, 1 teaspoon kosher salt, 1 teaspoon paprika, 1/2 teaspoon garlic powder, 1/2 teaspoon onion powder, and 1/4 teaspoon black pepper.
- Egg wash: Beat 2 large eggs with 1/4 cup milk or buttermilk. Buttermilk adds a gentle tang and makes the coating especially flavorful.
- Crunchy coating: Combine 1 1/2 cups panko breadcrumbs with 1/2 teaspoon salt. Add 1/2 cup plain breadcrumbs if you prefer a finer, more takeout-style crust.
- Frying oil: Use vegetable, canola, or peanut oil. You will need about 4–6 cups for a deep skillet or Dutch oven, depending on its size.
For a different family-friendly chicken night, you can also serve the crisp tenders alongside the flavors from this French onion chicken dinner. Keeping the seasonings simple here lets every dipping sauce shine.
How to Make It Step-by-Step
Step 1: Pat the chicken dry with paper towels before breading. Removing surface moisture helps the flour adhere and prevents the coating from becoming patchy or loose.
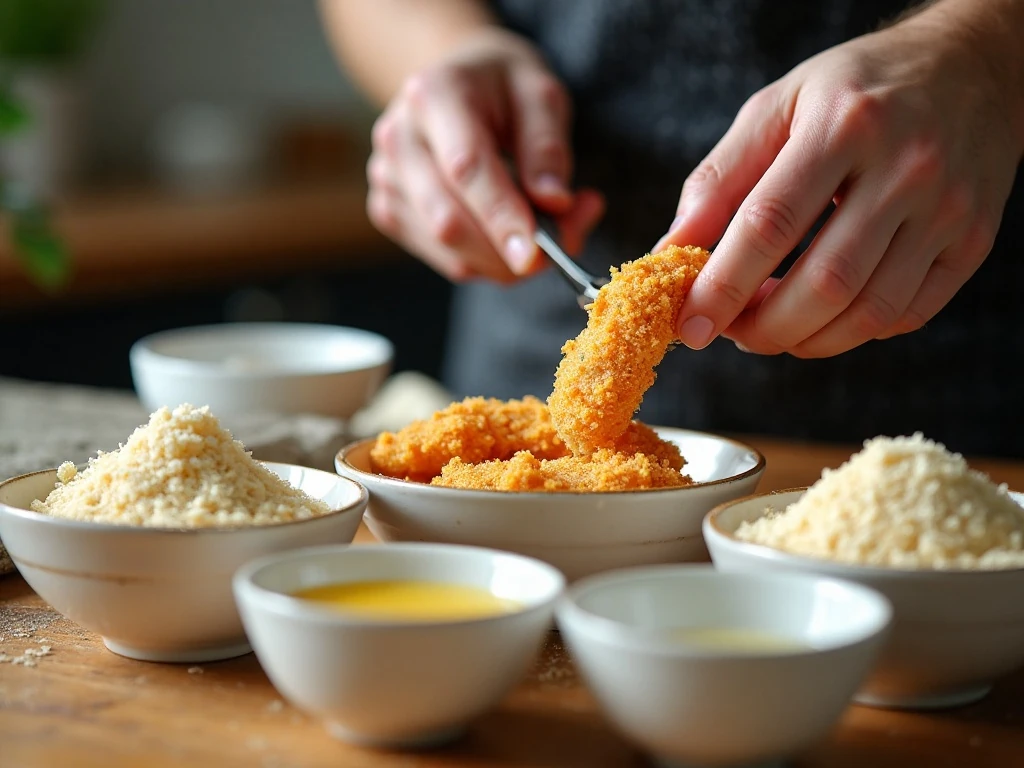
Step 2: Prepare three shallow bowls so the breading process moves smoothly. Mix the flour with kosher salt, paprika, garlic powder, onion powder, and black pepper; beat the eggs with milk or buttermilk; then mix the panko, optional plain breadcrumbs, and 1/2 teaspoon salt in the final bowl.
Step 3: Dredge one chicken strip in the seasoned flour, turning it to cover all sides. Shake off excess flour, dip the strip into the egg mixture, and then place it in the breadcrumbs.
Step 4: Press the breadcrumbs firmly onto the chicken, especially around the edges. A gentle press gives the coating a better chance of staying attached while the tenders cook.
Step 5: Place each breaded tender on a wire rack or tray and let the pieces rest for 5–10 minutes. This short pause allows the flour, egg, and crumbs to bond into a sturdier crust.
Step 6: Add 1 1/2–2 inches of oil to a deep skillet or Dutch oven and heat it to 350°F (175°C). Use a kitchen thermometer when possible, because the oil temperature is the key to crisp, fully cooked chicken.
Step 7: Carefully lower a small batch of tenders into the hot oil without crowding the pan. Fry for approximately 3–4 minutes per side, turning once, until the coating is deeply golden and the chicken reaches 165°F (74°C) in the thickest part.
Step 8: Move the cooked tenders to a wire rack set over a tray instead of placing them directly on paper towels. Season lightly with salt while they are hot, and wait for the oil to return to 350°F before cooking another batch.
Pro Tips for the Crispiest Coating
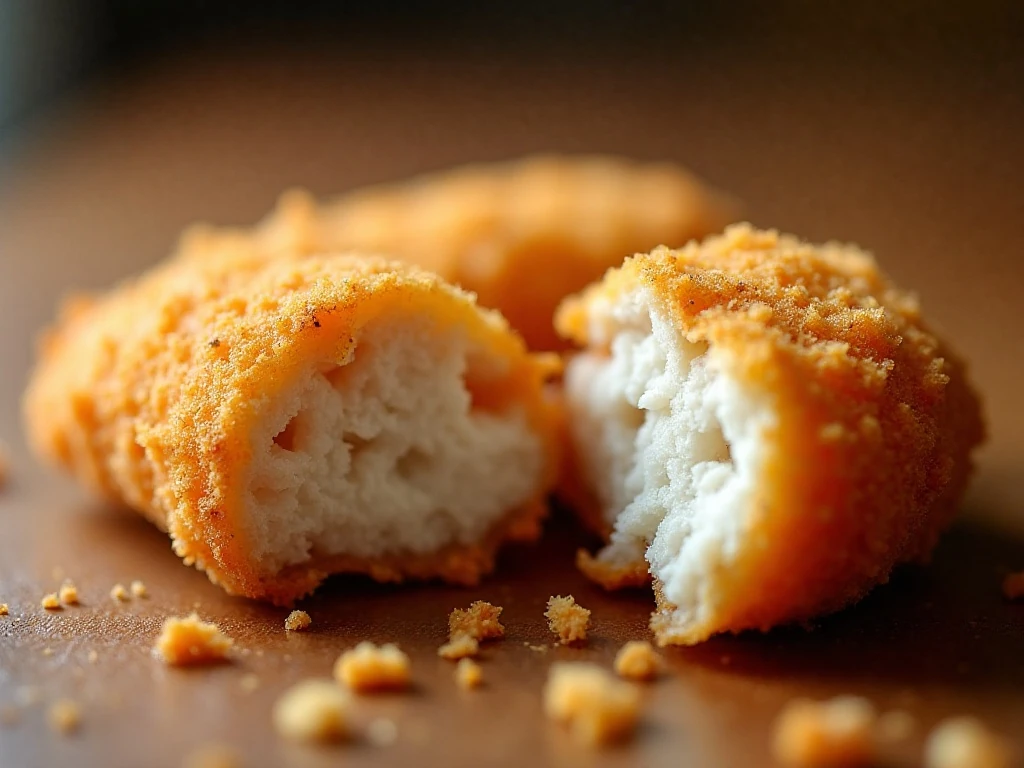
Panko is the most important ingredient for a pronounced crunch because its larger flakes create more texture than ordinary breadcrumbs. Adding plain breadcrumbs is optional, but the combination gives the crust a finer appearance while keeping plenty of crispness.
Do not skip the resting time after breading. Even 5 minutes makes a difference, giving the coating time to cling instead of separating as soon as the chicken touches the oil.
Keep the pan uncrowded. Too many tenders at once lower the oil temperature, which can leave the breading greasy and pale; small batches help the crust fry properly.
Oil that is too hot can brown the outside before the chicken is cooked through. Check the thickest piece with an instant-read thermometer and cook until it reaches 165°F (74°C).
Oven and Air Fryer Instructions
For an oven-baked version, arrange the breaded tenders on a greased wire rack set over a baking sheet. Spray the coating lightly with oil and bake at 425°F (220°C) for about 18–22 minutes, turning once during cooking.
For an air fryer, arrange the tenders in a single layer with room around each piece. Spray lightly with oil and cook at 400°F (200°C) for about 10–14 minutes, turning halfway through so both sides brown evenly.
The fried method gives the deepest golden crust, while the oven and air fryer options are useful when you want less oil. For another oven-friendly meal, try this baked chicken with vegetables when planning a larger dinner.
Sauces and Side Dishes

Set out several sauces and let everyone choose a favorite. Honey mustard and ranch are classic pairings, while barbecue sauce, ketchup, and sweet chili sauce offer different sweet, tangy, and savory notes.
- Honey mustard for a sweet, tangy dip
- Ranch dressing for a cool, creamy contrast
- Barbecue sauce for smoky sweetness
- Ketchup for a familiar family favorite
- Sweet chili sauce for gentle heat and sweetness
Complete the plate with fries, coleslaw, or a green salad. You can also add a vegetable side such as roasted broccoli, or pair dinner with the flavors of this honey garlic chicken recipe for another sauce-inspired meal.
Storage and Reheating
Chicken tenders are best immediately after cooking, while the coating is at its crunchiest. If you have leftovers, cool them completely before placing them in a covered container in the refrigerator.
To bring back some of the crisp texture, reheat the tenders in a hot oven or air fryer rather than microwaving them. Arrange them in a single layer and heat until warmed through, checking that the center is hot before serving.
For an easy way to use leftovers, slice the tenders over a green salad or tuck them into tortillas with toppings. These tenders also pair nicely with the flavors in our easy baked chicken tacos for a casual family spread.

Crispy Homemade Chicken Tenders
Ingredients
Method
- Pat the chicken tenderloins dry with paper towels. If using whole chicken breasts, cut them into strips about 1 inch thick.
- Place the flour, 1 teaspoon kosher salt, paprika, garlic powder, onion powder, and black pepper in a shallow bowl. In a second bowl, beat the eggs with the milk or buttermilk, and in a third bowl combine the panko, optional plain breadcrumbs, and 1/2 teaspoon salt.
- Coat each chicken strip in the seasoned flour, shaking off any excess. Dip it into the egg mixture, then press it firmly into the breadcrumb mixture so the coating clings to every side.
- Arrange the breaded tenders on a rack or tray and let them rest for 5–10 minutes. This short rest helps the crust set and keeps it from sliding off during frying.
- Pour 1 1/2–2 inches of oil into a deep skillet or Dutch oven and heat it to 350°F (175°C). Fry the tenders in small batches for approximately 3–4 minutes per side, until deeply golden and the thickest part reaches 165°F (74°C).
- Transfer the cooked chicken to a wire rack and season lightly with salt while hot. Let the oil return to about 350°F before frying the next batch.
Notes
Final Thoughts
This crispy homemade chicken tenders recipe gives you juicy chicken, a well-seasoned crust, and plenty of crunch without a complicated cooking process. The three-bowl breading setup is simple, and the brief resting period plus steady 350°F oil makes the difference between coating that stays put and coating that slips away.
Serve the tenders hot with your favorite sauces and a couple of easy sides, or use the oven or air fryer when you prefer an alternative cooking method. Once you taste the crisp panko coating and tender center, this dependable dinner is sure to become a regular at your table.