Blood-Spatter Oreo Cookies are an easy no-bake Halloween treat made by dipping 24 Oreo sandwich cookies in smooth white candy coating, chilling them briefly, and flicking red candy coating across the tops to create a spooky splatter effect. The complete recipe takes about 40–55 minutes, including 20–25 minutes of preparation and 15–30 minutes of chilling or setting, with no cooking time.
Each cookie has the familiar chocolate-and-vanilla Oreo flavor beneath a crisp, creamy candy shell. The sweet white coating balances the bright red decoration, while the irregular drops and streaks make every cookie look like a tiny Halloween prop that is still completely delicious and party-ready.
Jump to RecipeWhy You’ll Love This Recipe

These Blood-Spatter Oreo Cookies deliver maximum Halloween drama with very little kitchen work. There is no oven, stovetop, or complicated dough to prepare, so this is a friendly project for busy hosts, beginner bakers, and families making treats together.
The design is intentionally imperfect. Fine droplets, long streaks, and larger red splashes give the cookies a theatrical crime-scene look, and the fact that no two cookies match makes the platter feel handmade rather than mass-produced.
They are also wonderfully practical for a Halloween gathering. The cookies can be prepared ahead, stored in an airtight container, and arranged on a dark platter just before guests arrive. For another autumn cookie idea with a softer, warmly spiced profile, you can also try these pumpkin oatmeal cookies.
- No-bake: The candy coating sets without any cooking.
- Fast: Preparation takes only 20–25 minutes.
- Party-sized: The recipe makes 24 cookies.
- Customizable: You control the amount, size, and direction of every red splatter.
Ingredients You’ll Need
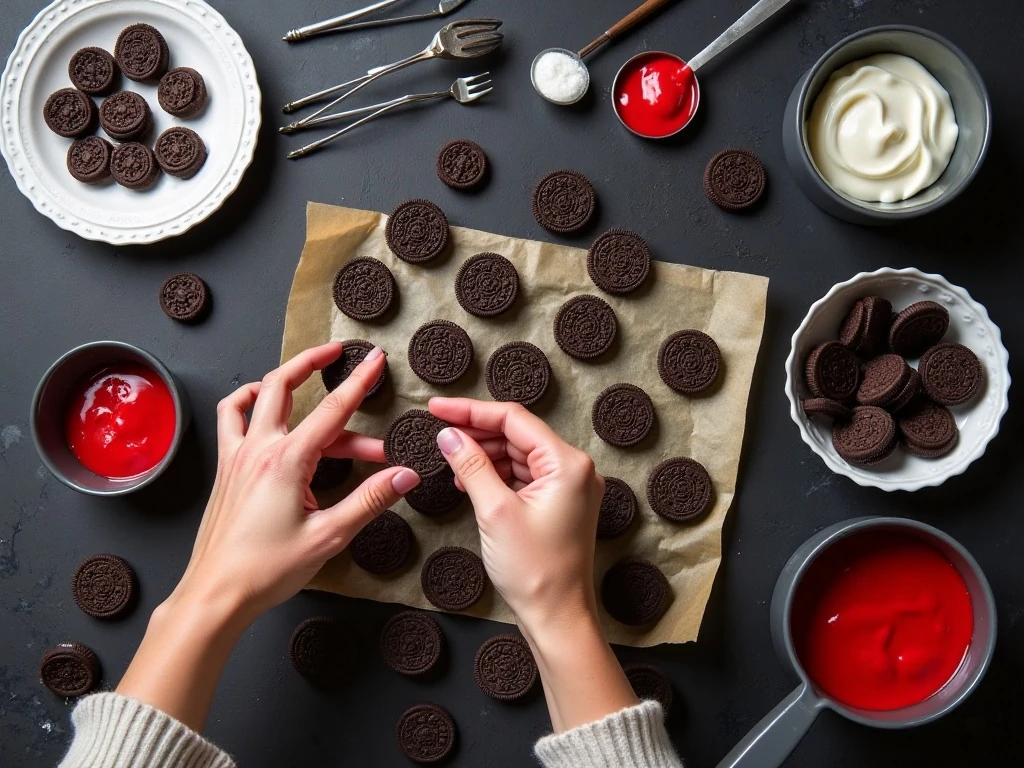
Start with 24 Oreo sandwich cookies and 12 ounces, or 340 grams, of white candy melts or white vanilla-flavored melting wafers. The white coating creates a clean background that makes the red decoration stand out sharply.
You will also need 2 ounces, or approximately 55–60 grams, of red candy melts. Keep 1 teaspoon of vegetable shortening or paramount crystals nearby as an optional thinning ingredient; use it only when the melted red coating needs to flow more freely.
Parchment or wax paper keeps the cookies from sticking and makes cleanup much easier. Helpful optional equipment includes microwave-safe bowls, a fork or dipping tool, and a clean food-safe toothbrush, pastry brush, fork, or bamboo skewer for making the splatter.
If you prefer to use white chocolate melting wafers instead of candy melts, choose approximately 12 ounces. Color the red portion only with oil-based or candy coloring, since regular water-based food coloring may cause melted chocolate to seize.
For a darker, moodier look, a very small amount of black or brown gel coloring may be mixed into the red coating. This is optional, and the vivid red version is already striking against the white shell.
How to Make It Step-by-Step

Step 1: Line a baking sheet with parchment paper and place it on a stable, level surface. Also protect the area around the sheet with extra parchment or a disposable covering because flicking candy coating can create considerable overspray.
Step 2: Place the white candy melts in a microwave-safe bowl and heat them at 50% power for 30-second intervals, stirring after every interval. When only a few pieces remain, switch to 15-second intervals and stir until the coating is completely smooth; gentle heating prevents scorching.
Step 3: Dip each Oreo completely into the white coating, or coat just the top and sides if you want some of the dark cookie to show. Lift it with a fork or dipping tool, tap gently to remove excess coating, and slide the cookie onto the parchment.
Step 4: Let the white-coated cookies set for 10–15 minutes at room temperature, or refrigerate them for about 10 minutes. A firm surface is important because the red coating will sit on top instead of sinking into or smearing across the white shell.
Step 5: Melt the red candy melts in a separate microwave-safe bowl, using gentle intervals and frequent stirring. If the mixture seems too thick for splattering, stir in the optional 1 teaspoon of vegetable shortening or paramount crystals until the coating becomes fluid.
Step 6: Dip the bristles of a clean, food-safe toothbrush or pastry brush into the red coating, then hold it over the cookies and flick the bristles with a finger. Test the motion over a scrap of parchment first, and adjust the distance and pressure until you get the size of droplets you want.
Step 7: Add smaller marks with a fork or bamboo skewer if desired. A thin red coating creates fine droplets, while a slightly thicker coating produces larger splashes; if the red decoration runs too much, let it cool slightly before trying again.
Step 8: Let the finished cookies set completely for about 15 minutes at room temperature or 10–15 minutes in the refrigerator. Once firm, transfer them to an airtight container and keep them at cool room temperature until serving.
Pro Tips for the Best Splatter
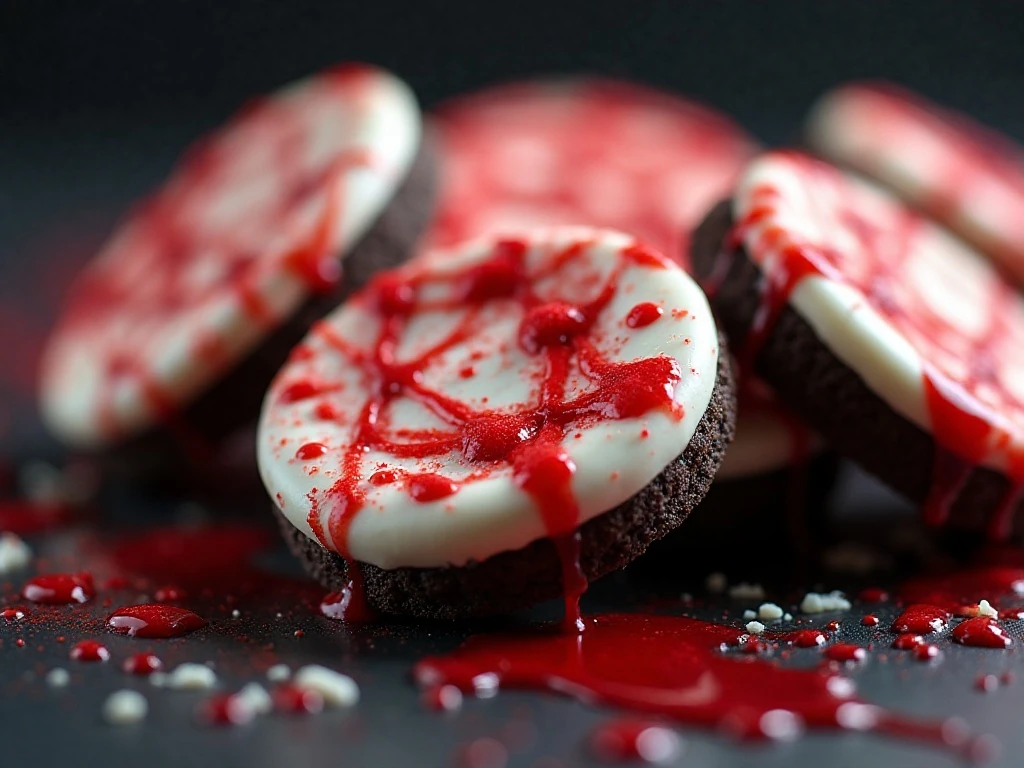
Briefly chilling the white-coated cookies is one of the most useful techniques in this recipe. A cool, firm surface gives the red candy coating something solid to grip, resulting in crisp marks rather than muddy streaks.
Work with a small amount of red coating on the brush at first. Too much coating can create one large puddle instead of a convincing pattern, while repeated light flicks allow you to build depth gradually.
Hold the brush closer to the cookie for larger marks and farther away for a finer mist. Rotate the baking sheet as you work so the splatter appears on different edges and faces instead of forming the same pattern on every cookie.
Keep the red coating warm enough to flow but not hot. If it becomes stringy or thick, warm it gently and stir; if it runs excessively, pause for a short time and allow it to cool slightly.
For a seasonal cookie assortment, place these dramatic treats beside pumpkin spice cookies. The orange-brown spices and bright red splatter create a colorful Halloween dessert table without requiring another complicated decorating method.
Serving Ideas for Halloween

Serve the cookies on a black, white, or silver platter so the white coating and red splatter remain the visual focus. A few faux spider webs, plastic spiders, or small paper tombstone decorations around the platter can complete the display without touching the food.
For a Halloween dessert bar, stack some cookies flat and lean a few against a small bowl or cake stand. The variation in height helps the red patterns catch the light and makes the platter look full even before every cookie is served.
These cookies are a natural companion to hot cocoa, coffee, or cold milk. If your guests prefer a more traditional cookie selection, add these soft old-fashioned cookies for a tender contrast to the crisp candy shell.
They also work well as individually wrapped party favors. Use clear treat bags tied with black or orange ribbon, making sure the coating has fully set before packaging so the red marks do not transfer.
Storage and Make-Ahead Advice
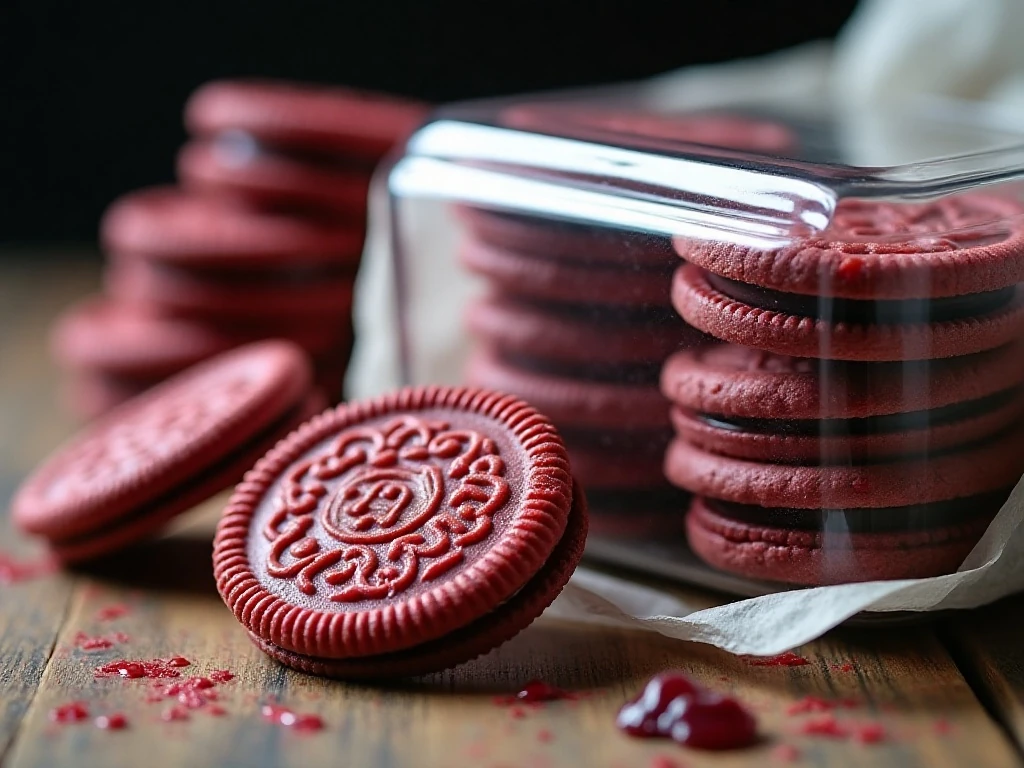
Once completely set, store the cookies in an airtight container at cool room temperature. Keep them away from heat, direct sunlight, and humidity, all of which can soften the candy coating or cause decorations to lose their crisp appearance.
Place parchment between layers if you need to stack the cookies. This helps protect the white coating and prevents the red splatter from rubbing against the underside of another cookie.
The recipe is convenient to make ahead for a party because the finished cookies need no reheating. For another make-ahead Oreo dessert idea, consider pairing the platter with this no-bake Oreo pie for a creamy centerpiece.
If you are building a larger cookie table, include a chewy option such as soft batch oatmeal chocolate chip cookies. The mix of textures keeps the dessert spread interesting while these blood-spatter cookies provide the unmistakable Halloween centerpiece.
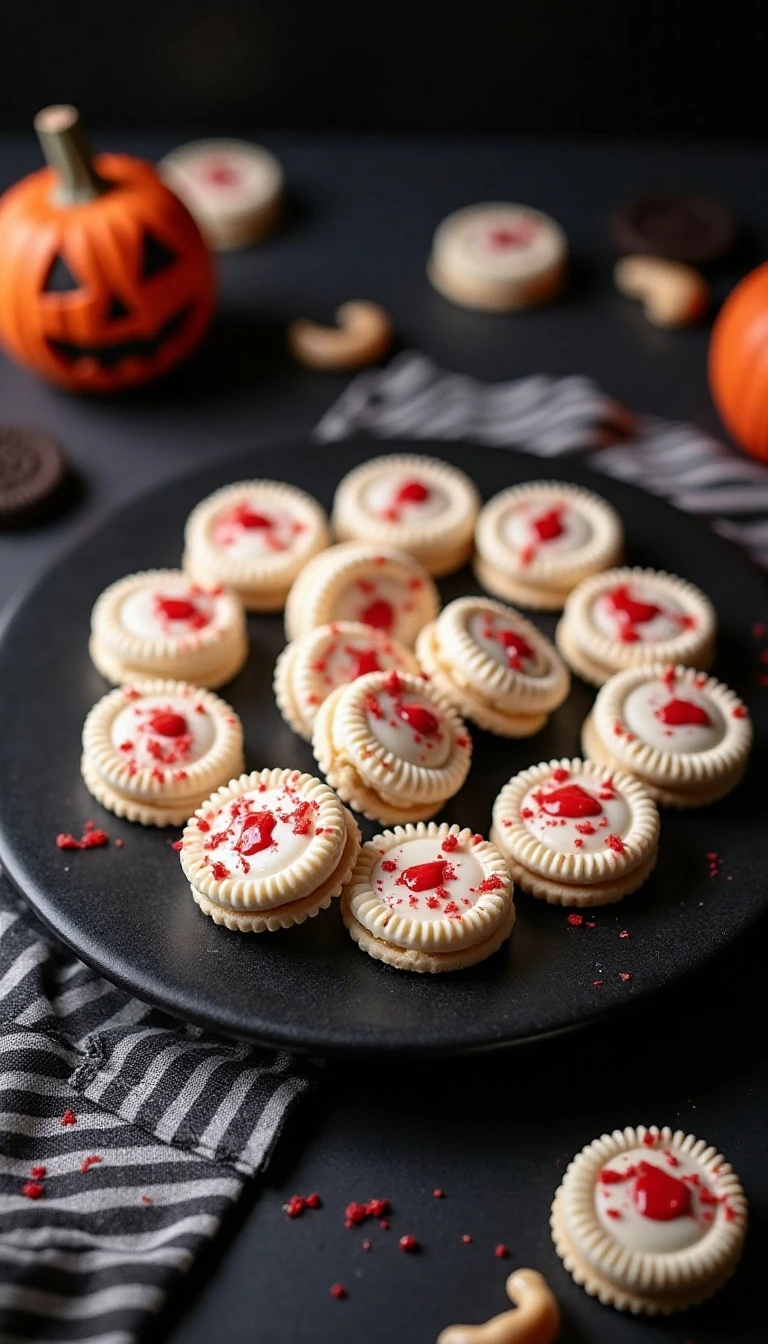
Blood-Spatter Oreo Cookies
Ingredients
Method
- Line a baking sheet with parchment paper. Set the prepared sheet near your work area so the freshly dipped cookies can be transferred without carrying them far.
- Melt the white candy coating in a microwave-safe bowl at 50% power in 30-second intervals, stirring after each interval. Continue with 15-second intervals until smooth, taking care not to overheat or scorch it.
- Dip each Oreo completely, or coat only the top and sides, using a fork or dipping tool. Tap gently to remove excess coating, then place each cookie on the parchment-lined baking sheet.
- Allow the white coating to set for 10–15 minutes at room temperature, or refrigerate the cookies for about 10 minutes. The coating should feel firm before the red decoration is added.
- Melt the red candy melts in a separate bowl. Stir in 1 teaspoon of vegetable shortening or paramount crystals only if the red coating is too thick to flick easily.
- Dip the bristles of a clean, food-safe toothbrush or pastry brush into the red coating and flick it over the white-coated Oreos. Use a fork or bamboo skewer for smaller streaks and drops, and protect the surrounding work area from overspray.
- Let the cookies set completely for about 15 minutes at room temperature or 10–15 minutes in the refrigerator. Store the finished cookies in an airtight container at cool room temperature.
Notes
Final Thoughts
Blood-Spatter Oreo Cookies prove that a memorable Halloween dessert does not need a long ingredient list or advanced pastry skills. With 24 Oreo cookies, white and red candy melts, a little patience, and a flicking tool, you can create a spooky treat in under an hour.
For the cleanest finish, melt the coatings gently, chill the white shells before decorating, and protect your work surface before creating the splatter. Let the cookies set fully before stacking or wrapping them, then serve them on a dark platter for the strongest contrast.
Most importantly, have fun with the pattern. Make some cookies lightly speckled, give others dramatic streaks, and let the assortment look wild and wonderfully imperfect. These sweet, crunchy, eye-catching Oreos are ready for Halloween parties, school-safe celebrations where permitted, movie nights, and any gathering that calls for a deliciously spooky bite.