This Easy Weight Watchers Taco Salad in a Jar Recipe makes four colorful, make-ahead salads in about 25 to 30 minutes. Each 32-ounce wide-mouth jar is layered with salsa, seasoned extra-lean ground turkey or 93% lean beef, black beans, corn, tomatoes, reduced-fat cheese, and crisp romaine for a filling lunch that is easy to portion and carry.
Every bite brings the savory flavor of taco-seasoned meat, sweet corn, creamy beans, juicy tomatoes, tangy salsa, and fresh lettuce together. The jars stay refrigerated for 3 to 4 days, making them a practical choice for weekday lunches, light dinners, picnics, or busy meal-prep mornings.
Jump to RecipeWhy You’ll Love This Recipe
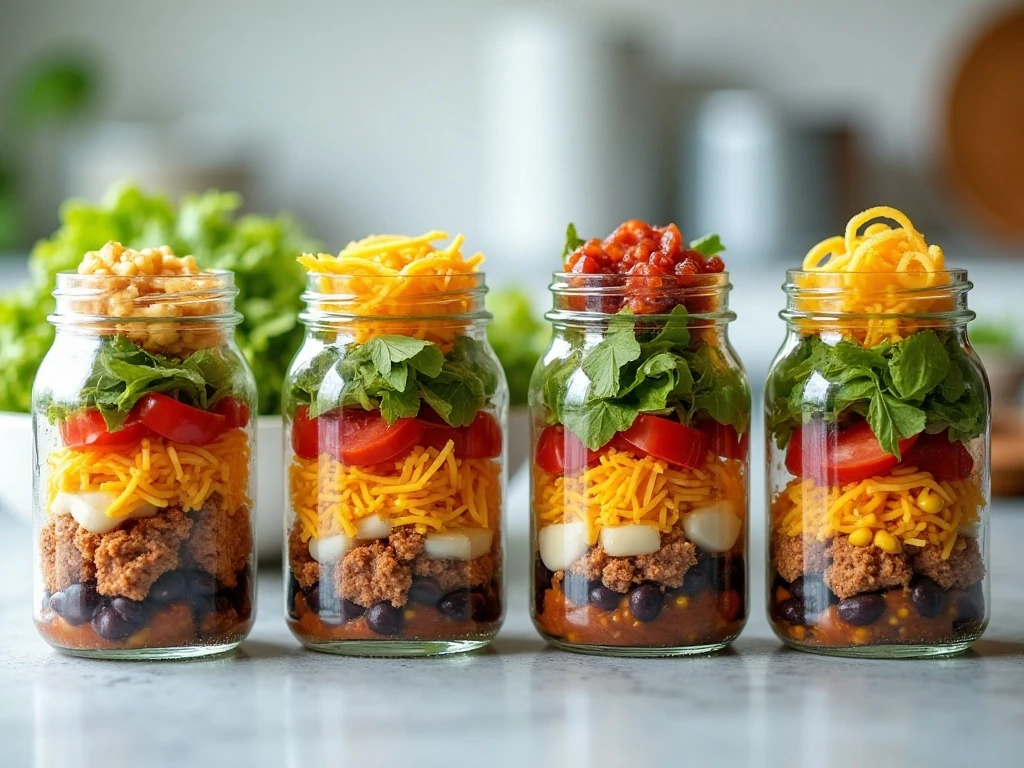
This taco salad in a jar has all the familiar comfort of a classic taco salad, but the individual portions make meal planning wonderfully simple. You can prepare all four jars at once, place them in the refrigerator, and have a ready-to-go lunch whenever hunger strikes.
The recipe is also flexible without losing its basic structure. Use extra-lean ground turkey for a lighter flavor, 93% lean beef for a richer taco taste, or a meatless ground substitute when you want a vegetarian-style option.
Because the salsa sits at the bottom and the lettuce stays at the top, the greens are protected from excess moisture until you turn the salad into a bowl. That clever order keeps the vegetables crisp and gives every forkful a balanced combination of toppings.
If you enjoy preparing practical salads ahead, our chicken club pasta salad is another satisfying option for lunches, gatherings, and easy family meals.
Ingredients You’ll Need
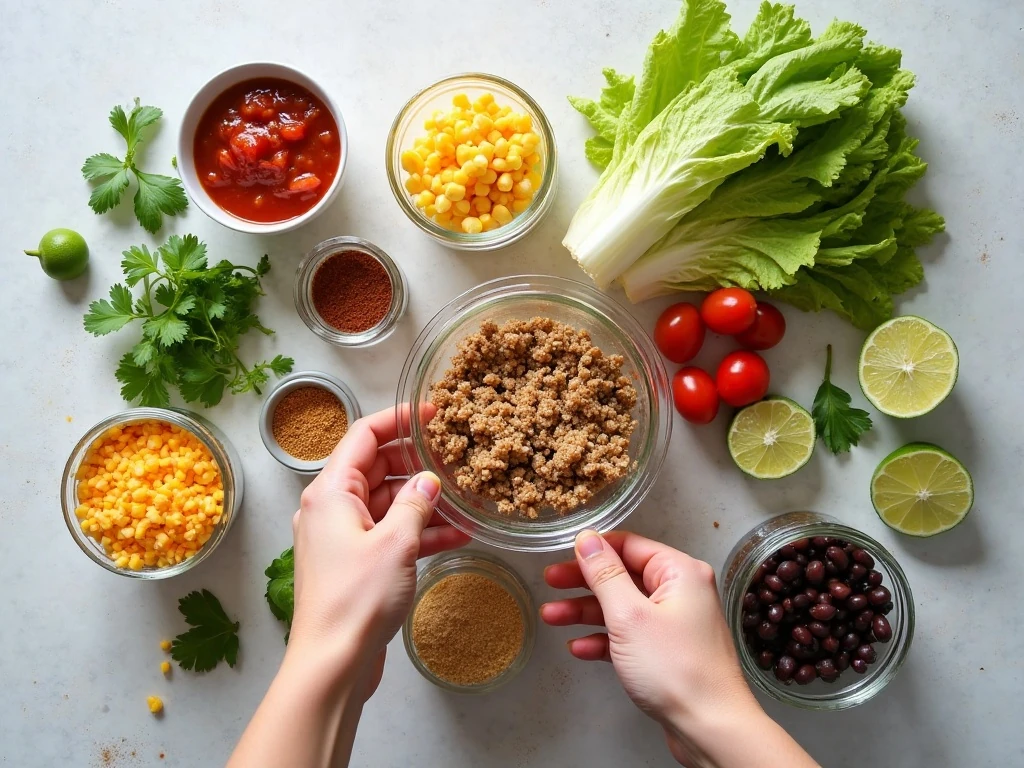
The ingredient list is short, colorful, and easy to find at any grocery store. For four salads, gather four clean 1-quart or 32-ounce wide-mouth jars with lids.
- Lean meat: Use 1 pound of extra-lean ground turkey or 93% lean ground beef.
- Taco seasoning: A 1-ounce packet works well, or use 2 tablespoons of homemade taco seasoning.
- Fresh and canned toppings: You will need 1 cup each of rinsed black beans, corn, and halved cherry tomatoes.
- Salsa and cheese: Divide 1 cup of salsa and 1/2 cup of reduced-fat Mexican-blend or cheddar cheese among the jars.
- Lettuce: Eight cups of chopped romaine provide a crisp, sturdy base that holds up well in the refrigerator.
- Optional creamy layer: Add 1/2 cup plain nonfat Greek yogurt or light sour cream, divided among the four jars.
Choose a thick salsa rather than an especially watery variety when possible. A chunky tomato salsa adds texture, while a medium or hot salsa lets you control the level of heat without changing the preparation.
For another fresh, make-ahead idea, try this creamy cucumber tomato salad when you want a cool side dish to serve alongside grilled food or sandwiches.
How to Make It Step-by-Step
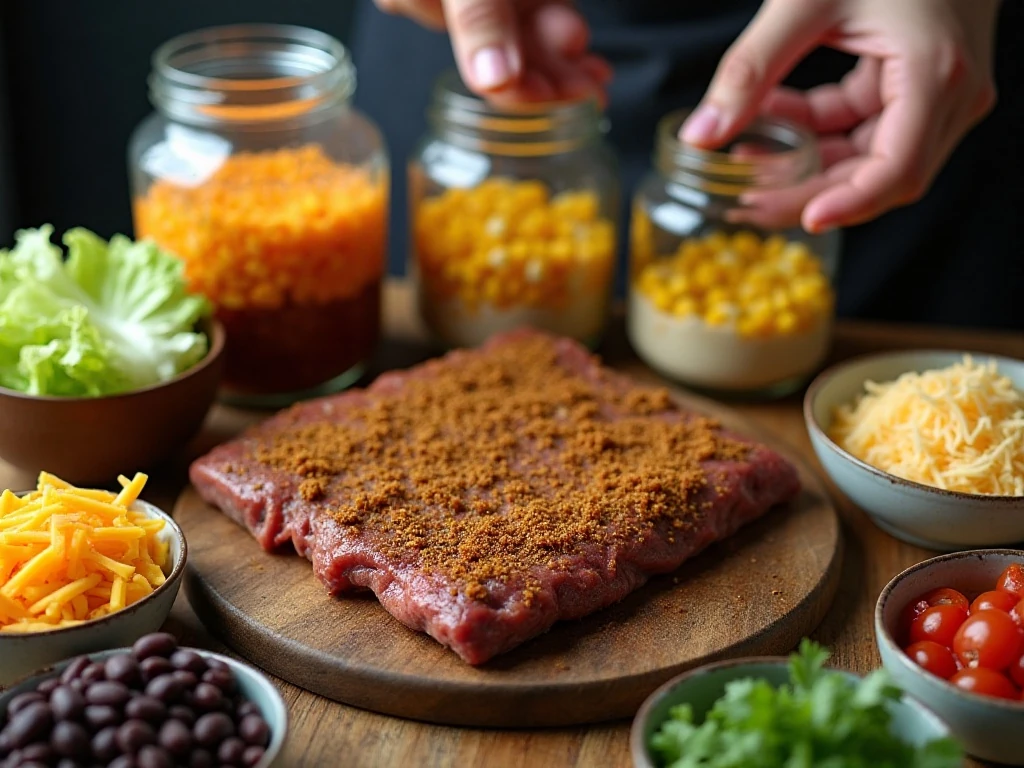
Step 1: Heat a large skillet over medium-high heat and add the ground turkey or 93% lean ground beef. Break it into small, even crumbles as it cooks, and continue for about 6 to 8 minutes, until no pink remains and the meat is fully cooked.
Step 2: Carefully drain excess fat if necessary, then return the skillet to the burner. Sprinkle in the taco seasoning, add 1/4 cup water, and simmer for 2 to 3 minutes, stirring until the seasoning forms a savory coating and the liquid is absorbed.
Step 3: Transfer the cooked taco meat to a shallow bowl or plate so it cools more quickly. Do not layer warm meat into the jars, because heat creates condensation that can soften the lettuce and shorten the salads’ fresh texture.
Step 4: While the meat cools, wash and dry the romaine, halve the cherry tomatoes, and prepare the beans and corn. Drain and rinse the black beans thoroughly, and drain canned corn well so extra liquid does not collect in the jars.
Step 5: Set four clean, dry wide-mouth jars on the counter. Divide the salsa evenly, using approximately 1/4 cup in the bottom of each jar, then add the optional Greek yogurt or light sour cream with the salsa or immediately above it.
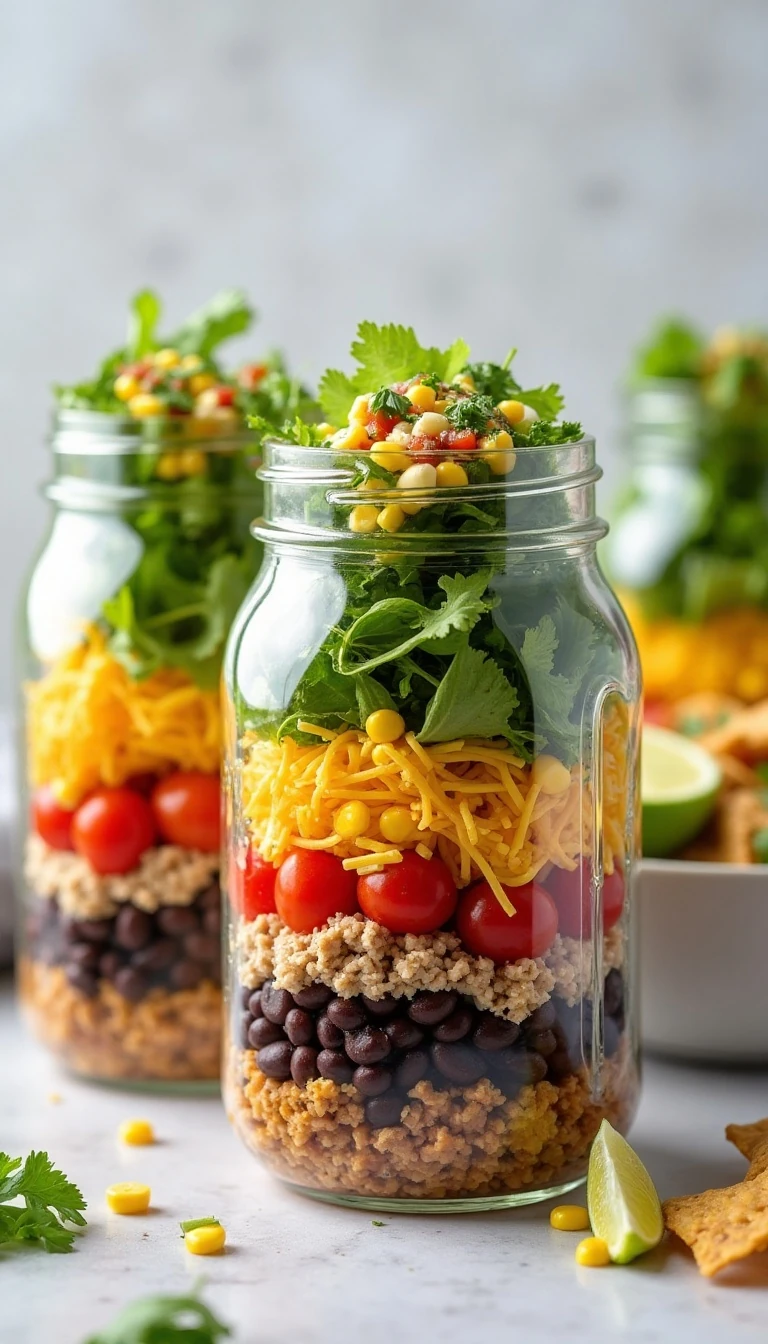
Step 6: Divide the cooled taco meat among the jars, followed by the black beans, corn, halved tomatoes, and shredded cheese. Keep the layers distinct as you work, since the clear bands of color make these salads especially appealing and help you portion the ingredients evenly.
Step 7: Add the chopped lettuce last, using about 2 cups per jar. Press it down lightly to make room for the lid, but avoid compacting it tightly because a little space helps the lettuce stay crisp.
Step 8: Wipe the jar rims if needed, secure the lids, and refrigerate the salads for at least 30 minutes. When ready to eat, turn one jar upside down into a bowl, let the salsa and fillings cover the lettuce, and toss until combined.
Layering Order for Crisp Results
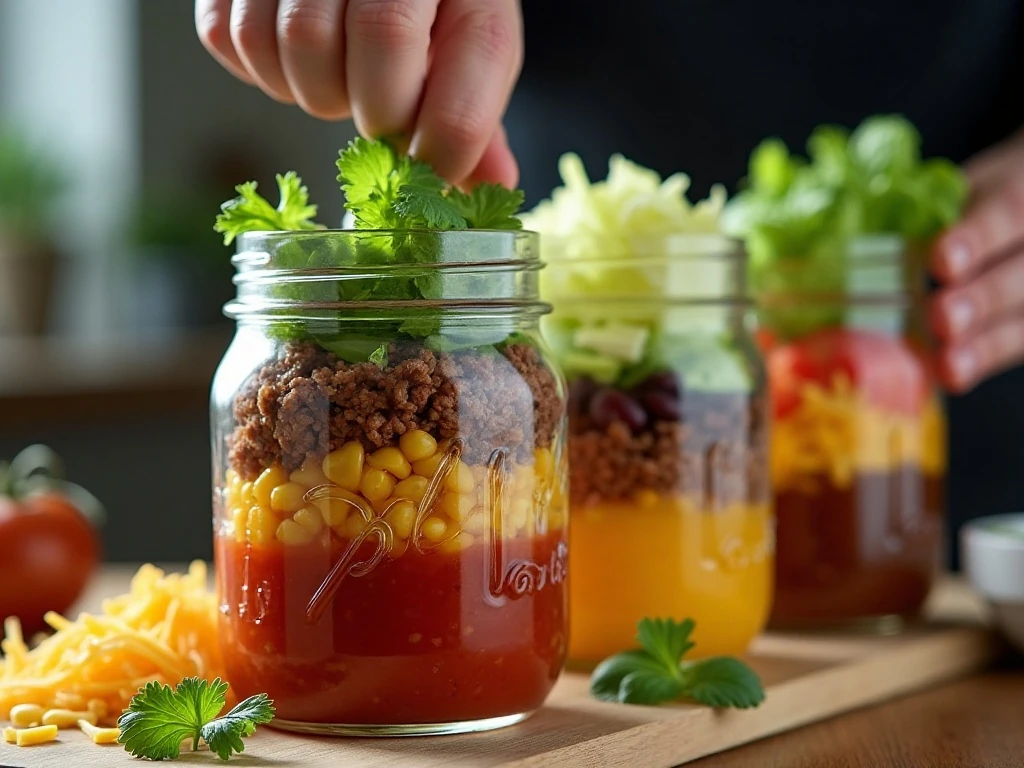
The order of the layers is the secret to a successful jar salad. Start with the wet ingredients and finish with the greens so moisture travels through the heartier ingredients before reaching the lettuce.
- Bottom: Salsa and optional Greek yogurt or light sour cream.
- Next: Cooled taco meat.
- Then: Black beans, corn, tomatoes, and cheese.
- Top: Chopped romaine or another sturdy lettuce.
Beans, corn, and tomatoes form a useful barrier between the salsa and lettuce. The cheese also adds a little protection while bringing a salty, creamy note to the finished salad.
Wide-mouth jars are preferable because they are easier to fill, clean, and empty into a bowl. If your jars have narrow openings, you can still use them, but layering and serving will be less convenient.
When you are craving a heartier comfort-food meal instead, this ground beef chili with a bread bowl is a cozy recipe to keep on your dinner list.
Chef’s Tips and Easy Substitutions
Fully cool the seasoned meat before assembling, and make sure the jars and vegetables are dry. Even a small amount of trapped warmth or water can create condensation and cause the lettuce to wilt more quickly.
- Change the protein: Ground chicken, lean beef, or a meatless ground substitute can replace the turkey.
- Switch the beans: Pinto beans are a delicious alternative to black beans and add a slightly softer texture.
- Lighten the creamy topping: Plain nonfat Greek yogurt is commonly used instead of sour cream.
- Reduce the cheese: Use less cheese and add extra salsa for a lighter version with plenty of moisture and flavor.
- Add crunch at the table: Crushed tortilla chips or tortilla strips should go on immediately before serving.
- Adjust the heat: Choose mild salsa for family-friendly jars or add jalapeño and hot salsa for a spicier salad.
For the best flavor, use lettuce with firm ribs and a fresh, dry appearance. Romaine is the classic choice, but another sturdy lettuce can work as long as it will remain crisp after several days in the refrigerator.
If you are planning a cold-lunch menu, our deli-style tuna salad offers another easy protein-filled recipe that can be served in sandwiches, lettuce cups, or alongside crackers.
Storage and Serving Suggestions
Keep the sealed jars refrigerated and allow at least 30 minutes of chilling time before serving. Properly layered salads generally keep for 3 to 4 days in the refrigerator, although the lettuce is usually at its crispest during the first few days.
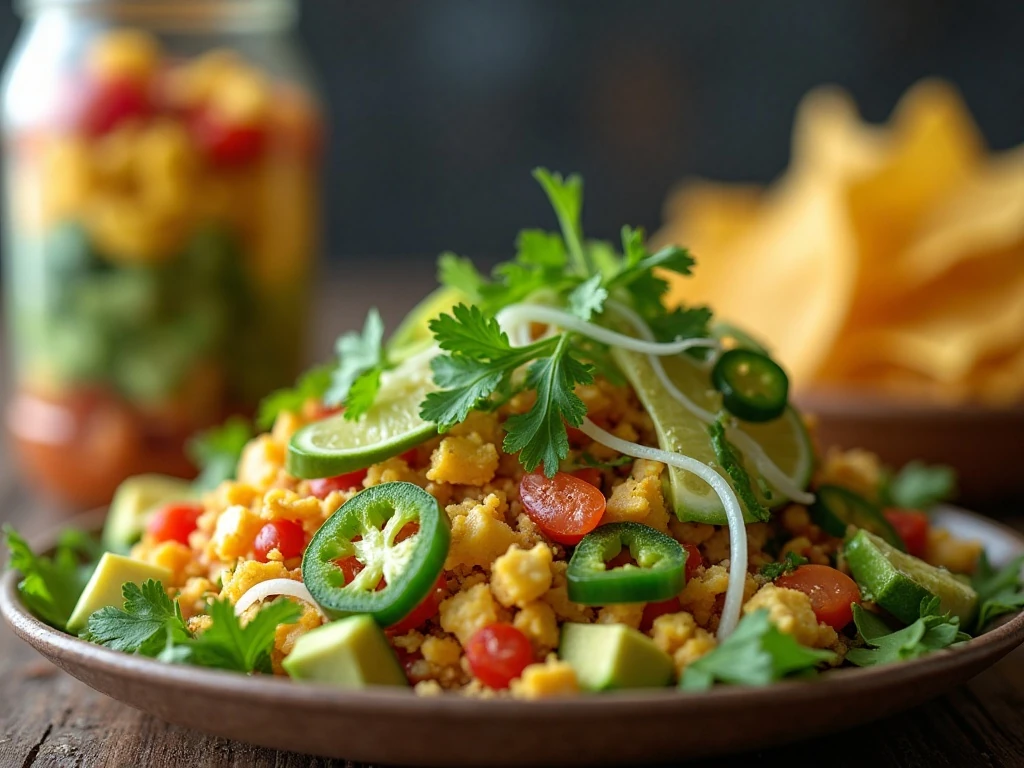
Do not add avocado, cilantro, lime juice, or crushed tortilla chips until you are ready to eat. Avocado can darken, herbs can lose their freshness, and tortilla chips can become soft when stored against the salsa.
These jars are ideal for packed lunches because the ingredients are already portioned. Place the jar in an insulated lunch bag with a cold pack if it will be away from the refrigerator, and pour it into a bowl at mealtime for the easiest tossing.
There is no reheating required for this recipe. The taco meat is cooked before assembly, then the entire salad is served cold or cool, which makes it especially useful during warm weather.
Ways to Customize Your Taco Salad
Once you understand the layer order, you can personalize the jars while keeping the same basic quantities. Try a smoky salsa, a squeeze of lime, or a sprinkle of fresh cilantro to change the flavor without adding much preparation time.
For more crunch, add tortilla strips at serving time rather than during meal prep. Diced avocado is another excellent finishing touch, bringing a buttery texture that contrasts with the crisp romaine and juicy tomatoes.
You can also make each jar slightly different for your household. Keep one mild, make another spicy with jalapeño, use pinto beans in one jar, or leave out cheese and add extra salsa according to individual preferences.
Serve the taco salads as a light main course or pair them with fresh fruit for lunch. For dessert after a taco-inspired meal, these Weight Watchers pumpkin bars make a warmly spiced sweet finish.
Easy Weight Watchers Taco Salad in a Jar
Ingredients
Method
- Brown the ground turkey or 93% lean ground beef in a skillet over medium-high heat, breaking it into small crumbles. Cook for about 6 to 8 minutes, until the meat is no longer pink.
- Drain excess fat if needed, then stir in the taco seasoning and water. Simmer for 2 to 3 minutes, stirring occasionally, until the liquid is absorbed, and cool the taco meat completely.
- Prepare four clean, dry 1-quart wide-mouth jars. Divide the salsa among them, using about 1/4 cup per jar, and add the optional Greek yogurt or light sour cream with the salsa or directly above it.
- Divide the cooled taco meat among the jars, placing it above the salsa layer. Add the black beans, corn, halved cherry tomatoes, and shredded reduced-fat cheese in that order.
- Top each jar with about 2 cups of chopped romaine, pressing it down lightly without packing it tightly. Seal the jars and refrigerate for at least 30 minutes before serving.
- To serve, turn a jar upside down into a bowl so the salsa and taco filling flow over the lettuce. Toss well, then add avocado, cilantro, lime juice, crushed tortilla chips, or jalapeño just before eating.
Notes
Final Thoughts
This Easy Weight Watchers Taco Salad in a Jar Recipe turns simple grocery-store ingredients into four satisfying, colorful meals. The combination of seasoned lean meat, beans, corn, tomatoes, cheese, salsa, and crisp romaine gives you plenty of flavor and texture in every serving.
Remember the three keys to success: cool the cooked meat completely, keep the salsa at the bottom, and finish with lettuce at the top. With those steps in place, your salads will be easy to store, simple to transport, and ready to toss whenever you need a quick meal.
Prepare a batch today, refrigerate the jars for at least 30 minutes, and add your favorite fresh garnishes just before serving. It is a practical salad recipe that brings taco-night flavor to weekday meal prep without requiring a complicated cooking project.