This Weight Watchers Berry Popsicles recipe makes about six refreshing fruit pops with just mixed berries, cold water, lemon juice, and a small amount of granulated sugar or calorie-free sweetener. Prep takes only 10 minutes, there is no cooking, and the popsicles need approximately 4–6 hours in the freezer, preferably overnight, before serving.
Every bite is bright, icy, and naturally fruity, with the lemon juice sharpening the berry flavor without making the pops taste sour. Use very ripe berries for the sweetest result, or choose a calorie-free sweetener if you want to keep the pops as low in Weight Watchers Points as possible; the exact Points value depends on the sweetener and current WW calculation.
Jump to RecipeWhy You’ll Love This Recipe
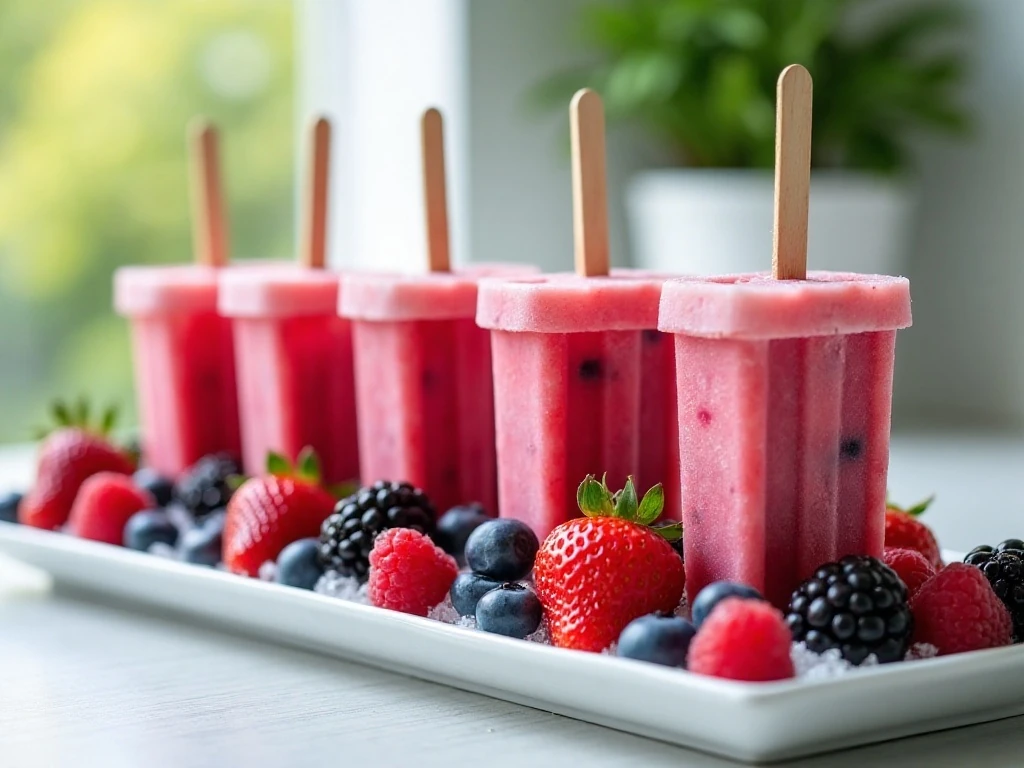
These berry popsicles are the kind of dessert that feels special while requiring almost no work. The recipe uses a short ingredient list, a blender, and six molds, so it is an excellent choice when you want a homemade frozen treat without turning on the oven.
The flavor is fresh and lively rather than heavy. Strawberries contribute a familiar sweetness, raspberries bring a gentle tang, blueberries add a deep fruit note, and blackberries provide color and richness.
They are also easy to customize without changing the basic method. Use one berry variety, combine whatever is ripe in the refrigerator, or reserve a few pieces to create a pleasant texture in every bite.
If you enjoy cool, fruit-forward desserts, you may also like this blueberry frozen yogurt bark for another simple freezer-friendly idea.
Ingredients You’ll Need

The main ingredient is 2 cups of mixed fresh berries. Strawberries, raspberries, blueberries, and blackberries all work beautifully, and a combination gives the popsicles a more interesting flavor and a jewel-toned appearance.
- 2 cups mixed fresh berries: Choose berries that are ripe, fragrant, and free from soft or moldy spots.
- 1/2 cup cold water: This helps the fruit blend into a pourable mixture and keeps the pops light and icy.
- 2 tablespoons granulated sugar or a calorie-free sweetener equivalent: Add this according to the sweetness of the fruit and your preference.
- 1 tablespoon fresh lemon juice: Lemon brightens the berries and keeps the flavor from tasting flat.
For the lowest possible Points, a calorie-free sweetener generally keeps these pops lowest in Points, but the exact value depends on the sweetener used and the current Weight Watchers program calculation. Published variations sometimes use orange juice or nonfat yogurt, but those substitutions change the flavor, texture, and Points value, so this recipe stays with the simple berry-and-lemon formula.
How to Make It Step-by-Step

Step 1: Rinse the berries under cool running water and gently pat them dry. Remove the green stems from the strawberries, then inspect the fruit once more so only fresh, flavorful berries go into the blender.
Step 2: Place the prepared berries, 1/2 cup cold water, 2 tablespoons sugar or calorie-free sweetener, and 1 tablespoon fresh lemon juice in a blender or food processor. Blend until the mixture is smooth and evenly colored, pausing to scrape down the sides if fruit clings to the bowl.
Step 3: Check the flavor before pouring. If the berries are very ripe, they may need little or no additional sweetener; if they taste tart, adjust the sweetener carefully and blend or stir again.
Step 4: For smooth pops, pour the mixture directly into six popsicle molds. For a chunkier texture, pulse the fruit only briefly or stir a few reserved chopped berries into the blended mixture before filling.
Step 5: Divide the mixture evenly among the molds, leaving a little room at the top because the liquid expands as it freezes. Insert the sticks firmly and place the molds on a level freezer shelf to prevent spills or crooked pops.
Step 6: Freeze for approximately 4–6 hours, or until completely solid. For the most dependable texture, prepare them the night before and let them freeze overnight.
Step 7: When ready to serve, briefly run the outside of each mold under warm water. Gently pull on the stick, repeating the warm-water step for a few seconds if the popsicle does not release easily.
Pro Tips for the Best Berry Pops
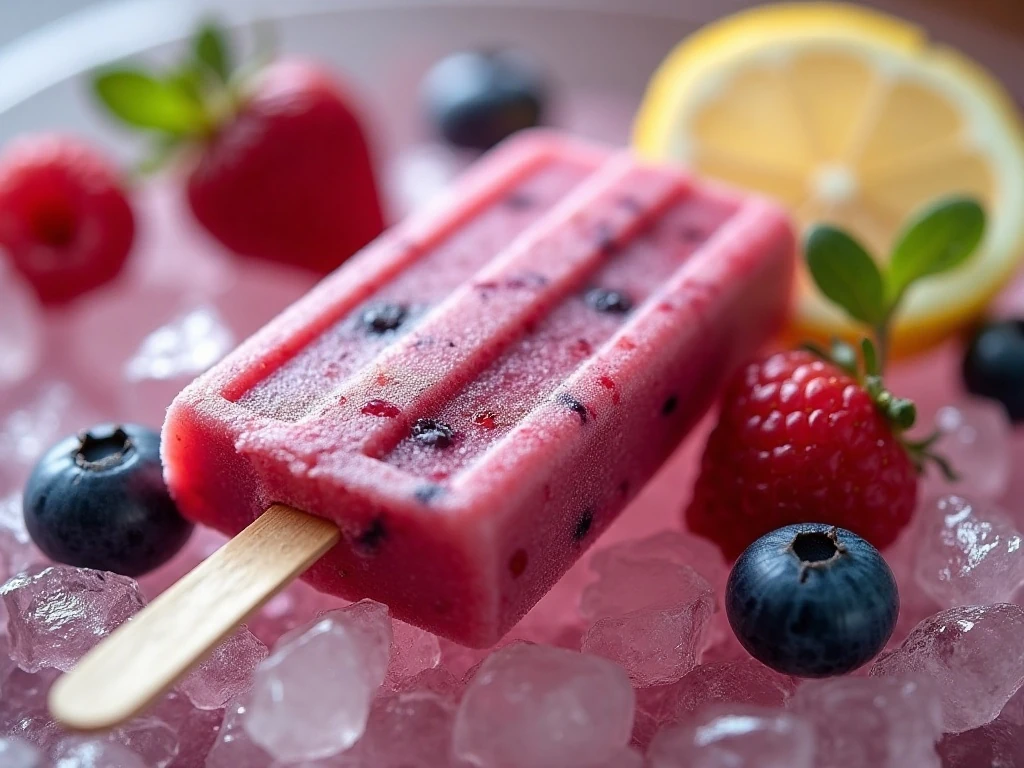
Start with the sweetest berries you can find. Very ripe fruit brings more natural flavor and may reduce the need for added sweetener, while underripe berries can make the finished pops taste sharper and less fragrant.
Do not use water that is warm or hot in the blender. Cold water keeps the mixture refreshing and gives you more time to fill the molds before the fruit begins to warm.
For a pretty layered appearance, blend one berry family at a time and carefully add the mixtures in thin layers. Freeze each layer briefly before adding the next, keeping in mind that this takes additional preparation time beyond the standard recipe.
A fine-mesh strainer can remove raspberry or blackberry seeds if you prefer a silky texture, although straining is optional. If you strain the mixture, press the pulp gently to capture as much flavorful juice as possible.
Want more portion-conscious dessert inspiration after making these? Browse these Weight Watchers cookie recipes for baked treats to enjoy when the weather is cooler.
Serving Suggestions

Serve the popsicles immediately after releasing them from the molds, while they are firm but easy to bite. A small bowl of fresh berries on the side makes the presentation colorful and adds a fresh contrast to the icy texture.
For a simple dessert platter, arrange the pops on crushed ice and garnish with a few lemon slices. Keep the fruit garnish separate until serving so it stays crisp and attractive.
These pops are especially welcome after a grilled dinner, picnic lunch, or sunny afternoon snack. Their bright flavor also makes them a refreshing palate cleanser between heavier courses.
If you are serving guests, release the popsicles shortly before everyone sits down. Once removed from the molds, they soften gradually, so a quick transfer from freezer to plate gives the best texture.
Storage and Freezing Advice
Keep the popsicles in their molds until you are ready to eat them whenever possible. The molds protect the surface from freezer odors and help prevent the pops from drying out.
If you need to remove them in advance, wrap each popsicle individually in freezer-safe wrap and place them in a sealed freezer bag or airtight container. Label the container with the date so you can keep track of freshness and avoid unnecessary freezer burn.
Always freeze the molds on a flat surface. An uneven shelf can cause spills, uneven filling, or sticks that freeze at an angle, which makes the pops more difficult to release.
Do not pour the mixture completely to the rim. Leaving a little headspace is important because the berry mixture expands as it freezes.
Easy Variations to Try
For a more pronounced strawberry flavor, use strawberries as the main berry and add a smaller amount of raspberries for tang. A blueberry-blackberry combination creates a darker purple color and a rich, jammy taste.
To make a chunkier pop, reserve a few berries before blending, chop them into small pieces, and stir them into the smooth mixture. Small pieces distribute more evenly and are easier to bite once frozen.
You can also adjust the lemon flavor slightly to suit the fruit, but keep the listed 1 tablespoon as the starting point. The lemon should support the berries rather than dominate them.
Some published versions use orange juice instead of water, while creamy versions add nonfat yogurt. Those choices can be delicious, but they change the recipe’s flavor, consistency, and Weight Watchers Points value, so use the basic formula when you want the simple fruit-and-lemon version.
For a warm-weather dessert table with another fruit-based option, pair these pops with this peach dump cake. The contrast between a cold berry pop and a soft peach dessert makes a generous spread without requiring complicated decorating.
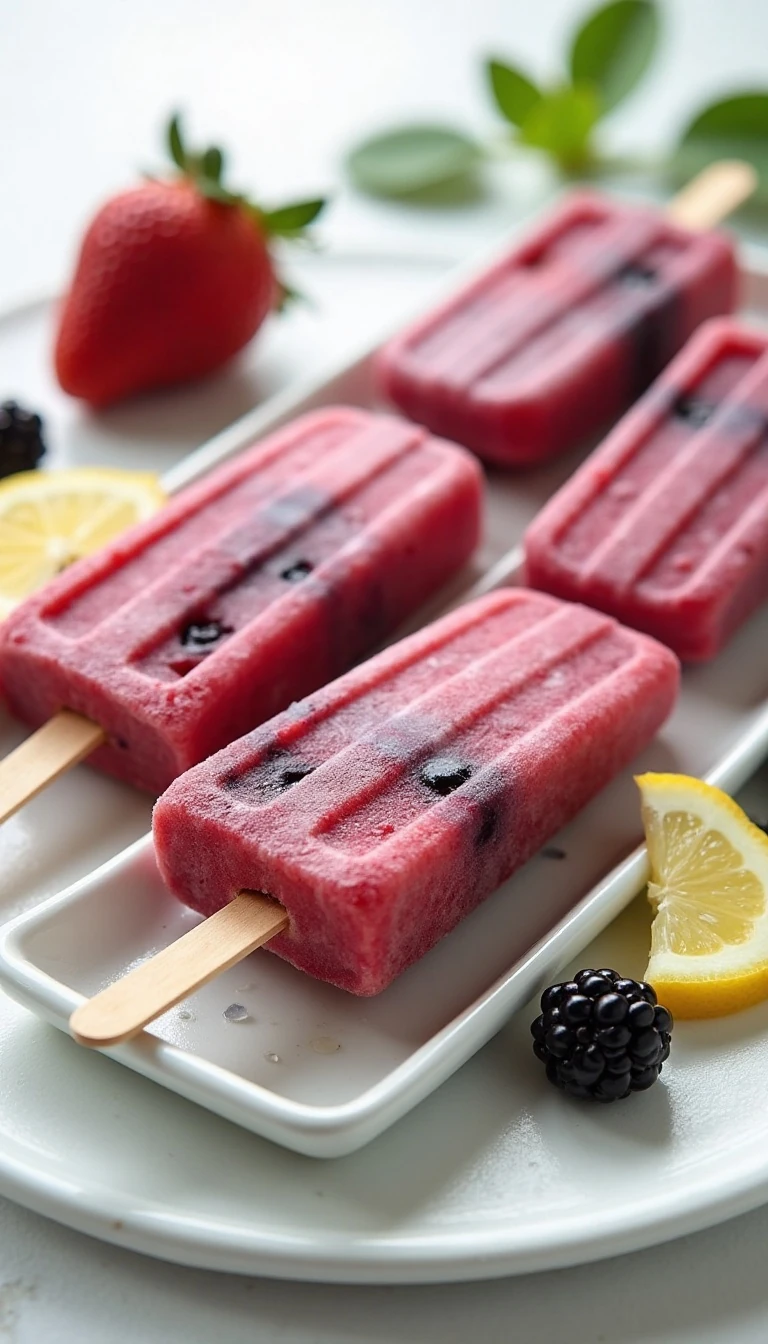
Weight Watchers Berry Popsicles
Ingredients
Method
- Rinse the berries thoroughly and remove the strawberry stems if using. Add the prepared berries, cold water, sugar or calorie-free sweetener, and fresh lemon juice to a blender or food processor.
- Blend the mixture until smooth, stopping to scrape down the sides if needed. For a chunkier popsicle, pulse briefly or reserve a few berries and stir the chopped pieces into the blended mixture.
- Taste the berry mixture before filling the molds. If the fruit is tart, adjust the sweetener to suit your preference.
- Pour the mixture evenly into six popsicle molds, leaving a little space at the top for expansion. Insert the sticks according to the mold instructions.
- Freeze the popsicles for 4–6 hours, or until completely solid; freezing overnight is preferred for the firmest texture. To release one, briefly run the outside of the mold under warm water.
Notes
Final Thoughts
This Weight Watchers Berry Popsicles recipe proves that a satisfying dessert can be colorful, refreshing, and wonderfully uncomplicated. With 2 cups of fresh berries, cold water, lemon juice, and your preferred sweetener, you can prepare about six homemade popsicles in just 10 minutes of active time.
Let the berries guide the recipe: ripe fruit may need almost no sweetener, while tart fruit may benefit from the full amount. Blend until smooth for a bright, silky pop or keep a few berry pieces for a more playful, homemade texture.
Freeze the pops for 4–6 hours or overnight, then use warm water for a few seconds when releasing them from the molds. Keep the exact Points calculation in mind when choosing your sweetener, and enjoy this cool fruit dessert whenever you want a simple treat with plenty of berry flavor.