This no-bake pumpkin pie sets beautifully with unflavored gelatin, softened cream cheese, and whipped cream, so every slice is creamy yet sturdy instead of loose or soupy. The filling takes only about 25–35 minutes to prepare, needs just 3–5 minutes on the stovetop, and must chill for at least 4 hours; overnight chilling gives the cleanest slices.
Each bite has the familiar flavor of pumpkin pie, with brown sugar, cinnamon, ginger, nutmeg, and cloves folded into a light cream-cheese filling. The crisp graham-cracker crust adds a buttery contrast, making this an ideal make-ahead dessert for Thanksgiving, autumn gatherings, or any time you want pumpkin pie without turning on the oven.
Jump to RecipeWhy You’ll Love This Recipe
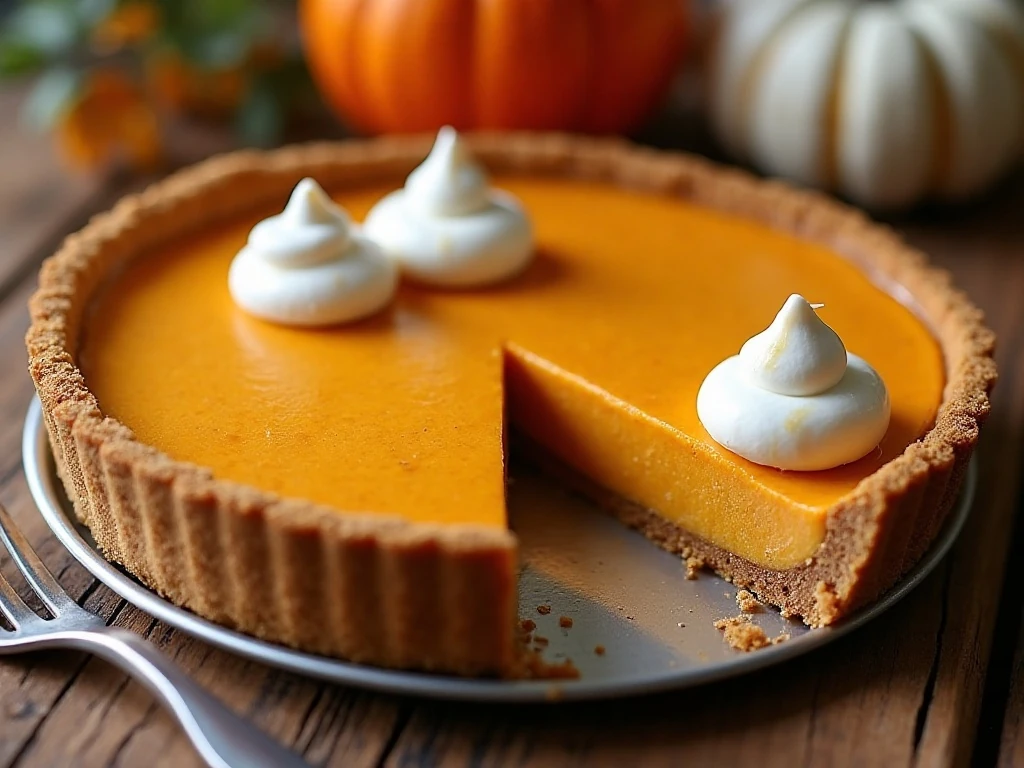
This is the kind of pumpkin dessert that looks impressive but asks very little of the cook. There is no pie dough to roll, no oven to preheat, and no water bath to manage; the prepared graham-cracker crust keeps the process wonderfully practical.
The secret to a pie that sets perfectly is the combination of bloomed gelatin and full-fat cream cheese. Gelatin provides a dependable structure, while cream cheese gives the filling body, gentle tang, and a rich cheesecake-like quality.
Whipped cream keeps the texture light rather than dense. Once chilled, the filling is soft and creamy on the fork but firm enough to hold a neat wedge.
If you enjoy chilled pumpkin desserts, you may also like this easy pumpkin cream cheese dessert, which offers another cool and creamy way to enjoy the season’s favorite flavor.
Ingredients You’ll Need
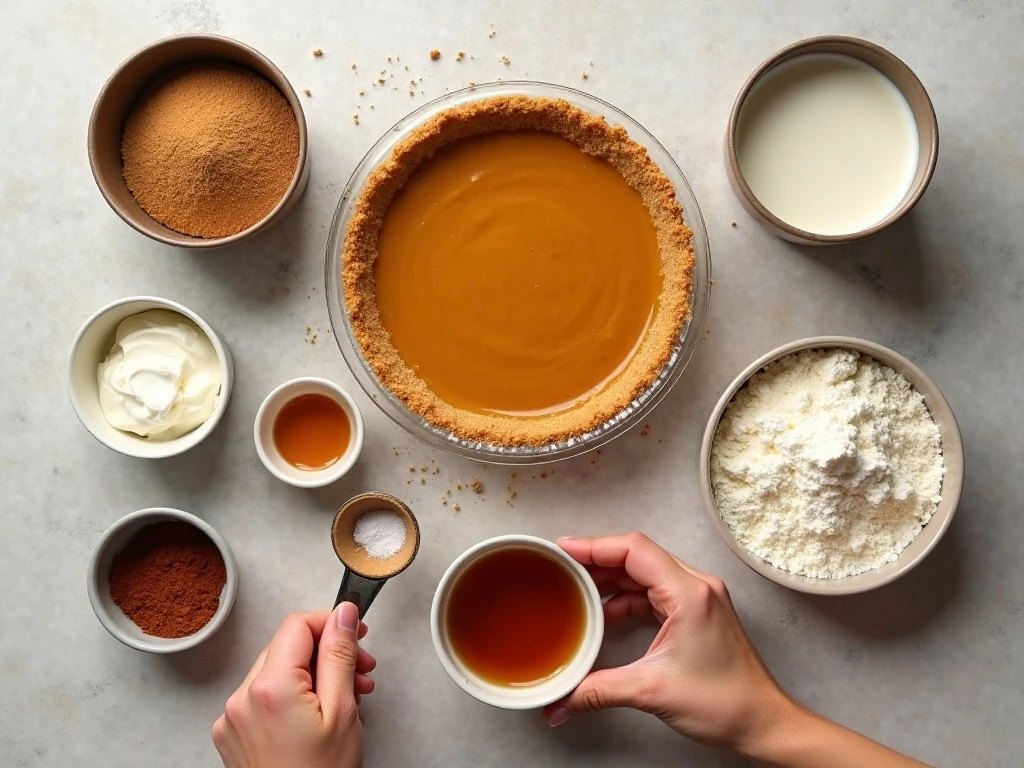
The ingredient list is short, but each component has an important job. Gather everything before you begin, especially the softened cream cheese and cold heavy cream.
- Graham-cracker crust: Use one prepared 9-inch crust weighing about 6 ounces. Its crisp, lightly sweet flavor complements the spiced pumpkin filling.
- Unflavored gelatin: One envelope, or 2¼ teaspoons, provides the dependable set. Bloom it in ¼ cup cold water before heating.
- Pure pumpkin purée: Choose a 15-ounce can labeled pumpkin purée. Do not use pumpkin-pie filling, which already contains sugar and spices.
- Brown sugar and spices: Light brown sugar adds a mellow caramel note, while cinnamon, ginger, nutmeg, cloves, and salt create classic pumpkin-pie flavor.
- Cream cheese and vanilla: Eight ounces of softened full-fat cream cheese make the filling rich and smooth. Vanilla rounds out the spices.
- Heavy cream and confectioners’ sugar: Cold heavy cream whipped with ¼ cup confectioners’ sugar creates the airy texture that makes this pie so pleasant to eat.
Full-fat cream cheese is important here because reduced-fat varieties can make the filling softer and less rich. Let the cream cheese soften at room temperature so it blends without small lumps.
How to Make It Step-by-Step
Step 1: Bloom the gelatin by sprinkling it evenly over the cold water in a small saucepan. Let it stand for 5 minutes without stirring so every granule absorbs moisture and is ready to dissolve smoothly.
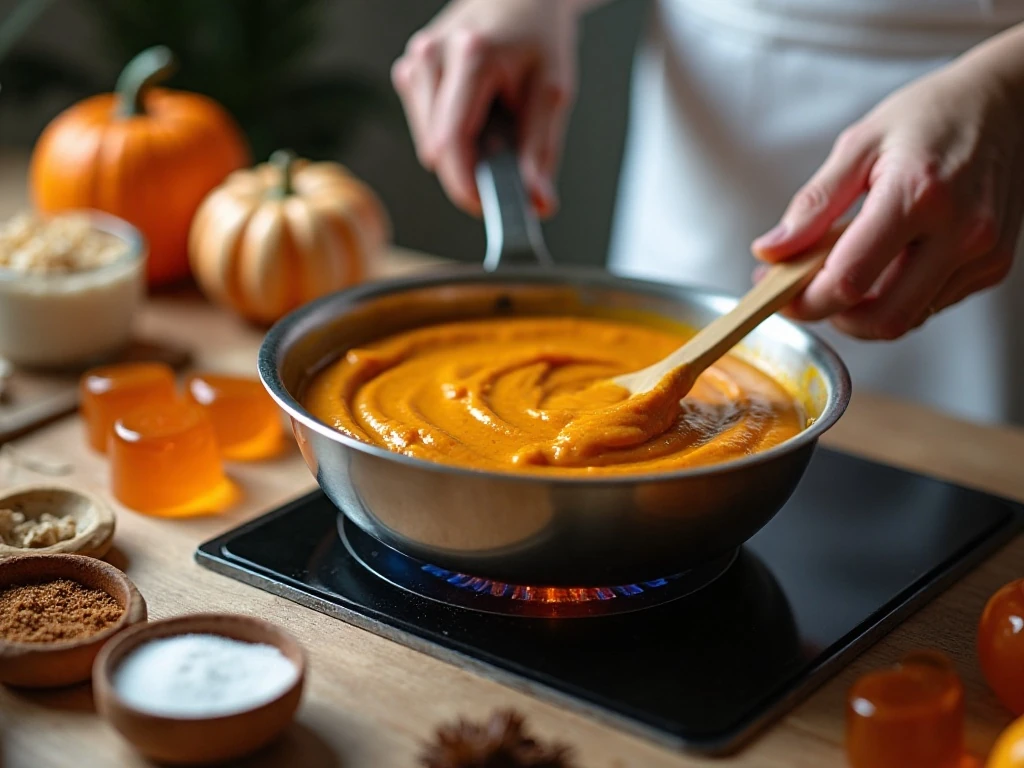
Step 2: Add the pumpkin purée, packed brown sugar, salt, cinnamon, ginger, nutmeg, and cloves to the saucepan. Set it over medium-low heat and stir constantly for about 3–5 minutes, until the gelatin has dissolved and the mixture is hot and smooth.
Step 3: Keep the pumpkin mixture below a boil. Boiling is unnecessary and can affect the final texture, so remove the pan from the heat as soon as the mixture is hot, cohesive, and free of visible gelatin granules.
Step 4: Cool the pumpkin mixture for about 10–15 minutes, stirring occasionally, until it feels warm rather than hot. This pause is essential because hot pumpkin can deflate the whipped cream later and may prevent the pie from setting properly.
Step 5: Beat the softened cream cheese and vanilla in a large bowl until completely smooth. Gradually beat in the warm pumpkin mixture, adding it in a steady stream so the cream cheese stays silky and the filling remains evenly blended.
Step 6: Pour the cold heavy cream into a separate bowl and whip it with the confectioners’ sugar to soft-to-medium peaks. The cream should hold a gentle shape but still look smooth and supple rather than dry or grainy.
Step 7: Fold the whipped cream into the pumpkin mixture in two or three additions. Use a spatula and broad, gentle strokes, turning the mixture from the bottom of the bowl, until no large white streaks remain.
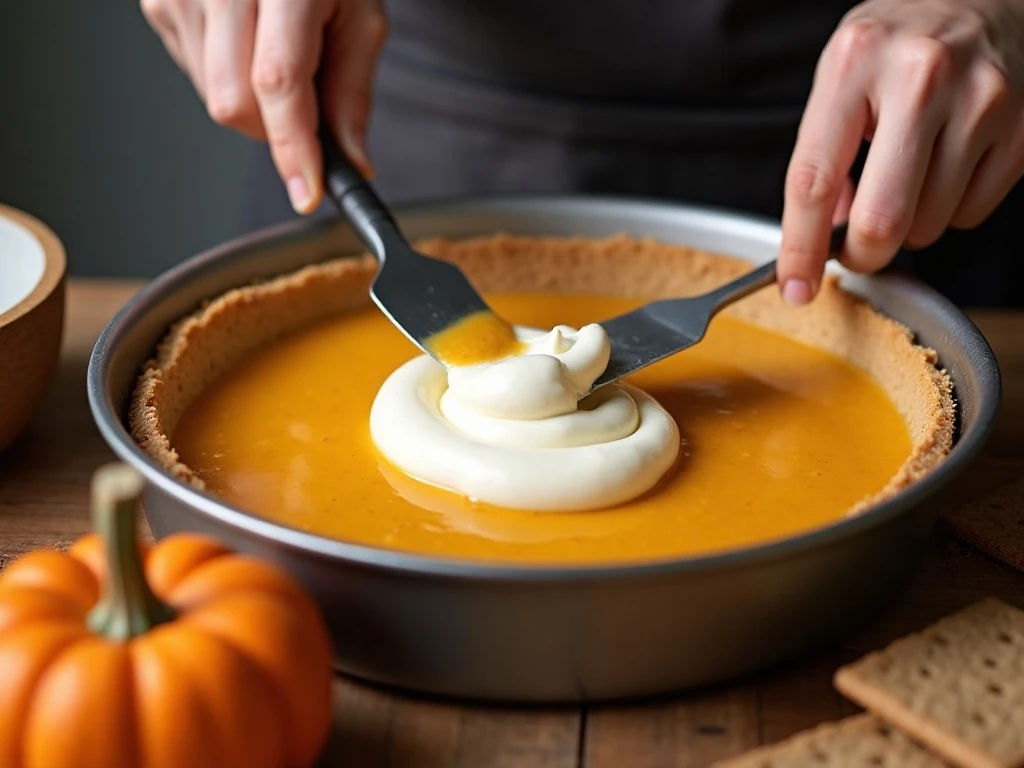
Step 8: Spoon the filling into the prepared graham-cracker crust and smooth the surface with an offset spatula or the back of a spoon. Refrigerate the pie uncovered until firm, then cover it loosely and continue chilling for at least 4 hours.
Step 9: Slice only after the pie has fully set. For especially tidy wedges, chill it overnight, then warm a knife under hot water, dry it carefully, and repeat the process before each cut.
Chef Tips for a Perfect Set
Temperature control makes the biggest difference in this recipe. The pumpkin mixture should be warm when it meets the cream cheese, but it must not be hot when the whipped cream is folded in.
Watch the gelatin mixture as it heats. Stir constantly over medium-low heat, and remove it promptly once the gelatin disappears; there is no benefit to boiling the pumpkin base.
- Bloom before heating: Skipping the 5-minute bloom can leave tiny gelatin beads in the filling.
- Use the correct canned pumpkin: Pure pumpkin purée has no added sugar or spice, allowing you to control the flavor and sweetness.
- Whip carefully: Soft-to-medium peaks fold in more easily than stiff peaks and keep the finished pie creamy.
- Chill uncovered first: This helps the surface firm without trapping excess condensation beneath plastic wrap.
- Give it time: Four hours is the minimum chilling period, while an overnight rest provides the most reliable set.
For another dessert with a firm, creamy pumpkin character, compare this method with our no-bake pumpkin cheesecake. Both are excellent make-ahead choices, though this pie has the familiar charm of a graham-cracker crust and classic pumpkin-pie spices.
Serving and Garnish Ideas
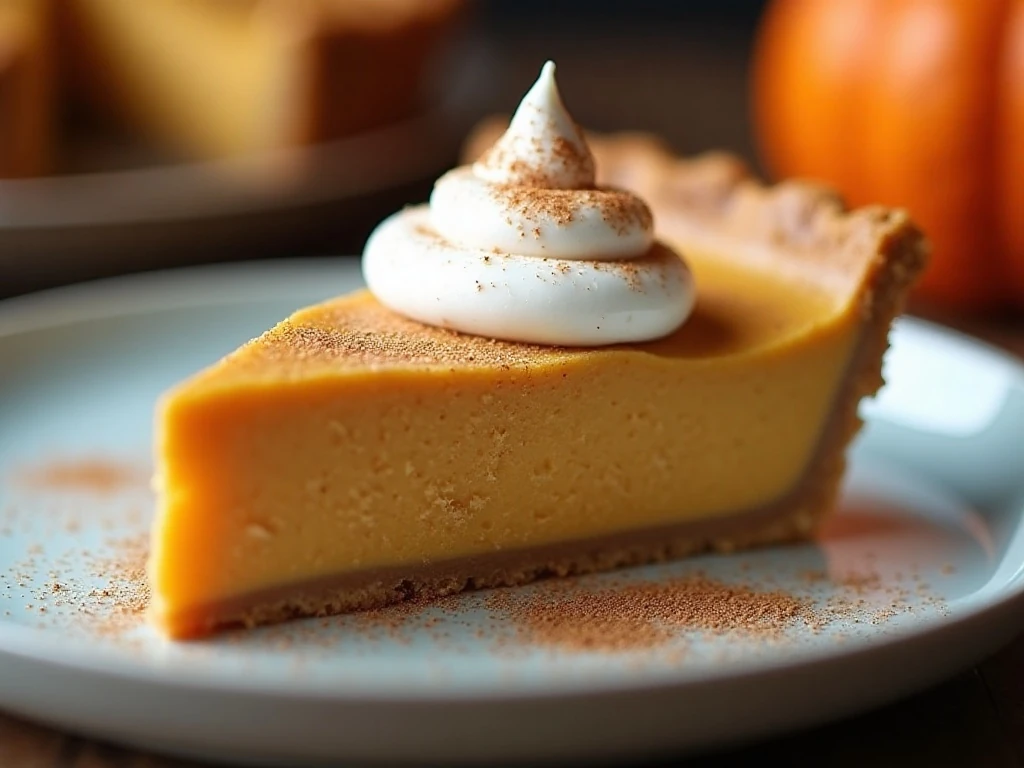
Serve each wedge cold and freshly sliced. The pie is delicious on its own, but a small garnish can make it feel especially festive without hiding the smooth pumpkin filling.
- Add a spoonful of lightly sweetened whipped cream.
- Dust the top with a pinch of cinnamon or freshly grated nutmeg.
- Scatter a few fine graham-cracker crumbs around the plate for crunch.
- Pair each slice with hot coffee, black tea, or spiced apple cider.
Keep the decoration simple so the warm spice blend remains the main attraction. If you are building a dessert table with several no-bake treats, a slice of No Bake Zebra Cake adds a striking chocolate contrast beside the pumpkin pie.
Storage, Slicing, and Make-Ahead Advice
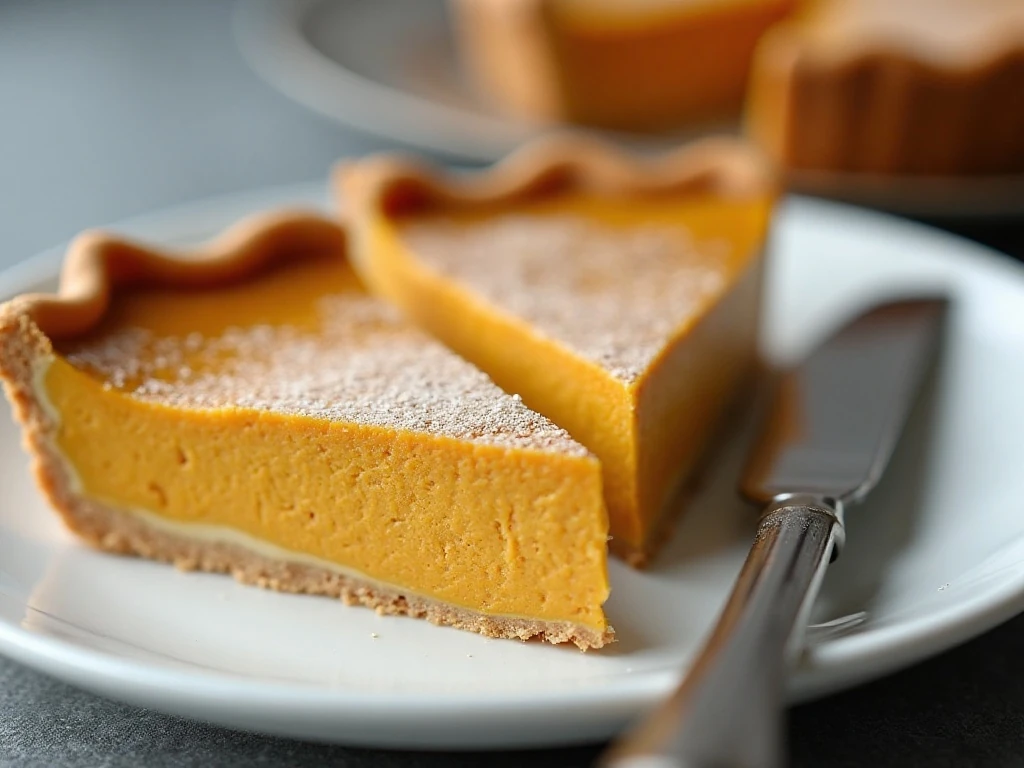
Refrigerate the pie uncovered until it is firm, then cover it loosely and keep it chilled. Because the filling contains cream cheese and heavy cream, it should remain refrigerated until serving.
Overnight preparation is ideal for a holiday meal. Making the pie the day before gives the gelatin plenty of time to set and allows the spices to settle into a fuller, rounder flavor.
Use a sharp knife warmed under hot water and dried before each cut. The warm blade passes through the chilled filling cleanly, while drying it prevents water from collecting on the crust or top.
This pie is not designed to be reheated. Serve it straight from the refrigerator, allowing only a short time at room temperature while you portion and garnish it.
How This Pie Compares with Baked Pumpkin Pie
A baked pie has a custard texture and requires oven time, while this version is cool, airy, and cheesecake-like. The gelatin-set filling is especially useful when oven space is limited or when you want to prepare dessert well ahead of dinner.
For a traditional custard version, see our classic pumpkin pie. This no-bake recipe is the better choice when you want a chilled dessert with clean slices and a lighter mouthfeel.
The two styles also differ in flavor presentation. Baked pumpkin pie emphasizes deep custard and pastry, while this recipe highlights creamy dairy, bright spices, and the buttery crunch of a graham-cracker crust.
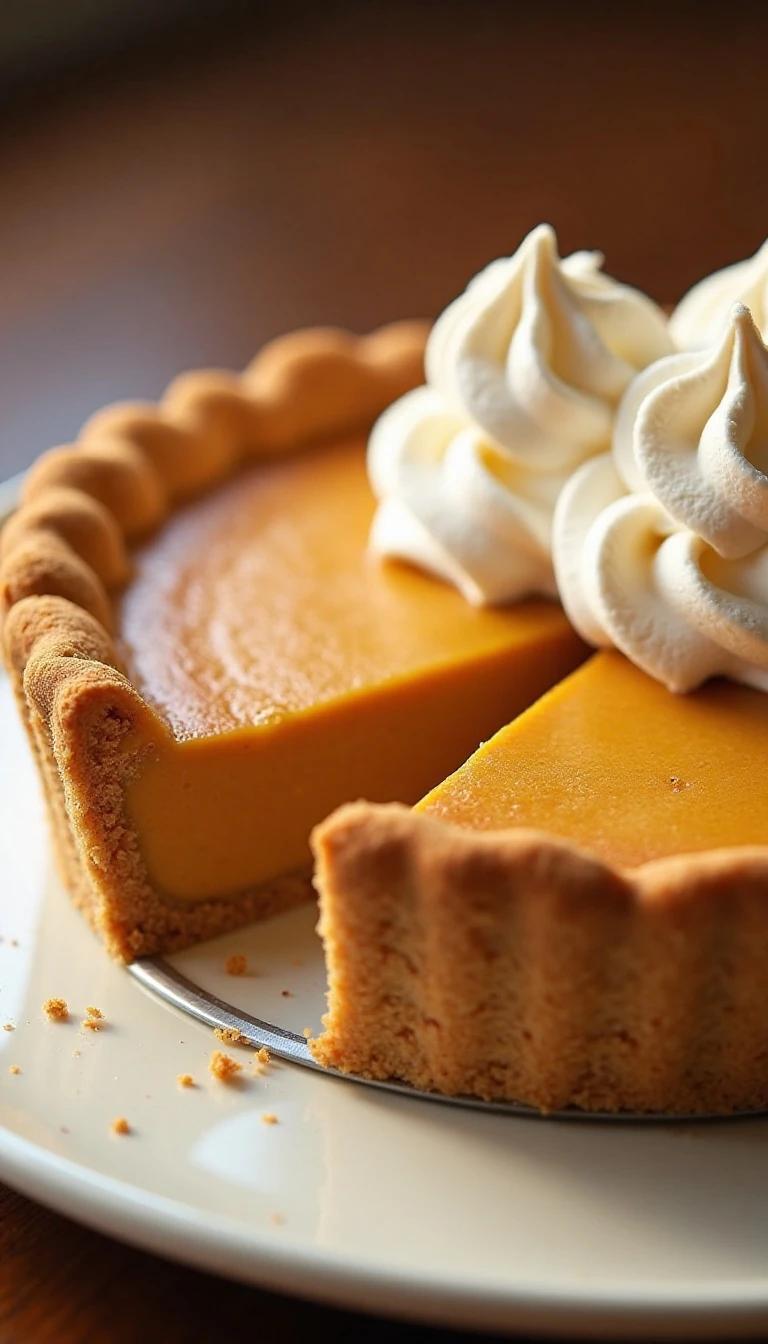
No-Bake Pumpkin Pie That Sets Perfectly
Ingredients
Method
- Sprinkle the gelatin over the cold water in a small saucepan and let it stand for 5 minutes to bloom.
- Add the pumpkin purée, brown sugar, salt, cinnamon, ginger, nutmeg, and cloves. Cook over medium-low heat, stirring constantly, until the gelatin dissolves and the mixture is hot and smooth; do not boil.
- Remove the pumpkin mixture from the heat and cool for about 10–15 minutes, until it is warm rather than hot.
- Beat the softened cream cheese and vanilla until smooth. Gradually beat in the warm pumpkin mixture until evenly combined.
- Whip the cold heavy cream with the confectioners’ sugar to soft-to-medium peaks. Fold the whipped cream gently into the pumpkin mixture.
- Spoon the filling into the prepared graham-cracker crust and smooth the top.
- Refrigerate the pie uncovered until firm, then cover it loosely. Chill for at least 4 hours before slicing; overnight is best.
Notes
Final Thoughts
This no-bake pumpkin pie delivers everything a fall dessert should: fragrant spices, creamy pumpkin flavor, a crisp graham-cracker crust, and slices that hold their shape. Blooming the gelatin, cooling the pumpkin mixture, and allowing at least 4 hours of chilling are the three details that make the result dependable.
Prepare it the night before, garnish it simply, and slice it with a warmed knife for a dessert that looks polished with very little last-minute work. If you still have pumpkin purée left for breakfast, our homemade pumpkin pancakes are a delicious way to keep the autumn menu going.