To make frozen garlic bread slices at home, spread softened garlic butter over 1/2-inch slices of French or Italian bread, freeze the slices uncovered for 1–2 hours, then store them in a freezer bag for up to 2–3 months. When you are ready to eat, bake the slices directly from frozen at 400°F (200°C) for 12–16 minutes, until the butter melts and the edges turn lightly crisp.
This homemade freezer garlic bread delivers crisp, buttery edges, a tender center, fresh parsley, and plenty of savory garlic flavor without the preservatives or extra packaging found in many store-bought options. It is an easy make-ahead side for pasta, soup, roasted vegetables, seafood, or any weeknight meal that needs a warm, fragrant slice of bread.
Jump to RecipeWhy You’ll Love This Recipe

Frozen garlic bread slices are one of the most useful homemade freezer preparations because they turn a simple loaf into a ready-to-bake side dish. You can prepare the slices in about 10–15 minutes, freeze them in portions, and bake only what your meal requires.
The flavor is fresh and balanced. Unsalted butter carries the garlic throughout the bread, parsley adds a clean herbal note, salt sharpens the seasoning, and optional Parmesan contributes a nutty, savory finish.
Individually freezing the slices also gives you control over texture. Bake them uncovered for crisp edges, or loosely cover them with foil for the first 8–10 minutes when you want a softer center and a gentler crust.
If you enjoy making bread from scratch, you can also try our homemade pita bread guide for another fresh bread project.
Ingredients You’ll Need
Choose a French or Italian loaf weighing about 14–16 ounces (400–450 grams). A loaf with a sturdy crust and a soft, open crumb works especially well because it holds the butter while still becoming tender in the oven.
- 1 loaf French or Italian bread: Slice it approximately 1/2 inch thick for even baking.
- 1/2 cup unsalted butter: Let it soften at room temperature so it spreads without tearing the bread.
- 4 garlic cloves: Finely mince or grate them for an even distribution of flavor.
- 2 tablespoons fresh parsley: Chop it finely so the herbs do not fall away from the butter.
- 1/4 teaspoon kosher salt: Add more only if needed after tasting the butter mixture.
- 2 tablespoons finely grated Parmesan: This is optional, but it adds a pleasant savory flavor and lightly crisp topping.
Use softened butter rather than melted butter. Melted butter tends to run off the bread and can pool on the baking sheet, while softened butter clings to each slice during freezing.
For another savory bread idea, browse this olive, bacon, and cheese bread when planning a party spread or a hearty brunch menu.
How to Make It Step-by-Step

Step 1: Prepare the bread by slicing it into pieces approximately 1/2 inch (1–1.25 cm) thick. If you want individual freezer portions, cut completely through the loaf; for pull-apart sections, leave the bottom connected.
Step 2: Add the softened butter, garlic, parsley, kosher salt, and optional Parmesan to a mixing bowl. Stir until the garlic and herbs are evenly distributed and no large streaks of plain butter remain.
Step 3: Spread approximately 1 to 1 1/2 teaspoons of garlic butter over one side of each slice. Apply the mixture from edge to edge, but avoid adding a thick mound that could slide off during freezing.
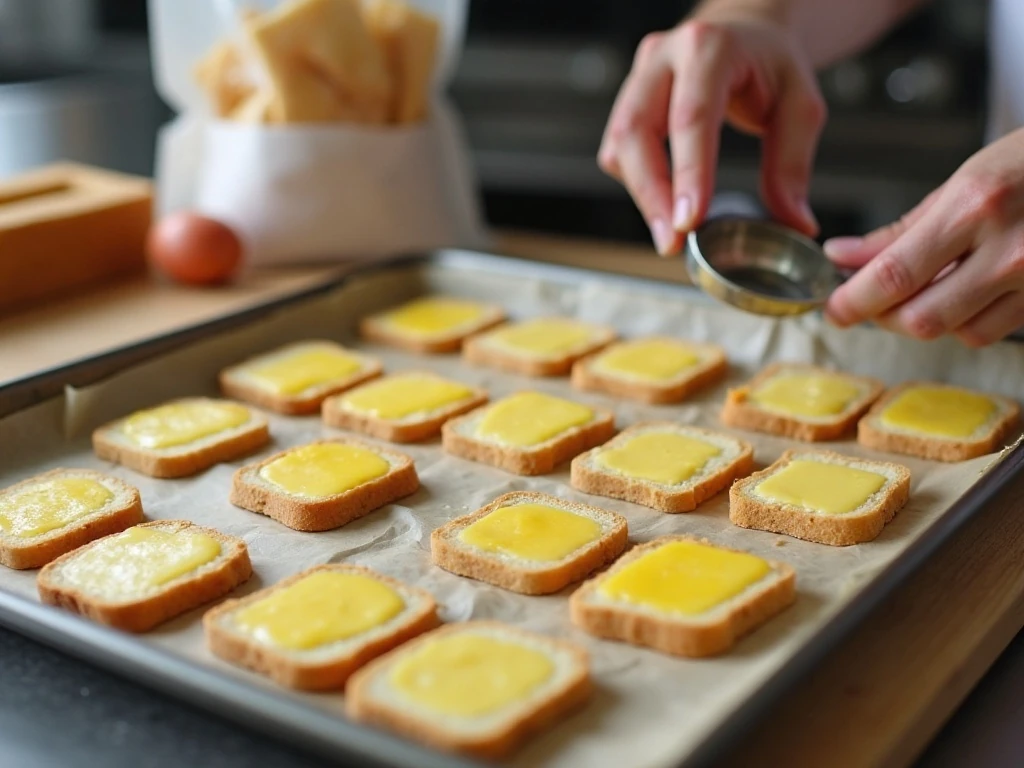
Step 4: Line a baking sheet with parchment paper and arrange the slices butter-side up in one layer. Leave a little space between pieces so cold air can circulate and the slices freeze firm without sticking together.
Step 5: Freeze the uncovered tray for 1–2 hours. The slices are ready for packaging when the butter is firm and the pieces can be lifted without bending or smearing the topping.
Step 6: Move the frozen slices into a freezer bag or airtight container, placing parchment paper between layers. Press out excess air, label the package, and return it to the freezer for up to 2–3 months for best quality.
Step 7: Bake the slices directly from frozen at 400°F (200°C). Place them butter-side up on a baking sheet and cook for 12–16 minutes, until the butter has melted and the edges are lightly crisp.
Step 8: If you prefer more color, broil the baked bread for 30–90 seconds. Stay beside the oven and watch closely, since the Parmesan and exposed crust can brown very quickly.
Pro Tips for Better Freezer Garlic Bread
Slice carefully and keep the thickness consistent. Pieces that are much thinner may become dry before the butter has fully melted, while very thick pieces may need additional time to warm through.
Grating the garlic produces a particularly smooth spread, while mincing gives you tiny, noticeable pieces. If using a box grater, grate the cloves directly into the bowl with the softened butter so none of the flavorful juices are lost.
- For softer bread: Loosely cover the slices with foil for the first 8–10 minutes, then uncover and finish baking.
- For crispier bread: Bake uncovered for the entire 12–16 minutes.
- For portion control: Freeze slices separately before transferring them to a bag.
- For extra garlic flavor: Use finely grated garlic so it disperses throughout the butter mixture.
- For a richer topping: Include the optional finely grated Parmesan.
Do not thaw the slices before baking. Baking from frozen helps the butter melt gradually into the crumb and keeps the preparation quick when dinner is already underway.
This bread is especially good alongside fish, and our garlic butter fish recipe makes a natural pairing for a complete seafood dinner.
Storage, Baking, and Serving Ideas

Once the slices have frozen firm, package them promptly to protect their flavor and texture. Separate every layer with parchment paper, press out as much excess air as possible, and label the bag with both the recipe name and freezing date.
For best quality, use the frozen garlic bread within 2–3 months. The slices remain convenient after that period, but the bread may gradually lose moisture or pick up freezer odors if the package is not tightly sealed.
Bake only the number of slices you need. Arrange them butter-side up directly from the freezer, and avoid crowding the baking sheet so the hot air can crisp the edges evenly.
Serve the bread hot with pasta, tomato soup, grilled meat, roasted vegetables, or a green salad. It also makes a comforting accompaniment to our four-cheese garlic spaghetti squash, especially when you want extra crunch beside the tender squash.
For dessert after a cozy bread-and-soup meal, a fruit-filled bake such as this easy blueberry crisp provides a sweet finish.
Common Questions About Frozen Garlic Bread Slices
Can I freeze the slices before baking? Yes. The method is designed for freezing the buttered, unbaked bread. Freeze the slices uncovered first, then package them once firm so they do not stick together.
Can I use salted butter? Unsalted butter is specified because it lets you control the salt more precisely. If salted butter is all you have, reduce or omit the 1/4 teaspoon kosher salt and taste the mixture before spreading.
Do I need to thaw the bread? No. Place the slices directly from frozen into a 400°F (200°C) oven and bake for 12–16 minutes.
How do I prevent the bread from becoming too crisp? Loosely cover the slices with foil for the first 8–10 minutes, then remove the foil so the tops and edges can finish baking without becoming overly hard.
Can I make pull-apart garlic bread instead? Yes. Cut the loaf into 1/2-inch sections without slicing completely through the bottom. Spread the butter between the sections, freeze the loaf as a unit, and bake it until hot and lightly crisp.
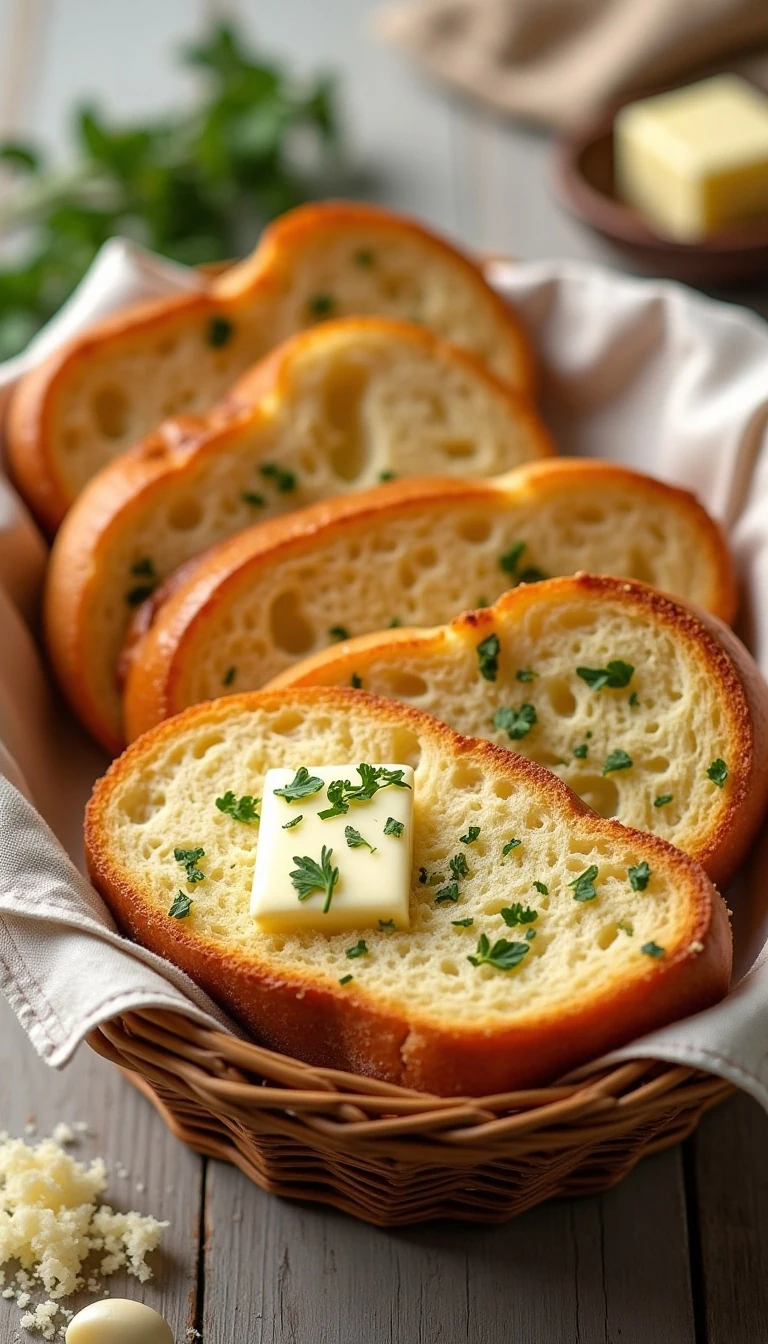
Frozen Garlic Bread Slices at Home
Ingredients
Method
- Slice the French or Italian bread into pieces approximately 1/2 inch (1–1.25 cm) thick. Cut all the way through when making individually frozen slices, or leave the bottom connected if you prefer pull-apart sections.
- In a bowl, mix the softened butter, minced or grated garlic, parsley, kosher salt, and optional Parmesan until evenly combined. Softened butter spreads more easily and stays attached to the bread better than melted butter.
- Spread approximately 1 to 1 1/2 teaspoons of garlic butter over one side of each bread slice. Cover the surface evenly, paying special attention to the edges so every bite receives a little seasoned butter.
- Arrange the buttered slices in a single layer on a parchment-lined baking sheet. Freeze them uncovered for 1–2 hours, or until the butter is firm and the slices no longer stick together.
- Transfer the frozen slices to a freezer bag or airtight container, separating layers with parchment paper. Press out excess air, label the package with the date, and freeze for up to 2–3 months for best quality.
- When ready to bake, preheat the oven to 400°F (200°C). Place the frozen slices butter-side up on a baking sheet and bake directly from frozen for 12–16 minutes.
- Remove the bread when the butter is melted and the edges are lightly crisp. For a more browned surface, broil for 30–90 seconds at the end, watching closely because the bread can brown quickly.
Notes
Final Thoughts
Making frozen garlic bread slices at home is a small preparation that pays off repeatedly. With one loaf, softened butter, garlic, parsley, salt, and optional Parmesan, you can stock your freezer with a warm side dish that bakes directly from frozen in just 12–16 minutes.
The most important steps are using softened butter, slicing the bread evenly, freezing the pieces separately, and packaging them well after they become firm. Follow those details and you will have fragrant, golden slices ready for pasta nights, soups, seafood dinners, holiday meals, and last-minute guests.
Keep the bread butter-side up while baking at 400°F (200°C), choose foil for a softer result, or bake uncovered for crispier edges. A brief 30–90-second broil adds extra browning, but watch closely and serve the slices while they are hot.