These easy homemade peanut butter cups are made with chocolate chips, creamy peanut butter, confectioners’ sugar, salt, and optional vanilla. The no-bake recipe takes about 10 to 15 minutes of preparation, 2 to 5 minutes of melting, and 30 to 45 minutes of chilling, making approximately 12 standard muffin-cup candies.
Each bite has a firm chocolate shell, a smooth, lightly salty peanut butter center, and a satisfying contrast between creamy filling and crisp chocolate. Use semisweet chocolate for a balanced candy or milk chocolate for a sweeter, store-bought-style flavor.
Jump to RecipeWhy You’ll Love This Recipe
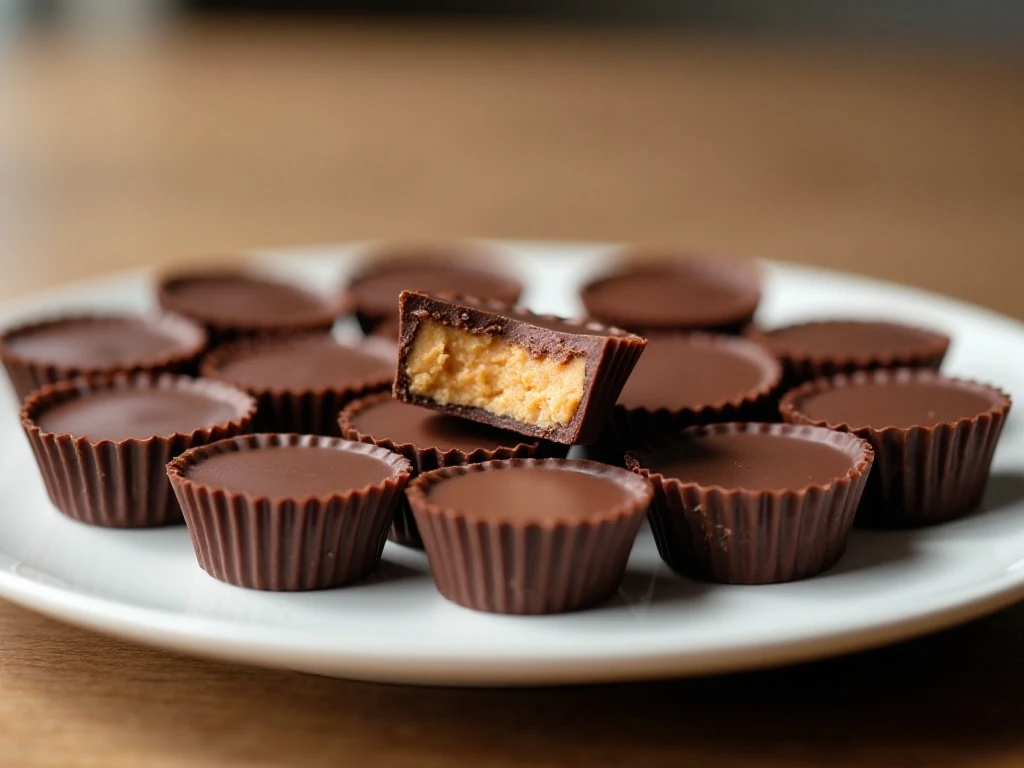
There is no oven, complicated candy thermometer, or long ingredient list required for these homemade peanut butter cups. A muffin tin and a handful of pantry staples are enough to create a candy that looks special and tastes wonderfully rich.
The chocolate-to-peanut-butter ratio gives every cup a substantial shell without hiding the creamy center. Semisweet chocolate brings a deeper, less-sweet finish, while milk chocolate gives the candies a sweeter flavor that children and classic candy fans often prefer.
They are also easy to prepare ahead of time. Make a batch for a holiday dessert tray, tuck a few into a lunchbox, or serve them alongside coffee after dinner.
If you enjoy the same peanut butter and chocolate pairing in a baked treat, try our fudgy peanut butter brownies next.
Ingredients You’ll Need
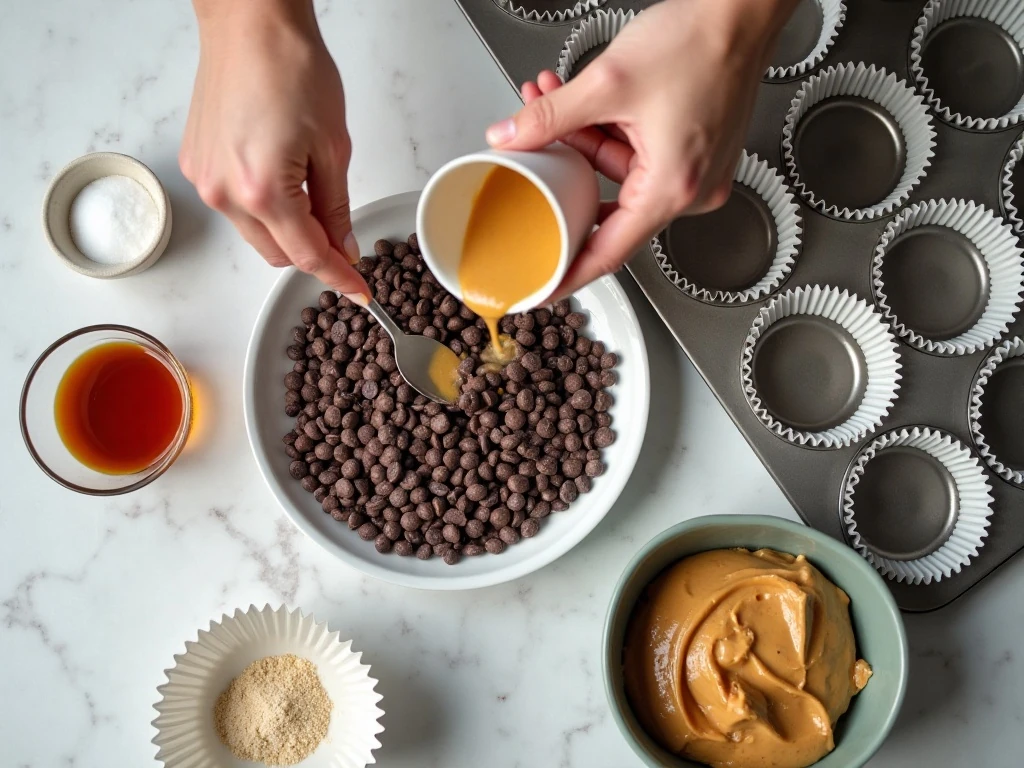
The recipe uses just a few carefully chosen ingredients. Measuring them before you begin keeps the assembly quick and helps the chocolate stay workable.
- Chocolate chips: Use 1 1/2 cups, or about 255 grams, of semisweet or milk chocolate chips. Choose chips that melt smoothly for the best shell.
- Creamy peanut butter: One-half cup, or about 128 grams, creates the soft filling. Conventional creamy peanut butter is more reliable than very loose natural peanut butter.
- Confectioners’ sugar: Sift 1/4 cup, or about 30 grams, before mixing. It sweetens and slightly thickens the peanut butter so it sits neatly inside each shell.
- Fine salt: A 1/4 teaspoon sharpens the chocolate and peanut flavors without making the candy taste salty.
- Vanilla extract: Add 1/2 teaspoon if you want a warmer, dessert-like flavor. It is optional, so the recipe works well without it.
You will also need a 12-cup muffin tin, 12 paper or foil liners, a microwave-safe bowl, and a spoon. A small offset spatula can help spread the top layer, although the back of a teaspoon works well too.
For another peanut butter dessert idea with a festive finish, you may also enjoy these peanut butter sugar cookies.
How to Make It Step-by-Step
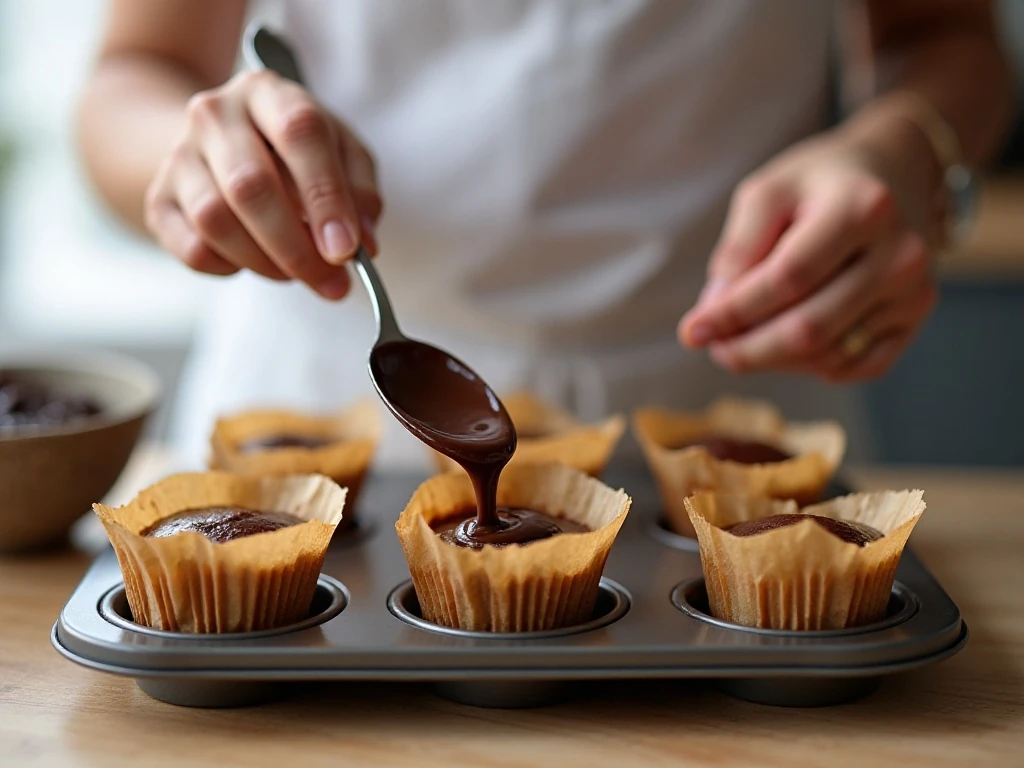
Step 1: Line a 12-cup muffin tin with paper or foil liners, pressing each liner into the cup so it sits flat. Measure the chocolate chips and divide them into two roughly equal portions for the bottom and top layers.
Step 2: Place half of the chocolate chips in a microwave-safe bowl. Microwave for 20 to 30 seconds, stir thoroughly, and repeat as needed until the chocolate is smooth; the residual heat will finish melting small pieces, so do not keep heating once only a few lumps remain.
Step 3: Spoon approximately 1 tablespoon of melted chocolate into each liner. Rotate the muffin tin or gently tap it against the counter so the chocolate covers each bottom evenly, then place the tin in the refrigerator for 10 to 15 minutes, until the shells feel firm.
Step 4: While the shells chill, combine the creamy peanut butter, sifted confectioners’ sugar, fine salt, and optional vanilla in a bowl. Stir until the mixture is smooth and cohesive; if your peanut butter is unusually stiff, warm it briefly before mixing.
Step 5: Portion about 2 teaspoons of peanut butter filling into each chilled chocolate shell. Keep each mound centered and avoid touching the liner, because a narrow chocolate border is needed to close the candy completely.
Step 6: Melt the remaining chocolate in the same 20- to 30-second intervals, stirring after each one. Spoon the chocolate over each filling portion and gently spread it to the edges, making sure no peanut butter remains exposed.
Step 7: Lightly tap the filled muffin tin on the counter to smooth the tops and release small air pockets. Refrigerate for 20 to 30 minutes, or until the cups are completely firm, then peel away the liners and serve.
Chef Tips for Smooth, Even Cups
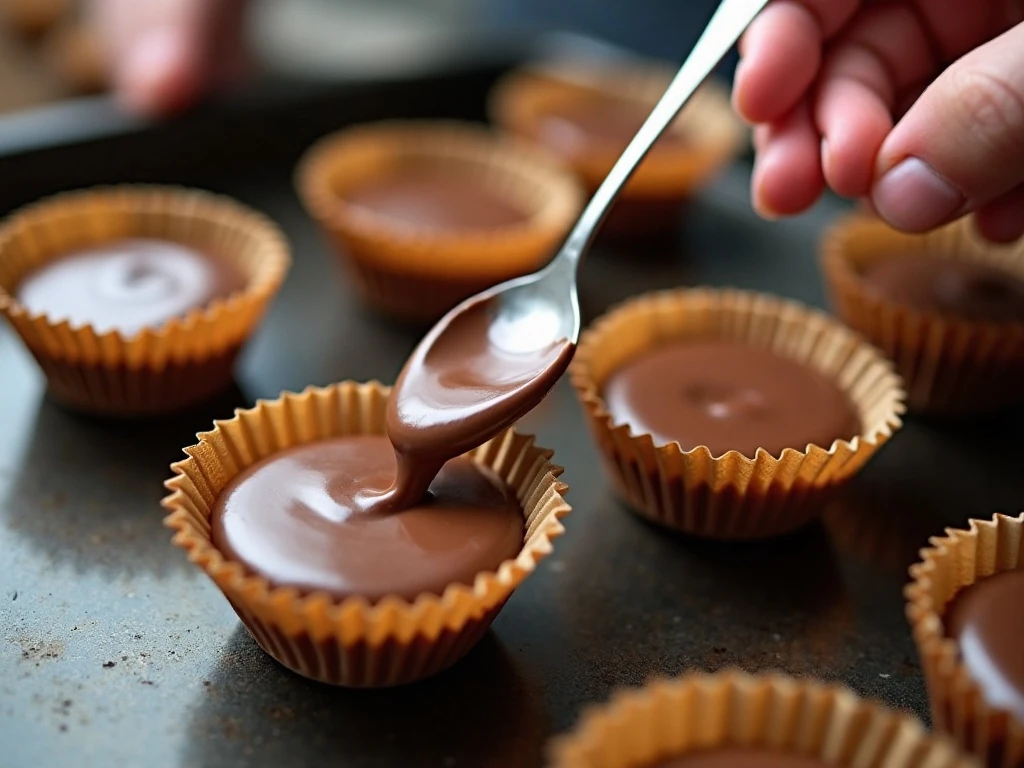
Chocolate can scorch quickly, especially around the sides and bottom of a bowl. Short heating intervals, careful stirring, and stopping before every chip has visibly melted will produce a smoother finish than one long burst of microwave heat.
Keep the peanut butter filling centered rather than spreading it to the liner. This leaves room for the top chocolate to meet the bottom shell, giving each candy a sealed edge and a cleaner appearance.
If the top layer looks slightly uneven, do not worry. A gentle tap on a folded kitchen towel or directly on the counter before chilling will help the chocolate settle into a level surface.
For a more polished presentation, use foil liners and let the candies sit at room temperature for a few minutes before serving. The filling will soften slightly while the shell remains pleasantly firm.
Flavor Variations and Serving Ideas
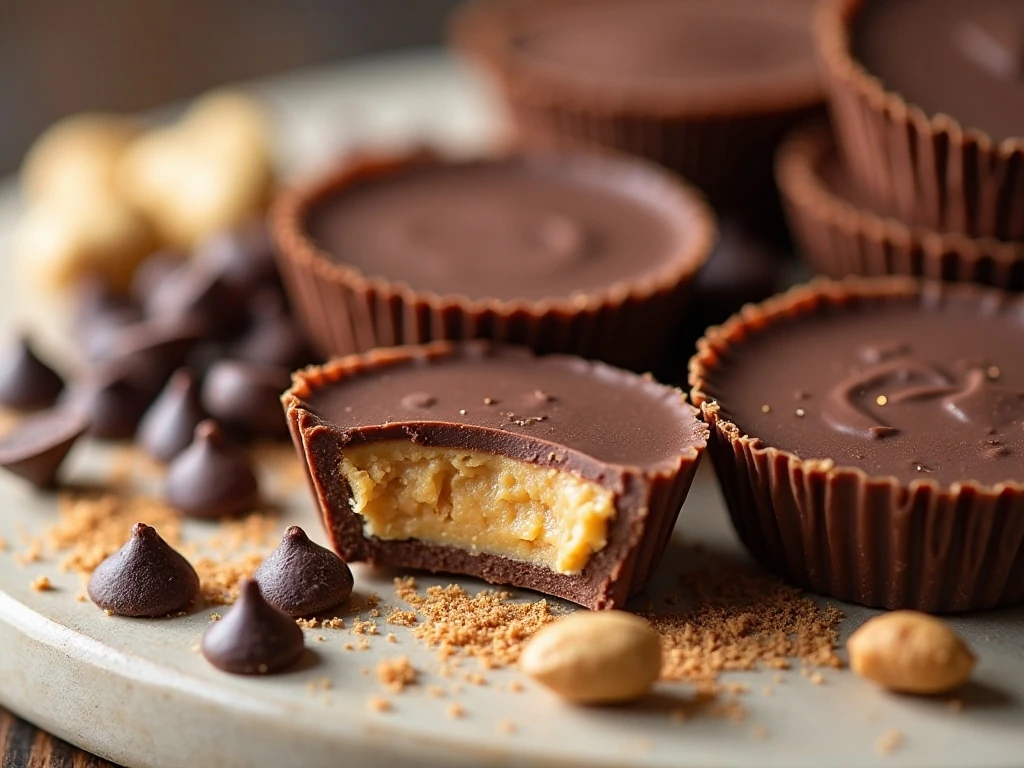
Semisweet chocolate is the best choice when you want the peanut butter flavor to stand out with a balanced sweetness. Milk chocolate makes a softer, sweeter-tasting candy, while a combination of the two can create a middle ground.
You can keep the filling classic with vanilla and salt, or leave out the vanilla for a more direct peanut butter taste. Avoid adding extra liquid, since too much moisture can make the filling difficult to seal beneath the chocolate.
Serve the cups chilled for a firm snap, or let them rest briefly at room temperature for a softer bite. Arrange them on a dessert platter with cookies, fruit, or small squares of brownies.
For a bright dessert to serve alongside rich chocolate candy, consider our mandarin orange dessert. If you are planning a broader menu, this easy peach bread also makes a lovely sweet addition to a brunch table.
Storage and Make-Ahead Advice
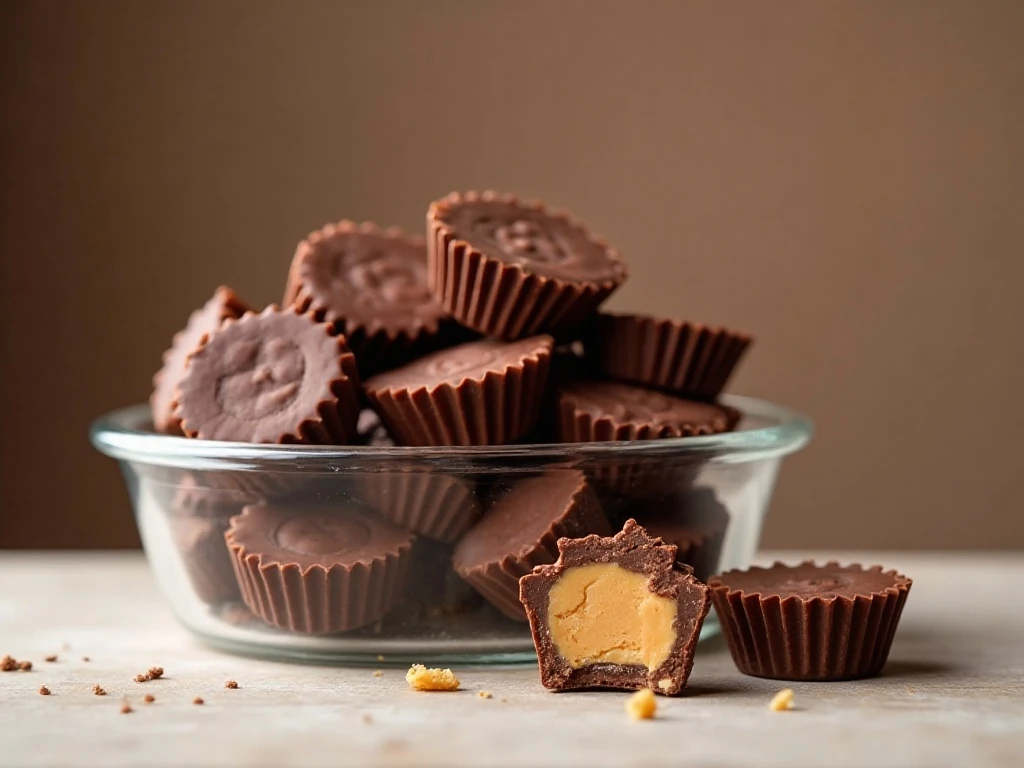
Store the finished peanut butter cups in an airtight container in the refrigerator. They will keep their texture best when protected from moisture, strong refrigerator odors, and temperature changes.
The chilling process takes 30 to 45 minutes in total, depending on how quickly the first shell firms and how cold your refrigerator runs. The complete recipe generally takes about 45 to 75 minutes from preparation through final setting.
When stacking the candies, place parchment between layers if you want to protect the tops. Remove only the amount you plan to serve, keeping the rest refrigerated until needed.
For a sweet-and-savory spread, these candies can follow our ham and pineapple salad at a casual gathering.
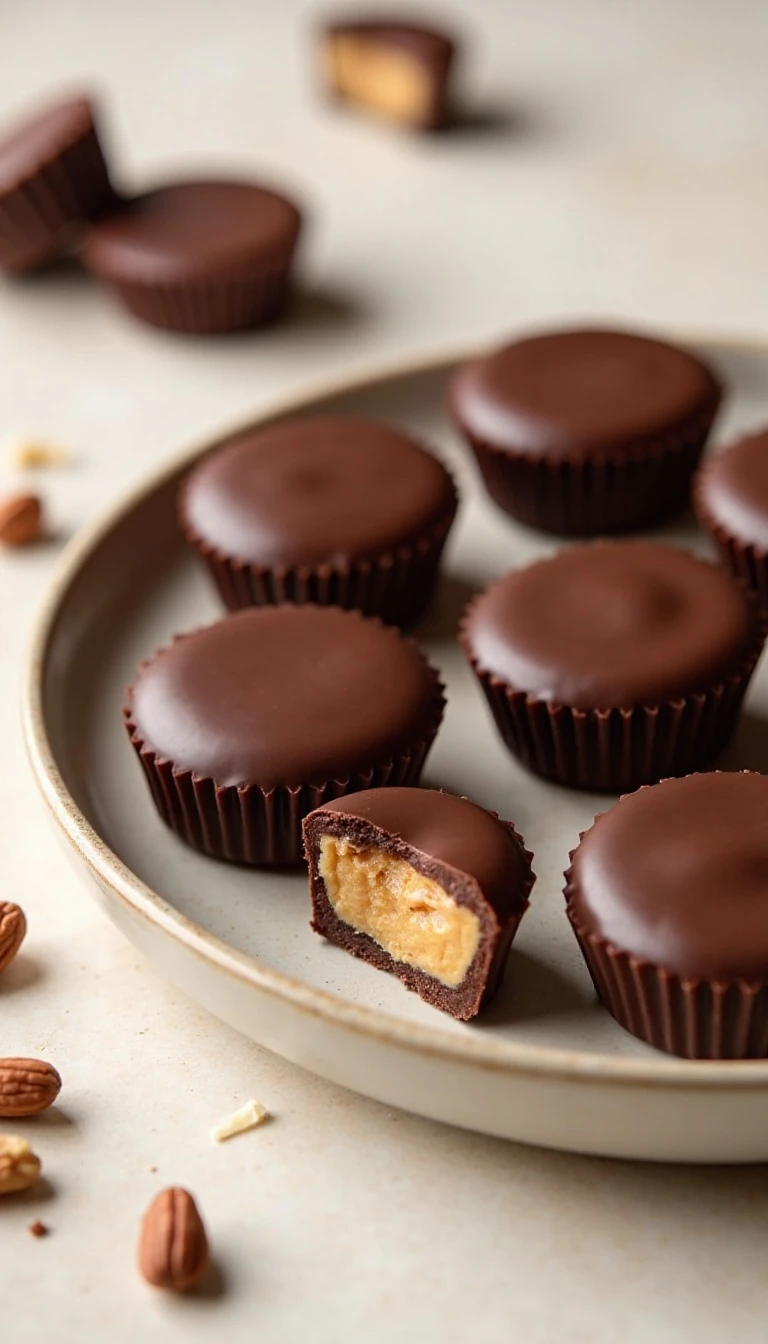
Easy Homemade Peanut Butter Cups
Ingredients
Method
- Line a 12-cup muffin tin with paper or foil liners. Melt half of the chocolate chips in a microwave-safe bowl in 20- to 30-second intervals, stirring after each interval until smooth.
- Spoon about 1 tablespoon of melted chocolate into each liner. Rotate or gently tap the pan so the chocolate spreads across each bottom, then chill for 10 to 15 minutes until firm.
- Stir the peanut butter, sifted confectioners’ sugar, salt, and optional vanilla together until smooth. If the peanut butter is very stiff, warm it briefly so it is easier to portion.
- Add about 2 teaspoons of the peanut butter mixture to the center of each chocolate shell. Keep the filling away from the liner edges so the top chocolate can fully seal each candy.
- Melt the remaining chocolate using the same short intervals and frequent stirring. Spoon it over the filling, spreading it to the edges, then lightly tap the tin on the counter to create an even top.
- Refrigerate the filled muffin tin for 20 to 30 minutes, or until the peanut butter cups are fully set. Store the finished candies in an airtight container in the refrigerator.
Notes
Final Thoughts
This easy homemade peanut butter cups recipe delivers a rich chocolate shell and a creamy, lightly salted center with very little effort. Once the chocolate is melted gently and the filling stays centered, the candies come together quickly and set beautifully in the refrigerator.
Make them with semisweet chocolate for a balanced bite or milk chocolate for a sweeter classic flavor. Keep a batch chilled in an airtight container, and you will always have a simple homemade treat ready for dessert, gifting, or an afternoon craving.
6 thoughts on “Easy Homemade Peanut Butter Cups Recipe”