These spooky Halloween witch cupcakes are an easy party dessert made with boxed chocolate cake mix, green frosting, chocolate cookie brims, and sugar-cone witch hats. The recipe makes 24 cupcakes, requires about 30 minutes of preparation plus cooling and decorating, bakes in 18–22 minutes, and takes about 1 hour 15 minutes to 1 hour 30 minutes from start to finish.
Every cupcake combines a moist, chocolatey cake with creamy green frosting and a crisp cookie-and-cone hat. Black icing creates a dramatic hatband, while orange or yellow buckles and Halloween sprinkles add the finishing magic for classroom parties, family celebrations, bake sales, or a haunted dessert table.
Jump to RecipeWhy You’ll Love This Recipe
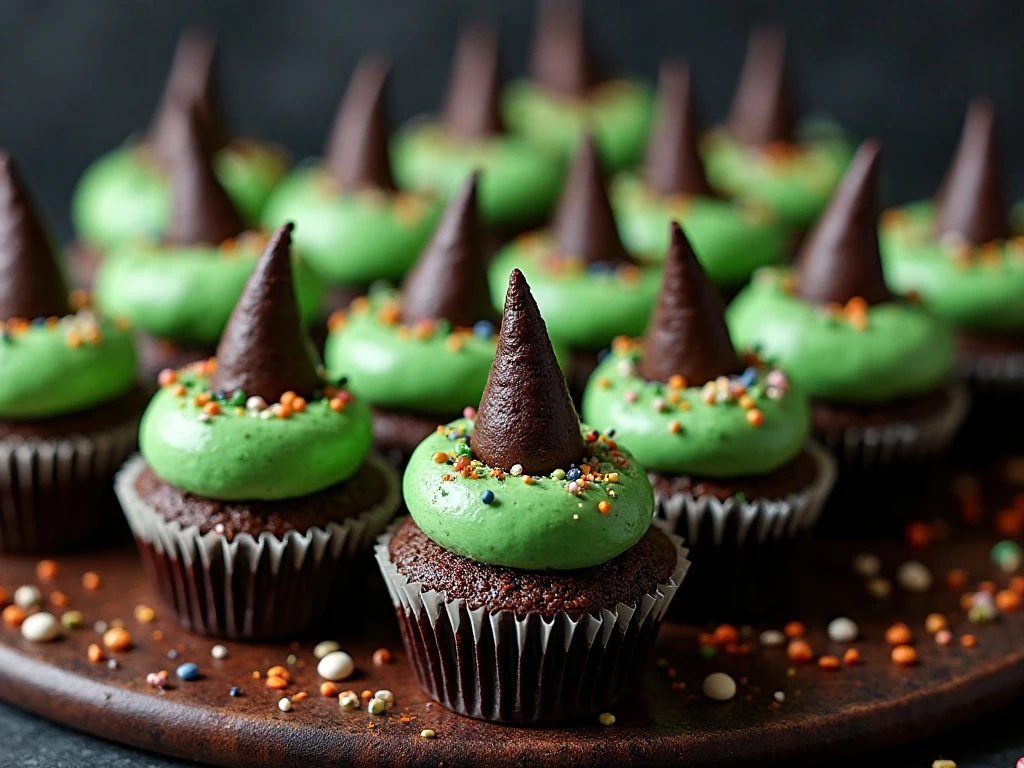
These witch cupcakes look elaborate, but the shortcut method keeps the baking wonderfully simple. A boxed chocolate cake mix provides a dependable base, while prepared frosting and store-bought cookies make the decorating process friendly for beginning bakers and young helpers.
The finished cupcakes have a delicious contrast of textures: tender chocolate cake, silky frosting, a crisp chocolate cookie, and a crunchy sugar cone. The green, black, orange, and yellow details make them instantly recognizable as witch hats without requiring fondant or complicated pastry work.
They are also easy to customize. Use chocolate frosting beneath the green layer for a deeper Halloween color, choose purple or orange accents, or let each guest decorate a personal hat with sprinkles and small candies.
For another festive sweet to serve beside this tray, try these maple bacon cupcakes for a sweet-and-savory option that gives your dessert table another memorable flavor.
Ingredients You’ll Need
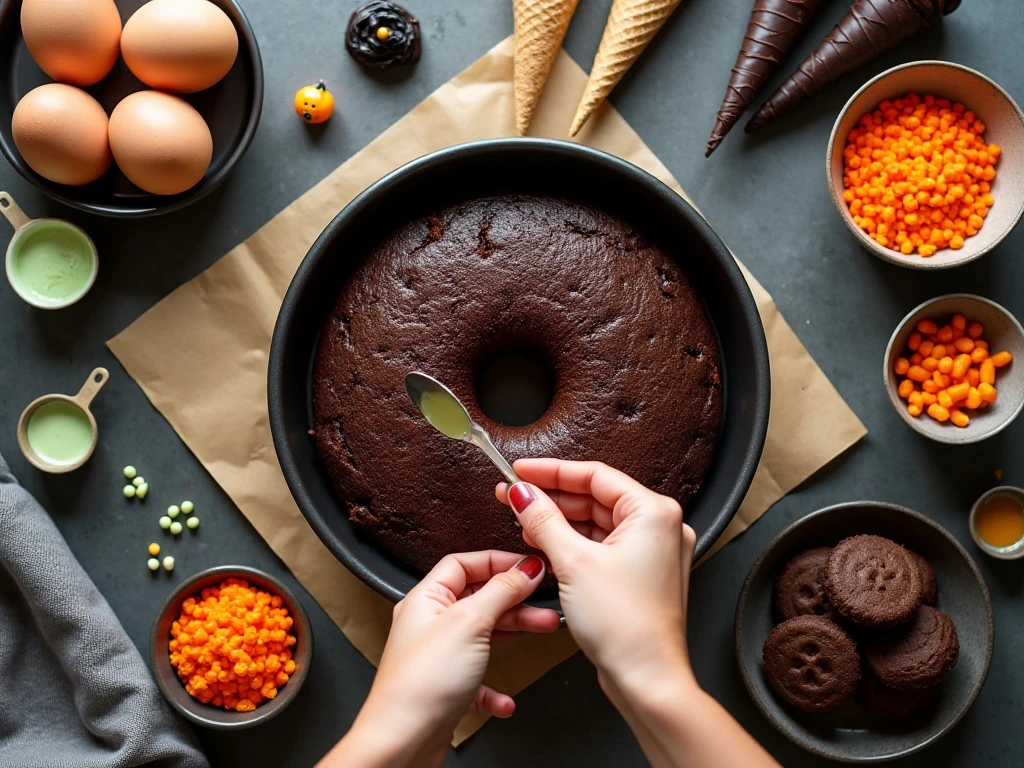
The cupcake base needs one 15.25-ounce box of devil’s food or chocolate cake mix, 1 cup of water, 1/2 cup of vegetable oil, and three large eggs. Prepare the mix according to its package directions, since brands can vary slightly in mixing instructions.
For the decorations, gather one 16-ounce can of chocolate or vanilla frosting, green gel food coloring, 24 chocolate wafer or chocolate sandwich cookies, and 24 sugar cones. You will also need one tube of black decorating icing or black gel.
- Use Halloween sprinkles or small candies for extra color.
- Keep orange, yellow, or purple decorating icing nearby for hatbands and buckles.
- Have two 12-cup muffin pans and 24 paper liners ready before mixing.
Gel coloring is the best choice for the frosting because it creates a vivid green shade without adding much liquid. Start with a small amount, mix thoroughly, and add more until the color looks suitably witchy.
If you are planning a larger autumn dessert spread, these cream cheese pumpkin cupcakes make a lovely companion with warm seasonal spice and a creamy center.
How to Make It Step-by-Step
Step 1: Heat the oven to 350°F (175°C), then line two 12-cup muffin pans with paper liners. Lining the pans prevents sticking and makes it easier to move the cupcakes to a cooling rack without damaging their tops.
Step 2: Add the cake mix, water, vegetable oil, and eggs to a large mixing bowl. Beat the batter according to the package directions until it is smooth, which usually takes about 2 minutes on medium speed.
Step 3: Divide the batter evenly among the 24 liners, filling each one about two-thirds full. This amount leaves enough room for the cupcakes to rise while keeping the tops low and sturdy enough to support the cookie hats.
Step 4: Bake the cupcakes for 18–22 minutes. Test the centers with a toothpick near the end of the baking time; the cupcakes are ready when the toothpick comes out clean or with only a few moist crumbs.
Step 5: Let the cupcakes cool in the pans for 5 minutes, then transfer them to a wire rack. Wait until they are completely cool before adding frosting, because warmth can soften the topping and make the cone hats slide.
Step 6: Tint the prepared frosting green with gel food coloring and mix until the shade is even. Spread or pipe the frosting over each cupcake, creating a fairly level surface so the cookie brim sits securely.
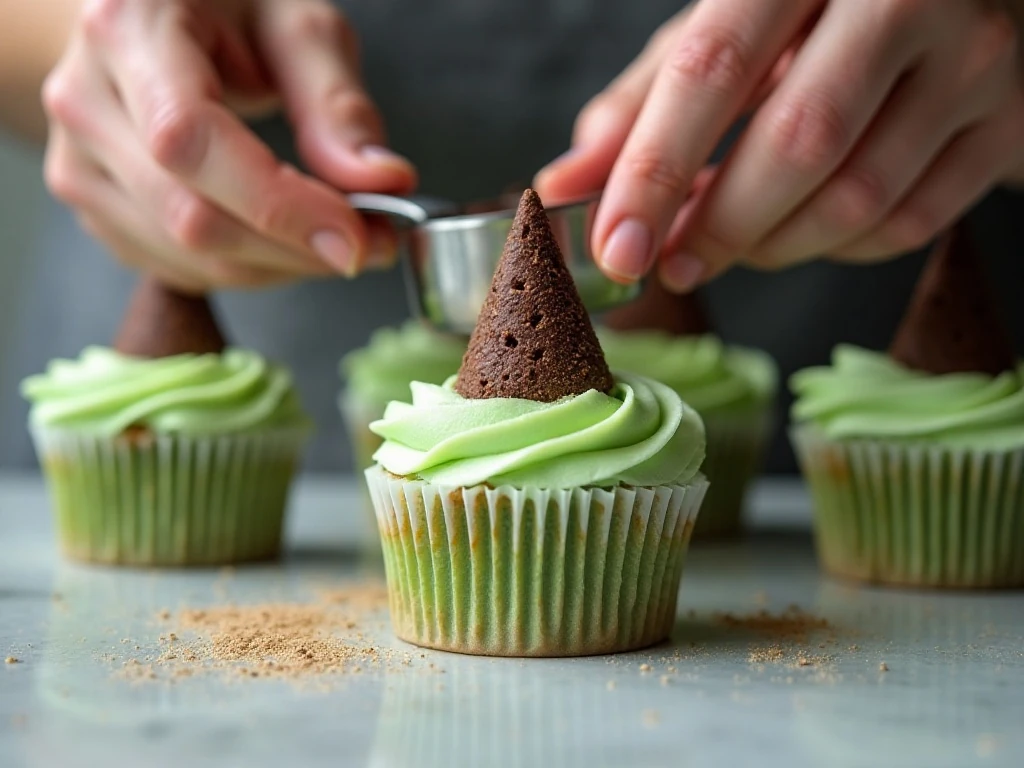
Step 7: Place one chocolate cookie on top of each cupcake to form the wide brim of the witch hat. Press gently so the cookie rests on the frosting without cracking or sinking too far into the cake.
Step 8: Set one sugar cone point-side up on each cookie. If a cone feels unstable, pipe a small ring or dab of frosting under its base before placing it on the cookie as edible glue.
Step 9: Pipe black decorating icing around the base of each sugar cone to resemble a hatband. Add a tiny orange or yellow candy buckle, or pipe a small buckle shape with colored icing.
Step 10: Finish the cupcakes with Halloween sprinkles or extra colored icing. Allow the decorations to set briefly, then arrange the cupcakes on a platter and serve.
Decorating Ideas for a Magical Halloween Display
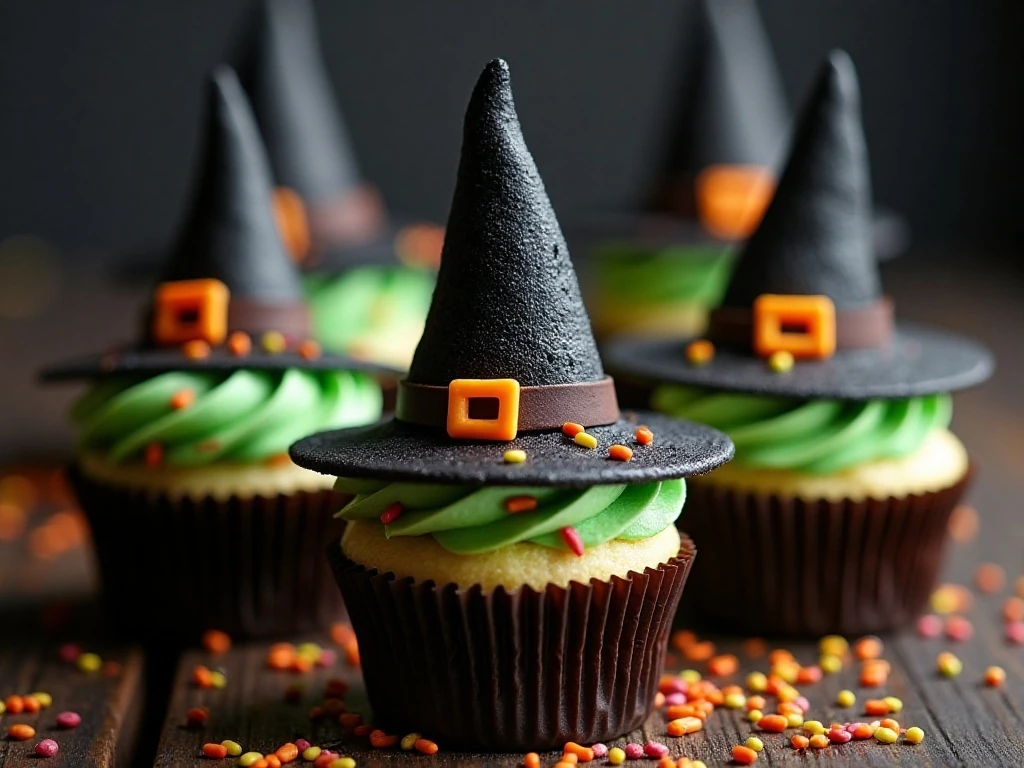
For a classic witch look, keep the frosting bright green and use black icing for a clean, graphic hatband. Orange buckles stand out especially well against the dark cone, while purple icing gives the cupcakes a playful storybook appearance.
You can also vary the frosting design. Pipe tall swirls for a dramatic base, spread it smoothly for a neat bakery-style finish, or create small ridges with a star tip to make the cupcakes look like they came from a haunted forest bakery.
Arrange the finished cupcakes in rows on a black platter, or place them around a bowl of wrapped candies. A few paper bats, faux cobwebs, or miniature pumpkins around the serving dish can complete the display without touching the food.
For guests who prefer a lower-carbohydrate treat, keep another dessert option available, such as these chocolate bark cupcakes. Labeling different desserts helps guests choose comfortably at a busy party.
Pro Tips for Sturdy Witch-Hat Cupcakes
Cooling is the most important step for a neat finish. Even slightly warm cupcakes can loosen the frosting, causing the cookie brim to tilt and the cone to slide.
- Use gel food coloring instead of liquid coloring for a bold green frosting.
- Pipe a small ring of frosting beneath each cone when extra stability is needed.
- Handle the sugar cones gently because their pointed tips can break.
- Decorate the hatbands after the cones are stable so the black icing stays in place.
- Assemble the cookie-and-cone hats shortly before serving to help the cookies remain crisp.
If children are decorating, set up small bowls of sprinkles and candies, and give each child one frosted cupcake at a time. This keeps the activity manageable and lets every witch hat look delightfully different.
Serving, Storage, and Party Planning
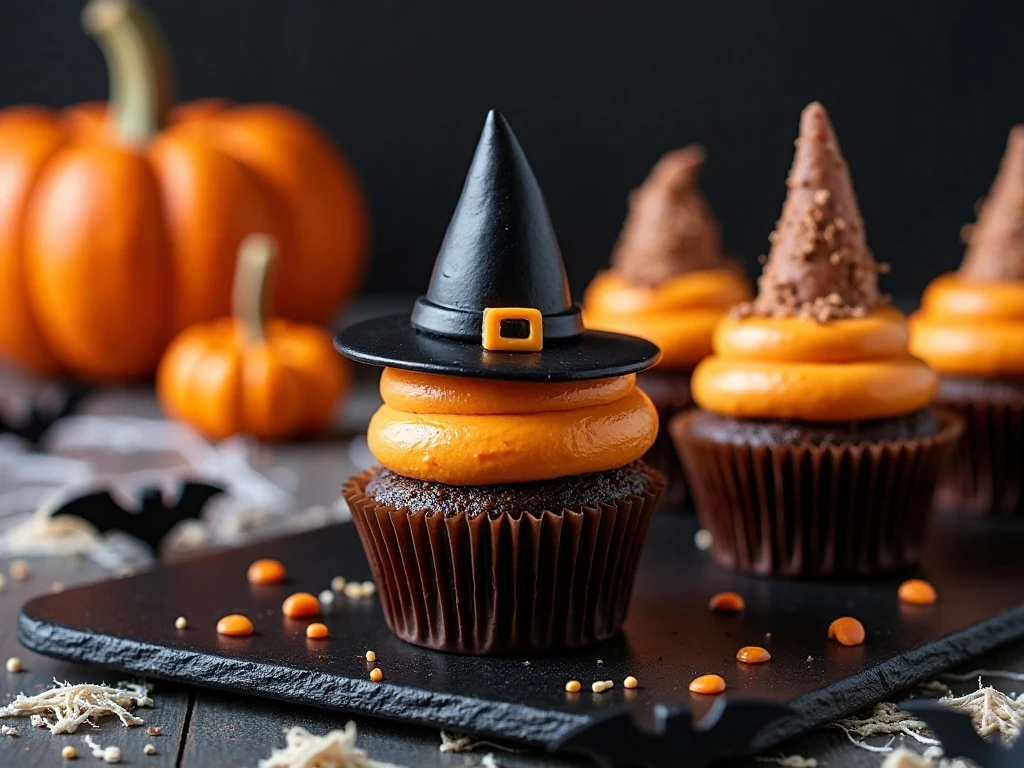
These cupcakes are best served the day they are assembled, particularly because the cookie brim can soften when it rests directly on moist frosting. You can bake and cool the cupcakes earlier, then frost and build the hats closer to serving time.
Keep finished cupcakes in a cool, dry place until the party begins. Avoid stacking them or covering them with plastic wrap that touches the cone tips, as pressure can damage the hats and transfer icing to the covering.
For a complete Halloween menu, pair the cupcakes with savory finger foods and bright seasonal drinks. A platter of roasted cauliflower tacos can offer a satisfying savory contrast before guests reach for dessert.
Common Questions
Can I use vanilla frosting? Yes. Vanilla frosting is especially useful when you want the green color to look bright and vivid, while chocolate frosting creates a darker, more dramatic base.
Can I make fewer than 24 cupcakes? The supplied formula yields 24 cupcakes. For a smaller gathering, prepare the batter according to the cake-mix package and portion the amount you need, remembering that the decoration quantities will also need to be reduced.
Can I decorate them in advance? Bake and cool the cupcakes in advance, but assemble the cookie brims and cone hats shortly before serving. This helps prevent the cookie from absorbing moisture and losing its crisp texture.
What if the cone will not stay upright? Add a small amount of green frosting beneath the cone, press it gently onto the cookie, and give it a moment to settle. The frosting acts as edible glue without changing the flavor of the dessert.
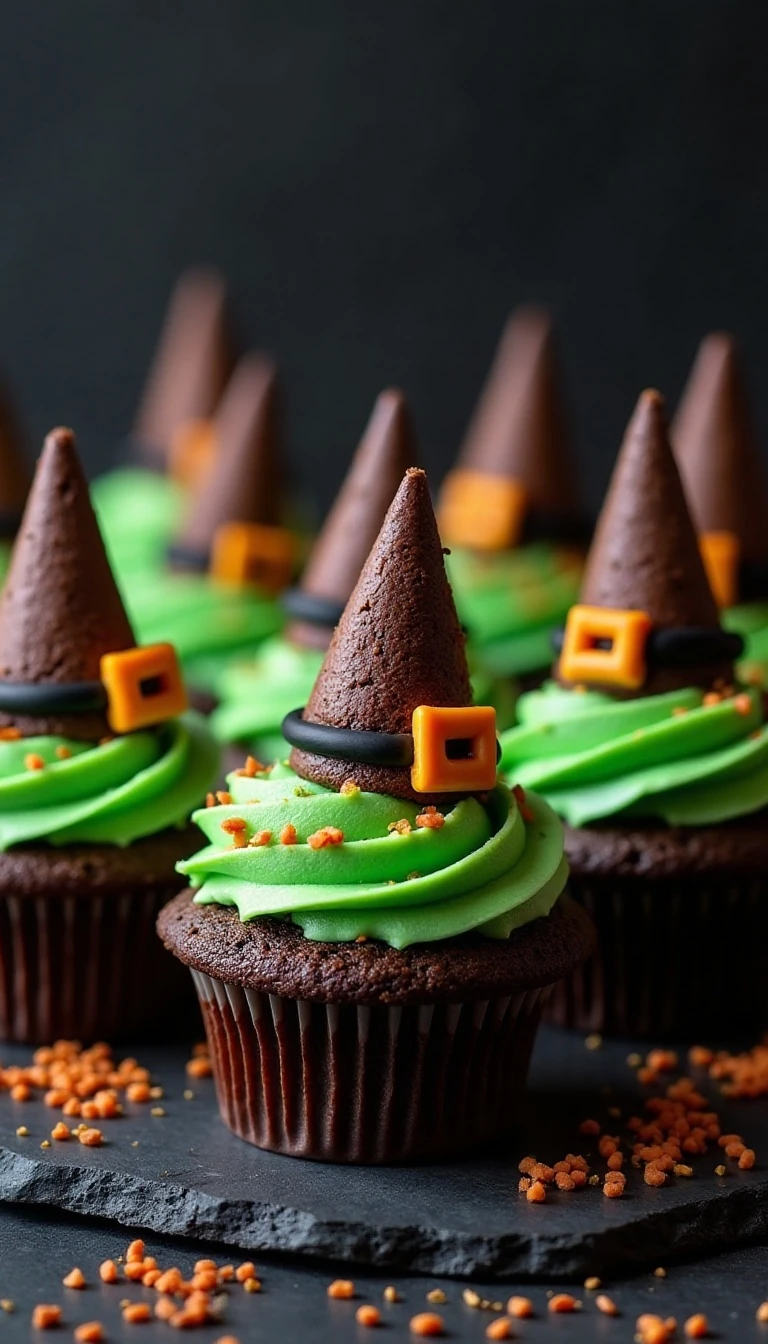
Spooky and Fun Halloween Witch Cupcakes
Ingredients
Method
- Heat the oven to 350°F (175°C) and line two 12-cup muffin pans with paper liners.
- Prepare the cake mix with the water, vegetable oil, and eggs according to the package directions. Beat until the batter is smooth, usually about 2 minutes on medium speed.
- Divide the batter evenly among the 24 liners, filling each about two-thirds full. Bake for 18–22 minutes, or until a toothpick inserted in the center comes out clean.
- Cool the cupcakes in the pans for 5 minutes, then transfer them to a wire rack and cool completely before decorating.
- Tint the frosting green with gel food coloring, then spread or pipe it over each completely cooled cupcake.
- Place one chocolate cookie on top of each frosted cupcake to form the witch-hat brim. Set one sugar cone point-side up on each cookie, using a small amount of frosting underneath as glue if needed.
- Pipe black decorating icing around the base of each cone to create a hatband. Add a small orange or yellow candy, or pipe a buckle with colored icing, then finish with Halloween sprinkles.
Notes
Final Thoughts
These spooky and fun Halloween witch cupcakes turn a simple boxed cake mix into a memorable party centerpiece. With green frosting, chocolate cookie brims, crunchy sugar cones, and colorful icing details, they deliver plenty of Halloween charm with very little complicated baking.
Make them with family, invite children to decorate their own hats, or prepare a full tray for a Halloween gathering. Once the cupcakes are finished, serve them alongside a bright citrus dessert such as these easy lime bars for a dessert table filled with contrasting colors and flavors.
For the neatest results, remember the three essentials: cool the cupcakes completely, use gel coloring for vivid frosting, and assemble the cookie-and-cone hats close to serving time. Follow those simple tips, and every cupcake will look like a tiny, delicious witch ready for the party.