The creamiest banana pudding is made with instant vanilla pudding, cold whole milk, sweetened condensed milk, softened cream cheese, vanilla extract, whipped topping, ripe bananas, and vanilla wafers. This easy no-cook recipe takes about 20–25 minutes to assemble, then rests in the refrigerator for at least 4 hours so the filling sets and the cookies become wonderfully tender.
Every spoonful delivers cool, silky vanilla cream, tangy cream cheese richness, sweet banana flavor, and soft wafers that taste almost like cake after chilling. Prepare it the night before a gathering when possible, and you will have a generous 9-by-13-inch dessert ready to serve with very little last-minute work.
Jump to RecipeWhy You’ll Love This Recipe
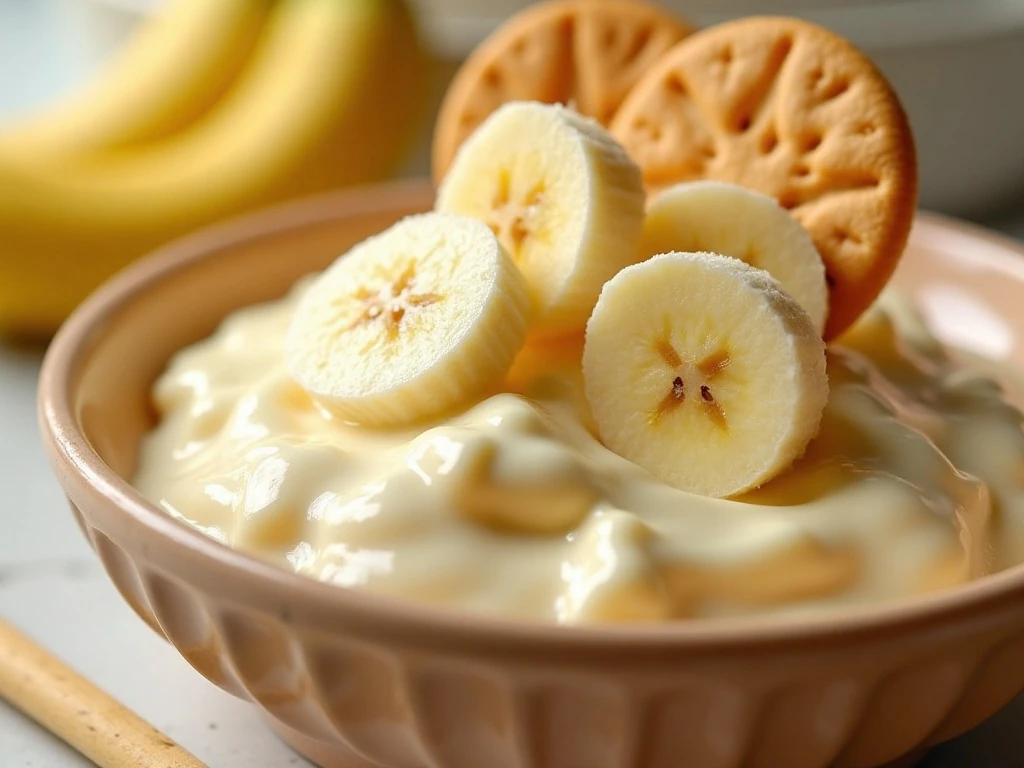
This banana pudding has the old-fashioned comfort of a layered wafer dessert with an especially creamy, rich filling. Cream cheese adds a gentle tang that balances the sweetness of the condensed milk, while instant pudding gives the mixture dependable vanilla flavor without standing over a stove.
It is also a practical make-ahead dessert. There is no cooking, egg tempering, or complicated custard technique, so the hardest part is waiting for the refrigerator to do its work.
The finished texture is part of the magic. The cream becomes smooth and spoonable, the bananas stay tender, and the vanilla wafers soften into delicate layers that blend into every bite without disappearing completely.
If you enjoy baking with ripe bananas, you may also like these banana muffins with Nutella for a warm breakfast treat.
Ingredients You’ll Need
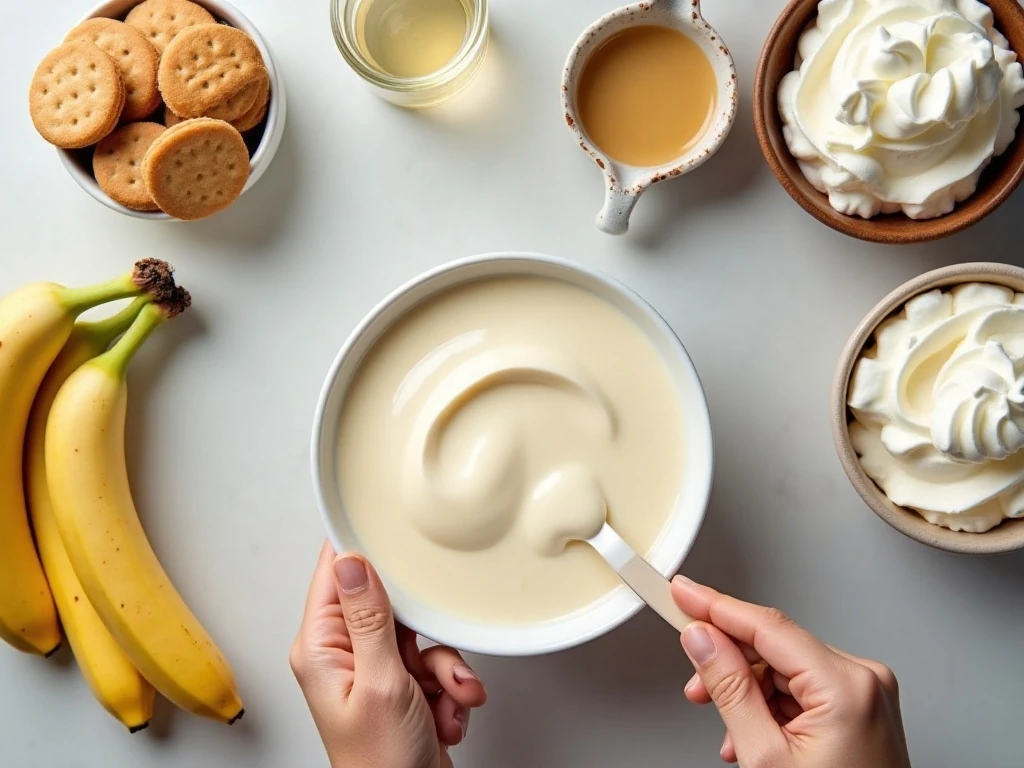
Gather the ingredients before beginning because the pudding comes together quickly once the bowls are ready. Choose whole milk for the fullest flavor and use cream cheese that has softened to room temperature.
- One 5.1-ounce package of instant vanilla pudding mix
- Three cups of cold whole milk
- One 14-ounce can of sweetened condensed milk
- One 8-ounce package of cream cheese, softened
- One teaspoon vanilla extract
- One 8-ounce container of frozen whipped topping, thawed
- Four to five medium ripe but firm bananas, sliced
- One 11-ounce box of vanilla wafers
The larger pudding package and three cups of milk make a generous, softer batch for a 9-by-13-inch dish or a trifle bowl. Make sure the milk is cold so the instant pudding thickens properly during whisking.
For another banana-centered idea, browse this favorite banana muffin recipe. It is a useful way to use bananas that have ripened beyond the firm stage needed for pudding.
How to Make It Step-by-Step
Step 1: Whisk the instant vanilla pudding mix and cold whole milk in a large bowl for about 2 minutes. The mixture should become noticeably thick, then let it stand for several minutes to finish setting before combining it with the cream cheese.
Step 2: In a separate bowl, beat the softened cream cheese until it is smooth. Add the sweetened condensed milk and vanilla extract, then beat again until the mixture looks creamy and evenly blended, with no visible cream cheese lumps.
Step 3: Gradually mix the thickened pudding into the cream cheese mixture. Adding it in stages helps the two mixtures combine smoothly and makes it easier to check that the filling has an even texture from edge to edge.
Step 4: Add the thawed whipped topping and fold it in gently with a spatula. Scrape along the bottom and sides of the bowl as you fold, stopping as soon as the topping is distributed so the filling remains light.
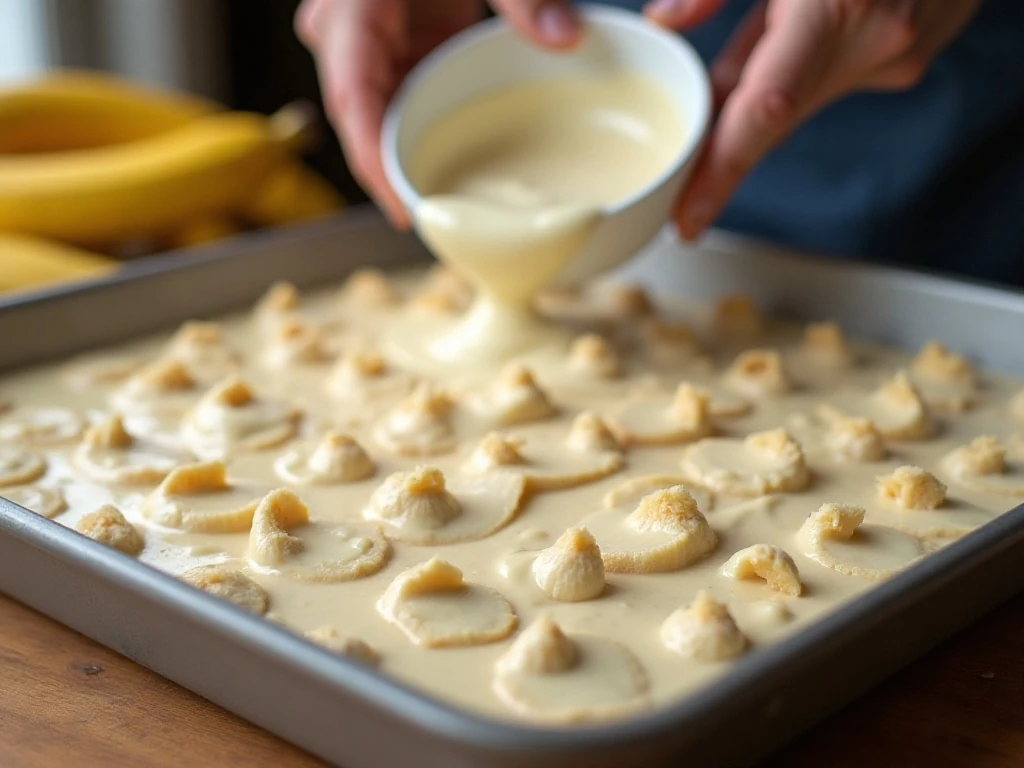
Step 5: Arrange vanilla wafers across the bottom of a 9-by-13-inch dish or trifle bowl. A few small gaps are fine, but create a mostly covered base so each serving receives cookies along with the creamy filling.
Step 6: Slice the bananas and arrange them over the wafer layer, then spread approximately half of the pudding mixture over the fruit. Smooth the surface gently without pressing down too firmly on the bananas or wafers.
Step 7: Repeat the wafer, banana, and pudding layers with the remaining ingredients. Finish with wafers or a few banana slices on top, depending on whether you are serving immediately or chilling the dessert overnight.
Step 8: Cover the dish and refrigerate for at least 4 hours. Overnight chilling is preferred because it allows the wafers to soften and gives the cream cheese pudding layer a smoother, more cohesive texture.
Chef’s Tips for the Creamiest Texture
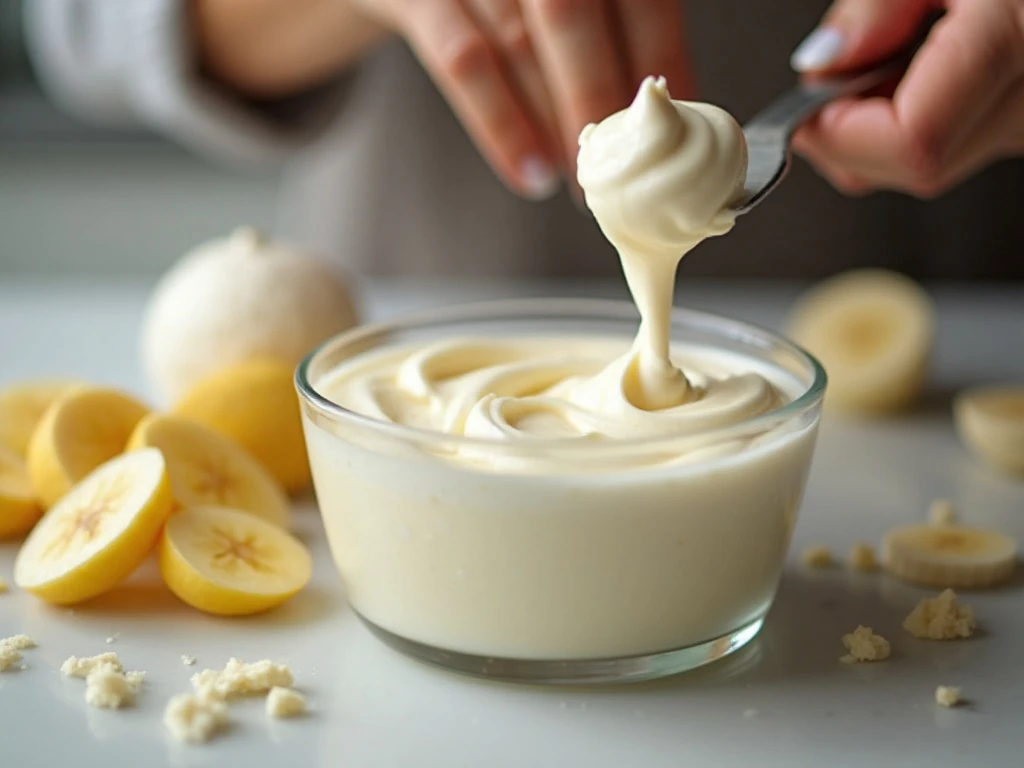
Banana selection makes a real difference. Look for fruit with a yellow peel and a few brown speckles, but avoid bananas that feel very soft or show extensive bruising.
Soft bananas can darken quickly and may release enough moisture to make the dessert watery. Firm-ripe slices hold their shape between the cookies and contribute a clean, sweet banana flavor.
Bring the cream cheese to room temperature before mixing. Cold cream cheese is more likely to leave small lumps, while softened cream cheese blends easily with the condensed milk and vanilla.
Fold the whipped topping rather than beating it into the mixture. Gentle folding protects its airiness and helps the finished pudding feel fluffy instead of dense.
- Use a chilled bowl for the pudding mixture if your kitchen is warm.
- Spread the filling carefully so the layers remain distinct in a glass trifle bowl.
- Reserve decorative banana slices for serving time to keep the top bright.
- Lightly coat exposed banana slices with lemon juice if they must sit before serving.
For a different fruit-forward breakfast or snack, try these banana oatmeal muffins with blueberries. Their hearty texture is a pleasant contrast to this cool, silky dessert.
Layering and Presentation Ideas
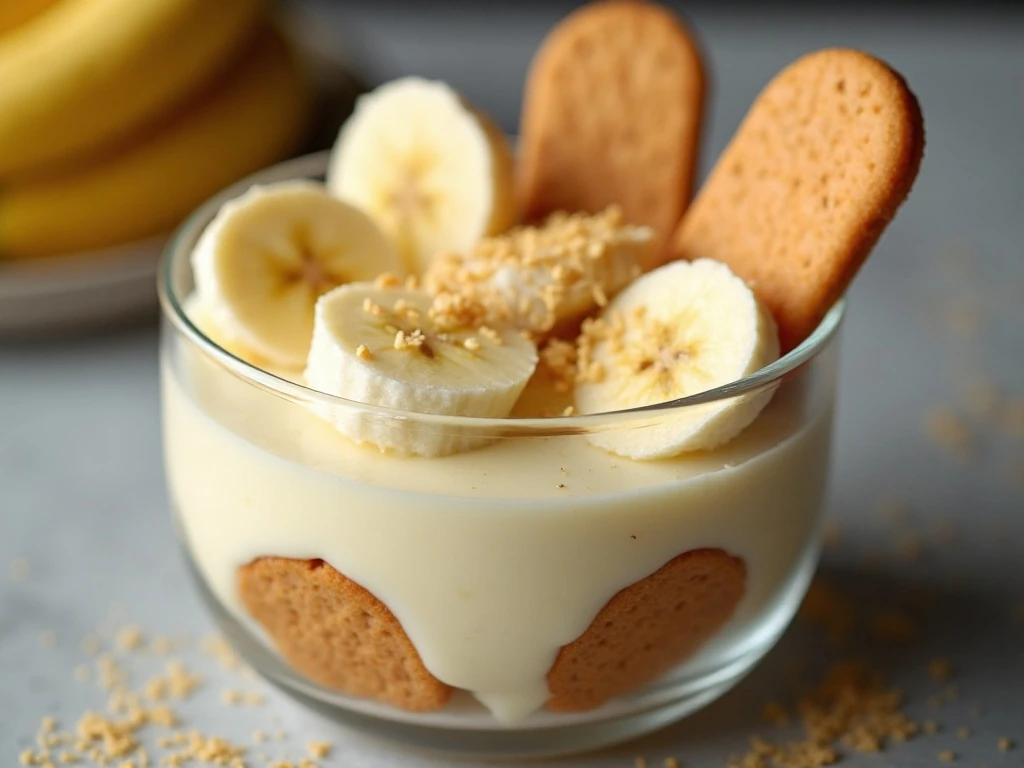
A 9-by-13-inch dish is ideal for family gatherings because it makes broad, even layers and is easy to cover. A trifle bowl creates a more dramatic presentation, allowing the wafers, bananas, and pale vanilla filling to show through the glass.
For clean-looking layers, place the wafers in a single close-fitting layer, then arrange banana slices in a loose pattern rather than piling them in the center. Spread each portion of pudding from the middle outward with a small spatula.
Finish with a ring of vanilla wafers around the edge and a few banana slices in the center. If preparing the dessert the night before, leave the final banana garnish off until shortly before serving.
You can also make individual portions in small glasses or jars. Divide the layers evenly, cover each container, and keep them refrigerated until dessert time.
For another creative banana combination, see this easy avocado and banana muffin idea. It offers a different way to pair banana with a creamy ingredient.
Chilling, Storage, and Serving
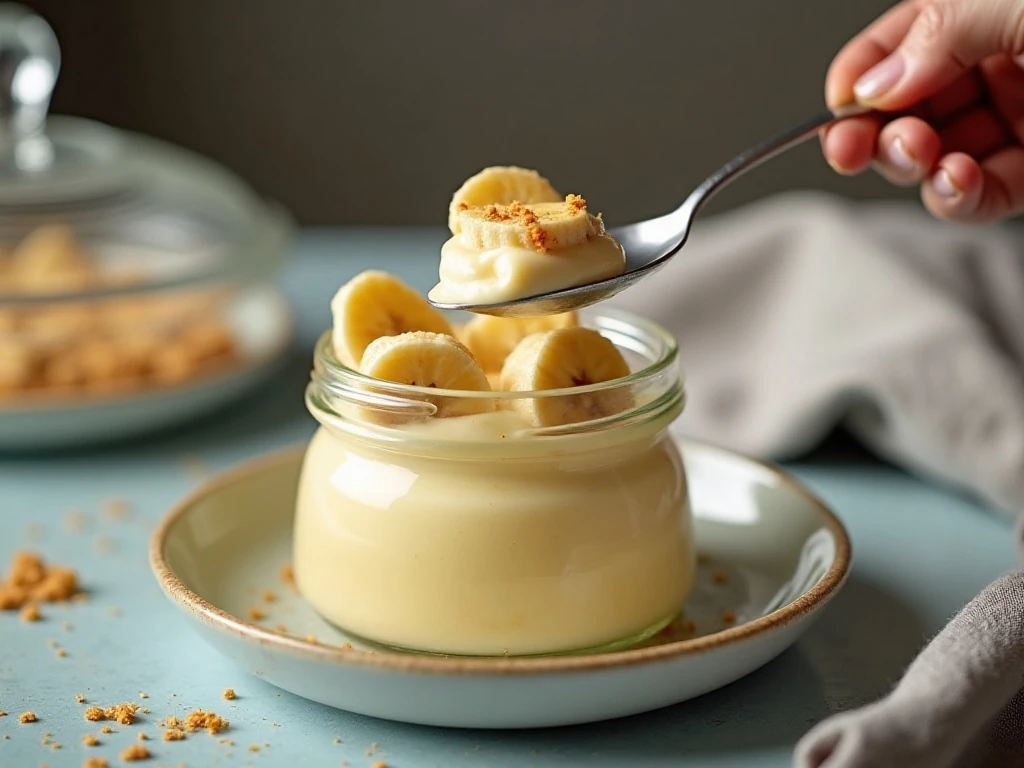
The pudding must chill for at least 4 hours before serving. This period allows the filling to set and gives the vanilla wafers time to absorb some of the cream, producing their signature soft, cake-like texture.
Overnight chilling is preferred when your schedule allows. The flavors become more unified, and the cream cheese mixture takes on a particularly smooth consistency after resting.
Keep the covered dessert refrigerated until you are ready to serve it. Add fresh banana slices near serving time, since exposed bananas naturally brown as they sit.
Serve the pudding cold with a large spoon so every portion includes all the layers. Leftovers should remain covered and refrigerated, and the texture will continue to soften as it rests.
This recipe is not designed for freezing or reheating. It is a refrigerator-set dessert, so keep it chilled rather than placing it in the oven or microwave.
Easy Variations to Try
The ingredient list gives you the larger, softer batch associated with this creamy style of banana pudding. For a firmer filling, some versions use a smaller 3.4-ounce package of instant vanilla pudding with 2 cups of milk, but that is a different proportion from the recipe provided here.
Homemade whipped cream may replace the frozen whipped topping if you prefer to make it from scratch. A typical substitute is 2 cups of heavy cream whipped with 1/4 cup powdered sugar, folded in gently once the pudding and cream cheese mixtures are smooth.
Traditional Southern banana pudding may use cooked vanilla custard instead of instant pudding and cream cheese. That approach requires stovetop cooking and egg tempering, while this recipe stays entirely no-cook for a quick, reliable dessert.
You can vary the presentation without changing the main ingredients. Use a trifle bowl for parties, a baking dish for potlucks, or individual glasses for a polished dinner-party finish.
Keep the bananas and vanilla wafers at the center of the flavor profile. Extra toppings can be attractive, but the classic combination is what gives this dessert its familiar, comforting character.
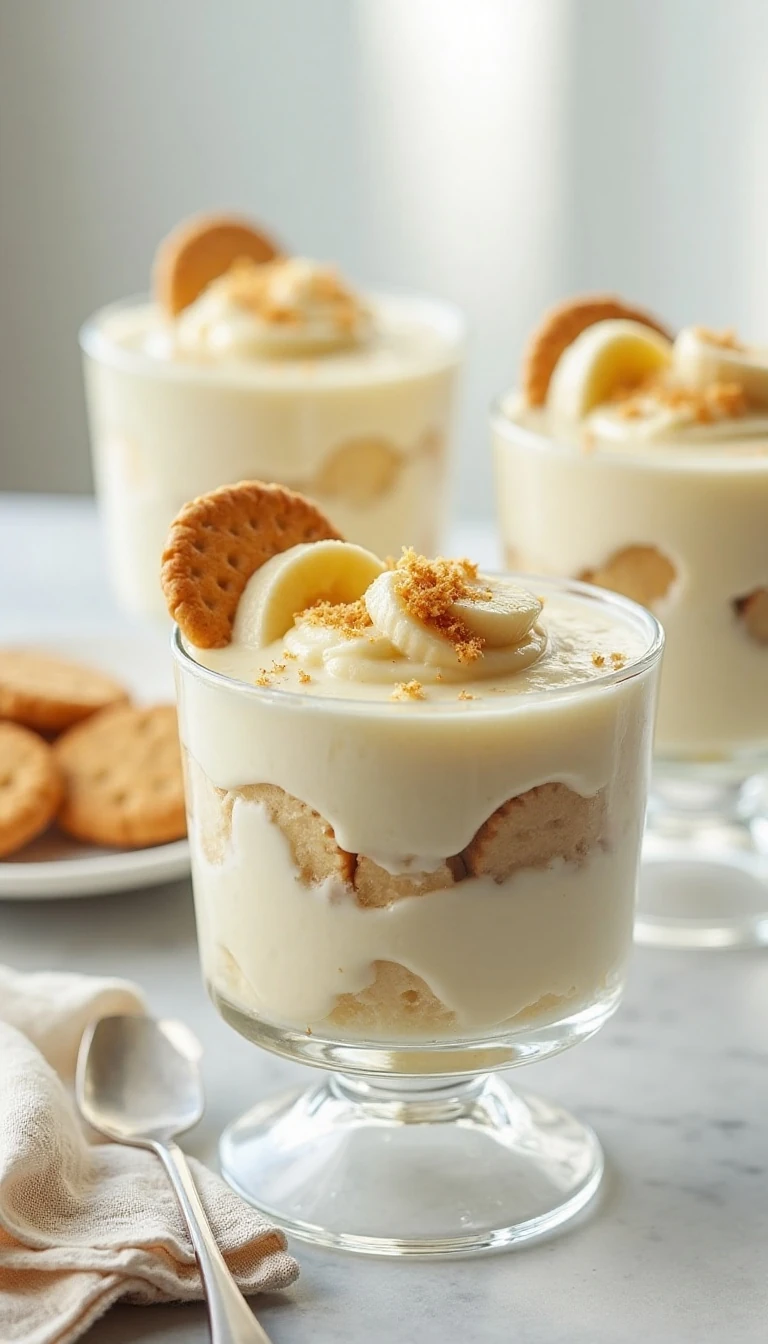
The Creamiest Banana Pudding Recipe You’ll Love
Ingredients
Method
- Whisk the instant vanilla pudding mix and cold whole milk for about 2 minutes, until the mixture thickens. Let it stand for several minutes while you prepare the cream cheese mixture.
- Beat the softened cream cheese in a separate large bowl until smooth and free of lumps. Beat in the sweetened condensed milk and vanilla extract until creamy and fully combined.
- Gradually mix the thickened pudding into the cream cheese mixture. Continue mixing until the filling is completely smooth.
- Gently fold in the thawed whipped topping with a spatula. Use broad, careful strokes so the topping stays light and airy.
- Arrange a layer of vanilla wafers in the bottom of a 9-by-13-inch dish or trifle bowl. Add a layer of sliced bananas, followed by approximately half of the pudding mixture.
- Repeat the wafer, banana, and pudding layers. Finish with vanilla wafers or a few banana slices on top, then cover the dish.
- Refrigerate the assembled pudding for at least 4 hours, or overnight when possible. For the freshest appearance, add the final banana slices shortly before serving.
Notes
Final Thoughts
This creamy banana pudding is the kind of dessert that earns an immediate place in the family recipe collection. It combines a short ingredient list, no cooking, and a dependable chilling method with the rich flavor of cream cheese, condensed milk, vanilla, bananas, and wafers.
For the best result, use firm-ripe bananas, soften the cream cheese fully, fold the whipped topping with care, and give the assembled dish at least 4 hours in the refrigerator. If you can prepare it overnight, the wafers will soften beautifully and the layers will taste even more unified.
Serve it cold from a 9-by-13-inch dish or a clear trifle bowl, adding the final banana garnish just before presenting it. One spoonful of cool vanilla cream, tender fruit, and softened cookies is all it takes to understand why this classic-style pudding is so loved.