For crispy baked French fries that actually brown instead of turning soft, soak evenly cut russet potatoes in cold water, dry them exceptionally well, coat them lightly with oil, and bake them on a preheated rimmed sheet pan at 425°F (220°C). Turn the fries halfway through the 35-45 minute cooking time, keep them in a single layer, and add the finishing salt while they are still hot.
This method produces fries with crisp, savory edges and tender, fluffy centers without deep-frying. The cold-water soak removes excess surface starch, while the hot baking sheet and generous spacing help the potatoes roast rather than steam.
Jump to RecipeWhy You’ll Love This Recipe

These baked French fries are made for the nights when you want a crisp side dish without standing over a pot of hot oil. The method is simple, uses only a few everyday ingredients, and gives you plenty of time to prepare the rest of the meal while the potatoes roast.
The secret is not a complicated batter or a long list of seasonings. It is the combination of a cold-water soak, careful drying, light oil, a very hot pan, and enough room for every fry to touch the heated surface.
Russet potatoes are the best choice because they contain plenty of starch and relatively little moisture. That balance helps create a soft, airy middle while the narrow outer surface turns deeply golden and crisp.
The finished fries are delicious beside burgers, grilled chicken, sandwiches, or a simple bowl of soup. They also make a wonderful side for baked chicken and potatoes when you want a second potato texture on the table.
Ingredients You’ll Need
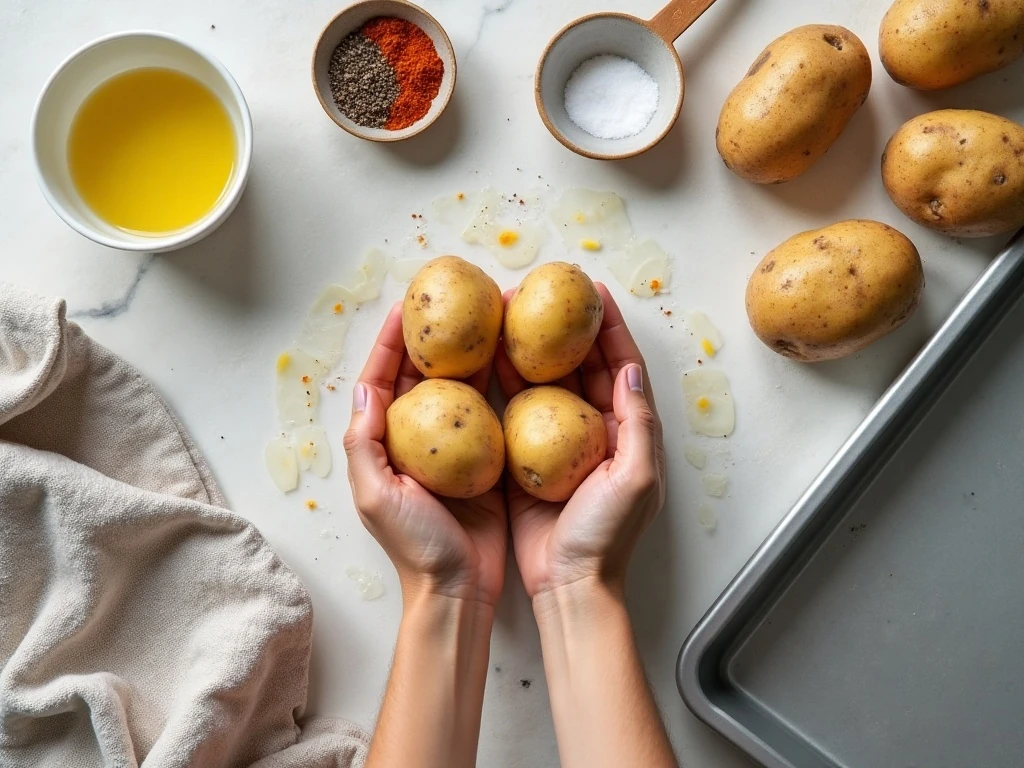
The ingredient list is short, but each item has a purpose. Start with three large russet potatoes weighing about 2 pounds or 900 grams total, then add 2 tablespoons of olive oil or another neutral oil.
You will also need 1 teaspoon of kosher salt, plus more to finish. Freshly ground black pepper and either garlic powder or paprika are optional, so you can keep the fries classic or give them a little extra savory character.
- Russet potatoes: Choose firm potatoes with smooth skin and no green patches. Similar-sized potatoes make it easier to cut fries with matching cooking times.
- Oil: Olive oil works beautifully, but another neutral oil is also suitable. Use just enough to lightly coat the potatoes rather than soaking them.
- Kosher salt: Some goes on before baking, and the rest is added immediately after baking when it adheres best.
- Optional seasoning: Black pepper, garlic powder, or paprika can add flavor without hiding the taste of the potato.
A sturdy rimmed baking sheet is essential equipment. You will also need a large bowl for soaking, clean kitchen towels or paper towels for drying, and a spatula or pair of tongs for turning the fries.
How to Make It Step-by-Step
Step 1: Heat the oven to 425°F / 220°C and place a sturdy rimmed baking sheet inside as the oven preheats. The hot metal gives the potatoes an immediate start when they hit the pan, which supports faster browning on the undersides.
Step 2: Scrub or peel the three russet potatoes, then slice them into fries about 1/4 to 3/8 inch thick. Aim for uniform pieces from end to end because thin fries can burn before thick fries finish, while very thick pieces may remain soft.
Step 3: Transfer the cut potatoes to a large bowl of cold water and soak them for at least 30 minutes, or for up to 1 hour. This bath removes excess surface starch, helping the pieces roast with a cleaner, crisper exterior.
Step 4: Drain the potatoes and rinse them under cool water, then spread them over clean kitchen towels or layers of paper towel. Pat and roll them gently until the surface feels dry, replacing damp towels if needed; visible moisture is one of the main causes of soft fries.
Step 5: Put the dry fries in a clean bowl and toss them with 2 tablespoons of oil, 1 teaspoon of kosher salt, and the optional 1/4 teaspoon black pepper or 1/2 teaspoon garlic powder or paprika. Mix carefully so every piece has a light coating, but do not add extra oil in an attempt to improve crispness.
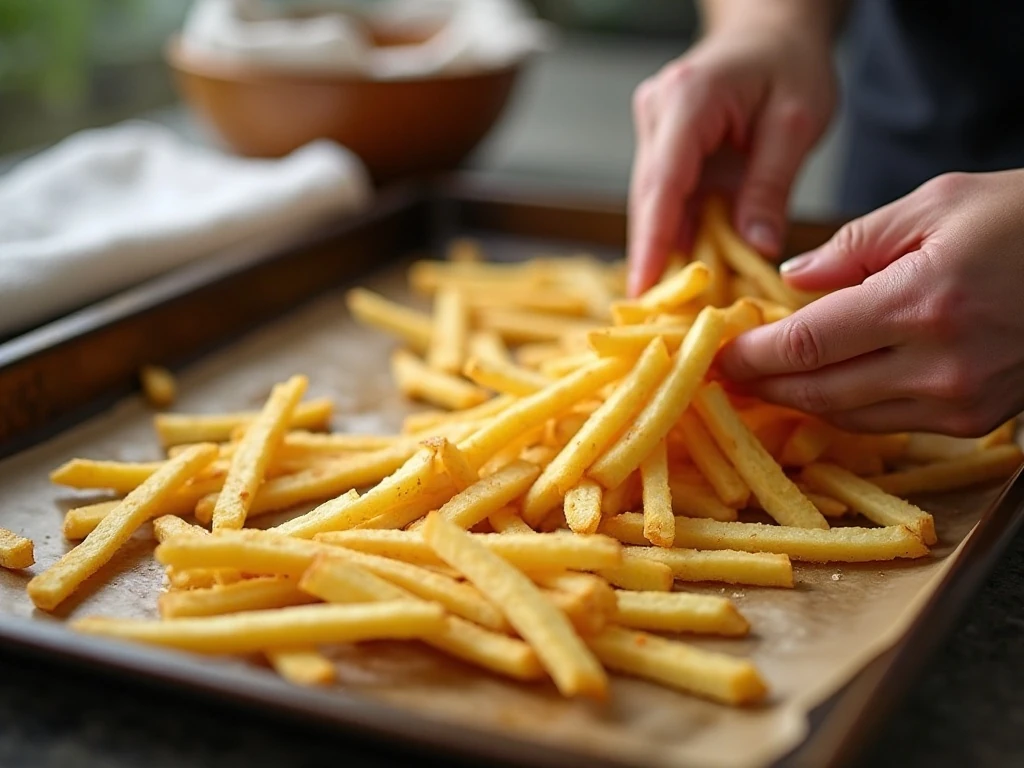
Step 6: Carefully remove the hot baking sheet from the oven and spread the fries across it in one layer. Leave small gaps between the pieces whenever possible; if the potatoes are crowded, use two baking sheets so they roast rather than steam.
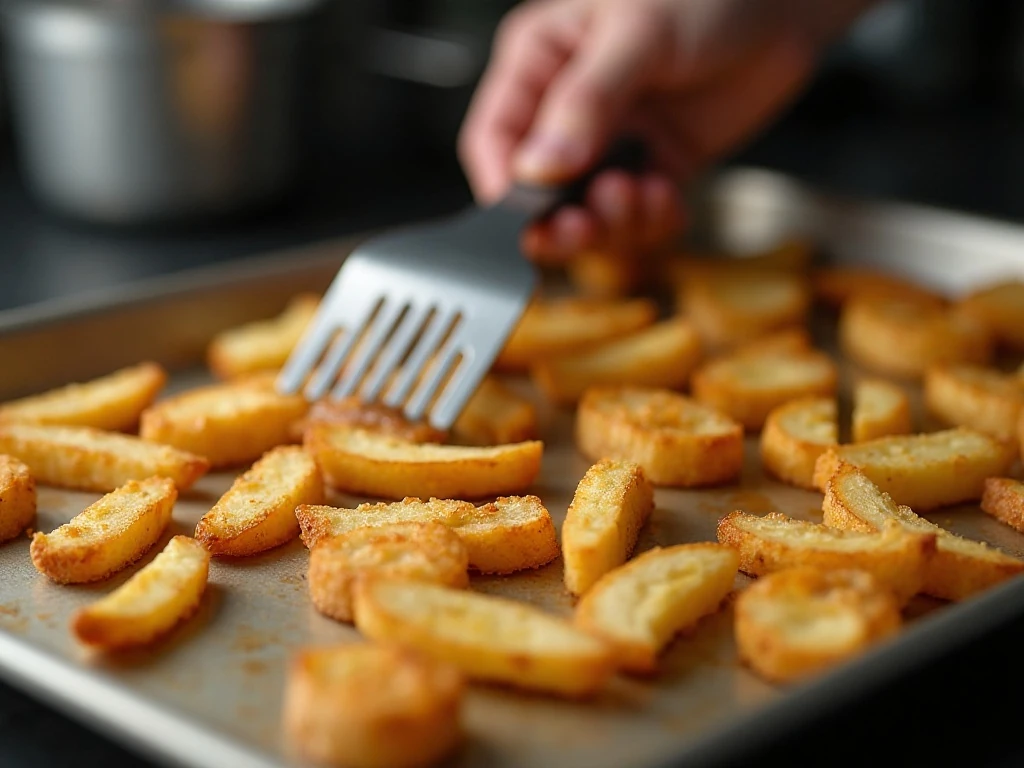
Step 7: Bake the fries for about 20-25 minutes, then turn them with a spatula or tongs. Rotate the baking sheet at this point so areas that baked near the front or back of the oven have a chance to brown more evenly.
Step 8: Return the pan to the oven and continue baking for 15-20 minutes, watching closely toward the end. The fries are ready when their edges are browned and crisp, and the centers feel tender when pierced.
Step 9: Transfer the fries to a serving bowl or platter and sprinkle them immediately with additional kosher salt. Serve hot, since their best texture is right out of the oven.
Pro Tips for Fries That Stay Crisp
Drying deserves just as much attention as soaking. Water left on the surface must evaporate in the oven before browning can begin, so damp potatoes spend too much time steaming and may finish pale and limp.
Cutting consistently is another major factor. A ruler is not necessary, but try to keep every fry close to 1/4 to 3/8 inch thick, especially when cutting from the center of a large potato.
Never pile the potatoes into a thick mound. Each piece needs contact with the hot sheet pan and exposure to the oven air, so use two pans if the fries cannot fit in a single uncrowded layer.
Do not keep opening the oven door during the first half of baking. Heat escapes quickly, and the fries need steady high heat to begin developing a browned crust before they are turned.
Salt twice for the most balanced flavor. The first teaspoon seasons the potatoes as they roast, while the final pinch clings to the hot, slightly oily surface and gives every bite a clear savory finish.
These fries are also a practical partner for a saucy dinner. Serve them next to smothered chicken burritos for a crisp contrast to the tender filling and rich sauce.
Serving Ideas and Dipping Sauces

Serve the fries as soon as they leave the oven, piled loosely in a warm bowl so steam can escape. Ketchup is always welcome, but garlic mayonnaise, ranch dressing, barbecue sauce, or a tangy mustard dip can turn them into a snack-worthy centerpiece.
For a casual lunch, pair them with a toasted sandwich and a cool salad. A generous handful also works beside a grilled chicken breast, a bean burger, or a simple steak.
For a family-style spread, place the fries next to chicken club pasta salad. The fresh, creamy salad and hot crisp potatoes create a satisfying mix of textures.
Keep the seasoning flexible for the occasion. Paprika brings gentle color and warmth, garlic powder adds a savory note, and black pepper provides a sharper finish without changing the basic recipe.
Storage and Reheating

Baked fries are best immediately, but leftovers can be stored in a covered container in the refrigerator for a short period. Let them cool before covering so trapped steam does not make the crust unnecessarily soft.
To reheat, spread the fries in a single layer on a baking sheet and warm them in a hot oven until heated through and crisp again. Avoid piling them into a deep dish, since the trapped moisture will soften the surfaces.
Do not add finishing salt until after reheating. This keeps the seasoning from becoming damp during storage and lets the final salt cling to the hot fries when they are ready to serve.
If you are planning a full meal, these potatoes can share the table with sea salt butter rolls, although you may want to choose one starchy side for a lighter plate.
Easy Variations and Make-Ahead Notes
The basic recipe is intentionally plain so the potato flavor remains front and center, but it welcomes small changes. Try paprika for a warm, earthy finish, garlic powder for extra savory flavor, or freshly ground black pepper for a more pronounced bite.
For a family meal, cut all the potatoes in advance and keep the pieces submerged in cold water during the 30-minute to 1-hour soak. The potatoes must still be drained and dried exceptionally well before they are oiled and placed on the hot pan.
If you are serving fries with a sweet-and-savory menu, a fruit-based side such as baked cinnamon apples can provide a pleasant contrast. Keep the fries seasoned with salt and pepper rather than sweet spices so their crisp, savory character remains clear.
A small amount of cornstarch is used in some variations to increase surface crispness, but it is not part of this basic ingredient list. Start with the tested method here before experimenting, especially if you are making oven fries for the first time.

Crispy Baked French Fries
Ingredients
Method
- Heat the oven to 425°F / 220°C and place a sturdy rimmed baking sheet inside while the oven preheats.
- Scrub or peel the potatoes, then cut them into evenly sized fries about 1/4 to 3/8 inch thick.
- Place the cut potatoes in a large bowl of cold water and soak for at least 30 minutes, or up to 1 hour.
- Drain and rinse the potatoes, then dry them exceptionally well with clean kitchen towels or paper towels until no visible water remains.
- Toss the dry potatoes with the oil, kosher salt, and optional pepper or garlic powder or paprika, using just enough oil to coat them lightly.
- Carefully spread the fries over the hot baking sheet in one layer, leaving space between the pieces.
- Bake for 20-25 minutes, then turn the fries with a spatula or tongs and rotate the pan for more even browning.
- Continue baking for 15-20 minutes, until the fries are browned and crisp, then season immediately with additional salt and serve hot.
Notes
Final Thoughts
The most reliable baked French fries do not depend on special equipment or a complicated coating. Use russet potatoes, soak them in cold water, dry them until no surface moisture remains, and give them a hot, uncrowded baking sheet.
Once the fries are in the oven, turn them after 20-25 minutes and let them finish for another 15-20 minutes until browned and crisp. A final sprinkle of salt while they are piping hot brings the whole batch together.
With about 15-20 minutes of preparation, 30 minutes to 1 hour of soaking, 10-15 minutes of drying, and 35-45 minutes of baking, this recipe takes about 1 1/2 hours in total including the soak. Make it once, learn the visual cues, and you will have a dependable side dish for weeknight dinners, weekend burgers, and relaxed gatherings.