This easy homemade apple juice recipe transforms 8–10 medium apples and 8 cups of water into fresh, fragrant juice on the stovetop. The apples simmer for 30–45 minutes, then the softened fruit is mashed and strained for a naturally sweet drink that can be served warm or chilled.
Use sweet apples such as Gala, Fuji, Honeycrisp, or Golden Delicious for a mellow flavor, or combine sweet and tart varieties for a brighter balance. A cinnamon stick adds gentle spice, while a little lemon juice brings freshness and helps slow browning.
Jump to RecipeWhy You’ll Love This Recipe
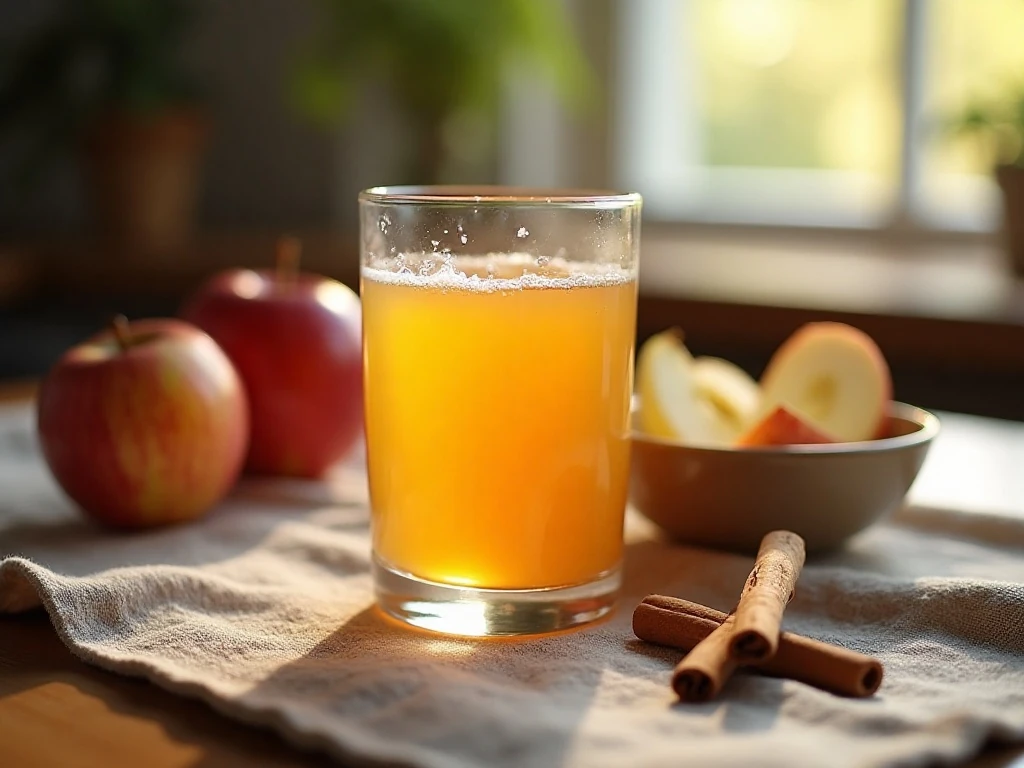
Homemade apple juice has a soft, fresh flavor that tastes much more like ripe fruit than many shelf-stable juices. The stovetop method is especially useful when you have a generous basket of apples and want a comforting drink without special equipment.
This recipe is also flexible. You can leave the apple skins on for deeper color, adjust the sweetness after straining, and choose a clear or cloudy finish depending on how firmly you press the cooked fruit.
The process is straightforward enough for a relaxed weekend kitchen project, yet the finished juice feels special enough for breakfast, brunch, autumn gatherings, and holiday meals. Serve it in glasses with a cinnamon stick for a simple presentation.
If you enjoy fruit-forward flavors at the table, our fresh peach salsa makes a bright companion for brunch snacks and light appetizers.
Ingredients You’ll Need
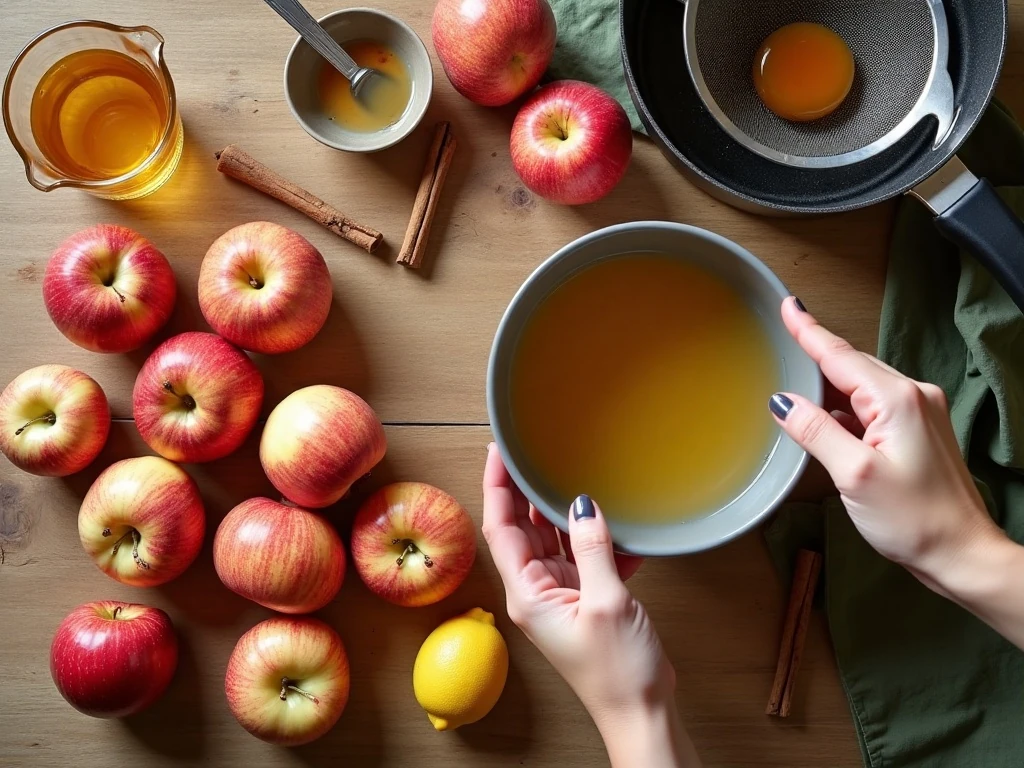
Choose apples that are fragrant, firm, and free from bruises or soft spots. Sweet varieties such as Gala, Fuji, Honeycrisp, and Golden Delicious usually produce juice that needs little or no added sugar.
- 8–10 medium apples: Use one variety or a mixture of sweet and tart apples.
- 8 cups water: This creates the cooking liquid and should nearly cover the apples.
- 1 cinnamon stick: Optional, but it adds a warm, gentle spice.
- 1–2 tablespoons sugar, honey, or maple syrup: Add only after tasting the strained juice.
- 1 tablespoon lemon juice: Optional for brightness and to help slow browning.
Granny Smith or another tart apple can provide a pleasant contrast to sweeter varieties. A blend often gives the most balanced flavor, especially when the apples are very sweet or very mild.
For equipment, gather a large pot with a lid, a potato masher, and a fine-mesh strainer. Cheesecloth or a jelly bag also works well if you prefer to filter the juice more thoroughly.
How to Make It Step-by-Step
Step 1: Wash the apples thoroughly under cool running water, rubbing the skins to remove surface dirt. Quarter each apple, cut away the stems and cores, and decide whether to peel them; leaving the skins on adds color and flavor.
Step 2: Transfer the quartered apples to a large pot and add 8 cups of water. The water should nearly cover the fruit, so arrange the apple pieces evenly and add the cinnamon stick if you are using one.
Step 3: Bring the water and apples to a boil over medium-high heat. As soon as the mixture reaches a boil, reduce the heat to low, cover the pot, and simmer for 30–45 minutes until the apples are very soft.
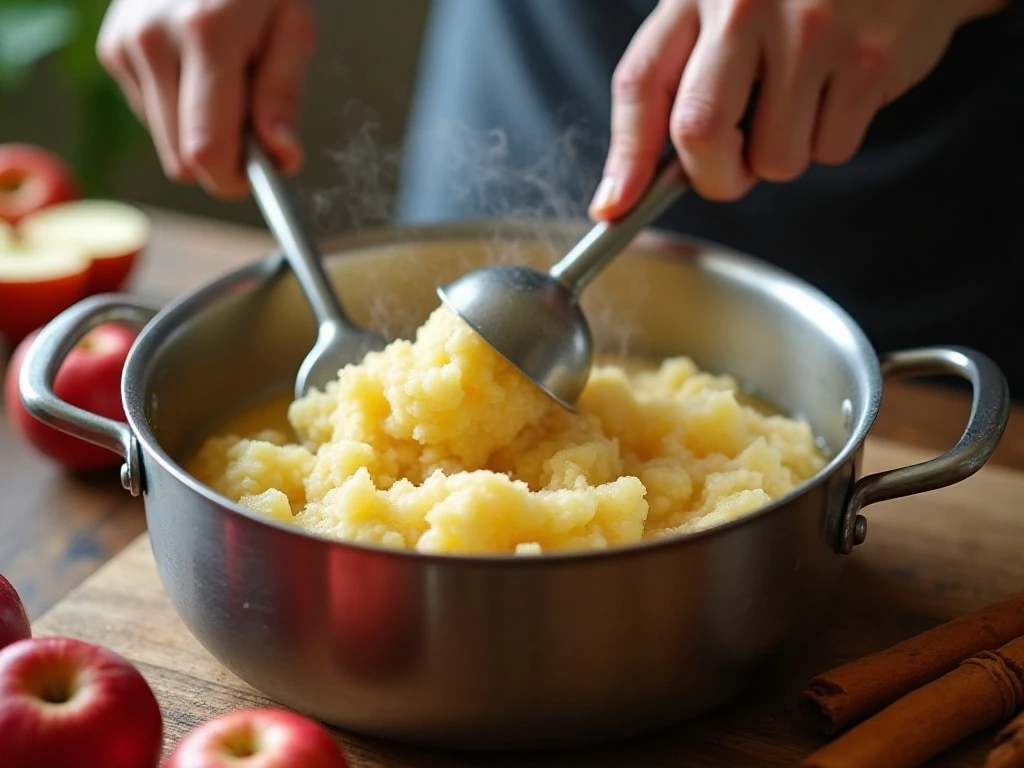
Step 4: Turn off the heat and use a potato masher to break down the softened apples in the pot. Mash thoroughly enough to release more juice, but avoid turning the mixture into a completely smooth puree.
Step 5: Set a fine-mesh strainer over a large bowl or pitcher, then carefully pour in the hot apple mixture. Press gently if you want clearer juice, or press more firmly for a stronger, cloudier drink with more apple character.
Step 6: Taste the strained juice while it is still warm. Stir in 1–2 tablespoons of granulated sugar, honey, or maple syrup only if necessary, and add 1 tablespoon of lemon juice if you want a brighter finish.
Step 7: Serve the juice warm, or let it cool before transferring it to the refrigerator. If chilling it, use a covered container and enjoy it within about 3–4 days.
Pro Tips for Better Apple Juice
Start with the best apples you can find because the fruit determines most of the flavor. Apples that are sweet and aromatic make a naturally pleasant juice, while tart apples contribute lively acidity.
Do not add all the optional sweetener automatically. The juice can taste less sweet when hot and more rounded after it cools, so tasting at the end gives you better control.
Pressing the solids changes the final texture. Gentle pressure allows more liquid to pass while keeping the juice relatively clear; firmer pressure extracts additional apple flavor and produces a cloudier result.
Avoid aggressively boiling the juice after it has been strained. Gentle heating preserves the fresh apple taste and helps prevent the drink from becoming overly cooked or unnecessarily cloudy.
For a party, make the juice earlier in the day and chill it in a covered pitcher. Add the cinnamon stick during cooking, then remove it before serving if you prefer a clean apple aroma.
Apple juice can also be part of a cozy savory menu. For a comforting dinner pairing, try our apple cider smothered pork chops for a meal built around warm fruit and spice notes.
Serving Ideas
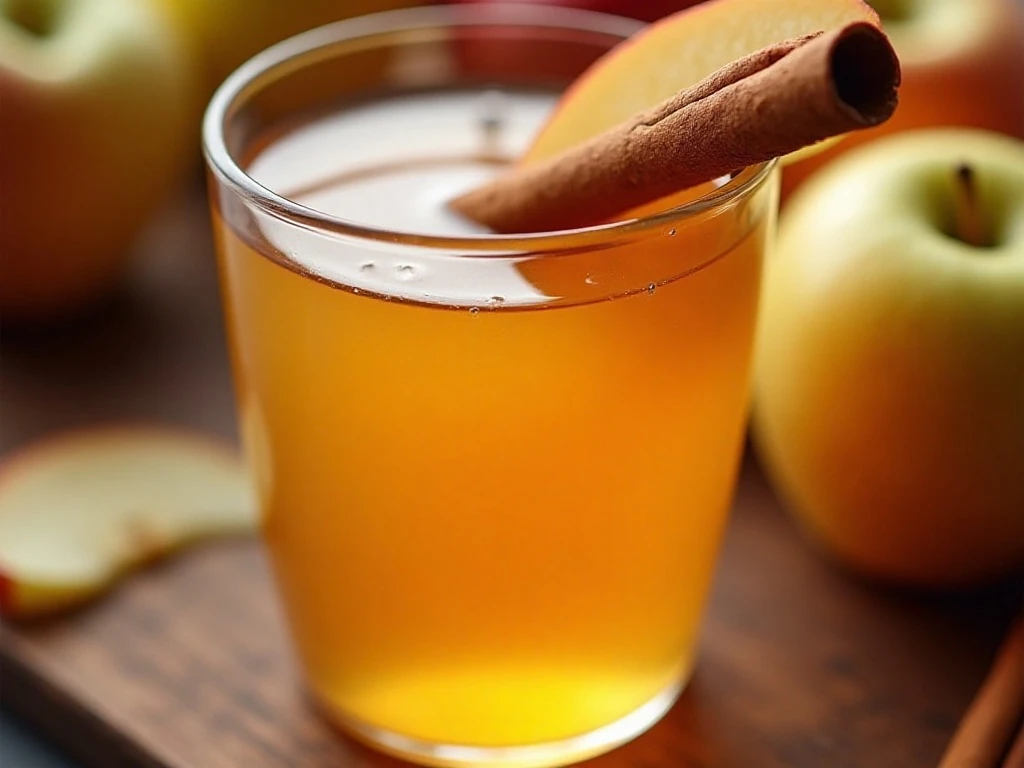
Serve the juice cold over ice with a thin apple slice on the rim. A cinnamon stick makes a simple stirrer and gives each glass a welcoming autumn touch.
For a warm version, pour the strained juice into mugs and heat it gently until steaming. Do not bring it to a vigorous boil, and add the lemon juice or sweetener after warming if needed.
This drink is a natural choice for breakfast alongside toast, oatmeal, pancakes, or eggs. It also works well at brunch, where its golden color adds a cheerful, homemade touch to the table.
For a larger meal, the gentle sweetness pairs nicely with hearty comfort foods. Consider serving it with our Mexican chicken tortilla soup or a family-style plate of slow cooker meatballs.
Storage and Reheating
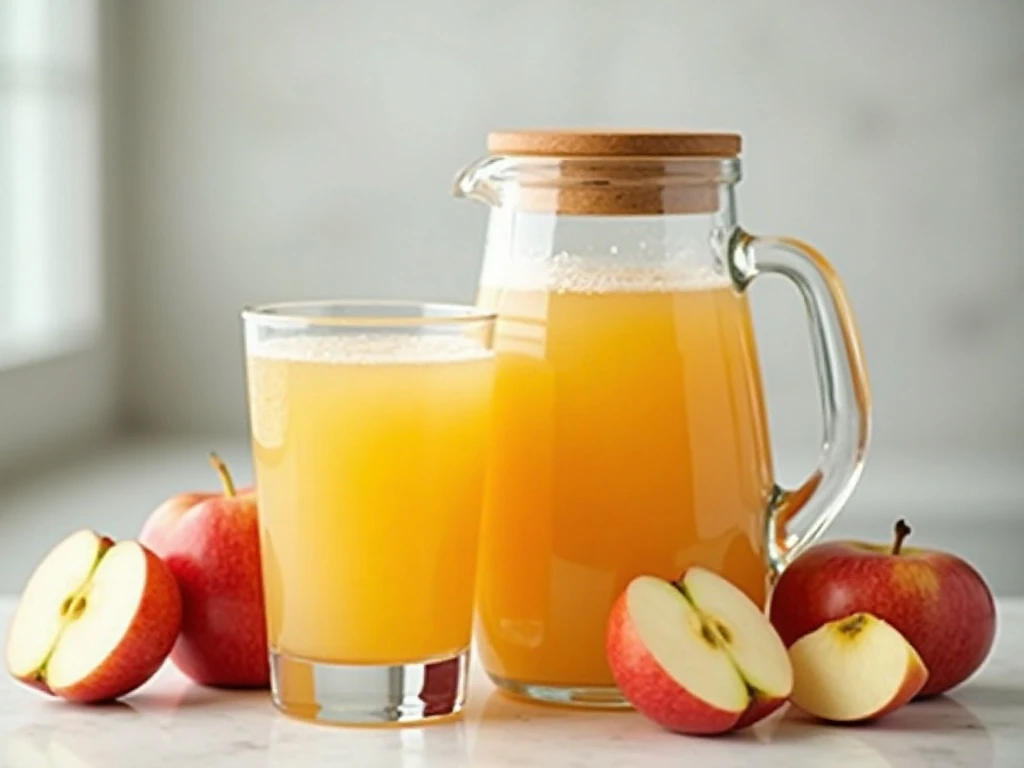
Cool the juice and store it in a covered container in the refrigerator. Use it within about 3–4 days for the best flavor and freshness.
If you want to serve refrigerated juice warm, pour only the amount you need into a saucepan or mug. Heat it gently until warm, avoiding a hard boil that can make the flavor taste flat or overly cooked.
Give the juice a stir before serving because natural apple particles may settle as it rests. If the drink looks cloudy, that is normal, particularly when the cooked apples were pressed firmly through the strainer.
For a savory menu that balances the sweetness of apple juice, our skillet balsamic chicken offers tangy flavor and a satisfying dinner option.
Fresh-Juice Alternative: Using a Juicer
If you own a juicer, you can make a quick fresh version in about 10–15 minutes. Wash 6–8 apples, quarter them, remove the cores, and process the pieces directly according to your juicer’s instructions.
Add lemon juice or cinnamon if desired, tasting before adding any sweetener. This method is fast and produces a bright, fresh drink, but it generally makes less juice than the simmer-and-strain method.
Juicer-made apple juice is best consumed immediately. The stovetop version takes longer, but it is useful when you want to process more apples at once and enjoy the juice warm or chilled later.
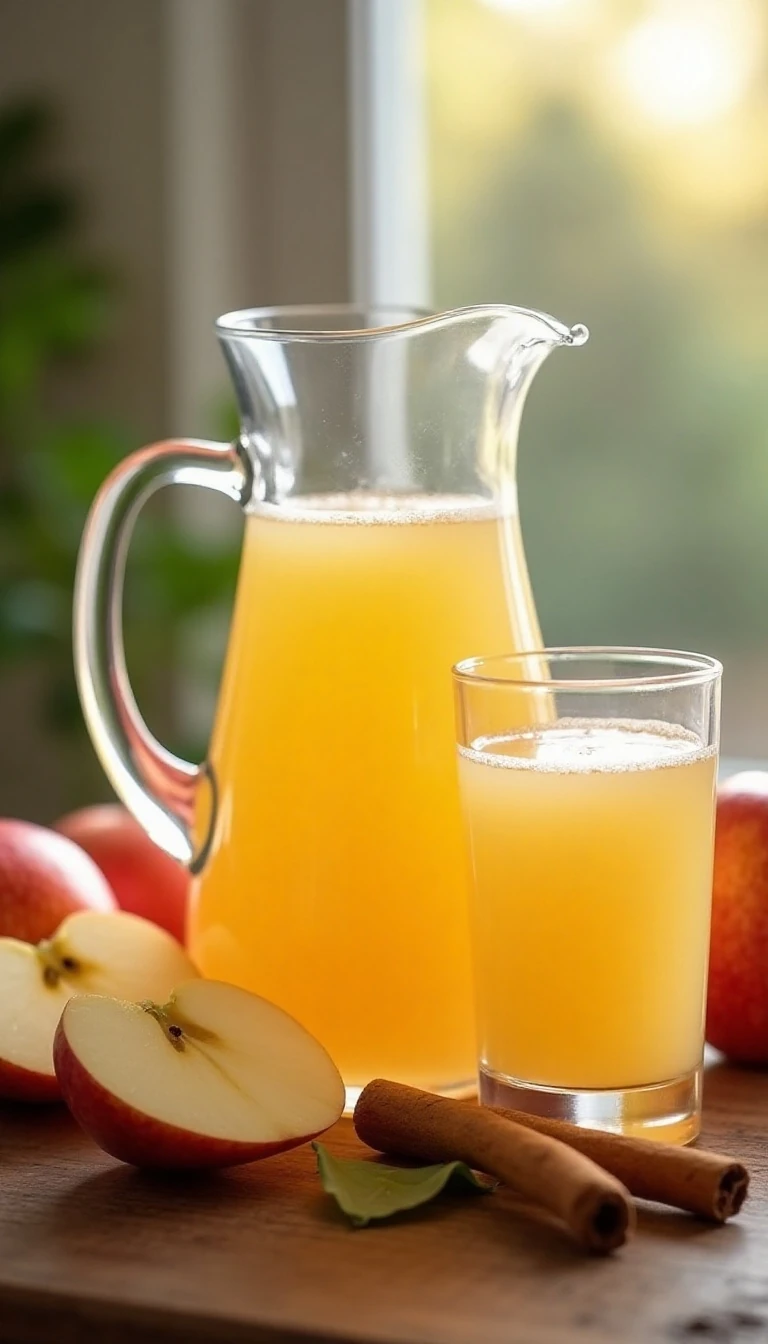
Easy Homemade Apple Juice Recipe (Fresh & Delicious)
Ingredients
Method
- Wash 8–10 apples well. Quarter them, remove the stems and cores, and leave the skins on if you want extra color and flavor.
- Place the prepared apples in a large pot and pour in 8 cups of water. The water should nearly cover the apples, and you may add one cinnamon stick at this point.
- Bring the pot to a boil, then reduce the heat to low. Cover and simmer for 30–45 minutes, or until the apples are very soft.
- Mash the softened apples directly in the pot with a potato masher. This releases additional juice and apple flavor without requiring a blender.
- Pour the mixture through a fine-mesh strainer, cheesecloth, or jelly bag into a large bowl or pitcher. Press gently for clearer juice or more firmly for a stronger, cloudier drink.
- Taste the strained juice and add 1–2 tablespoons of sugar, honey, or maple syrup if needed. Stir in 1 tablespoon of lemon juice for extra brightness, then serve warm or chill thoroughly.
Notes
Final Thoughts
This easy homemade apple juice recipe proves that a few everyday ingredients can create a wonderfully fresh drink. Simmering the apples gently, mashing them well, and straining the mixture gives you control over the flavor, sweetness, and clarity.
Use sweet apples for a naturally mellow batch, combine sweet and tart varieties for balance, and add cinnamon or lemon juice to suit your taste. Whether served warm on a cool morning or chilled over ice, this homemade juice is simple, comforting, and delicious.
Make a pitcher for breakfast, pour it alongside a family dinner, or keep the recipe in mind whenever fresh apples are in season. Once you taste the bright fruit flavor, you may find yourself making it again and again.
1 thought on “Easy Homemade Apple Juice Recipe (Fresh & Delicious)”