This Amazing Cherry Cheesecake Recipe is an easy baked dessert made with a buttery graham-cracker crust, smooth full-fat cream cheese filling, tangy sour cream, and glossy cherry pie filling. It takes about 20–25 minutes to prepare, bakes for 55–65 minutes, and should chill for at least 4 hours for the creamiest slices.
Every bite combines a crisp, lightly sweet crust with rich vanilla cheesecake and bright cherry flavor. The filling is indulgently creamy without being overly heavy, while the canned cherry topping makes this a practical dessert for holidays, potlucks, birthdays, and relaxed Sunday dinners.
Jump to RecipeWhy You’ll Love This Recipe
This cherry cheesecake has the classic flavor people expect from a homemade baked cheesecake, but the method is wonderfully straightforward. There is no complicated water bath, no homemade cherry sauce, and no specialty equipment beyond a 9-inch springform pan.
The graham-cracker crust gives the dessert a warm, toasted sweetness that balances the tangy cream cheese. Sour cream keeps the filling soft and creamy, while vanilla rounds out the flavor and lets the cherries taste bright and fruit-forward.
It is also an excellent make-ahead dessert. Since the cheesecake needs at least 4 hours to chill, you can bake it the day before serving and simply add the cherry topping when dessert is ready.
If you are planning a full comfort-food menu, pair this dessert with a cozy main course such as our easy chicken potpie. The creamy, fruity cheesecake makes a lovely finish after a savory meal.
Ingredients You’ll Need
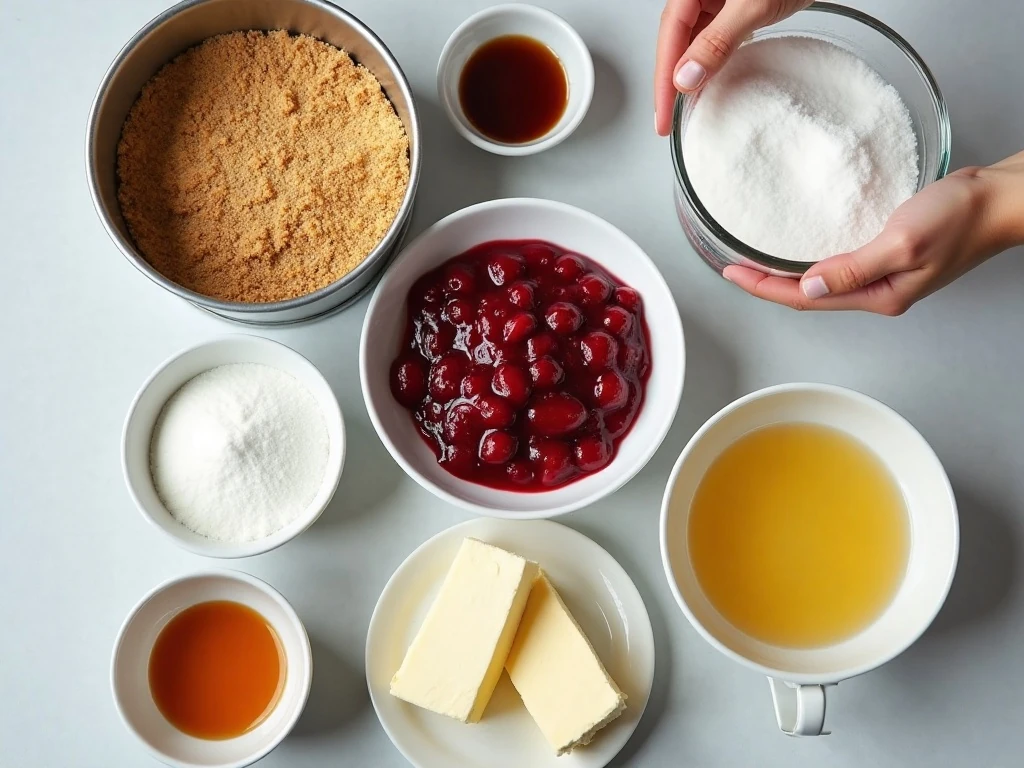
The ingredient list is short, familiar, and easy to find. For the best texture, choose full-fat cream cheese and allow the dairy and eggs to reach room temperature before mixing.
- Graham-cracker crumbs: Use about 2 cups, or approximately 14–16 full crackers, for the sturdy golden crust.
- Unsalted butter: Melted butter binds the crumbs and adds rich flavor without making the crust overly salty.
- Granulated sugar: A little sweetens the crust, while one full cup provides the right sweetness for the cheesecake filling.
- Full-fat cream cheese: Three 8-ounce packages create the dense, creamy body of the cheesecake.
- Eggs: Three large room-temperature eggs help the filling set while keeping it tender.
- Vanilla and sour cream: Vanilla adds warmth, and sour cream contributes a pleasant tang and silky texture.
- Cherry pie filling: One approximately 21-ounce can provides a generous layer of glossy cherries over the chilled cake.
Measure the ingredients before beginning, and make sure the cream cheese is genuinely softened. Cold cream cheese can leave small lumps that are difficult to smooth out later.
For another comforting recipe idea to serve on a different occasion, save this cabbage and sausage soup for a hearty family dinner.
How to Make It Step-by-Step
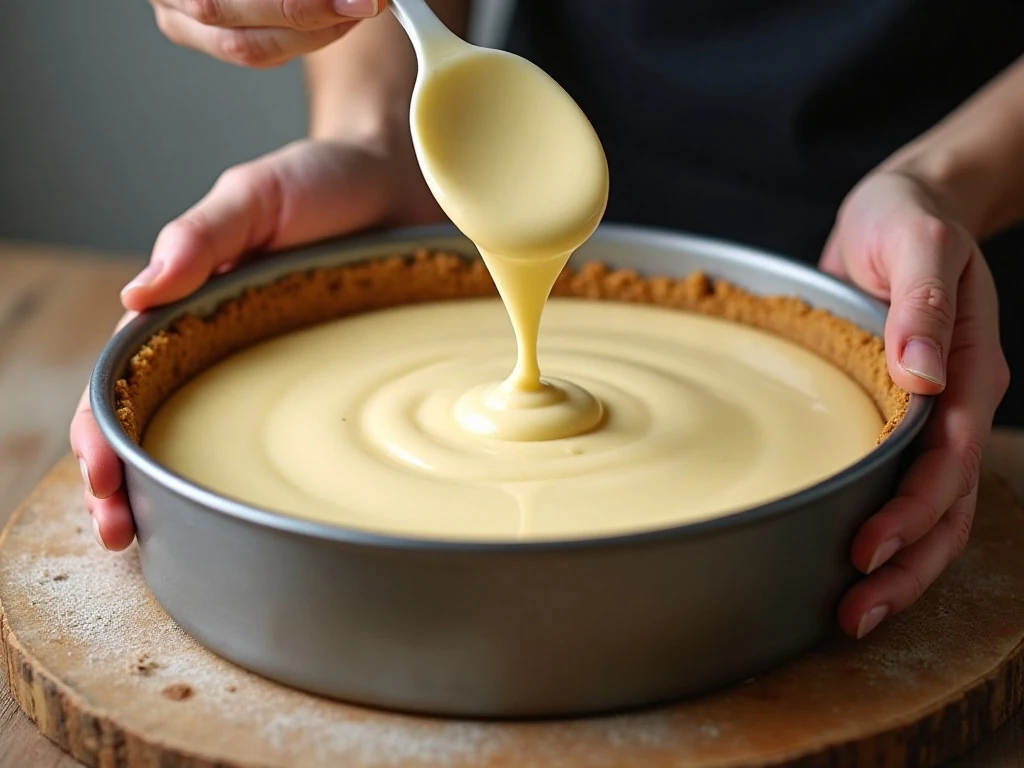
Step 1: Heat the oven to 325°F (165°C), then grease a 9-inch springform pan. If you like easier release, place a round of parchment on the bottom before closing the pan around it.
Step 2: Combine the graham-cracker crumbs, melted unsalted butter, and 1/4 cup granulated sugar in a bowl. Stir until every crumb is moistened, then press the mixture firmly and evenly over the bottom of the pan.
Step 3: Bake the crust for 8–10 minutes, just until it smells lightly toasted and feels set. Let it cool slightly while you prepare the filling, but keep the oven at 325°F (165°C).
Step 4: Add the softened cream cheese and 1 cup sugar to a large mixing bowl. Beat on medium-low speed only until the mixture is smooth, scraping the bowl as needed so no thick pockets remain.
Step 5: Add the room-temperature eggs one at a time. Mix just until each egg disappears into the batter, because extended mixing can add excess air and increase the chance of cracks.
Step 6: Mix in the vanilla extract and sour cream until the batter is evenly blended. Stop as soon as the mixture looks smooth; the goal is a creamy filling, not a highly aerated one.
Step 7: Pour the filling over the slightly cooled crust and smooth the top with a spatula. Gently tap the pan once or twice on the counter if you see large visible bubbles, but avoid vigorous tapping.
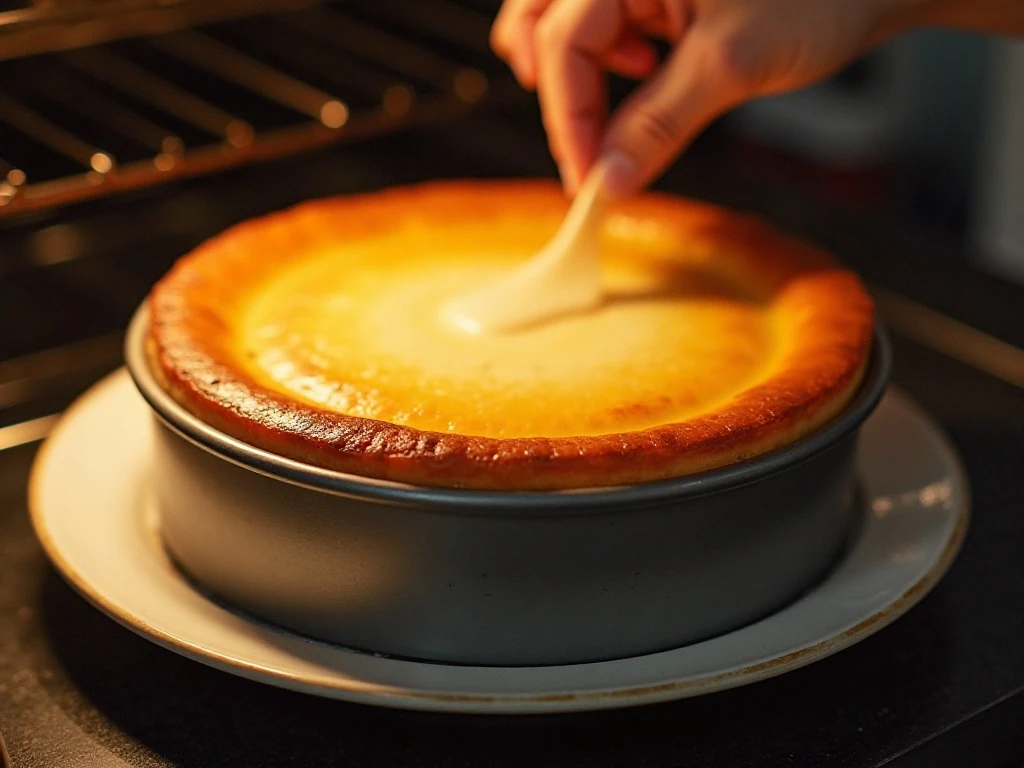
Step 8: Bake for 55–65 minutes. The edges should look set while the center should still have a slight wobble when the pan is gently nudged.
Step 9: Turn off the oven, crack the door, and leave the cheesecake inside for about 30 minutes. This gradual cooling helps reduce the risk of a sudden temperature change that can cause the surface to split.
Step 10: Remove the cheesecake from the oven and cool it completely at room temperature. Refrigerate it for at least 4 hours, although chilling overnight gives the cleanest texture and easiest slicing.
Step 11: Spoon the cherry pie filling over the chilled cheesecake immediately before serving. Spread it gently toward the edges, leaving the surface attractive and the cherries evenly distributed.
Pro Tips for a Creamy Cheesecake
Room-temperature ingredients are one of the simplest ways to improve the batter. Soft cream cheese blends smoothly with the sugar, and room-temperature eggs and sour cream incorporate without forcing you to mix for a long time.
Keep the mixer on medium-low speed, particularly after the eggs go in. Too much air can make the cheesecake puff in the oven and then sink or crack as it cools.
Do not judge doneness by waiting for the entire center to look firm. A slight wobble in the middle is exactly what you want because the residual heat and refrigeration will finish setting the filling.
Press the crust firmly but evenly. A flat-bottomed measuring cup is useful for compacting the crumbs into a level layer without creating thin spots around the edge.
For especially attractive portions, chill the cheesecake thoroughly before removing the springform ring. Warm a thin knife under hot water, wipe it dry, make one cut, and repeat the warming and drying process between slices.
Serving Suggestions

Serve each slice cold or slightly cool, with the cherry topping spooned generously over the creamy center. The contrast between the ruby fruit, pale filling, and golden crust makes this dessert look special with almost no extra decoration.
A small dollop of whipped cream can be added if desired, although the cheesecake is rich and complete on its own. A few fresh cherries may also be placed around the serving platter when they are in season, but they are not required for the recipe.
For a dessert table, cut the cake into 10–12 slices and arrange them on a simple white platter. If you are serving several sweets, this cheesecake pairs nicely with a lighter chilled treat such as our Cool Whip ambrosia salad.
Storage and Make-Ahead Advice
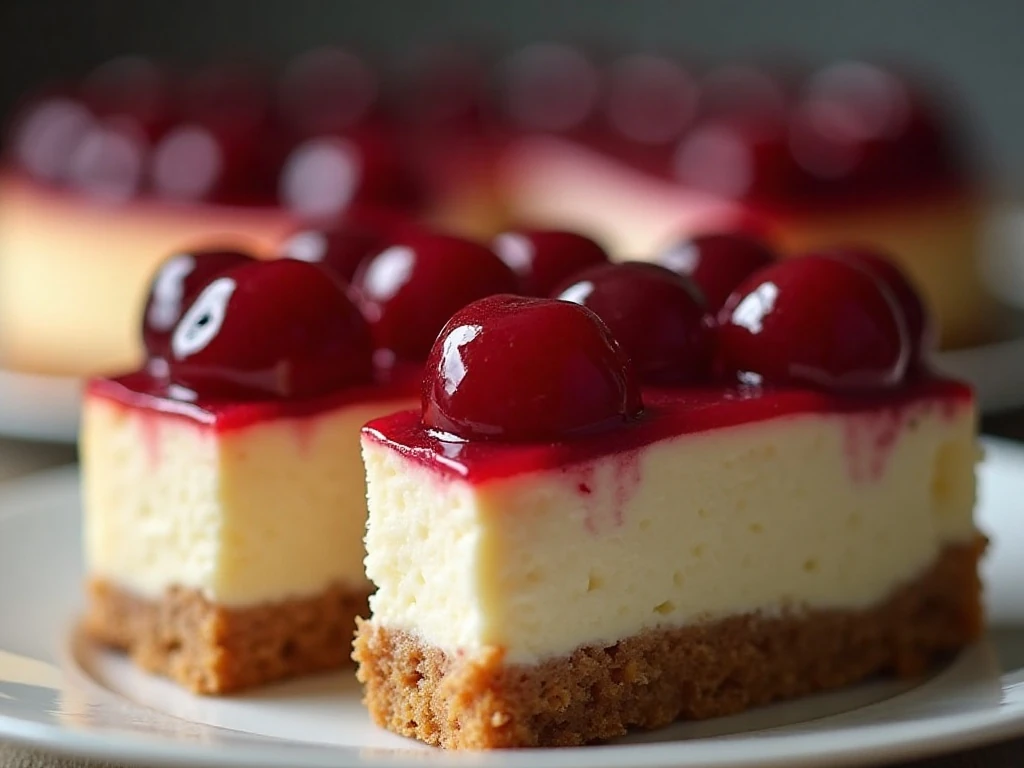
Keep the finished cheesecake covered and refrigerated. It is best to add the cherry pie filling immediately before serving, which keeps the topping glossy and prevents extra moisture from sitting on the cheesecake for too long.
The dessert requires at least 4 hours of chilling, and overnight chilling is preferred. That resting time allows the filling to firm completely, making the texture smoother and the slices cleaner.
When preparing ahead, bake and chill the cheesecake in the springform pan. Add the cherry topping after removing the pan ring and just before bringing the cake to the table.
Any leftovers should be returned to the refrigerator promptly. Store them covered so the cheesecake does not absorb odors, and use a dry, warmed knife when cutting additional portions.
Common Questions
Can I use low-fat cream cheese? Full-fat cream cheese is recommended because it delivers the intended richness and stable texture. Lower-fat varieties may produce a softer or less creamy result.
Why does the cheesecake need to cool gradually? Leaving it in the turned-off oven with the door cracked helps the temperature decrease gently. This can help limit cracking caused by a sudden change from hot to cool.
Should the center be completely firm when it comes out? No. The edges should be set, but the center should retain a slight wobble; it will continue to set during room-temperature cooling and refrigeration.
Can I add the cherry topping before chilling? For the best presentation, wait until the cheesecake is fully chilled and add the topping immediately before serving. This keeps the cherry layer neat and glossy.
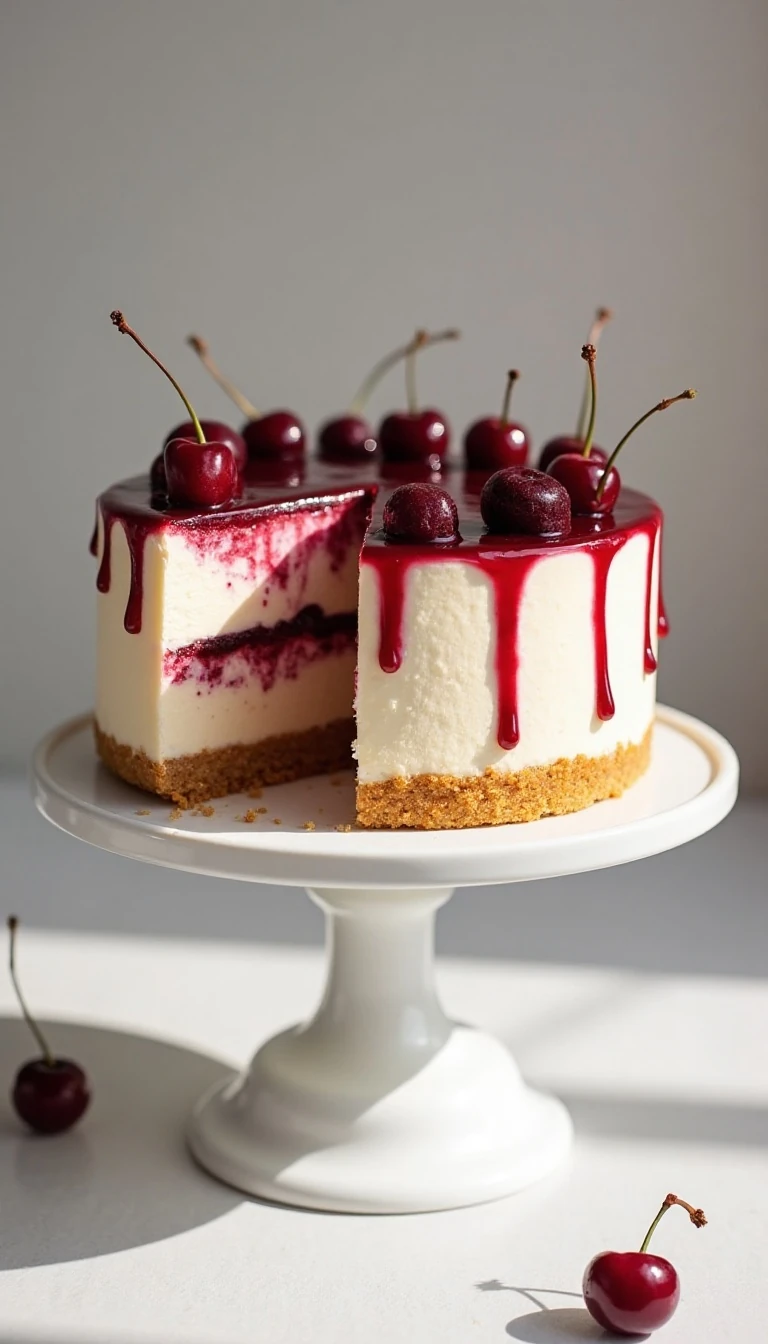
Amazing Cherry Cheesecake Recipe (Easy & Creamy!)
Ingredients
Method
- Heat the oven to 325°F (165°C). Grease a 9-inch springform pan and line the bottom with parchment if desired.
- Stir together the graham-cracker crumbs, melted butter, and sugar. Press the mixture firmly over the bottom of the pan, bake for 8–10 minutes, and cool slightly.
- Beat the softened cream cheese and sugar on medium-low speed until smooth. Add the eggs one at a time, mixing only until each egg is incorporated, then mix in the vanilla and sour cream.
- Pour the cheesecake filling over the crust and smooth the surface. Bake for 55–65 minutes, until the edges are set and the center still has a slight wobble.
- Turn off the oven, crack the door, and leave the cheesecake inside for about 30 minutes. Remove it, cool completely at room temperature, and refrigerate for at least 4 hours, preferably overnight.
- Spoon the cherry pie filling over the chilled cheesecake immediately before serving. Cut with a thin knife warmed under hot water and wiped dry between slices.
Notes
Final Thoughts
This Amazing Cherry Cheesecake Recipe delivers everything you want in a classic baked dessert: a buttery graham-cracker crust, a rich yet tangy cream cheese center, and a generous spoonful of cherries on top. The ingredients are simple, the steps are approachable, and the make-ahead timing makes it especially convenient for entertaining.
Remember the most important details: bring the dairy and eggs to room temperature, mix gently after adding the eggs, bake until the center still wobbles slightly, and chill the cheesecake thoroughly. With those small techniques, you can create 10–12 beautiful slices with a smooth, creamy finish every time.
Prepare it the day before your next gathering, add the cherry topping just before serving, and enjoy a dessert that tastes wonderfully homemade without requiring a complicated process.